manuals.online logo
Brands
  1. Home
  2. •
  3. Brands
  4. •
  5. Summer Garden Buildings
  6. •
  7. Garden House
  8. •
  9. Summer Garden Buildings Hipped Summerhouse 270 User manual

Summer Garden Buildings Hipped Summerhouse 270 User manual

Before assembly
•
We recommend that time is taken to read the
instructionsbeforestartingassembly,then
followtheeasystepby step guide.
Theinstructionsheet is only aguideto
theassembly.Certain itemsmaynot be
shown toscale.
•
Check all components prior to assembly
•
This product should be assembled by no
lessthan2people.
•
Never attempt to erect the assembly in
highwinds.
•
Drill components where indicated.
•
Some of the components may have sharp
edges wear protective work gloves while
handling components.
No.
Components Qty.
1
Large floorpanel
2
2
Smallfloorpanel
1
3
Backand side panel
4
4
Smallbackpanel
1
5 Windowside panel 2
6
Right-handfrontpanel
1
7
Right-handdoors
1
8 Left-handfront panel 1
9 Left-handdoors 1
10
Doorheaderpanel 2
11 Shiplap doorheader board
2
12
Righttriangularroofpanel 4
13 Rectangularroofpanel
2
14
Lefttriangularroofpanel 4
15
Roof centre block 1
16
Insideroofcover 1
17
Capping
1
18
Coverstrips
(1920x48x12mm)
8
19
Longangled felt batten
(right)
3
20
Longanglefeltbatten
(left)
3
21
Short anglefeltbatten
(right)
1
22
Short anglefeltbatten
(left)
1
23
Short bargeboard
(835x40x12mm)
2
24 Longbargeboard
(1325x40x12mm)
6
25
Door weather strips
(1760x40x12mm)
3
26
Doorbeading strips
(1775x9x9mm)
2
27 Doorglazing
(284x306mm)
12
28 Sidewindow glazing
(193x304mm)
18
29 Front windowglazing
(200x304mm)
6
30
Beading
(306mm)
72
31
Beading
(252mm)
24
32
Beading
(106mm)
48
33
Largesiderooffelt
(2.31 x1m)
2
Hipped Summerhouse 270
AssemblyInstructions
x 2
Caution
Drill
This product
contains glass.
Wear protective
Gloves
work gloves while
handling these
components.
Recommended tools
for assembly
•
Cross headscrew driver
•
Hammer
•
Sharpknife
•
Drill
•
3mm diameter drill bit
•
8mm diameter drill bit
•
12mm diameter drillbit
•
Spirit level
•
Siliconsealant
•
Stepladder
35 33
37
17
15
30
16 29 31
28
41 32
42
40 21
English SS132H
34 36
14
13
20
12
27 19
24
10
34
35
36
37
No.
38
39
40
41
42
43
44
45
46
47
48
49
50
51
52
53
54
Smallside roof felt
(0.9x0.46m)
Large front/back roof felt
(2.9 x 1m)
Small front/back roof felt
(1.4 x 0.46m)
Acorn finials
Fixing Kit
Tower bolts
Tower bolt mounting block
Doorhandles
Metalhandlebar
Door lock kit
63mmscrews
50mmscrews
38mmscrews
32mmscrews
25mmscrews
30mm black countersunk screws
25mmbrassscrews
19mmroundhead screws
Washers
38mmnails
25mmnails
10mmfeltnails
2
2
2
2 8
Qty.
6
3 9
2
1
1
34
94
12
12
78
8
4
36
4
62
288
7
200
6
22 23
11
4
5 3
26
25 2
1
38 39 18
Our Help Line provides support and advice to
customers of Summer Garden Buildings after
ordering. For advice before you buy phone us
free 7 days a week on 0800 9777828 or visit
www.summergardenbuildings.co.uk
1. Floor section Summer Garden Buildings – Hipped Summerhouse 270
Preparealevel areaforthe Summerhousetosit.Laythe floorpanelsupsidedown andsecurethemtogetherusing5x50mm screwsperjoinas shown.
Important note
To "VALIDATE" the guarantee, adequate provision must be made to ensure ground contact is avoided and air is able to circulate underneath the building.
Placing the building on a concrete pad or slab base is acceptable provided that the building is not allowed to sit in pooled water during wet conditions. If the
building is to sit on soil or grass it MUST be erected on pressure treated wooden 50mm x 50mm or similar bearers (These are not supplied in the kit).
We
recommendusingpressuretreatedbearerswithallbuildingsonanytypeofbase.
50mm 50mm
2.Wall panels
Position a back panel and a side panel on the floor asshown. Note how the panel frames sit on the floor with the panel cladding overhanging the floor edge.Ensure square and
secureusing 3x 50mmscrews, screwthrough the frame ofthesidepanelintotheframeoftheback panel. Positionthesmall backpanel nexttothefirst, ensure level
and secure
them together using 3 x 50mm screws, screw through the frame of the second panel into the frame of the first. Continue adding the rest of the panels as shown in the
diagrams using 3 x50mm screws per join.
It is recommended to drill pilot holes with a
3mm
3mm drill bit for all screws in this section.
Drill
50mm
Back panels
Side panel Back panel
50mm
Panelframes Panelcladding
rest onfloor. overhangsfloor
Frontpanels edge.
For sales advice before you buy phone Summer Garden Buildings free 7 days a week on 0800 9777828
3. Door header panel Summer Garden Buildings – Hipped Summerhouse 270
Interlock the 2 door header panels and secure together using 8 x 63mm screws as shown. Position the header panel on top of the font panels. Drill 2 x 8mm holes in
each front panel top frame then fix the header panel to the front panels using 2 x50mm screws and washers per front panel. do not over tighten these screws at this
stage. Position the 2 shiplap door header boards as shown, ensuring that the tongue of the front panel cladding is fitted into the groove of the door header boards.
Secureeachheaderboard in placeusing4x25mmscrews,whensecuringensurethe2boardsarelevel andmeetinthe middleofthebuilding.
3mm
Drill
Drill 3mm pilot
holes for each of
these screws.
63mm
Drill 3mm pilot
holes
for each of
Important Note: 3mm these screws.
Drill 8mm pilot Drill
holes in the top
frame of the front
8mm
panels only.
Drill
25mm
Washer
Important Note:
Do not over tighten these
screws at thisstage.Oncethe
doors are fitted use to adjust
50mm
the distance between the
front panels to allow the
doors to shut properly then
fullytightenthescrewstolock
the position.
4 uring the walls to the floor
25mm
Ensurethewalls aresitting square onthefloorand frontpanels is1730mm.Sec nelsdownusing2 x63mm screwsper panel,
screwing through the panelframing andfloor
and
floor into the floor joists.
63mm
63mm
1730mm
5. Roof panels
intothe floorjoists.For eachfrontpanel use2x63m
Side panel
63mm
Floorjoists
Back panel
Floor
le intoeach corner,throughthe
panel frames
Frontpanels
63mm 63mm
Panelframe
As shown below construct a side roof section using a right and a left triangular roof panel. screw together using 2 x 50mm screws. Assemble a second side roof section in
the same way. Create the front roof section using a right and left triangular roof panel and a rectangular roof panel as shown below using 4 x 50mm screws. Assemble a
secondsectionin thesamewayfor theback.
Sideroof sections. Front and backroofsections.
Create 2 identical side Create 2 identical sections 1for
sections,1 for theleft the front and1 for theback of
and the otherforthe the summerhouse.
rightsideofthe
summerhouse.
50mm
50mm
For sales advice before you buy phone Summer Garden Buildings free 7 days a week on 0800 9777828
6. Roof Summer Garden Buildings – Hipped Summerhouse 270
Have a person standing in the centre of the assembly to hold the panels while another person lifts them on. Hook the roof framing over the top frames and evenly rest the
panel edges against each other. Ensure the corner frames are square and level and secure using 2 x 50mm screws per corner as shown.
Cross section of wall Viewofrooffrominside thebuilding
Ensure allthepanelsrest
againsteachother evenly
as theyarescrewed
together.
Roofpanelframe
Note how the roof panels fit over
the Wall panel top frame
Wall panel top frame
50mm 50mm
7. Roof centre block
Positiontheroofcentreblock intheholeinthe middle, ensure itisflushwiththe roof
panel framingandsecure
in placeusing 4x50mm screws. Screw through the frames
of therectangular roof panelsinto thecentreblock,as shownbelow.Drill4 holes
in
theroofinside cover piece, centre the coverpieceoverthe centre roof blockand
secure in
place using 4x50mmscrews, screw throughthe
drilledholes of thecoverpieceintothecentre block.
3mm
Drill
50mm 50mm 50mm
8. Secure roof to walls
Secure the roof to the walls using 8 x 50mm screws along each long edge and 6 x 50mm screws along each short edge. Screw through the roof panels into the top frame
ofthewalls.
Cross section ofwall Overheadview
50mm
For sales advice before you buy phone Summer Garden Buildings free 7 days a week on 0800 9777828
9. Doors Summer Garden Buildings – Hipped Summerhouse 270
Open the hinges out flat on the left door. Position the door as shown below with the hinge flat against the frame of the front panel. Align the hinge so that the knucklesits
forward of the panel. Adjust the height of the door to fit centrally in the gap and secure the hinge in place using 24 x 25mm screws. Repeat for the right-hand door. To fit
the door handle. Push the door lock into the rebate on the edge of the right-hand door as shown and secure using 2 x 25mm brass screws. Push the metal handle bar
through the door latch mechanism. Fit a door handle to the metal handle bar on each side of the door and secure them in place using 4 x30mm black countersunk screws
per handle. On the other door fit the lock plate using 2 x 25mm brass screws. With the doors fitted adjustthe distance betweenthe front panelsto allowthe doors toshut
properly then tighten the front panel screws to lock their position. Please refer to section 3.
Side view
Hingeknucklesits
forward of the front
panel
Frontpanelframe
25mm
Hingeknuckle
Door
Front of
assembly
25mm
25mm
Metalhandle bar
Important Note:
Once the doors are fitted adjust the distance between the
front panels to allow the doors to shut properly then fully
tightenthe screwsatthe top of the front panelstolock the
position.Pleaserefertosection3.
30mm
10. Door weatherstrips and beading
To the right-hand door position a weatherstrip over the join between the 2 doors and secure in place to the inner door only using 4 x 38mm screws. Position a second
weatherstrip in the same position on the left-hand doorand secureinthe same way to the innerdooronly. The third weatherstripis positioned on the left hand door sothat
it overlaps the edge of the outer door, secure in place with 4 x 38mm screws. Fit the beading strips to the frame of the front panels as shown belowand secure in place
using 5 x20mm nails per strip.
For eachscrew drill
a 3mm pilot hole in
3mm
the weatherstrip
Drill
only.
Overhead viewof left-handdoor and front panel beadingfitted tothe front
panelframing.
Weather strip overlaps door
edge.
Leftfrontpanel
Left outer door Left inner door
Weather strip overlaps both
doors and secured toinner
dooronly.
Overhead view of right-hand door andfrontpanel
20mm
beading fitted to the front
panelframing.
38mm
Right front panel
Right inner door Right outer door
Weather strip overlaps both
doors and secured toinner
dooronly.
For sales advice before you buy phone Summer Garden Buildings free 7 days a week on 0800 9777828
11.Tower bolts Summer Garden Buildings – Hipped Summerhouse 270
Secure the 3 tower bolt mounting blocks at the top on the inside of the 3 doors as shown,using 4 x32mm screws per block. Attach a tower bolt to each mountingblock using
4 x 19mm round head screws per bolt. Also attach a tower bolt to the bottom of the 3 doors as shown using 4 x19mm round head screws per bolt. With the doors shut,
drop the bolts at the bottom of the doors and mark where they touch the floor. Drill a 12mm hole in the floor for each bolt to fit in.
32mm 19mm
32mm 19mm
19mm
12mm
Drill
19mm
12. Cover strips
Fit a cover strip into each corner, attach using 3 x 38mm nails per strip. The 4 remaining cover strips are to cover the joins between panels, 2 on theback and 1 on each side.
Secure each strip using 3 x38mm nails.
38mm
38mm
38mm
38mm
38mm
For sales advice before you buy phone Summer Garden Buildings free 7 days a week on 0800 9777828
13. Felt battens Summer Garden Buildings – Hipped Summerhouse 270
Around the edge of the roof position the angled edges of the felt batten against the underside of the roof panel, have the front faceof the batten level with the end of the
roof panel as shown. Secure in place using 4 x25mm screws for the Long felt battens and 3 x 25mm screws for the short battens.
Cross section ofwall
25mm
angled edge
Front face of the felt
batten is level with
Frontface
Angledendoffeltbatten
Short felt
batten
14. Side roof panel roofing felt
the edge ofthe roof.
Short felt
batten
Felt batten
Positionalarge sideroofpanel feltcentrallyoverthe rightroofside. Foldtheloweredgedowntocoverthe feltbatten. Securethefelttothe feltbatten using10x10mm
felt nails evenly spaced. Tension the felt over the roof and secure along the upper edge using 3 x 10mm felt nail. Fold the front edge of the felt over the front roof panels
and secure using6 x10mm felt nails. Repeat for the back edge of thefelt. Position a small side feltpieceat thetopof the rightroof panels. Ensure thattheloweredge
overlaps the large felt and the upper edge overhangs the roof centre block. Once in position secure the lower edge with 5x 10mm felt nails, tension thefelt and secure at the
topedgewith 2x10mm felt nails. Fold the frontand back edges over and secure eachedgewith 3x10mm felt nails. Repeat for theotherside panel.
10mm
10mm Felt nails
Felt
nails
15. Front and back roof panel roofing felt
Position alargeFront/b ally over the front roof panel. Fold the lower edge down to cover the felt batten. Secure the felt to the felt batten using
14 x10mm feltnails ev felt over the roof and secure along the upper edge using 5 x 10mm felt nail. Fold the ends of the felt over the side roof
panels and secure usin osition a small Front/back felt piece at the top of the front roof panel. Ensure that the lower edge overlaps the large felt
and theupper edgeov block. Once in position secure the Lower edge with 8 x 10mm felt nails, tension the felt and secure at the top edge with
4 x 10mm felt nails. Fold the ends of the felt over the side roof panels and secure each edge with 4 x 10mm felt nails. Repeat for the back roof panel.
10mm 10mm
Felt Felt
nails nails
For sales advice before you buy phone Summer Garden Buildings free 7 days a week on 0800 9777828
16.Bargeboards andfinials Summer Garden Buildings – Hipped Summerhouse 270
Attach the side bargeboards as shown using 4 x 38mm nails per board long board and 3 x 30mm nails per short board, ensure the top edges and the ends are flush with
the roof line. With the sides in position secure the front and back barge boards using 4 x 38mm nails per board, Ensure their top edges are flush with the roof line and
the ends level with the side bargeboards. The 2 finial centres are about 90mm from the ends of the capping piece. Drill 2 holes for each finial in the capping and secure
the finials using 2 x 63mm screws per finial. Place the capping centrally over the centre of the roof and secure using 4 x 63mm screws. Screw through the capping into the
centreroofblock.
Drill pilot holes for all screws
in thecappingpiece.
3mm
Drill
63mm
38mm
38mm
38mm
38mm
17. Glazing
It is recommendedthat awaterproofsealantis appliedaroundthe
edgeof
38mm
38mm
38mm
the glazing beforefitting.Placewindow panesonthe
Finials centres are90mmin
from each end
38mm
63mm
insideof thewindowframes.Position the
woodenbeadingaround theedge andnailintoposition using 2x25mm
nailsper
beadinglength.
25mm
Window frame
Window pane
Woodenbeading
Important information - retain for future reference
Shiplapbuildingscomereadystainedbutthisisonlyapreparatorytreatment.To VALIDATE the guarantee, the building mustbe properlytreatedwitha recognized
external wood preserver WITHIN 3 MONTHS of assembly and RE-TREATED ANNUALLY thereafter. Adequate provision must be made to ensure ground
contact
isavoidedandairisabletocirculate underneath thebuilding.
Placing the buildingonaconcretepad or slabbaseisacceptableprovidedthat thebuildingisnot allowedtositinpooledwaterduringwetconditions.
If the building is to sit on soil or grass it MUST be erected on pressure treated wooden 50mm x 50mm or similar bearers (These are not supplied in the kit). We
recommend using pressure treated bearers with all buildings on anytype of base.
Timber Information.
As timber is a natural material, there are certain weather conditions that may affect the materials properties. In times of excessive dry spells the material may lose some of
its internal moisture causing a certain degree of shrinkage on a panel and in periods of excessive rain there will be a certain amount of swelling throughout the wooden
panels. This process can not be avoided. If you have problems with certain boards shrinking in dry spells try to decrease the amount of direct sunlight on the building or the
amountofairpassingover the building. Duringhot spells spray waterdirectly ontothe panels a garden hose.
Ifindoubtofanyaspectregardingthe assembly,useorsafetyof yourbuildingpleasecontactourHelpLine
ROWLINSON GARDENPRODUCTS LIMITED
Green Lane
Wardle Nr.Nantwich
Cheshire
CW5 6BN
Weconstantlyimprovethe quality of ourproducts,
occasionally the components may differ from the
components shown and are only correct at time of
printing. We reserve the right to change the
specification of our products without prior notice.
Summer Garden Buildings does not
guarantee that this is the most recent version of these instructions
or that all data has been accurately reproduced. You are advised to refer to the instructions supplied
with the product before assembly. If for any reason the instructions are not delivered with the product
you are advised to obtain the most recent version before assembly. No guarantee is given regarding
the accuracy of these instructions and no liability will be accepted for any errors or inaccuracies.
Other Summer Garden Buildings Garden House manuals

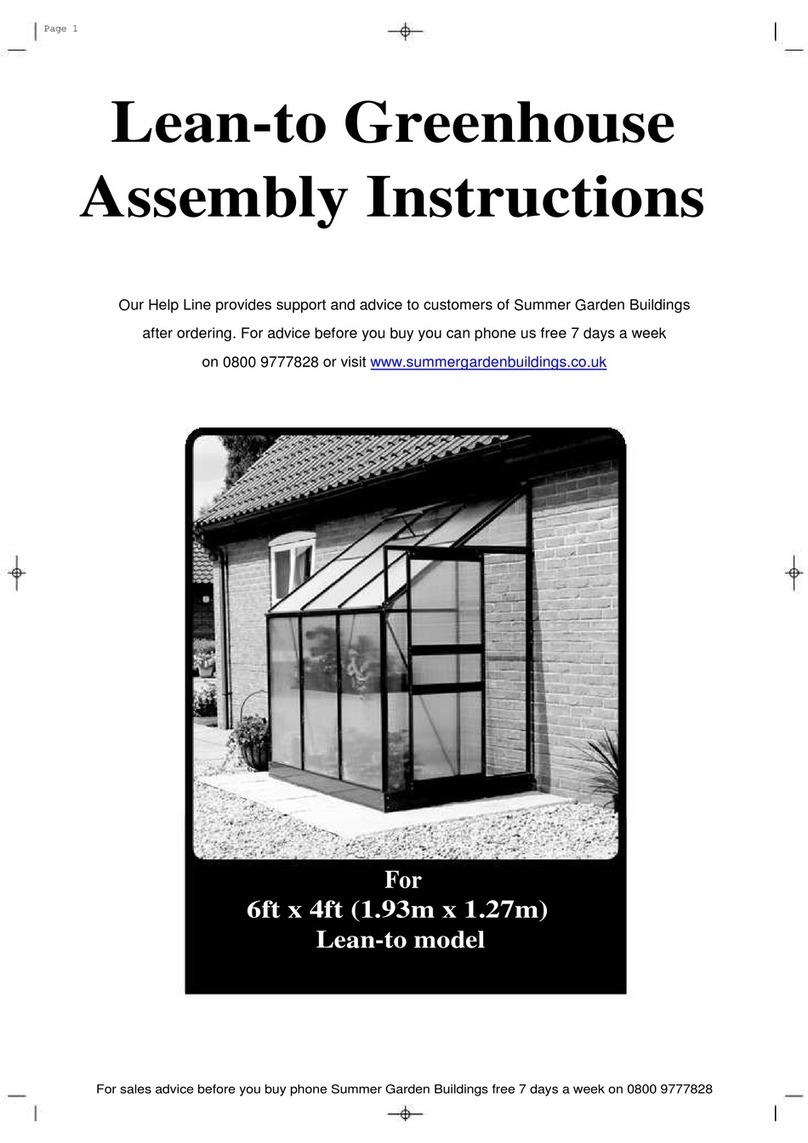
Summer Garden Buildings Lean-to Greenhouse User manual

Summer Garden Buildings

Summer Garden Buildings Lean-to Greenhouse User manual

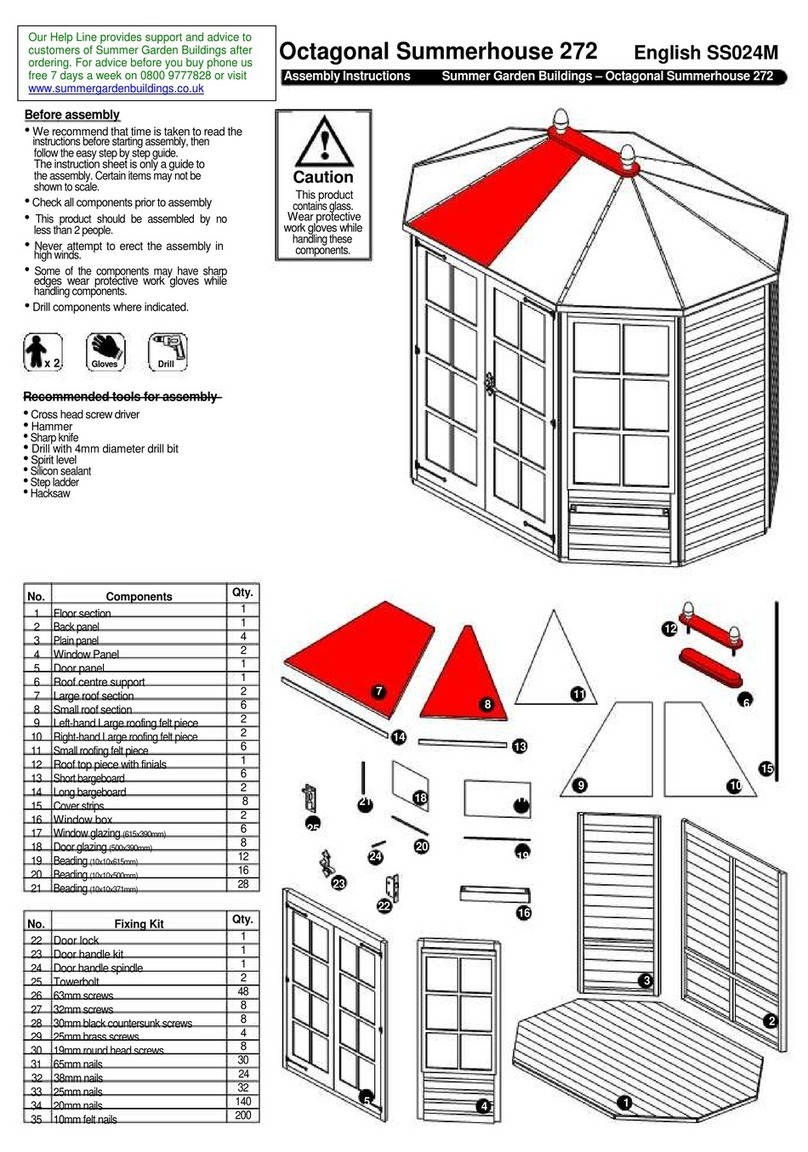
Summer Garden Buildings Octagonal Summerhouse 272 User manual

Summer Garden Buildings

Summer Garden Buildings Octagonal Summerhouse 272 User manual

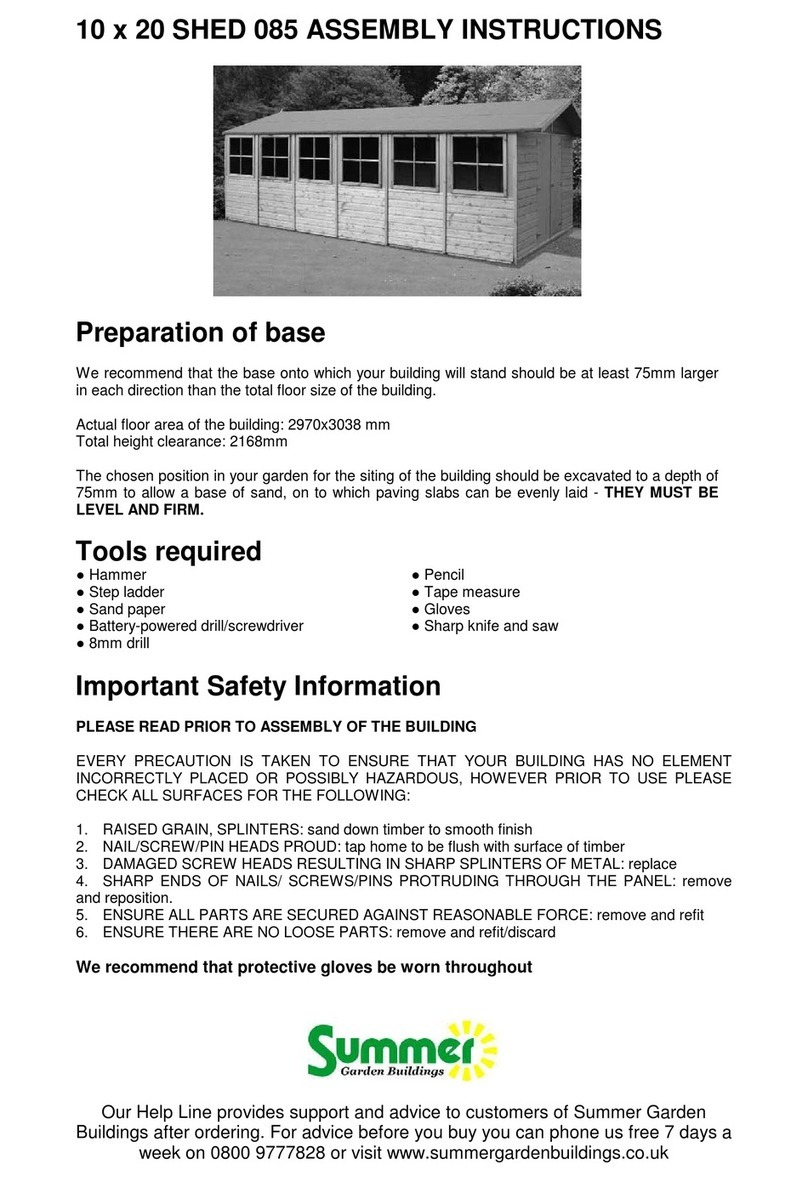
Summer Garden Buildings 085 User manual

Summer Garden Buildings

Summer Garden Buildings 085 User manual

Popular Garden House manuals by other brands

WILLAB GARDEN Green Room 3081 Assembly instructions

WILLAB GARDEN

WILLAB GARDEN Green Room 3081 Assembly instructions

Palmako FRF28-3076FSC installation manual

Palmako

Palmako FRF28-3076FSC installation manual

OLT Studio Garden Shed STU128-FJ-Metal Assembly manual

OLT

OLT Studio Garden Shed STU128-FJ-Metal Assembly manual

Mercia Garden Products 05DTMBAX0103SD-V1 General instructions

Mercia Garden Products

Mercia Garden Products 05DTMBAX0103SD-V1 General instructions

Luoman Lillevilla 286-1 Assembly and maintenance instructions

Luoman

Luoman Lillevilla 286-1 Assembly and maintenance instructions

Palmako FR40-4545 installation manual

Palmako

Palmako FR40-4545 installation manual

X-METAL PLUS 13m2 Assembly instructions

X-METAL

X-METAL PLUS 13m2 Assembly instructions

Panda XPANDAOFFICE Assembly instructions

Panda

Panda XPANDAOFFICE Assembly instructions

Décor et Jardin 67457S900 Assembly Notice

Décor et Jardin

Décor et Jardin 67457S900 Assembly Notice

Outdoor living today CB128-METAL Assembly manual

Outdoor living today

Outdoor living today CB128-METAL Assembly manual

Keter Evotech Newton 11x7.5 user manual

Keter

Keter Evotech Newton 11x7.5 user manual

Mercia Garden Products 10DTSHAX0806-V1 manual

Mercia Garden Products

Mercia Garden Products 10DTSHAX0806-V1 manual

FIberWood SCANDINAVE FW-E2843LW-003 installation instructions

FIberWood

FIberWood SCANDINAVE FW-E2843LW-003 installation instructions

Dunster House ATLAS P5-3050PRG installation manual

Dunster House

Dunster House ATLAS P5-3050PRG installation manual

USP DURAMAX 6 Ft Titan Extension owner's manual

USP

USP DURAMAX 6 Ft Titan Extension owner's manual

Backyard Products HEARTLAND MIDTOWN 8x10 Assembly manual

Backyard Products

Backyard Products HEARTLAND MIDTOWN 8x10 Assembly manual

Polhus F5823/34-Ida Instructions for assembly, maintenance and safe use

Polhus

Polhus F5823/34-Ida Instructions for assembly, maintenance and safe use

Mercia Garden Products 03DTSHCR0909GD4TW-V2 manual

Mercia Garden Products

Mercia Garden Products 03DTSHCR0909GD4TW-V2 manual

manuals.online logo
manuals.online logoBrands
  • About & Mission
  • Contact us
  • Privacy Policy
  • Terms and Conditions

Copyright 2025 Manuals.Online. All Rights Reserved.