............................................................................
............................................................................
............................................................
erator...................................................................
rigerator.......................................................................
Proper Air Circulation ...........................................................................
Requirements...........................................................................
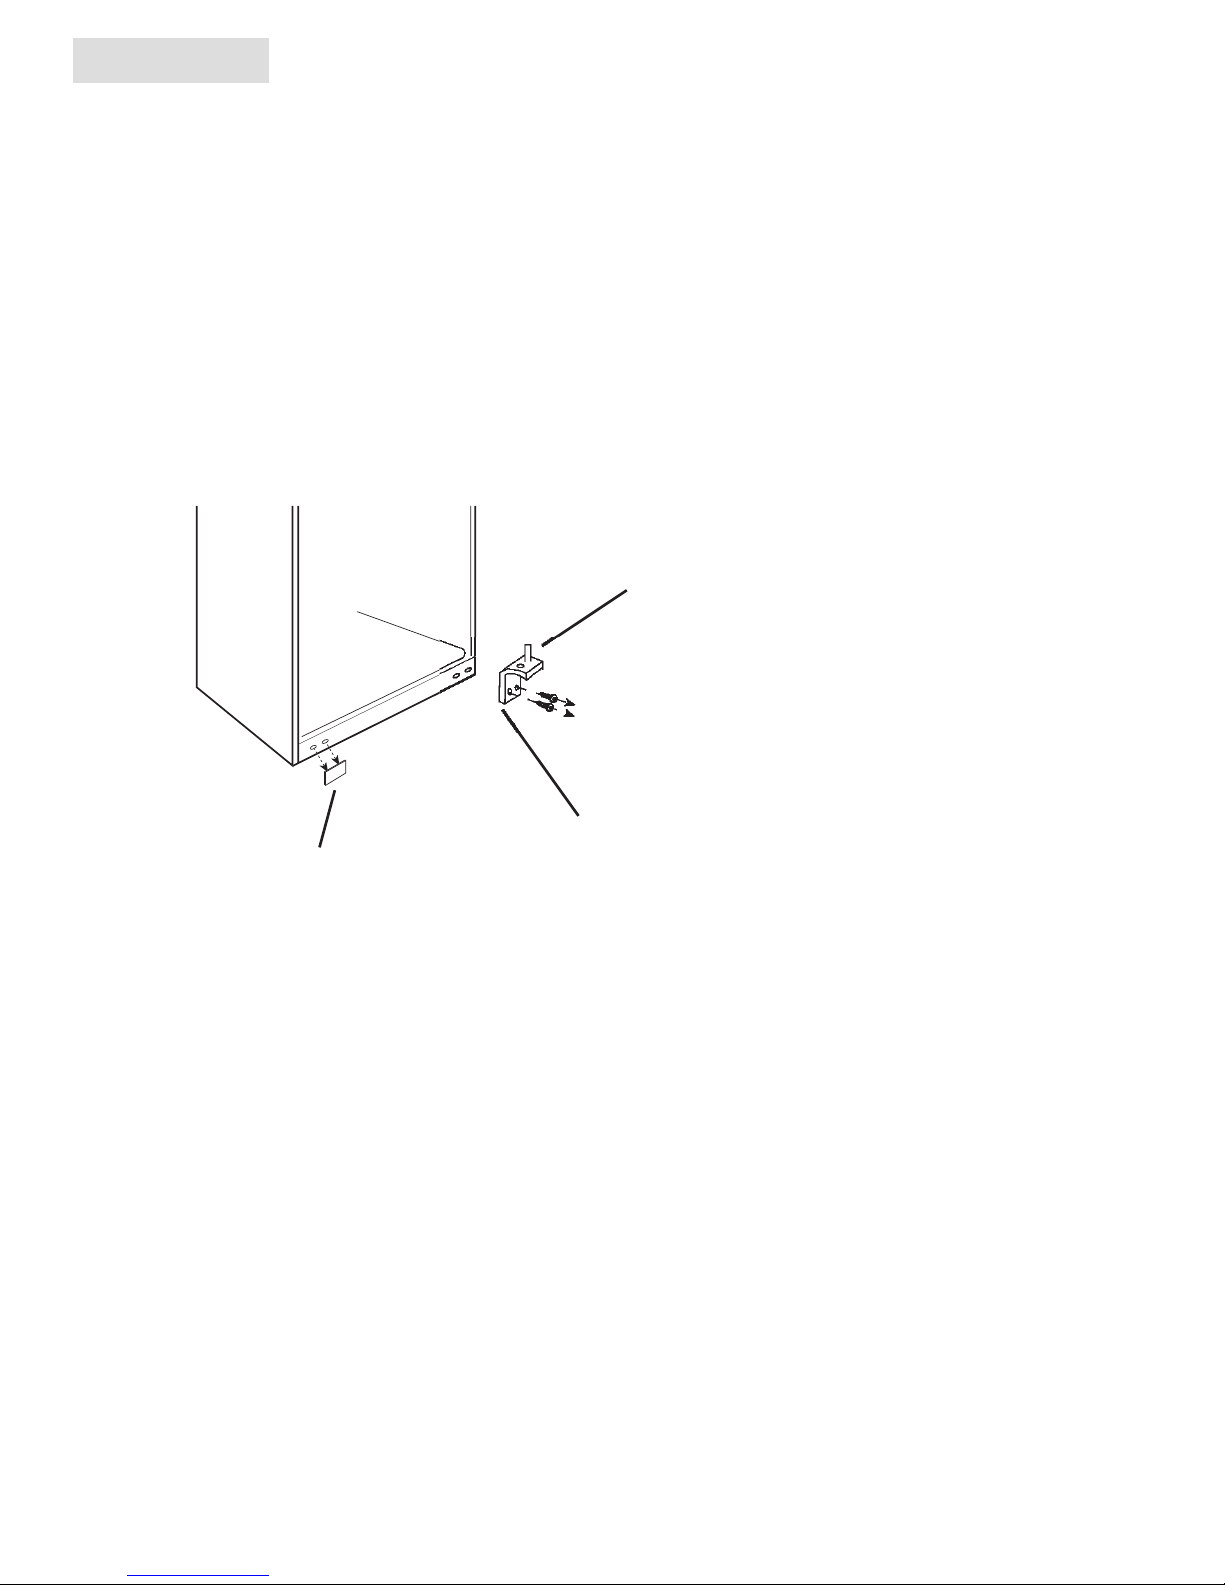
ignment .....................................................................................
.......................................................................................
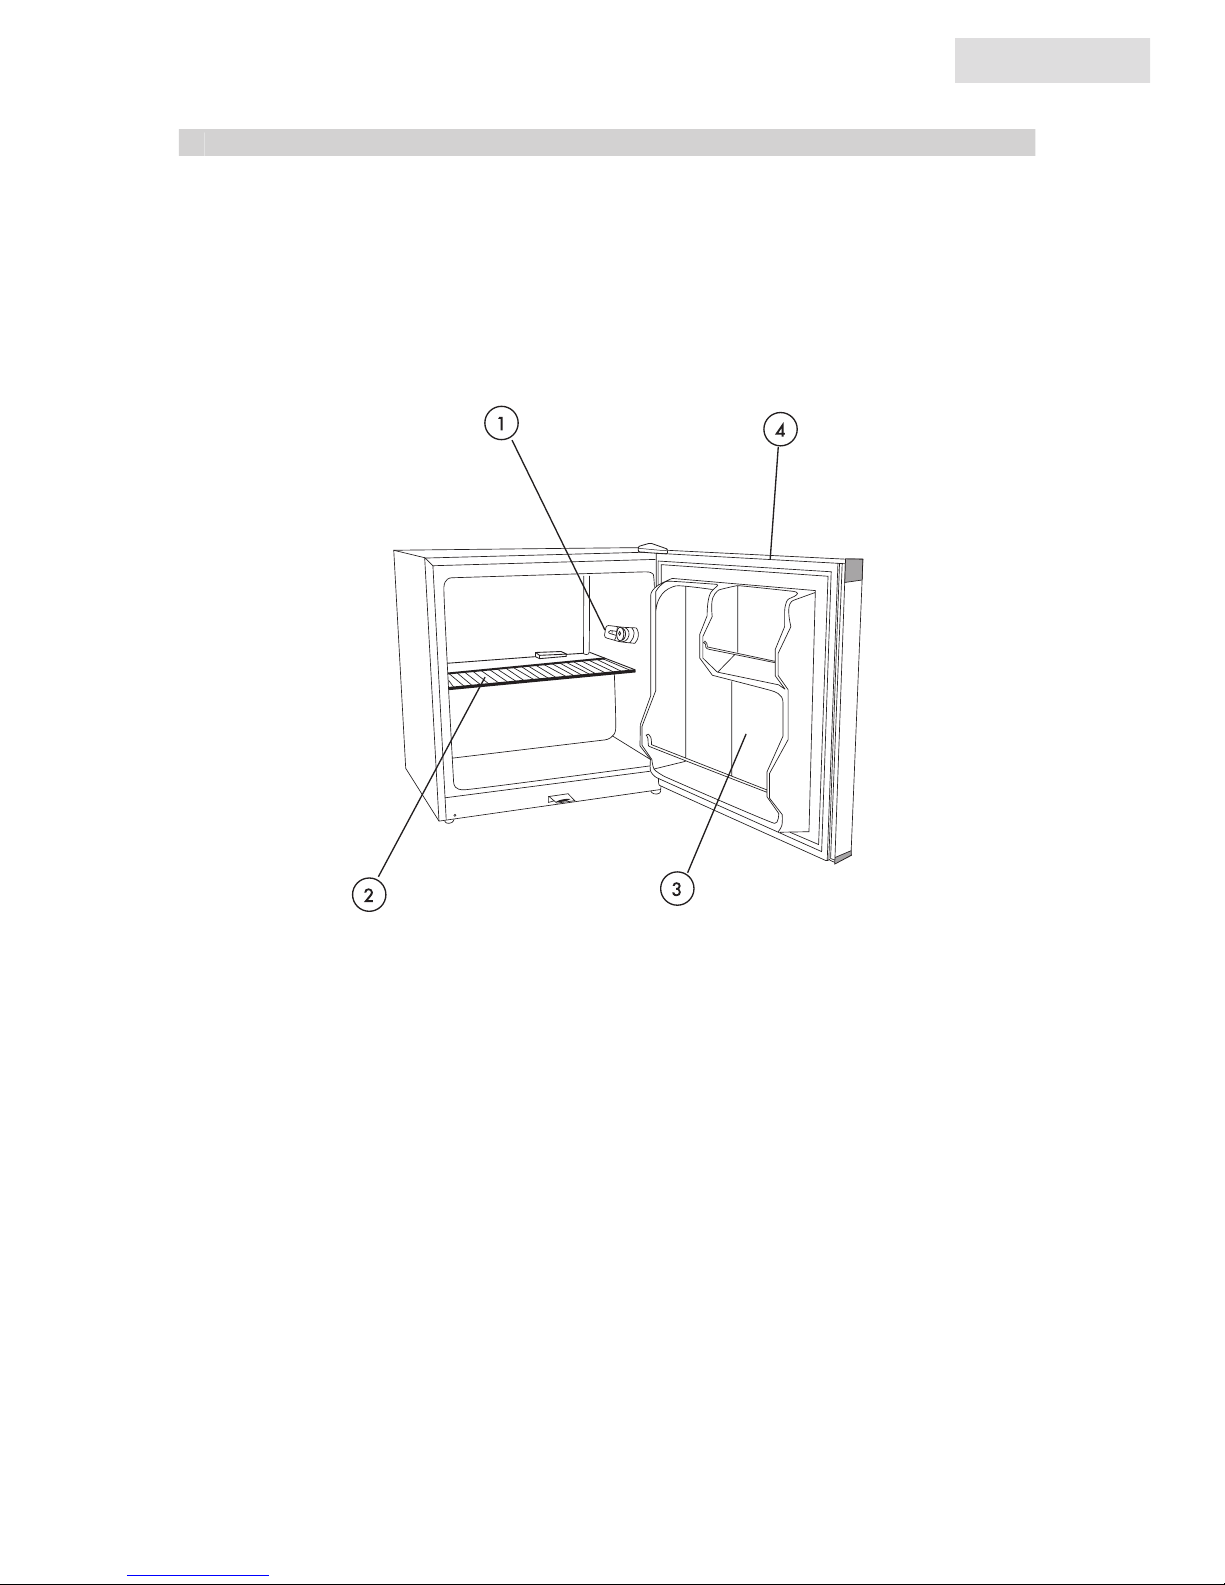
rigerator Features And Us
............................................................
Features .................................................................................
rigerator Interior Shelves .................................................................
-Can™ ...............................................................................
rosting ...........................................................................................
ormation.....................................................................
s...................................................................
......................................
Maintenance .................................................................
nterruptions .............................................................................
acation and Moving Care ..................................................................
..............................................................................
....................................................................