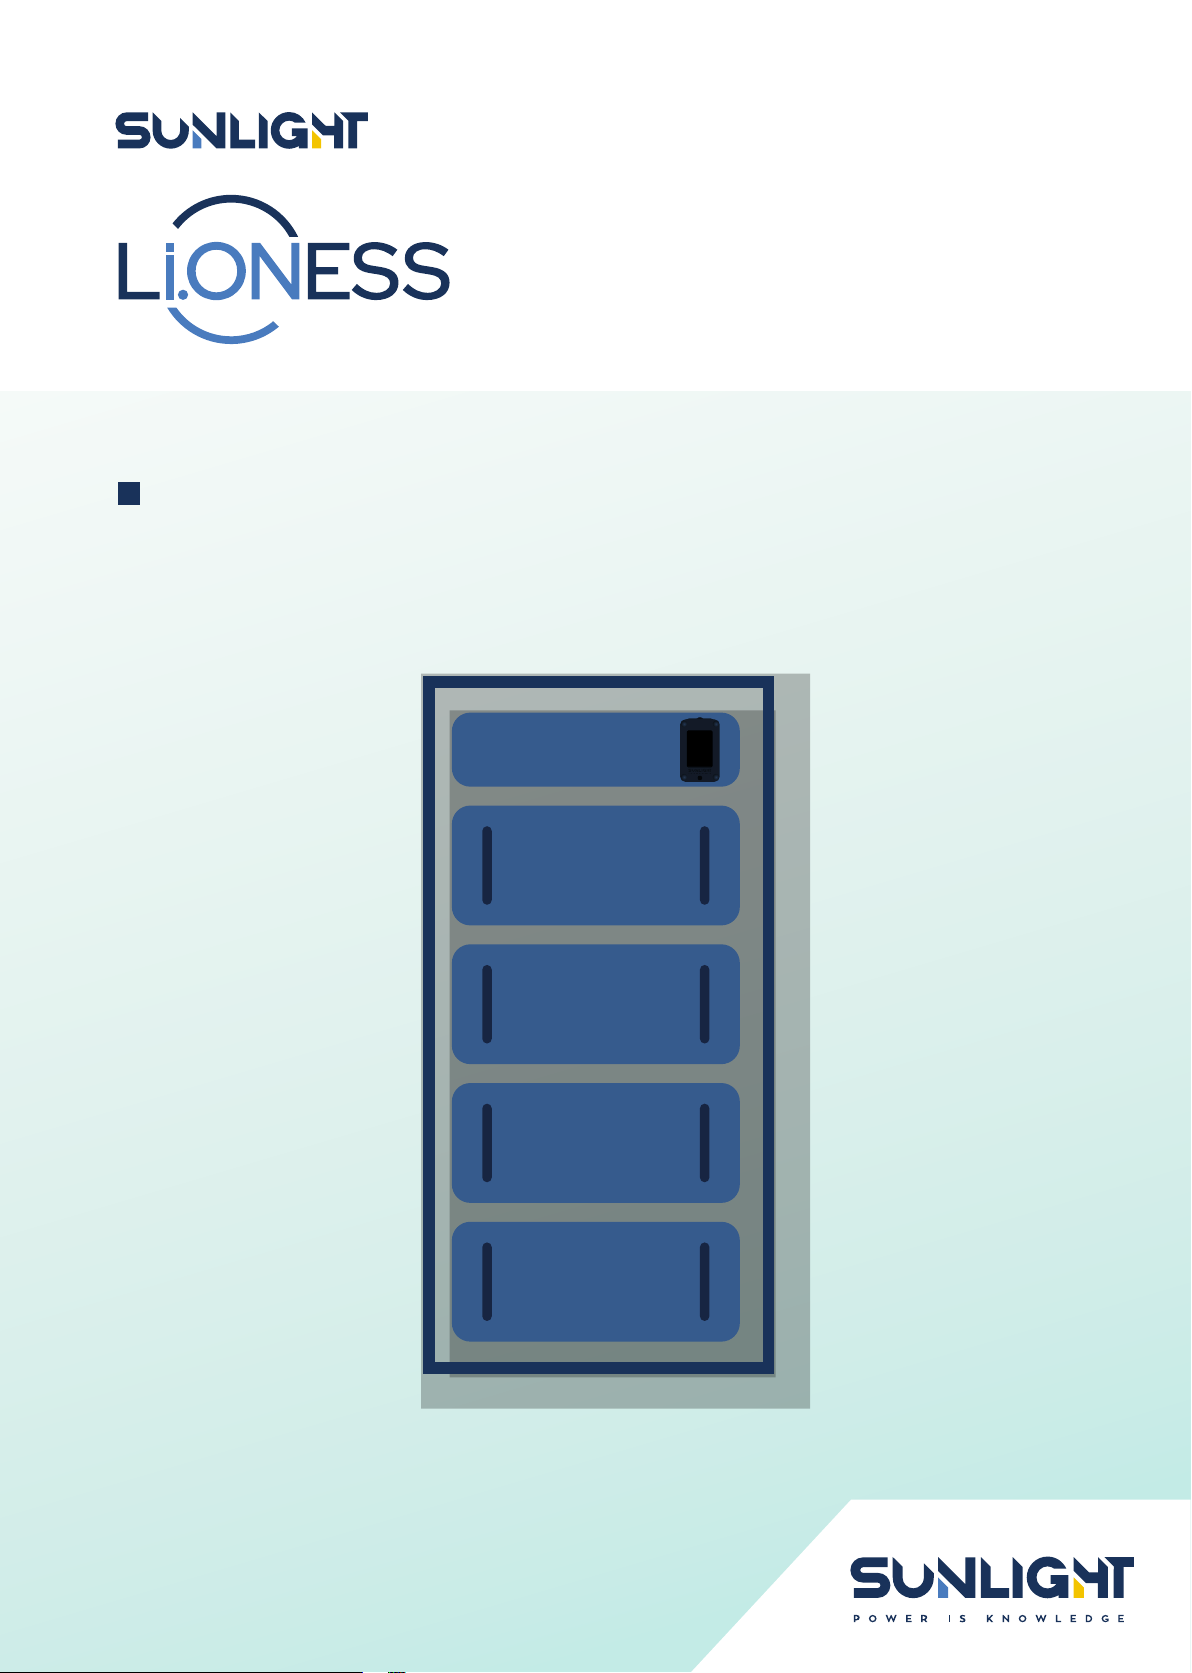
Operation, Safety and Installation Manual | Li.ONESS Batteries
7
If damage is noted:
1. Make a descriptive notation on the delivery
receipt before signing
2. Request an inspection by the carrier
3. File a damage report
Concealed Damage
Within 15 days of receipt (or as soon as practical),
unpack and check for concealed damage. Take
precautions against a shock hazard.
Inspection by a representative of the carrier and le
a claim for concealed damage.
Check the received materials against the detailed
packing list to verify receipt of all materials in the
quantities specied.
DELAY IN NOTIFYING THE CARRIER MAY RESULT IN
LOSS OF YOUR RIGHT TO REIMBURSEMENT FOR
DAMAGES
Refer to the Bill of Lading, if, when performing
the parts inventory, you are unsure about the
appearance of a part.
If you have questions concerning potential
damages, contact your local Sunlight sales/service
representative, or, call the corporate oce number.
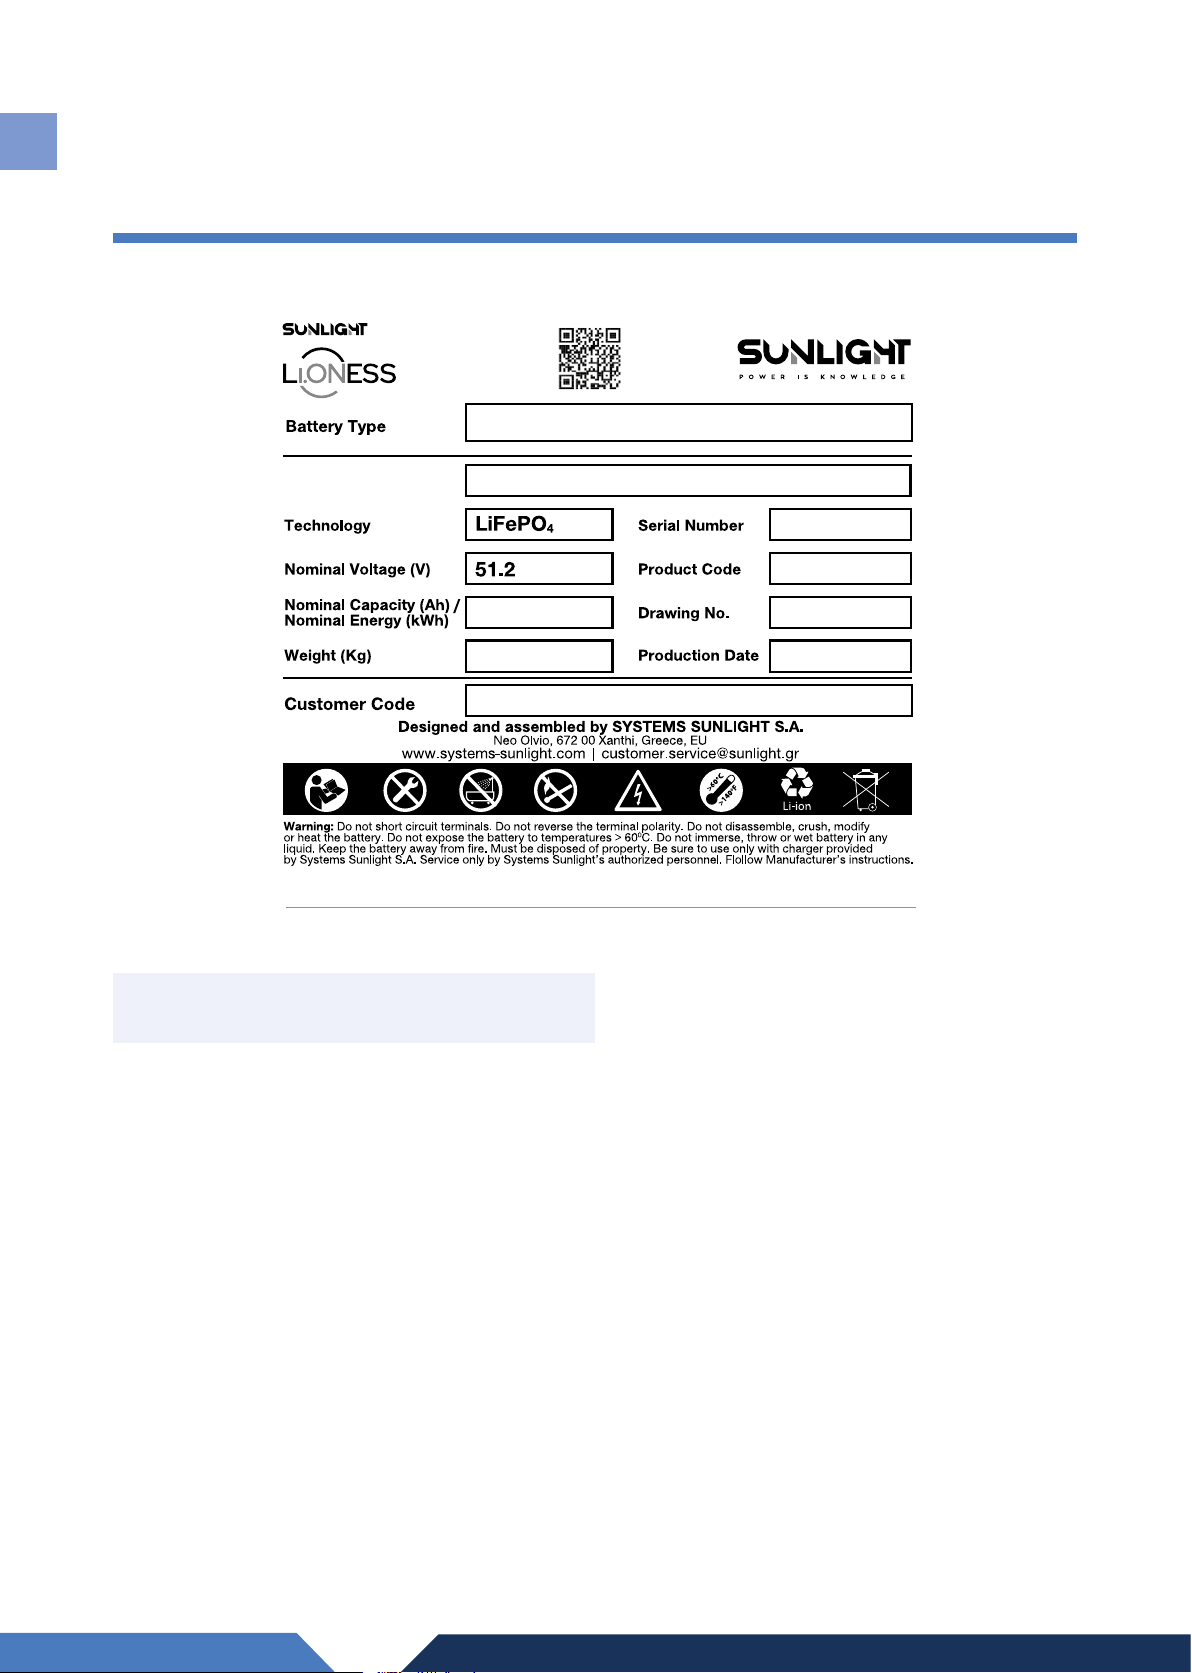
2.3 Li.ONESS Battery’s Safety System
dimensioning
The Battery pack (Cells), Conductors, Fuses, Shunt
resistor, BMS are within battery’s safety limits.
The following is identied as outside of the battery’s
safety boundary and is not Systems Sunlight
responsibility to perform a safety assessment:
• Inverter / Charger
•Human error
•External sources of short circuit
Wireless connection to GLOCAL is not part of the
safety boundary.
2.4 Safety Instructions
1. Before using the Sunlight Li.ONESS system, read
all instructions and cautionary markings on the
Batteries, and all appropriate sections of this
manual.
2. Li.ONESS systems must be fully charged before
commissioning. Failure to do so will void the
Warranty.
3. Use of accessories not recommended or sold
by Systems Sunlight may result in a risk of re,
electric shock, or injury to persons and will void
the Warranty.
4. The battery must be installed and operated as
detailed in the Installation Manual and any other
product documentation.
5. Do not operate battery with damaged cables or
plugs – Inform Systems Sunlight immediately.
6. Do not operate battery if it has received a sharp
blow, been dropped, or otherwise damaged
during shipping or otherwise. Inform Systems
Sunlight immediately.
7. Do not disassemble battery in case of
inappropriate operation. Incorrect reassembly
may result in a risk of re, electric shock or injury
to persons. Inform Systems Sunlight immediately.
8. Use only the recommended inverter/chargers.
9. Do not expose inverter/charger to rain or snow.
10. Check polarity of the connections of the
inverter/charger and the battery.
11. Service only by Systems Sunlight’s authorized
personnel.
12. Do not disassemble, crush, modify or heat the
battery.
13. Keep the battery away from re.
14. Do not expose the battery to temperatures
>60oC.
15. Do not short circuit terminals.
16. Do not immerse, throw or wet battery in any
liquid.
17. During usage and storage, if any peculiar smell,
heat or any other abnormal phenomenon occur
to the battery, please shut down the battery
immediately.
18. If, during operation, the battery emits an
unusual smell, develop heat, or behave
abnormally, the battery should be isolated from
air by any measures (except using water), such
as using carbon dioxide re extinguisher and dry
powder re extinguisher. The battery should be
treated after smoke dispersing. Contact Systems
Sunlight if any of these problems are observed.
19. The customer has the option to return the
battery for disposal upon agreement with
Systems Sunlight.
EN