SUPER-CAN INDUSTRY GROWING GROUP LD102-1803F UV User manual

UV Bar 48W
LD102-1803F UV / LD102-1803 Spot UV
USER’s MANUAL
2018.03.30
This product manual contains important information about the safe installation
and use of this product. Please read and follow these instructions carefully and
keep this manual in a safe place for future reference.

LD102-1803F UV & LD102-1803 Spot UV - User Manual / Benutzerhandbuch / 用户手册
Page 1 / Seite 1 / 页码 1
Legal notice:
Thank you for purchasing this product.
Due to continual product developments and technical improvements the manufacturer reserves the right
to make modifications to its products.
This manual and its content have been made with due care but the manufacturer cannot however, take
any responsibility for any errors, omissions or any resulting damages forthwith.
The brands and product names mentioned in this manual are trademarks or registered trade
marks of their respective owners.

LD102-1803F UV & LD102-1803 Spot UV - User Manual / Benutzerhandbuch / 用户手册
Page 2 / Seite 2 / 页码 2
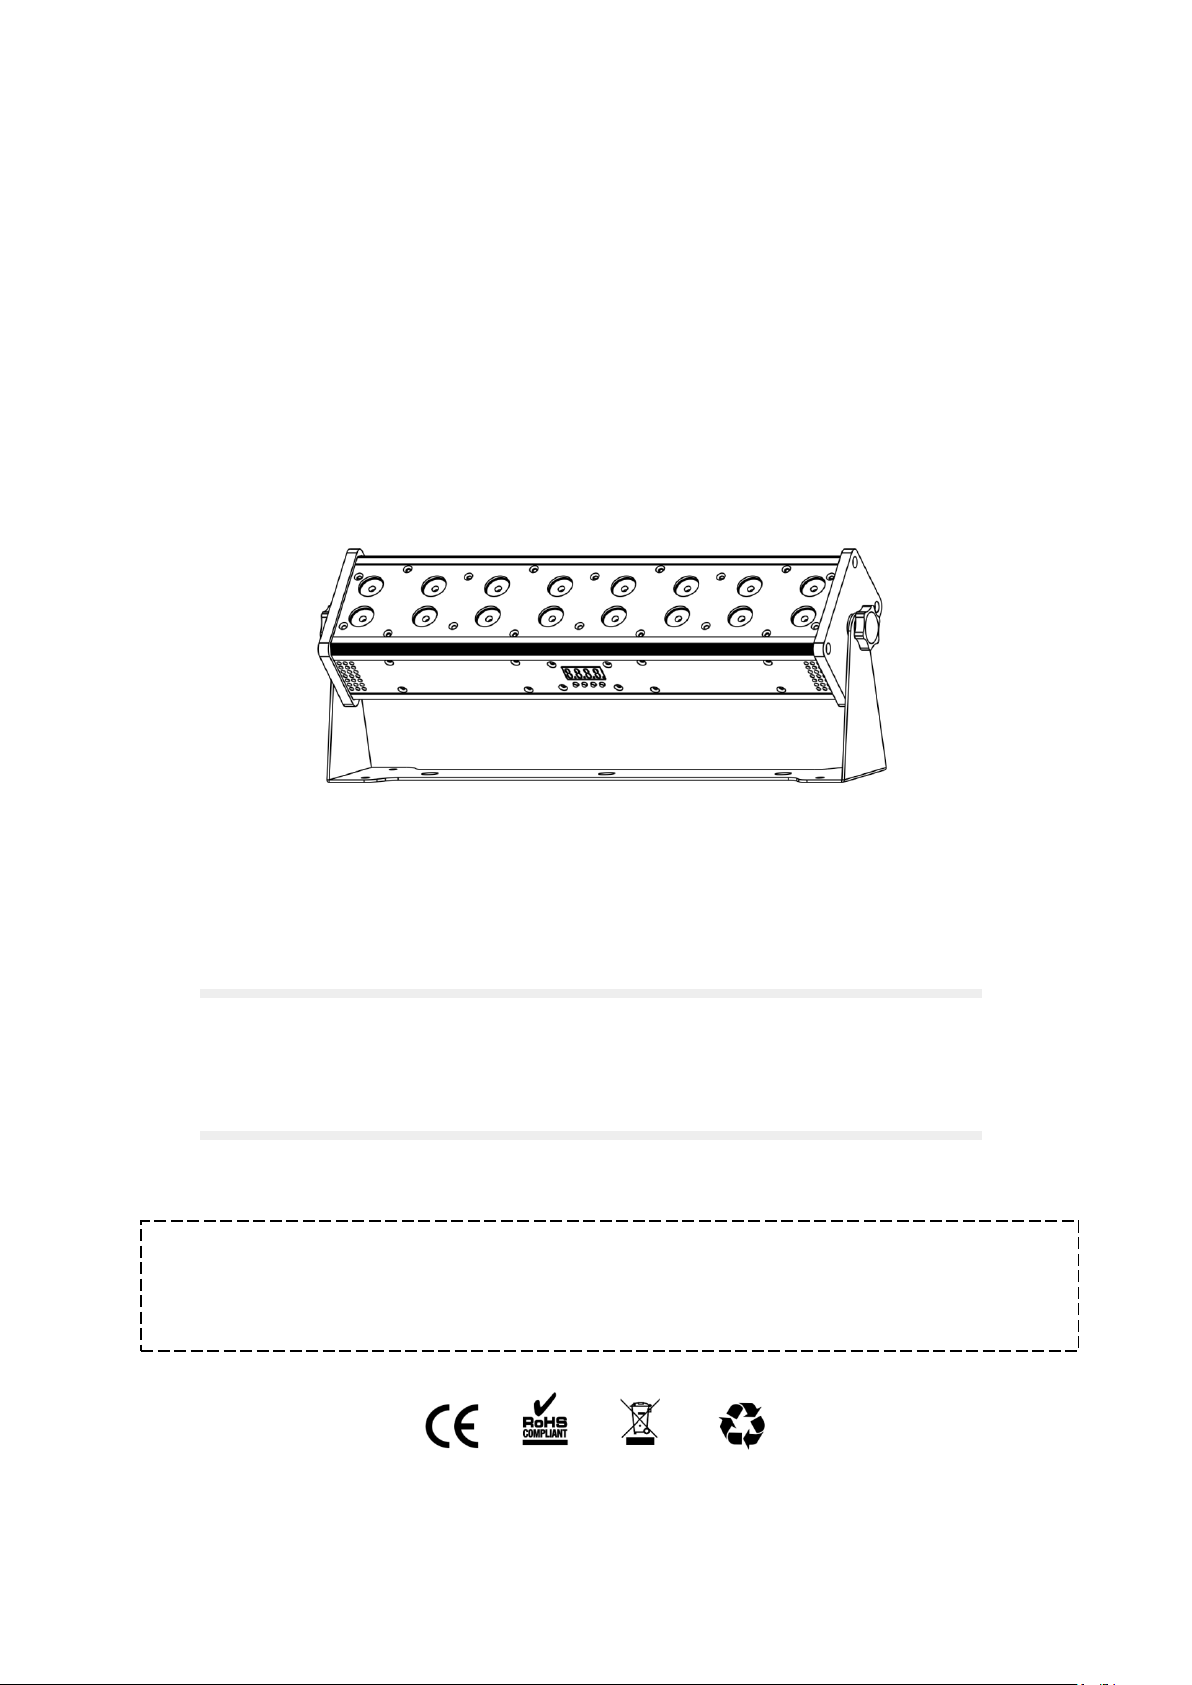
1Understanding of Product
1.1 Security Warning
When unpacking and before disposing of the carton, check if there is any transportation damage
before using the product. Should there be any damage caused by transportation, consult your
dealer and do not use the apparatus.
This product is suitable for indoor and outdoor, its protection grade is IP20.
Do not install the product or project the beam onto inflammable surfaces. Minimum distance is 5 M
.
The product is only intended for installation, operation and maintenance by qualified personnel. And
read the user manual and labels on the lighting carefully before use.
Product should install in a cool place. Keep away from the wall 50cm.
Do not look directly at the lamp light (especially for epilepsy), so as not to cause damage to the
eyes.
Keep the optical system clean. Do not touch the LED lens with bare hands. Do not use any alcohol
liquid or any other liquid to clean the optical system. Use medicinal absorbent cotton to clean it.
Please do not attempt to dismantle and/or modify the product inner structure. Otherwise, would not
provide 1 year of free warranty.
Electrical connection must only be carried out by qualified personnel.
Before installation, ensure that the voltage and frequency of power supply match the power
requirement of the product.
It is essential that each product is correctly earthed and that electrical installation conforms to all
relevant standards.
Do not connect this device to any other types of dimmer apparatus.
Make sure that the power-cord is never crimped or damaged by sharp edges. Never let the
power-cord come into contact with other cables. Only handle the power-cord by the plug. Never pull
out the plug by tugging the power-cord.
There is no user serviceable parts inside the product, do not open the housing and never operate
the product with the cover removed.
Place the unit where kids can't reach.
If you have any questions, don't hesitate to consult our dealer or manufacturer.
Important: Before any installation, maintenance and cleaning, please
ensure that the power cut off!

LD102-1803F UV & LD102-1803 Spot UV - User Manual / Benutzerhandbuch / 用户手册
Page 3 / Seite 3 / 页码 3
1.2 Main Technical Parameters
Power supply
Rated Voltage: AC90~240V
Rated Frequency: 50~60Hz ±10%
Rated Power: 60W
LED
LED Type: 18pcsx3W 395nm UV LED
Drive Current: <700mA
Wavelength: 395nm
Lifespan: About 50000 hours
Control
Control Protocol: International standard DMX-512 signal
Channel mode: 2 kinds of control channels mode. 1 Ch and 3 Chs.
Control Mode: DMX-512 / Static.
Optical System
Dimming mode: Dimmer 0 means normal dimming mode. Dimmer 1~9 stands for fading dimming
mode.
Dimmer: 0~100% dimming.
Strobe speed: 0-20Hz
Beam angle: LD102-1803 Spot UV = 40°, LD102-1803F UV = 60°x90°
Physical
Dimensions: 438 x 98 x 144mm
Weight: 2.42kg
Surface Treatment: Aluminum, powder coating
Housing color: Black
Connection: DMX-512 signal IN/OUT, Power IN/OUT.
Protection
Cooling System: Fans
Temperature Protection: 65 °C
Operating Environment: Indoor
Working Temperature: 0°C ~ 40°C

LD102-1803F UV & LD102-1803 Spot UV - User Manual / Benutzerhandbuch / 用户手册
Page 4 / Seite 4 / 页码 4
1.3 Product Features
Using the latest LED control technique, the newest intelligent LED Par light can realize intelligent
operation and control through its special menu at the side of the body. It’s more convenient and easy to
operate. This product is designed for building large area spread light, large concerts, outdoor landscape
lighting, wedding scene, small performances, slow club KTV and various performance occasion. Its main
features include:
1) Static color Settings (STATIC).
2) The static power consumption of the control panel is 0.3W, and its efficiency will reach up to 97%
3) Linear dimming and nonlinear dimming (DIMMER).
4) Overheating protection function.
5) LED screen.
6) 2 kinds DMX working mode.
7) Master-slave control, multi-units for synchronous control.
1.4 Product Packing Information
Following accessories are packed together with the product, please check them carefully upon
unpacking.
Item
No
Unit
Remark
LD102-1803F UV Bar
1
pc
Hanger
2
pcs
Installed
Hanger Screw
2
pcs
Installed
Instruction Manual
1
pc
Installed
Power cord
1
pc

LD102-1803F UV & LD102-1803 Spot UV - User Manual / Benutzerhandbuch / 用户手册
Page 5 / Seite 5 / 页码 5
2Product Installation
2.1 Power Connection Method
Please connect power as following :
L(live wire)= brown wire
E(earth wire)= yellow/green double color wire
N(null line)= blue wire
When connecting power, ensure that the voltage and frequency of power supply match the power
requirement of the product.
This equipment belong to cass 1 protection equipments, therefore, the yellow-green double colors wire
must be earthed correctly by qualified personnel. Before installation, ensure that the voltage and
frequency of power supply match the power requirements of product. In power supply and voltage
fluctuation large areas, we suggest you to use 110V or 230V or use voltage regulator to supply power.
After electrical connection, this product will have a few seconds self-check action, self-check finished can
be used.
Input / output power cable should be 1.0 square millimeter copper core.
220V: 8 units may be connected in series.
110V: 4 units may be connected in series.
Important: It is essential that Yellow/green double color wire is correctly earthed
and that electrical installation conforms to all relevant standards.

LD102-1803F UV & LD102-1803 Spot UV - User Manual / Benutzerhandbuch / 用户手册
Page 6 / Seite 6 / 页码 6
2.2 DMX Connection Method
2.2--1 When only set the DMX512 address code, no the ID code (STAG MODE), as below:
Connect the DMX controller and LD102.
Since P1 MODE is 1channel,so each light’s
DMX address code increasing 1 progressively
(e.g.1,2,3,4…).
Each DMX address code can be reused as
needed.
DMX address code can be any data between
001 to 512.
Note:
1. As this fixture's DMX signal cable connection is Parallel connection,
please don’t more than 15 units.
2. If the signal cable is over 60m between the DMX512 controller and
fixture or between two fixtures, then a DMX signal amplifier is needed.

LD102-1803F UV & LD102-1803 Spot UV - User Manual / Benutzerhandbuch / 用户手册
Page 7 / Seite 7 / 页码 7
3Operation Method
3.1 Back panel functions introduction
POWER IN/POWER
DMX IN/DMX OUT
MENU:Enter the menu selection interface or previous menu.
ENTER:Confirmation button, used to confirm the selected function.
UP/DOWN:Upward/downward select function or Parameter increment / decrement.
3.2 Menu Overview
3.3 Static Color Setting (STATIC)
Find【STATIC】menu and press【ENTER】to enter color static setting.
Press【UP/DOWN】button to adjust brightness.
After setting lighting fixture's static color, Exit menu without pressing the【MENU】button, the setting
was preserved. If you press the 【MENU】button exit, static color setting will be deleted.
Note: When entered this submenu lighting fixture won’t be able to receive
signal. Therefore, after function or data was setting, must return to upper
menu. Then the lighting will be able to receive signal again.

LD102-1803F UV & LD102-1803 Spot UV - User Manual / Benutzerhandbuch / 用户手册
Page 8 / Seite 8 / 页码 8
3.4 DMX Address and ID Address Settings (ADDR/ID)
Find【ADDR】menu and press【ENTER】to enter address code setting.
Press【UP/DOWN】button to select DMX address code.
Press【ENTER】to confirm or【MENU】to exit, the selected address code will be automatically saved
Note: When entered this submenu lighting fixture won’t be able to receive
signal. Therefore, after function or data was setting, must return to upper
menu. Then the lighting will be able to receive signal again.
3.5 DMX Channel Mode Design (PERS)
Find【PERS】menu and press【ENTER】to enter DMX channel mode setting.
Press【UP/DOWN】button to select【P1 or P2】2kinds DMX channel modes.
Press【ENTER】to confirm or【MENU】to exit. The setting will be automatically saved.
3.6 Linear Dimming Speed Setting(DH)
Find 【ADDR】menu and press【ENTER】to enter address dimming speed setting.
Press【UP/DOWN】button to select【d0~d9】10 kinds dimming speed.
Press【ENTER】to confirm or【MENU】to exit, the selected address code will be automatically saved
3.7 Temperature control protection State
When the temperature of the LED bead plate more than 65°C , the light fixture begin slowly to reduce the
working current, to protect the LED lamp bead is not damaged by high temperature heat aging.
When the temperature of the LED bead plate lower than 65°C , the light fixture begin slowly to rise working
current, until restore to the normal working current.

LD102-1803F UV & LD102-1803 Spot UV - User Manual / Benutzerhandbuch / 用户手册
Page 9 / Seite 9 / 页码 9
4Control Channel
4.1 1 Channel Mode
CH
DMX data
Function
Description
1
0 255
UV
Dimming 0~100%
4.2 3CHs Mode
CH
DMX data
Function
Description
1
0 ~255
UV
Dimming 0~100%
2
0 ~ 9
Strobe
NO FUNCTION
10 ~ 49
Sync strobe slow
50 ~ 99
Sync strobe fast
100 ~ 149
Random strobe slow
150 ~ 199
Random strobe fast
200 ~ 255
Random strobe fast
3
0 ~ 24
Linear dimmer speed(DIMMER=0)
Dimming speed adjustment
25 ~ 49
Non-linear dimmer speed1(DIMMER=1)
Dimming speed adjustment
50 ~ 74
Non-linear dimmer speed2(DIMMER=2)
Dimming speed adjustment
75 ~ 99
Non-linear dimmer speed3(DIMMER=3)
Dimming speed adjustment
100 ~ 124
Non-linear dimmer speed4(DIMMER=4)
Dimming speed adjustment
125 ~ 149
Non-linear dimmer speed5(DIMMER=5)
Dimming speed adjustment
150 ~ 174
Non-linear dimmer speed6(DIMMER=6)
Dimming speed adjustment
175 ~ 199
Non-linear dimmer speed7(DIMMER=7)
Dimming speed adjustment
200 ~ 224
Non-linear dimmer speed8(DIMMER=8)
Dimming speed adjustment
225 ~ 255
Non-linear dimmer speed9(DIMMER=9)
Dimming speed adjustment

LD102-1803F UV & LD102-1803 Spot UV - User Manual / Benutzerhandbuch / 用户手册
Page 10 / Seite 10 / 页码 10
5Maintenance
5.1 Product Maintenance
To prolong the life of the product, it is very important to do maintenance work. The environment is hash
outdoors, or if the product is idle for a long time, damp, smoke or particularly dirty surroundings can
cause greater accumulation of dirt on its LED lens cover, fan vents and housing. So it should be cleaned
to maintain an optimum light output and at the same time to prevent it from corrupted by acid gas.
Cleaning frequency depends on the environment in which the fixture operates. Soft cloth and typical
glass cleaning products should be used for cleaning. It is recommended to clean product at least one
every 20 days.
Friendly notice: Please do not use any organic solvent, e.g. alcohol to
clean housing of the apparatus, lest cause damage.
5.2 Troubleshooting
Remark: This product warranty for one year. We provide pay-needed maintenance service after the
warranty. But because of natural and man-made disasters or improper operation caused damage not
under warranty range!
Problems
Action
The product doesn't
switch on
Power connection is not correct--Re-connect it.
Power supply is damaged or abnormal. Call a qualified personnel to fix it.
Control section is damaged. Call a qualified personnel to fix it.
Connection of internal circuitry is not correct. Call a qualified personnel to fix it.
The product can turn on,
but LEDs do not emit light
and are out of control
DMX address is wrongly setting up. Resetting it according to instruction book.
DMX Signal wrongly connected. Connect it correctly according to instruction book.
Control section is damaged. Call a qualified personnel to fix it.
The beam appears dim
The product is too hot. Take ventilation measures to make it cool.

LD102-1803F UV & LD102-1803 Spot UV - User Manual / Benutzerhandbuch / 用户手册
Page 11 / Seite 11 / 页码 11
Final statement
Product and package leaving warehouse without faults. Users have to follow the local safety
regulations and warnings of this manual. Damages through inappropriate use do not unterlie
the sphere of influence of manufacturer or dealer. Therefore no liability or warranty will be
taken over. We cannot inform you in case of changes of this manual. If you have any questions,
please contact your dealer.
For service please contact your dealer or the manufacturer. Please use only spare parts of the
manufacturer.
Subject to change without notice. Because of the vast amount of data we cannot guarantee
any correctness of given information.
SUPER-CAN INDUSTRY GROWING GROUP CO.,LTD.
www.supercanlight.com
Sales manager:
Linda Yan
+86 186 2021 9453

LD102-1803F UV & LD102-1803 Spot UV - User Manual / Benutzerhandbuch / 用户手册
Page 12 / Seite 12 / 页码 12
UV Bar 48W
Benutzerhandbuch
2018.03.30
Dieses Produkt Handbuch enthält wichtige Informationen zur sicheren
Installation und Verwendung dieses Produkts. Bitte lesen Sie diese Anweisung
sorgfältig durch und bewahren Sie diese Anleitung an einem sicheren Ort für
die Zukunft auf.

LD102-1803F UV & LD102-1803 Spot UV - User Manual / Benutzerhandbuch / 用户手册
Page 13 / Seite 13 / 页码 13
Rechtlicher Hinweis:
Der Hersteller behält sich das Recht vor, Änderungen an ihren Produkten vorzunehmen, die der
technischen Weiterentwicklung dienen. Diese Änderungen werden nicht notwendigerweise in jedem
Einzelfall dokumentiert.
Diese Betriebsanleitung und die darin enthaltenen Informationen wurden mit der gebotenen Sorgfalt
zusammengestellt. Der Hersteller übernimmt jedoch keine Gewähr für Druckfehler, andere Fehler oder
daraus entstehende Schäden.
Die in dieser Bedienungsanleitung genannten Marken und Produktnamen sind Warenzeichen oder
eingetragene Warenzeichen der jeweiligen Titelhalter.

LD102-1803F UV & LD102-1803 Spot UV - User Manual / Benutzerhandbuch / 用户手册
Page 14 / Seite 14 / 页码 14
1Informationen zum Produkt
1.1 Sicherheitshinweise
Beim Auspacken und vor dem Entsorgen der Verpackung, überprüfen Sie vor der Verwendung des
Produkts ob es Transportschäden gibt. Sollte es Anzeichen von Schäden, die durch den Transport
verursacht wurden, geben, fragen Sie Ihren Händler und verwenden Sie das Gerät nicht.
Dieses Produkt ist für den Betrieb nur im Innenbereich bestimmt, die Schutzklasse ist IP20.
Installieren Sie das Produkt nicht in der Nähe von entflammbaren Oberflächen und richten Sie den
Strahl nicht auf entflammbare Oberflächen. Der Mindestabstand beträgt 5 Meter. .
Die Installation, der Betrieb und die Wartung darf nur durch qualifiziertes Personal erfolgen. Lesen
Sie die Bedienungsanleitung und die Hinweise auf den Etiketten der Geräte vor dem Gebrauch
sorgfältig durch.
Das Produkt sollte an einem kühlen Ort installiert werden. Halten Sie bitte 50 cm Abstand von der
Wand.
Schauen Sie nicht direkt in das Licht der Lampe (vor allem nicht bei Verdacht auf Epilepsie), um
Schäden an den Augen zu vermeiden.
Halten Sie das optische System sauber. Berühren Sie die LED-Linse nicht mit bloßen Händen.
Verwenden Sie keine alkoholischen Flüssigkeiten oder eine andere Flüssigkeit um das optische
System zu reinigen. Verwenden Sie medizinische Watte, um es zu reinigen..
Bitte versuchen Sie nicht das Produkt zu öffnen und / oder die innere Struktur zu verändern. In
diesem Fall erlischt die 1 jährige kostenlose Gewährleistung.
Der elektrische Anschluss darf nur von qualifiziertem Personal durchgeführt werden.
Stellen Sie vor der Installation sicher, dass die Spannung und Frequenz der Stromversorgung dem
Strombedarf des Produkts entsprechen.
Es ist wichtig, dass jedes Produkt richtig geerdet ist und dass die elektrische Installation allen
relevanten Standards entspricht.
Betreiben Sie das Gerät nicht mit anderen Arten von Dimmer Geräten.
Stellen Sie sicher, dass das Stromkabel nicht durch scharfe Kanten gequetscht oder beschädigt
wurde. Lassen Sie die Netzleitung nicht in Kontakt mit anderen Kabeln kommen. Verwenden Sie
das Stromkabel nur am Stecker. Ziehen Sie niemals den Stecker durch ziehen am Kabel heraus.
Es gibt keine Teile im Inneren des Produkts die gewartet werden müssen. Öffnen Sie nicht das
Gehäuse und Betreiben Sie das Produkt niemals mit entfernterAbdeckung.
Platzieren Sie das Gerät an einer Stelle, die Kinder nicht erreichen können.
Wenn Sie Fragen haben, zögern Sie nicht, Ihren Händler oder Hersteller zu kontaktieren.
Wichtig: Vor jeder Installation, Wartung und Reinigung ist darauf zu
achten, dass der Strom abgeschaltet wurde!

LD102-1803F UV & LD102-1803 Spot UV - User Manual / Benutzerhandbuch / 用户手册
Page 15 / Seite 15 / 页码 15
1.2 Wichtigste technische Parameter
Stromversorgung
Nennspannung: AC90~240V
Nennfrequenz: 50~60Hz ±10%
Nennleistung: 60W
LED
LED Typ: 18 ×3W UV LED
Ansteuerungsstrom: <700mA
Wellenlänge: 395nm
Lebensdauer: Ungefähr 50.000 Stunden
Steuerung
Steuerprotokoll: Internationales Standard DMX-512 Signal
Kanal Modus: 2 Arten von Kanal Modi. 1 Chs und 3Chs Modus.
Steuermodi: DMX-512, Auto-program Modus, Master-slave Modus.
Optisches System
Dimm-Modus: Dimmer 0 bedeutet schnelles lineares Dimmen. Dimmer 1~9 steht für weiches Nicht
lineares Dimmen.
Dimmer: Von 0~100 lineares dimmen.
Blink Rate: 1~20Hz
Abstrahl Winkel: LD102-1803 Spot UV = 40°, LD102-1803F UV = 60°x 90°
Physikalisch
Abmessungen: 438 x 98 x 144mm
Gewicht: 2.42kg
Oberflächenbehandlung: Aluminium, pulverbeschichtet
Gehäusefarbe: Schwarz (andere Farben auf Anfrage)
Verbindung: Signal Kabel IN/OUT, Stromkabel IN/OUT.
Sicherheit
Kühlsystem: Lüfter
Temperatur Schutz: 65 °C
Betriebsumgebung: Innen
Arbeitstemperatur: -0°C ~ 40°C

LD102-1803F UV & LD102-1803 Spot UV - User Manual / Benutzerhandbuch / 用户手册
Page 16 / Seite 16 / 页码 16
1.3 Produkt-Eigenschaften
Mit der neuesten LED-Steuertechnik kann die UV LED Bar einen intelligenten Betrieb realisieren und
durch ihre spezielle Menüs an der Seite des Gehäuses gesteuert werden. Sie ist bequem und einfach zu
bedienen. Dieses Produkt ist für eine großflächige Lichtausbreitung konzipiert, wie für große Konzerte,
Innen Beleuchtung, Hochzeits Begebenheiten, kleine Aufführungen, Clubs und verschiedene andere
Anlässe. Seine wichtigsten Merkmale sind:
8) Statische Farbeinstellungen (STATIC).
9) Die statische Leistungsaufnahme des Bedienfeldes ist 0.3W und mit einer Effizienz bis zu 97%.
10) Lineares Dimmen und nicht-linearen Dimmen (Dimmer).
11) Automatische Überhitzungs-Schutzfunktion.
12) LED-Display.
13) 2 DMX Arbeitsmodi
14) Master-slave Steuerung, Mehrfach-Einheiten für die synchrone Steuerung.
1.4 Informationen Verpackungsinhalt
Folgendes Zubehör ist zusammen mit dem Produkt verpackt. Bitte überprüfen Sie dieses sorgfältig beim
Auspacken.
Artikel
Anz.
Einheit
Bemerkung
UV Bar 48W
1
St.
UV Bar 48W Bügel
2
St.
Installiert
Bügel Schraube
2
St.
Installiert
Anleitung
1
St.
Installiert
Stromkabel
1
St.

LD102-1803F UV & LD102-1803 Spot UV - User Manual / Benutzerhandbuch / 用户手册
Page 17 / Seite 17 / 页码 17
2Produkt Installation
2.1 Netzanschlussmethode
Bitte wie folgt anschließen:
L(Drath Phase)= brauner Drath
E(Drath Erde)= gelb/grün zweifarbiger Drath
N(Drath Nullleiter)= blauer Drath
Wenn Sie die Stromversorgung anschließen, stellen Sie sicher, dass die Spannung und Frequenz der
Stromversorgung dem Strombedarf des Produkts entsprechen.
Dieses Gerät gehört zur Schutzausrüstungsklasse 1, daher muss der gelb-grüne Doppel Farben Draht
durch qualifiziertes Personal korrekt geerdet werden. Stellen Sie vor der Installation sicher, dass die
Spannung und Frequenz der Stromversorgung dem Strombedarf des Produkts entsprechen. In Gebieten
mit Strom- und Spannungsschwankungen, empfehlen wir Ihnen, 110V oder 230V zu verwenden oder
einen Spannungsregler für die Stromversorgung zu benutzen. Nach dem elektrischen Anschluss, wird
dieses Produkt ein paar Sekunden eine Selbstprüfung durchführen und kann erst verwendet werden,
wenn die Selbstprüfung abgeschlossen ist.
Das Ein- / Ausgangsstromkabel sollte einen Kupferkern von mind. 1,0
Quadratmillimeter besitzen.
Bei 220V: 8 Geräte können in Reihe geschaltet werden.
Bei 110V: 4 Geräte können in Reihe geschaltet werden.
Wichtig: Es ist wichtig, dass der Gelb / Grün doppeltfarbige Draht richtig geerdet ist
und dass die elektrische Installation allen relevanten Standards entspricht.

LD102-1803F UV & LD102-1803 Spot UV - User Manual / Benutzerhandbuch / 用户手册
Page 18 / Seite 18 / 页码 18
2.2 DMX Verbindung
2.2--1 Bei ausschließlicher Verwendung von DMX512-Signalen, führen Sie die Verkabelung wie
unten beschrieben durch (STAG MODE/Daisy chain)::
Schließen Sie den DMX-Controller und die UV
Bars an.
Im P1 MODUS hat jede UV BAR nur 1 Kanal,
somit kann die DMX Adresse je UV Bar
fortlaufend erhöht werden (z.B. 1,2,3,4 ...).Die
gleichen DMX Adressen können auch für
mehrere Geräte verwendet werden.
DMX-Adressen können zwischen 001-512
beliebig eingestellt werden.
Hinweis:
1. Da das DMX-Signal eine Reihenschaltung ermöglicht, schließen Sie
bitte nicht mehr als 15 Geräte hintereinander.
2. Wenn das Signalkabel länger als 60 m zwischen dem
DMX512-Controller und dem Gerät oder zwischen zwei Geräten ist, dann
wird ein DMX Signalverstärker benötigt.

LD102-1803F UV & LD102-1803 Spot UV - User Manual / Benutzerhandbuch / 用户手册
Page 19 / Seite 19 / 页码 19
3Betriebsart
3.1 Einführung Funktionen Rückseite
POWER IN/POWER
DMX IN/DMX OUT
MENU:Stellen Sie die Menü-Auswahl ein oder gehen Sie zum vorherigen Menü.
ENTER:Bestätigungstaste, verwenden um die gewählte Funktion zu bestätigen.
UP/DOWN:Aufwärts / Abwärts-Funktionsauswahl oder Parameter Erhöhen / Verringern.
3.2 MenüÜberblick
3.3 Statische Farbeinstellung (STATIC)
Gehen Sie zum【STATIC】Menüund drücken Sie【ENTER】um in die statischen Farbeinstellungen
zu gelangen.
Drücken Sie die【UP/DOWN】Schaltfläche um die Helligkeit anzupassen.
Nach dem Einstellen der statischen Farbeinstellung, verlassen sie das Menüohne die 【MENU】
Taste zu drücken um die Einstellungen zu beibehalten. Wenn Sie die 【MENU】Taste drücken,
werden die statischen Farbeinstellungen wieder gelöscht.
Hinweis: Wenn Sie sich in den Untermenüs des Geräts befinden, ist das
Gerät nicht in der Lage ein Signal zu empfangen. Deshalb kehren Sie nach
einer Funktions- oder Dateneinstellung immer zum übergeordneten Menü
zurück. Dann wird das Gerät wieder in der Lage sein Signal zu
empfangen.
This manual suits for next models
1
Table of contents
Languages: