1) NO DEJE la aspiradora enchufada. Desconectela
cuando no la use y antes de darle servicio.
2) NO PERMITE que se use como juguete. Ponga
attencion cuando se use cerca de niños.
3) USE SE SOLAMENTE de acuerdo a las instrucciones
y con accesorios recomendados por el fabricante.
4) NO USE con el cable o clavija dañados. Si la
unidad ha sido golpeada, mojada, o dañada enalgun
modo llame al centro de servicio o Powr-Flite®.
5) NO JALE o carque del cable, no machuque el cable
o lo estire sobre objetos filosos. NO USE la unidad
sobre el cable.
6) NO DESENCHUFE jalando el cable. Para hacerlo
jale de la clavija no del cable.
7) NO TOME la clavija o el aparato con las manos
mojadas.
8) NO TAPE objetos en las ventilas. NO USE si alguna
está tapada. Mantenga limpia de polvo, peluza o
cualquier obstrucción.
9) Mantenga el pelo, ropa suelta manos y partes del
cuerpo lejos de las aberturas y partes móviles.
10) NUNCA aspire objetos que mandose o humeando
como cigarros, cerillos o cenizas calientes.
11) No use unidad a recoje materiales peligrosas.
12) Apajue todos los controles antes de desconectar.
13) Paga las unidad immediamente si hay espuma o
liquidos saliendo da bajo de la unidad. Sí esto para
limpia el tanqué y también usa un chemico de
espuma.
14) NO UTILIZE la unidad para levantar liquidos
flamables o combustibles como gasolina; o use
en areas dande se encuentren estos liquidos.
15) Replacen los partes gastadas o dañadas
immediamente para mentener la seguridad.
16) Esta unidad debe ser conectada a un enchufe
correctamente aterrezado solamente. Vea los
instrcciones de tierra. Sí su aspiradora/soplador
tiene un enchufe para una boquilla de potencia,
apaguela siempre antes de conector o
desconector la goquilla.
17) NO USE donde oxigeno o anestesicos sean
empleados.
18) NO USE extensión electrica.
MEDIDAS DE SEGURIDADMEDIDAS DE SEGURIDAD
PPEELLIIGGRROO!!::Para reducar el riesgo de incendio, descarga electrica o
daño:
PARA SU SEGURIDAD
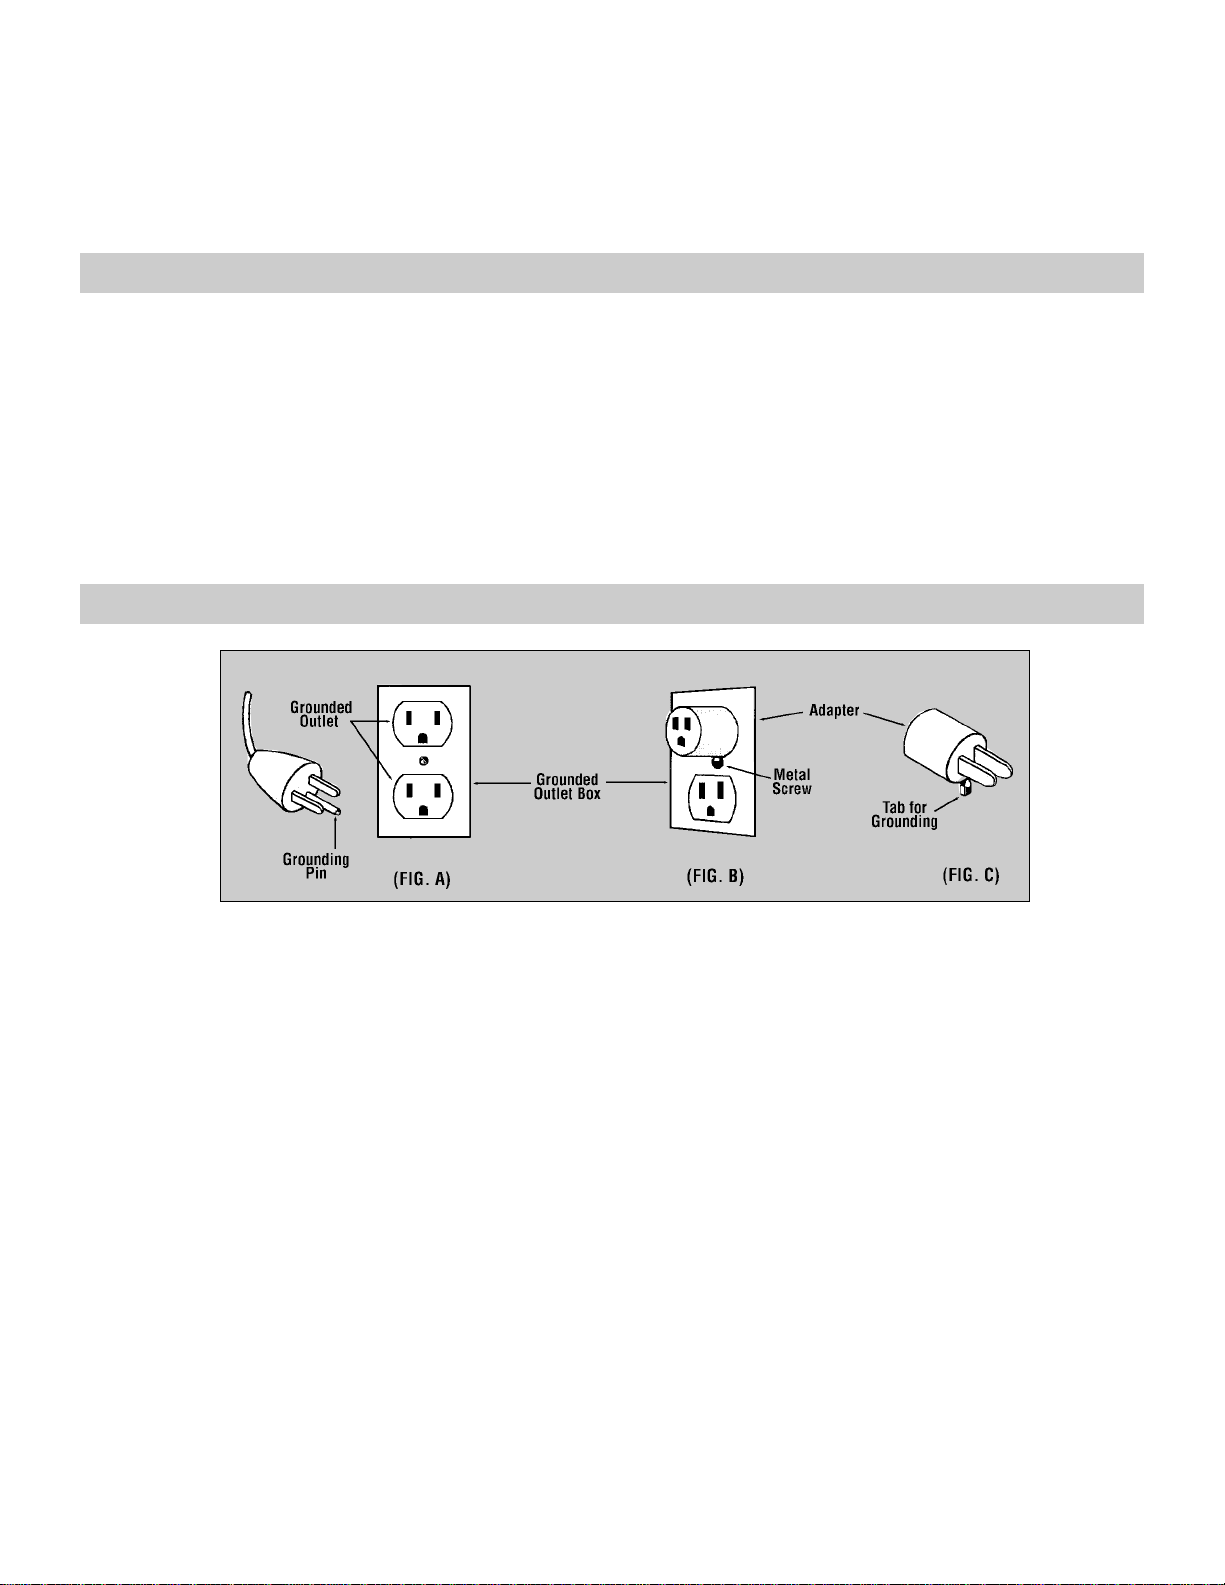
INSTRUCCÍONES DE TIERRA
NO SE exponga a la lluvia a
guarde bajo techo.
Una sacudida electrica
puede suceder sí se usa en
superficies humedas.
NO utilize la unidad
para levantar liquidos f
lamables o combustibles
como gasolina.
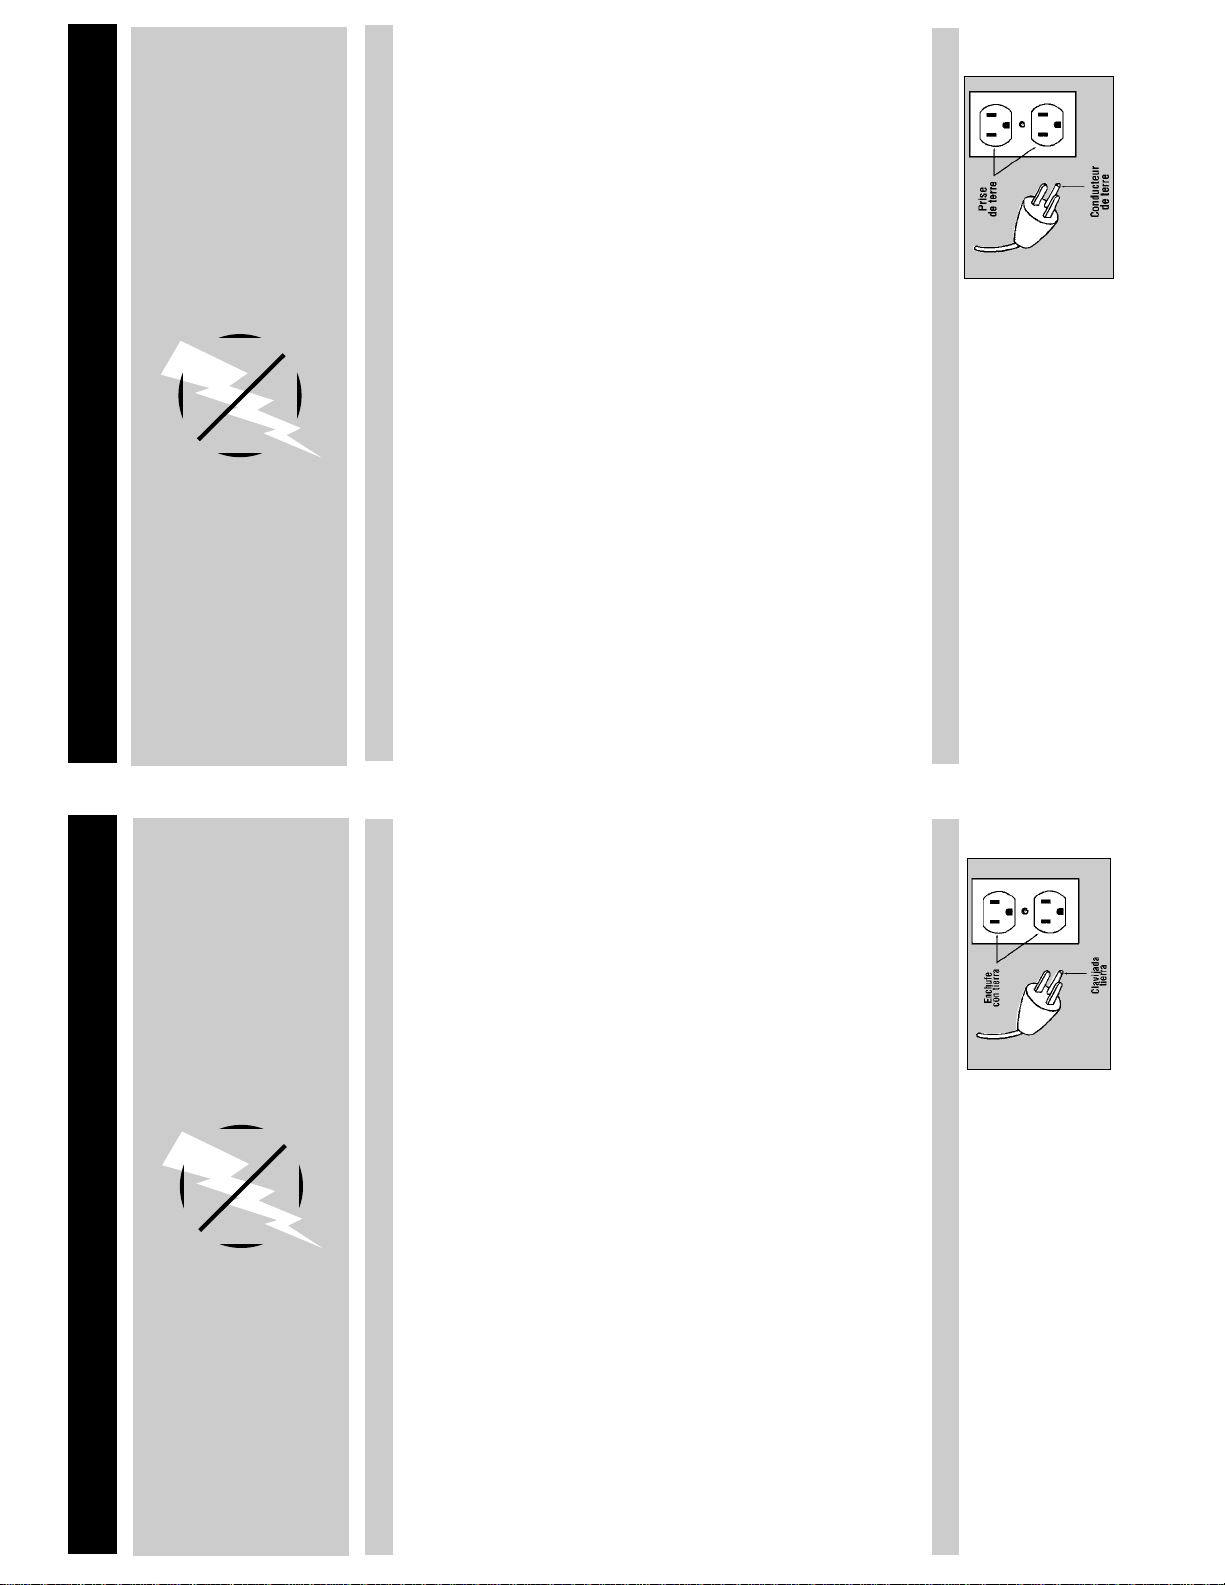
¡¡PPEELLIIGGRROO!!
Una coneccion incorrecta de tierra puede resultar en
una descarga electrica. Consulte con un electricista
calificado o persona de servicio si tiene duda acerca
del enchufe y su tierra. No modifique el enchufe de
las unidad. Si no encaja en el enchufe, haga instalar
un enchufe apropiado por un electricista calificado.
IMPORTANTES MESURES DE SÉCURITÉIMPORTANTES MESURES DE SÉCURITÉ
AAVVEERRTTIISSSSMMEENNTT!!::Pour reduire les risques d’incendie, de choc
electrique ou de blessure:
POUR VOTRE SÉCURITÉ
INSTRUCTIONS VISANT LA MISE À LA TERRE
1) NE PAS laisser l’appareil sans surveillance lorsqu’il
est branché. Débrancher lorsque l’appareil n’est pas
utilisse ét avant l’entretien.
2) NE PAS permettre aux enfants de jouer avec
l’appareil. Une attention particulière est nécessaire
lorsque l’appareil est utilisé par des enfants ou à
proximité de ces derniers.
3) N’utiliser que conformément à cette notice avec les
accessoires recommandés par le fabricant.
4) NE PAS utiliser si le cordon ou la fiche est endom-
magé. Retourner l’appareil à un atelier de réparation
s’il ne fonctionne pas bien, s’il est tombé ou s’il a été
endommagé, oublié à l’extérieur ou immergé.
5) NE PAS tirer, soulever ou traîner l’appareil par le
cordon. NE PAS utiliser le cordon comme une
poignée, le coincer dans l’embrasure d’une porte ou
l’appuyer contre des arêtes vives ou des coins.
NE PAS faire rouler l’appareil sur le cordon. Garder
le cordon à l’écarte des surfaces chaudes.
6) NE PAS débrancher en tirant sur le cordon. Tirer
plutôt la fiche.
7) NE PAS toucher la fiche ou l’appareil lorsque vos
mains sont humides.
8) NE PAS utiliser des rallonges ou des prises qui n’ont
pas de capacité sufisante pour transporter le courant.
9) NE PAS utiliser où l’oxygène ou les gazes sont utilisès.
10) N’INSÉRER aucen objet dans les ouvertures.
NE PAS utiliser l’appareil lorsqu’une ouverture est
bloquée. S’assurer que de la poussière, de la
peluche, des cheveux ou d’autres matières ne
réduisent pas le débit d’air.
11) Maintenir les cheveux, les vêtements amples, le
doigts et toutes les parties du corps à l’écart des
ouvertures et des pièces mobiles.
12) NE PAS aspirer de matières en combusion ou qui
dégagent de la fumée, comme des cigarettes, des
allumettes oiu des cendres chaudes.
13) NE PAS utiliser l’aspirateur pour soulever les
produits chimiques dangereux.
14) Mettre toutes les commandes à la position ARRÊT
avant dé debrancher l’appareil.
15) Couper le courant immèdiatement si le liquide de
nettoyage sort de l’appareil. Videz et nettoyez le
réservoir interim et admettez le liquide de nulle
écume.
16) NE PAS aspirer des liquides inflammables ou com-
bustibles, comme de l’essence, et ne pas faire
fonctionner dans des endroits où peuvent se trouver
de tels liquides.
17) Replacez taré parties vite à maintenir sécurité.
18) Ne brancher qu’à une prise de courant avec mise à
la terre. Voir les instructions visant la mise à la terre.
NE PAS aspire de
maitiéres humides.
Ne pas exposer
à l’intérieur.
NE PAS utiliser
l’appareil avec des
liquides inflammables
en aspirant afin
d’éviter du feu.
AAVVEERRTTIISSSSMMEENNTT!!
Un conducteur de terre mal raccordé peut entraîner un
risque de choc électrique. Consulter un électricien ou
un technicien d’entretien qualifié si vous n’êtes pas cer-
tain que la prise soit correctement mise à lat terre. Ne
pas modifier la fiche fournie avec l’appareil-se elle ne
peur être inséreé dans la prise, faire installer une prise
adéquate par un electricien qualifié.