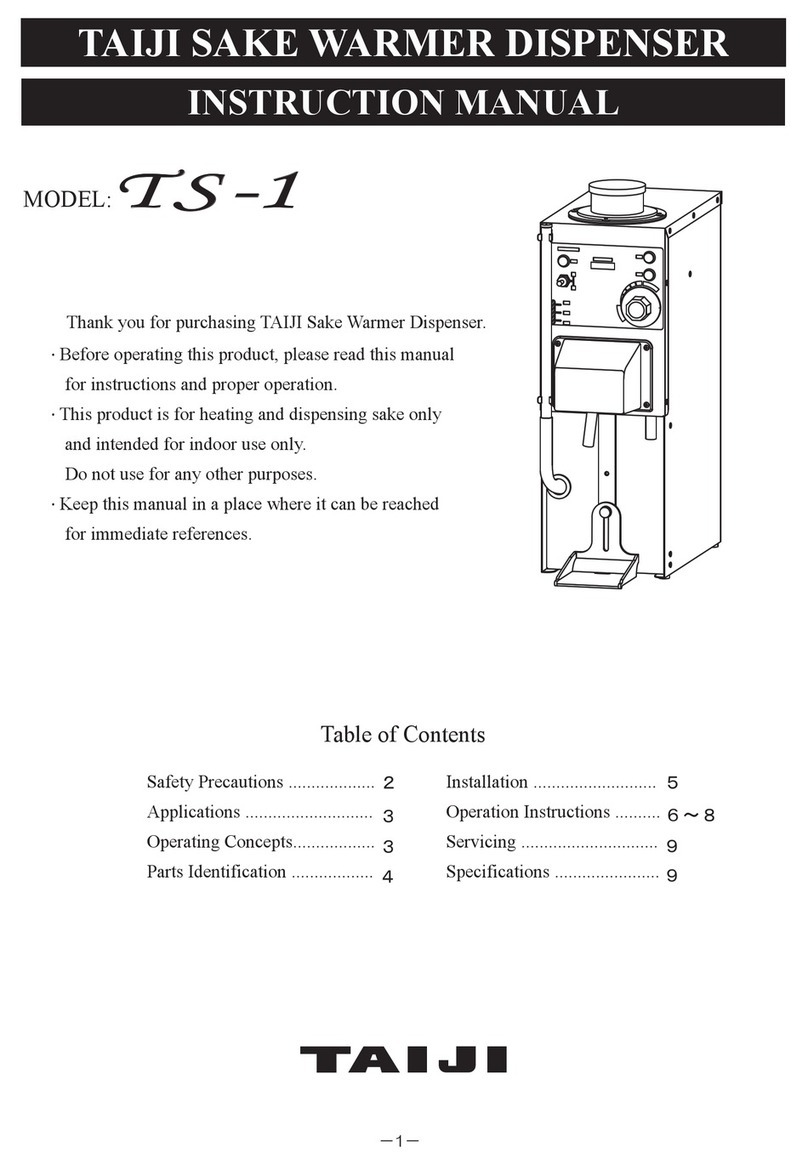
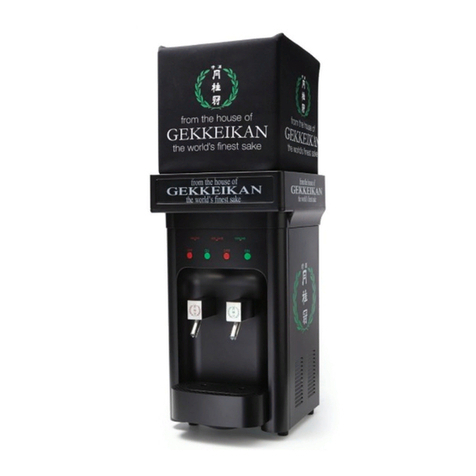
Taiji TSD-1E User manual

INSTRUCTION MANUAL
MODEL : TSD-1E
TAIJI SAKE WARMER DISPENSER

After Use .................................................................
After-Sale Service .................................................
Specifications ........................................................
Accessories ..........................................................
-2-
WARNING: To prevent fires or electrical shocks, do not expose this appliance to rain or moisture.
Do not expose this appliance to any direct or indirect splashing liquid, and no vessels containing any type of
liquid should ever be placed on top of the appliance.
The lightning flash with arrowhead
symbol, within an equilateral triangle,
is intended to alert the user to the
presence of uninsulated "dangerous
voltage" within the product's enclo-
sure that may be of sufficient magni-
tude to constitute a risk of electric
shock to persons.
The exclamation point within an
equilateral triangle is intended to
alert the user to the presence of
important operating and mainte-
nance (servicing) instructions in the
literature accompanying the appli-
ance.
The serial number of this product may be found on the
surface of the unit.
You should note the serial number of this unit in the
space provided and retain this instruction manual as
a permanent record of your purchase to aid identifica-
tion in thee vent of theft.
Model No.
Serial No.
SA 1965
SA 1966
CAUTION: TO REDUCE THE RISK OF ELECTRIC SHOCK,
DO NOT REMOVE COVER (OR BACK).
NO USER-SERVICEABLE PARTS INSIDE. REFER SERVICING
TO QUALIFIED SERVICE PERSONNEL.
SHOCK DO NOT OPEN
CAUTION
RISK OF ELECTRIC
Caution:
Before attempting to operate this product, please read
the label on the surface of the unit.
Safety Precautions ................................................. 3 9
10
10
10
Warranty ............................................................... 11
Purpose of Use ......................................................
Operating Concept .................................................
Names of Parts ......................................................
Installation and Preparation Before Use ................
Instructions for Use ................................................
CONTENTS
4
5
5
6
7

-3-
Safety Precautions
WARNING
Ignoring the following can potentially lead to user death
or serious injury:
(1) Install the unit on a flat and stable surface.
(2) Never disassemble, repair, or modify the product
unless you are a repair mechanic. Otherwise, there
is a possibility of fire or abnormal operation.
(3)
(4)
Do not submerge product in water or expose it to
water. There is a possibility of a shortcircuit or elec-
tric shock.
(5)
Periodically check that the power plug blades and
their surfaces are free of dust, and insert the plug into
an electrical outlet all the way so it will not be loose.
Dust on the power plug or its imperfect connection
could cause electric shock or fire.
(6)
Keep the power cord free of damage. Binding the
power cord, placing a heavy object on it, or pinching
it may damage the cord, possibly causing electric
shock or fire.
Keep the power cord away from all heat sources.
(7) Do not use the product outdoors. Use of the prod-
uct in an area exposed to the elements could cause
an electrical malfunction or shock.
(8) If you wish to dispose of the product ask an official
organization or your dealer.
Improper disposal of this unit can create unsafe con-
ditions due to potential tampering of the unit by a
third party.
Use an AC220-240V/7.5A electrical outlet.
Do not use a double or a branched socket.
(11)
(10)
(9)
Never bend power plug prongs. Tampering with
the power plug will result in fires or other hazards.
Never allow children and infants near this product.
They may be burned or subject to electrical shock
and other types of injuries.
CAUTION
Ignoring the following can potentially lead to user injury
or material/equipment damage:
(1) When disconnecting the power plug, hold the plug
itself. Do not pull on the cord. Pulling out the plug
by the cord could cause electric shock, shortcircuit,
or fire.
(2) Do not touch or use the power plug, power switch,
or other electric parts with wet hands. It can cause
an electrical shock.
(3) Do not drop or subject the product to strong
physical shock. Doing so can cause the product to
malfunction or cause a fire.
(4) Dispose of all packaging materials once unit has
been removed from its original box, especially the
plastic bag. Do not leave it within reach of children.
This is important to prevent suffocation.
(5) Keep the power plug out of the electrical outlet
when the product is not in use. Keeping it plugged
in could cause electric shock or a fire due to electric
leakage.
(6) Do not use the product if the power cord plug is
damaged, or is loose in the electrical outlet.
Otherwise, there is a possibility of shortcircuit or
electric shock or fire.
(7) Do not use the product for use with anything other
than Japanese sake. Otherwise, the product could
fail due to a burn or corrosion, for example.
Carefully read the Safety Precautions to correctly use the Product.
The Safety Precautions are for you to use the product safely and correctly, and to prevent danger and damage to you
and others. The Safety Precautions are shown in two categories, Warning and Caution, to clearly show the degree of
danger and damage which could be caused by wrong handling. Be sure to observe them all, which include important
information on safety.
Keep the Safety Precautions ready for reference after reading them.
-4-
(8) Dispensing sake too frequently will gradually lower
the temperature of sake being dispensed. Always
monitor frequency of use and the temperature of
dispensed sake.
(9) Be careful of the water level meter for the warm-
ing tank. Sake warming performance will fall if the
water level meter indicates a level below normal,
causing sake to be too hot and shortening the us-
age life of the product.
(10) Be careful of the temperature of the machine dur-
ing use because it becomes hot. Also take care
not to burn yourself with hot sake (or water) from
the nozzle during dispensing.
(11) When use is done for the day, always empty remai-
ning sake from the unit. If the unit is not emptied
of sake after use, the sake will change color and be-
come unfit for consumption. Follow proper clean-
ing protocol at the end of every day.
(12) Change the water in the warming tank at least twice
a month. Not changing the water can cause perman-
ent internal damage to the tank.
(13) Do not change water tank immediately after use. If
changing water after use is absolutely necessary,
wait for the water to cool before changing. As an
alternative, change the water before use at the beg-
inning of the day.
(14) Abnormal electrical shock, whether man-made or
natural, can permanently damage the unit.
If lightening is heard, disconnect the power cord.
(15) If there is any noticeably abnormal odor coming
from the unit, discontinue using and contact either
CP Solutions (Asia) Co., Ltd. or your local dealer for
service.
Purpose of Use
This product is to be used for warming Japanese sake.
Do not use it for any other purpose.

-5-
This product uses an indirect heating concept, similar
to the traditional method of heating sake. The warming
tank has a single heat exchange pipe through which sake
passes. When the warming tank is filled with water, this
water is directly heated. This heat then transfers to the
piping, which then heats the sake flowing through it.
This method of heating sake ensures that it is not over-
heated or burned.
Operating Concept
Heater
Thermal sensor
Warming tank
Heat exchange pipe
Names of Parts
Water level indicator plug
Water level meter clamps (2 pcs)
Power lamp
Power switch
Water level indicator
Water level indicator pipe
(Water inlet/outlet pipe)
Nozzle cover
Nozzle
Sake server holder
Sake dispensing lamp
Water supply lamp
Heater lamp
Temperature control knob
Overflow
(serving also as steam vent)
Machine body
Included Accessories
Funnel
Bottle holder funnel
Bottle holder
Cap
Water level float switch

-6-
Installation and Preparation Before Use
1. Remove Packaging from Product
Check for any product damage and that all parts are included.
2. Installation Location
Install the unit in a location that is:
-Flat and stable
-Well ventilated
-Free from any direct heat sources, including direct sunlight, gas/electric ranges, etc.
-Free from high humidity and exposure to water
3. Cleaning Before First Use
Before operating this product for the first time, clean the interior of the
main unit by following the instructions in the “Maintenance/Daily Cleaning” section of this manual.

-7-
Instructions for Use
*Follow all instructions in the "Installation and Preparation Before Use" section before continuing onto this section.
Preparations
1. Insert the power plug into an electrical outlet.
2. Check the water level meter pipe to ensure that it is held properly in
its upright position by the two clamps.
3. Fill the internal water tank with water to the optimal level using the
included funnel. If the water level is not at the optimal level, the sake
will not heat properly. Note the following:
-The sake warming tank has a capacity of about 2.3 liters
-If the warming tank is filled beyond the 2.3L capacity, it will overflow
through the water overflow valve.
4. Adjust the server bottle tray to the appropriate height (Figure 2).
Once adjusted, be sure the dispensing nozzle is in the non-dispense
position (outwards).
Note-The serving bottle should have the dispensing nozzle at least
2cm deep for optimal filling (Figure 3).
Figure 1
Figure 2
2 cm
Figure 3
5. Attach the accessory cap to a sake bottle. Make sure the nozzle has been pulled.
insert sake bottle in the bottle holder funnel (Figure 4) Figure 4

-8-
6. Turn on the power and turn the temperature knob to the desired tem-
perature (Figure 6).
-The Heater Lamp will turn on when the heater is heating the
warming tank water. Once the set temperature is reached, the
lamp will turn off.
-When using the unit for the first time or immediately after
cleaning, the first batch of dispensed sake may be mixed with
the cleaning water. Discard a small amount of sake before
serving sake to customers.
-Keep in mind that ambient temperature and repeated use over
a short period of time may have an impact on the dispensed
sake's temperature.
Sake dispensing method
1. When the heater lamp turns off, insert the nozzle into your server
bottle, and push the bottle into place on the tray. (Figure 7- )
The sake dispensing lamp will turn on and sake will begin to dispense
from the nozzle.
- If sake is dispensed while the heater lamp is on, the sake may not be
at the appropriate temperature.
2. When the sake dispensing lamp turns off, it indicates that the server
bottle is filled with sake. Take the bottle out from the tray by
pulling the nozzle the nozzle outwards (Figure 7- )
- Do not to forget to put the nozzle in the “off” position (i.e. outwards).
Otherwise it will not be possible to put it into the “on” position
(i.e. downwards) to dispense sake.
- Be careful when removing the filled bottle of sake as it will be hot.
Figure 7
Figure 6
温度调节
Temperaturecontrol mini
max
加温
Heat
(Lukewarm)
(Hot)
*NOTE*
- Be very careful not to burn yourself as the sake can be very hot depending on the temperature setting.
- At the beginning of each operating session, dispense a small amount of sake to check the temperature
and to make sure that it does not contain any impurities (such as water left behind from cleaning).
- Dispensing large amounts of sake at one time or operating in a cold environment may lower the
temperature of sake being dispensed. Adjust the temperature setting to compensate for the effects
of such circumstances.
- Sensors on the tip of the nozzle must touch sake in order to automatically stop dispensing. Make sure
the nozzle is at least 2cm into the bottle.

Pour hot water (about 70 C) into the bottle holder from a kettle, for
example, and clean the inside the bottle holder (Figure 10).
-9-
After Use
1.
2. Remove the removable parts and clean them. Place the cleaned
parts back into place. (Figure 9)
3. Clean the bottle holder and inside the machine.
(1) °
- Be careful when pouring hot water.
- DO NOT ADD detergents or cleaning agents to the cleaning water.
(2)
(3)
To clean the inside of the unit, turn the unit on and dispense the
remainder of the cleaning water.
When all cleaning water is completely dispensed, pull the dispen-
sing nozzle into its outwards, non-dispensing position, and turn
the unit off.
4. Clean the dispensing nozzle and its sensors using a soft bristled
toothbrush or similar object. Use only hot water when scrubbing
the nozzle and sensor (Figure 11).
5. Wipe the unit down with a damp cloth. Only use water when cleaning.
Never use harsh chemicals such as paint thinner, benzene, or any other
similar product.
6. When changing the water in the water tank, be sure the unit is suffi-
ciently cooled down. To empty the water tank, remove the water level
indicator pipe from the clamps and SLOWLY lower the pipe (Figure 12)
into a sink or container and BE CAREFUL as the water will forcefully
discharge from the pipe.
-Change the water in the warming tank at least 2 times a month.
Figure 12
Remove the loaded sake bottle from the unit. Dispense sake left inside
the unit. Discard the sake or use it for cooking purpose.
Figure 9
Figure 10
Figure 11

-10-
After-Sale Service
Specifications
Rated voltage Single-phase 220-240V , 50/60 Hz
Power consumption 916 - 1000W
Temperature control Variable thermostat
Heating Indirect heating via waterbath
Sake feeder 1.8L Sake bottle
Sake outlet Single
Dispensing method Auto stop (Sake level detecting)
Water tank capacity 2.3 liters
Safety device Line fuse
Dimensions 162 mm (wide), 354 mm (deep), 485 mm (high)
Weight 6.4 kg
Accessories
Cap ........................................................................ 1 pc
Funnel ................................................................... 1 pc
This product can be improved without notice.
• For servicing of this product, please contact your distributor.
• Components and parts of this product will be available for five years after
the production of this product has ceased.
• This product is distributed by:
Hong Kong Office
Tel: +852 2621 3001 Fax: +852 2621 3002
Shanghai Office:
Tel: +86 21 6295 1661 Fax: +86 21 6295 1662
CP Solutions (Asia) Co., Ltd.

SAMPLE
TAIJI SAKE WARMER
LIMITED MANUFACTURER WARRANTY
The Taiji TSD-1E of sake warmers are constructed with the utmost attention to detail and quality. However, in
the rare instance that the unit fails to function properly due to a defect in either the construction or individual
parts, the sake warmer will be repaired by CP Solutions (Asia) Co., Ltd. All parts, labor, and shipping
(if applicable) will be free of charge. A loaner unit (equivalent to your model) will be provided, free of charge
during the repair period.
The length of this warranty lasts one year from the date of purchase. If purchased from a local distributor, you
must register your product by filling out and mailing back the warranty registration card that is enclosed with
the unit or your warranty period may be shorter than the date of your purchase. If you do not have a warranty
registration card, immediately contact CP Solutions (Asia) Co., Ltd. for a registration card.
The Limited Manufacturer Warranty guidelines are as follows:
1) Repairs under the warranty must be due to a fault caused by the manufacturer’s construction. Any use
of the unit outside of the proper use (as indicated in the instruction manual) will nullify any warranty
obligations and the warranty will immediately become void. Some examples of uses that will render
the warranty void include, but are not limited to:
a. Opening the sake warmer unit
b. Improper use
c. Unauthorized tampering of the unit
d. Damage due to unauthorized opening of the unit, repair, or modification by any person(s) not
employed by CP Solutions (Asia) Co., Ltd.
e. Damage due to dropping or improperly transporting the unit after purchase
f. Damage due to fire, earthquake, storm/flood, lightning, abnormal voltage, any other natural
phenomena, and/or any other natural disaster
g. Natural wear and tear due to everyday use
2) When a request for warranty service has been enacted, an initial inspection of the sake warmer will be
conducted. If a manufacturer defect is determined, then all repairs and shipping will be free of
charge. HOWEVER, if it is determined that the malfunction of the unit is NOT a manufacturer’s
defect (either due to reasons listed in #1 or any other reason determined by the inspection), shipping
charges (if applicable) and any subsequent parts and labor will be charged.
3) During the inspection/repair period, a loaner unit of the equivalent model will be provided. All rental
and shipping costs will be free of charge. HOWEVER, if it is determined that the malfunction of the
unit is NOT a manufacturer’s defect (either due to reasons listed in #1 or any other reason determined
by the inspection), then rental and shipping costs will automatically be charged.
4) You may decline for a loaner unit to be sent to you during the repair period.
5) This warranty is valid in the China only. Contact CP Solutions (Asia) Co., Ltd. for warranty
coverage in other countries.
6) For any repairs after the warranty period expires charges will be incurred.
-11-

(1610A)
Other Taiji Beverage Dispenser manuals