Quick start guide
1. Make sure your Extreme is standing firmly on a solid surface in a dry environment
2. Connect your Extreme to your home mains supply with
•Stay within the accepted voltage range of 100V –250V
•Use a power cable with a safety ground connector
3. Connect your Extreme to your home network using a Cat network cable. Use either port from or
4. Connect your DAC with an USB cable, using output
5. Make sure is in the ON position
6. Press
7. The button will light up and the system is ready for operation after about 25 seconds. Please note that the
Extreme is completely silent and will not make any noise during operation
8. Control the server with any computer device using the Roon Application
•Apple iPad /iPhone (recommended)
•Mobile device using Google Android
•Desktop computer (MacOS or Windows) using Roon desktop
9. Should you wish to activate the video output for monitor usage, press once while the Server is running
Taiko Audio Extreme Manual (English), v1.0 10
3
10
2
8
1
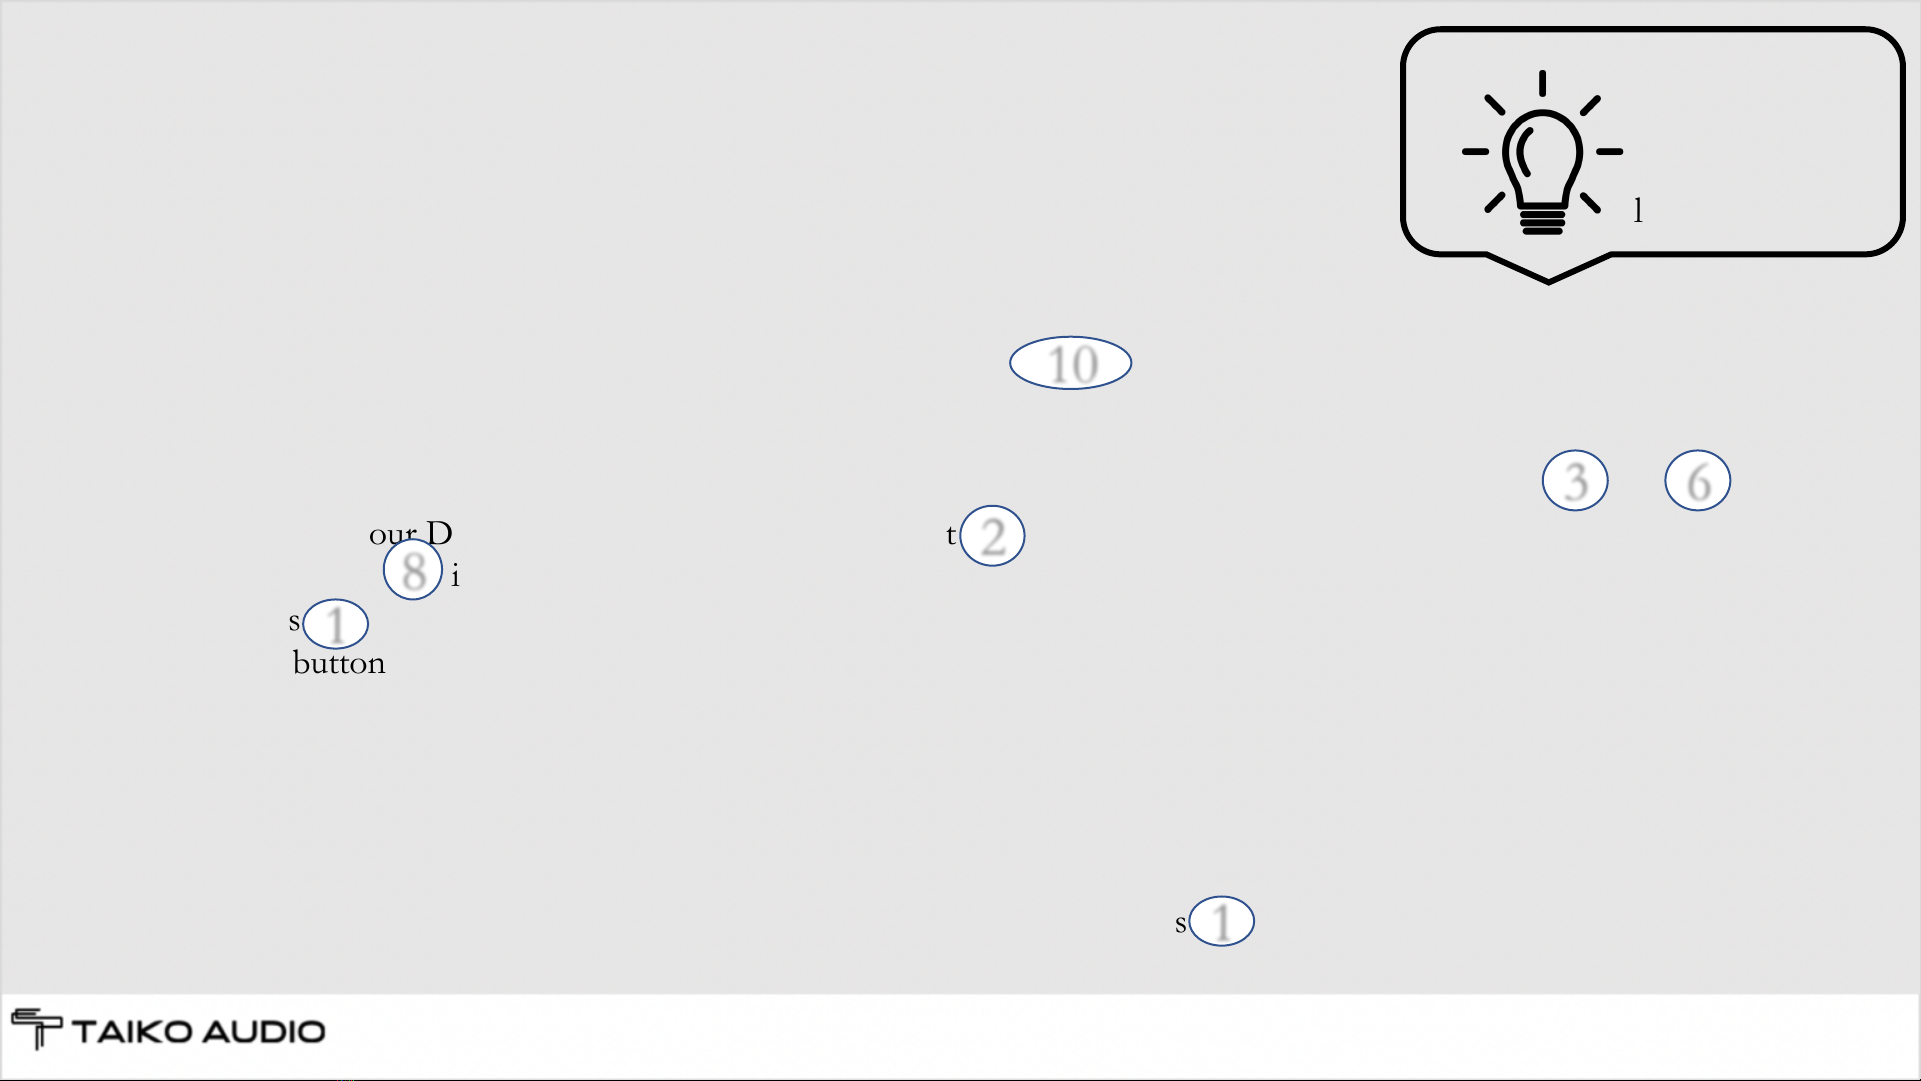
Tip:
Try keeping the
USB cable
length under 2m
1
6