TALOS AVIONICS FlySense AoA PRO User manual

1
FlySense AoA PRO
INSTALLATION MANUAL
ATTENTION: Installation of the FlySense AoA PRO is supplemental only. It is not intended
as a replacement for or modification to an existing, approved, or required system.
FlySense AoA PRO is not a certified aviation instrument. Do not rely on FlySense AoA PRO
as your only navigation aid. Failure to comply to this warning may result in property
damage, serious injury or death. You assume total responsibility and risk associated with
using this device and associated app.
Congratulations on purchasing a
FlySense AoA PRO
. This device provides rich flight information
as detailed below. Proper installation and maintenance of the device facilitates accurate
performance and uninterrupted operation.
Please read the current manual prior to using
FlySense AoA PRO
and keep it for future reference.
Correct operation of the
FlySense AoA PRO
requires that one or more mobile smart device(s) (iOS
or Android) are connected to the device.
ΑTTENTION
We update the application EFIS TA and the firmware of our units when necessary to ensure the
best performance of our devices. This procedure is automatic. When you connect your mobile
device to the internet, an update is automatically downloaded. If you are asked to give your
consent, do so. After downloading the update, the first time you connect the tablet to one of our
devices, you’ll be asked to confirm the firmware update. Press confirm.
ATTENTION, during this process, don’t power off the device for 3mins. Then reconnect it to the
tablet for normal operation. Please ensure that the power supply is enough for the time required
for the update operation.
If the device is turned off intentionally or because of poor power supply during this operation, the
device could stop working and the only way to recover it is by sending back to the factory for
complete reprogramming.

2
TABLE OF CONTENTS
1 FlySense AoA PRO.................................................................................................................................................3
1.1 Mounting the FlySense AoA PRO...................................................................................................................3
1.2 Power Connection .........................................................................................................................................4
1.3 Software – EFIS TA app ..................................................................................................................................5
1.4 Compass Calibration...................................................................................................................................... 6
1.5 AHRS Leveling.................................................................................................................................................8
1.6 Angle of Attack (AoA) ....................................................................................................................................9
1.7 Other Considerations Regarding FlySense AoA PRO ...................................................................................11
2 FlySense AoA PRO Maintenance.........................................................................................................................11
3 Use Limitations and Abnormal Operation ..........................................................................................................11
Support ..................................................................................................................................................................12

3
1 FlySense AoA PRO
The FlySense AoA PRO is a portable device that comes together with a GPS antenna, an ADS-
B antenna, and a USB adaptor for cable connection to a smart mobile device (tablet or
smartphone). FlySense AoA PRO
includes a dual-band (978 MHz and 1090 MHz) ADS-B receiver
for traffic and weather information.
1.1 Mounting the FlySense AoA PRO
The FlySense AoA PRO should be mounted in a convenient dry place, as far away as possible
from
heat sources. A suitable mounting location is the top of the instrument panel. You can
mount the unit by means of double-sided adhesive tape or Velcro. Please ensure that the unit
doesn’t move during flight.
Must be connected to the native pitot/static using two 1/8in. BSP to your hoses adaptors.
The FlySense AoA PRO comes together with a GPS antenna and an ADS-B antenna. Both
antennas should be connected at the back of the device and mounted with double sided adhesive
tape or Velcro, in a free-to-sky location for optimal signal reception.
Fig. 1. FlySense AoA PRO image.
It is important for the FlySense AoA PRO to be mounted parallel and as close as possible to
the
symmetry axes of the airplane . The front side of the FlySense AoA PRO is marked by a
small airplane on the cover of the unit. After mounting the FlySense AoA PRO, the “AHRS
leveling” procedure described in Section 1.5 of the current manual should be performed, in
order to adjust
for small inaccuracies during placement.

4
(a)
(b)
Fig. 2. FlySense AoA PRO should be mounted parallel to the main axes of the airplane.
1.2 Connection
FlySense AoA PRO is powered by two means:
•
Its internal battery, offering approximately one and half (1.5) hours of operation. Please
turn the battery-switch on for battery device operation.
•
The connections to the external DSUB25 connector are as in the below table:
•
PIN CONNECTION
1 Main Power plus(+) (factory connected)
2 Autopilot
4 External USB(factory connected)
5 External USB(factory connected)
7 Horn red
8 External LED
9 temperature probe blue or yellow(factory connected)
10 GND
11 External Switch
12 External Switch
13 GND
21 temperature probe black (factory connected)
22 temperature probe red (factory connected)
24 Horn Black
25 Main Power Minus(-) (factory connected)
•
The device also connects to a fused connection for continuous power supply and battery
charging; such connection may be the cigarette lighter plug of the aircraft. Please note that
battery charges in this case regardless of the battery-switch position (on or off). Always
make sure to connect with the proper polarity:
The red cable connects to the positive pole (+)
The black cable connects to the negative pole (-)

5
It is suggested that FlySense AoA PRO
is always connected to a power source, and is
operated with the battery-switch on. In case of power-failure, FlySense AoA PRO will
continue its operation after a short reboot (please make sure you reconnect to the FlySense
WiFi network).
Please note that, in the latter case, i.e. power failure and operation on the internal
battery, the tethered connection (see below section 1.3, paragraph “USB Cable Connection”) to the
smart mobile device (smartphone or tablet) will not work, and you must enable the wifi connection.
Important Note: Always make sure to turn the FlySense battery-switch off when
FlySense AoA
PRO is not in operation and the mains aircraft switch is off. In the opposite case, the device will
remain turned on, powered by its internal battery, until the battery is completely drained.
1.3 Software – EFIS TA app
FlySense AoA PRO operates with the free EFIS TA app offered by TalosAvionics. EFIS TA app
has been tested to comply with ASTM F3153 – 15 Standard Specification for Verification of
Avionics Systems. EFIS TA app runs on smart mobile devices (tablets or smartphones) with iOS
or Android operating systems.
EFIS TA app for Android can be downloaded from
Google Play Market.
EFIS TA app for iOS can be downloaded from
Apple’s App Store.
EFIS TA software instructions can be downloaded from
https://www.talosavionics.com/support/
PLEASE DO READ THE EFIS TA APP SOFTWARE INSTRUCTIONS!
EFIS TA app may operate in standalone mode, when the smart mobile device is not
connected to a FlySense AoA PRO, or --preferably-- in connected mode, when the smart
mobile device is connected to a FlySense AoA PRO.
When EFIS TA app runs on a smart mobile device in standalone mode, it displays a relevant
message informing the pilot about operation in standalone mode and runs by employing the
internal sensors of the smart mobile device (assuming that the latter is equipped with the
necessary sensors). When the smart mobile device is connected to a FlySense AoA PRO via a
cable-adaptor or via wifi, the EFIS TA app automatically recognizes FlySense AoA PRO, and
the above message disappears. If, for any reason, connection to the FlySense AoA PRO is lost
(e.g. FlySense AoA PRO is turned off due to: power failure & battery-switch in off position),
EFIS TA app switches automatically to standalone mode and the message reappears.
Accordingly, the pilot may continue using EFIS TA app with the internal sensors of the smart
mobile device as a backup, even in case of power failure!
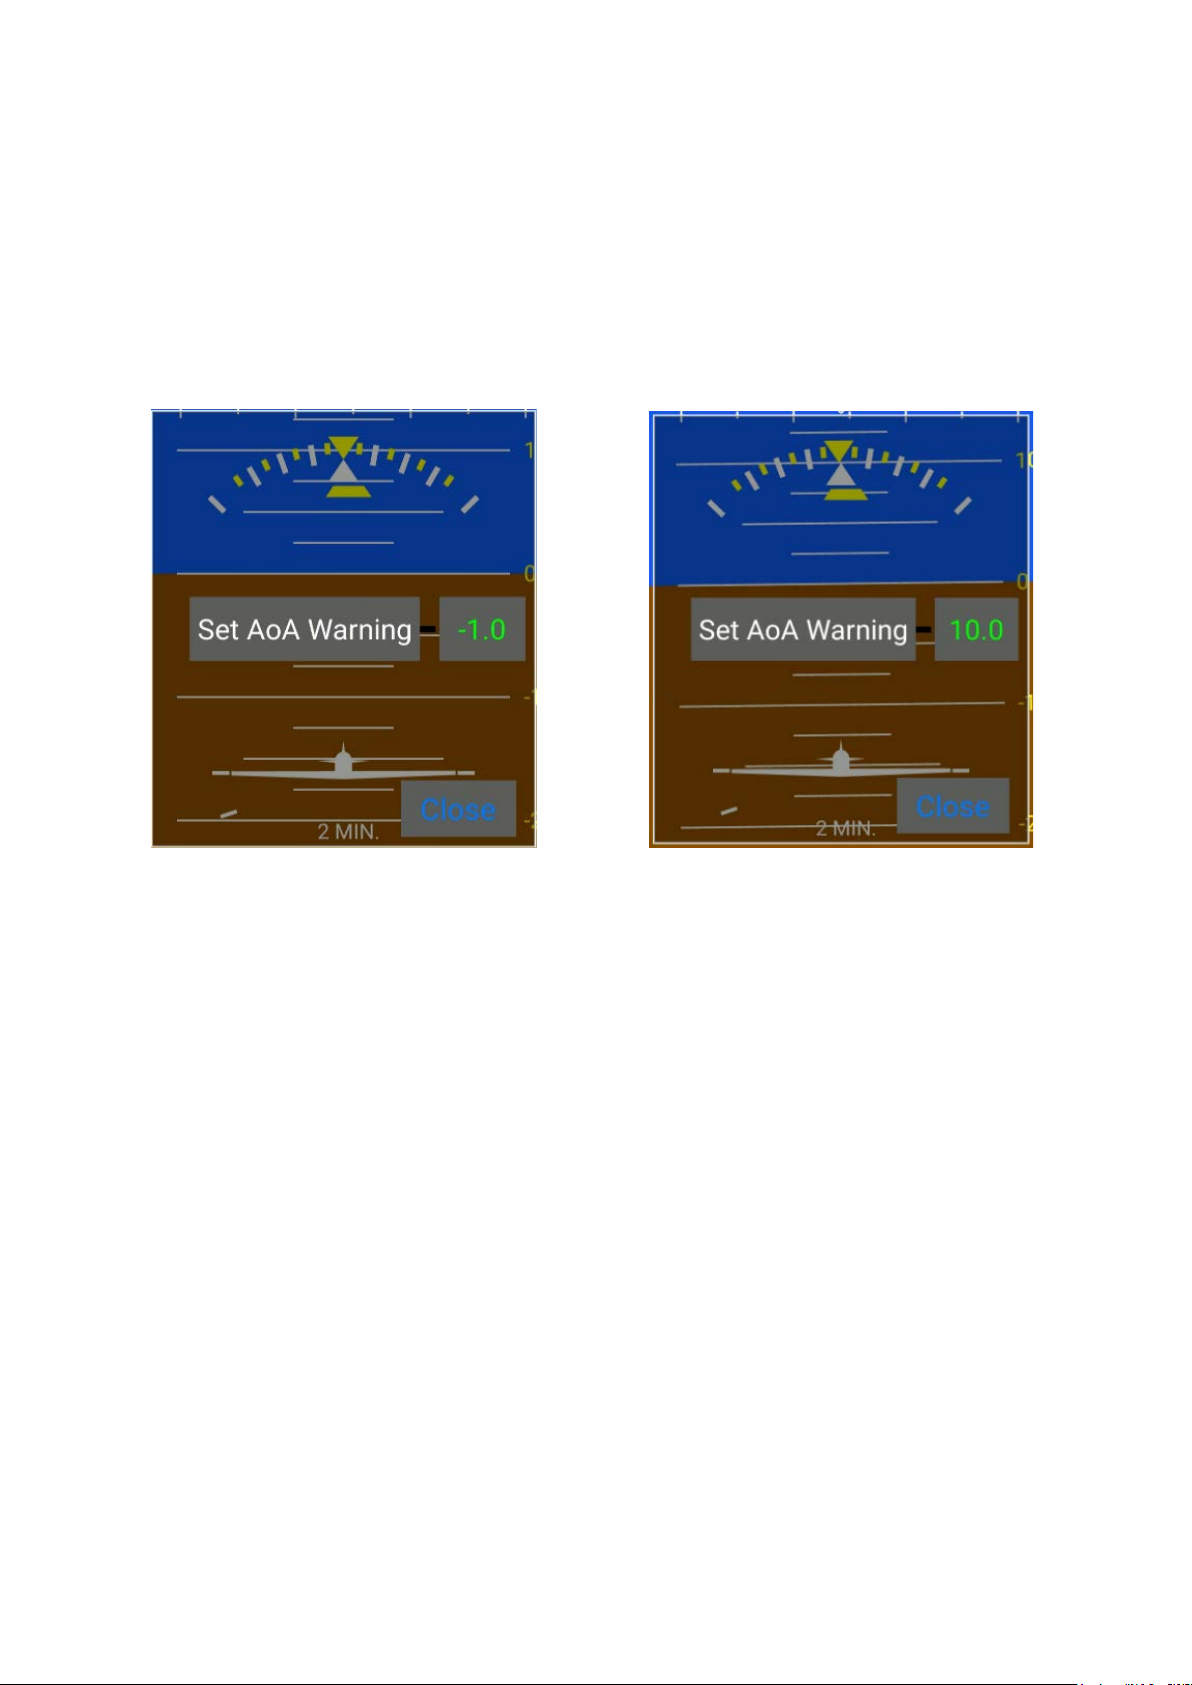
From the main screen of the EFIS TA app interface, you can tap on “MENU” button and
navigate to “sensor status window” and check the status of the sensors, as depicted in Fig. 3
below.

6
(a) (b)
Figure 3: Sensor status window. (a) EFIS TA app working with internal sensors only, (b)
EFIS TA app connected to a FlySense AoA PRO.
To test the connection, start the EFIS TA app and t ap on “MENU” button and then
“Sensor Status”. A screen as in Fig. 3b verifies connection to FlySense AoA PRO. If a screen as in
Fig. 3a comes us, no connection with a FlySense AoA PRO is established. Connection of the smart
mobile device to a FlySense AoA PRO is achieved by two means: (a) wired connection via a USB
cable-adaptor, (b) wireless connection via wifi.
USB Cable Connection
The FlySense AoA PRO comes with a USB connector at the front panel of the device, which
connects it to the smart mobile device that is used as display. USB cable connection confirms
secure communication under any conditions and also facilitates charging of the smart mobile
device.
Please note that in USB Cable connection, the smart mobile device is charged by the
FlySense AoA PRO; accordingly, battery-life of the latter will be reduced if not connected
to an external power source (e.g. cigarette lighter)
.
Please note that due to limitations of the GDL90 communication protocol, ADSB works only
with the wifi connection.
After connection of FlySense AoA PRO to the smart mobile device has been established, please
follow the same steps as when connecting the latter device to a computer. You must permit the
device to connect to unknown sources and press allow when asked, if you trust the connection to
the FlySense AoA PRO.

7
Wifi Connection
FlySense AoA PRO
creates a wifi
network that is used to connect a smart mobile device. The
SSID of
FlySense AoA PRO
wifi
network is “FLYSENSE XXXXXXXXX” where X is a unique
alphanumeric string. Up to ten (10) smart mobile devices can be simultaneously connected via wifi to
an
FlySense AoA PRO
.
1.4 Compass Calibration
Before start using your FlySense AoA PRO, the device’s compass should be calibrated.
This
only needs to be done once. For that, the FlySense AoA PRO has to be powered
up and the
EFIS TA app must be running on a connected (see above) smart mobile device. Please note that
compass calibration must be performed with the aircraft in a parking position on the ground, and
never during a flight. Moreover, this calibration procedure must be performed with the FlySense
AoA PRO as close as possible to the final installation position in order to compensate for
parasitic magnetic fields. The exact steps for compass calibration are outlined below:
•
Power up your device
•
Connect your smart mobile device (iOS or Android) to the FlySense AoA PRO wifi
Network (no password needed).
•
Start the EFIS TA app on the smart mobile device.
•
Tap on “MENU” button and then “Compass Calib”.
•
A notification window will pop up, informing you that the calibration procedure is about
to start. Press “Start” to continue.
•
EFIS TA app will return back to the main screen and the calibration window,
indicating the
calibration progress will appear (Fig. 4). Start rotating your device slowly,
until the
indication on the screen becomes “Good” or “Strong”. To easily achieve the
desired
calibration result, start by rotating your device three times around each axis and
then
perform a sequence of “lazy eight” maneuvers (Fig. 5).
•
Press “Close” or wait a few seconds until the calibration window closes automatically.

8
(a)
(b) (c)
Figure 4: (a) Press “Start” to start compass calibration. (b) Calibration in progress. The
calibration results are indicated as “Weak”; you should continue rotating your device until you
have
a “Good” or “Strong” indication. (c) Indication as “Strong” calibration signifies that the
device’s compass has been properly calibrated.
Fig. 5: To easily calibrate the Compass start by slowly rotating FlySense AoA PRO three times
around each axis and then perform a sequence of “lazy eight” maneuvers until you have a
“Good” or a “Strong” indication on the EFIS TA app.
1.5 AHRS Leveling
As already stated above, the FlySense AoA PRO should ideally be mounted parallel to the
symmetry axes of the airplane. Since this cannot always be accurately performed, AHRS leveling
is important in order to adjust for minor inaccuracies during placement.
The “AHRS leveling” procedure described below needs only to be done once, after you have
mounted and fully connected FlySense AoA PRO. Please note that AHRS leveling must be
performed with the aircraft in a parking position on the ground, and never during a flight.

9
•
Power up your device.
•
Connect your smart mobile device (iOS or Android) to the FlySense AoA PRO wifi
Network.
•
Start the EFIS TA app on your mobile device.
•
Tap on “MENU” button and then “Level AHRS”.
•
EFIS TA app will return back to the main screen and the “AHRS leveling” window (Fig.
6) will
appear.
•
Press the “Auto” button for automatic AHRS leveling, and/or use the arrows to manually
adjust the AHRS. Manual adjustment may be unavoidable if, for example, you are
installing
FlySense AoA PRO in an aircraft with a tailwheel-type landing gear (a
taildragger).
•
When you are done with leveling the AHRS, press “Close” to save the changes and
return to
the main screen.
Fig. 6 : AHRS leveling. Press “Auto” for automatic leveling, and/or use the arrows to
manually adjust the AHRS and the compass.
1.6 Angle of Attack (AoA)
NOTE 1: Angle of Attack operation needs all installation and calibration instructions to be
completed successfully (sections 1.1 – 1.5).
NOTE 2: The AoA indicator will not be visible until the AoA calibration is complete.
Angle of Attack calibration

10
SAFETY NOTE: It is highly recommended that, for safety reasons and in order to achieve
proper calibration, a second person (e.g. co-pilot) performs the calibration procedure while the
Pilot-in-Command flies the aircraft in a safe manner at altitude, while also maneuvering the
aircraft.
AoA calibration procedure is performed according to the following 2 steps.
Step 1:
Click on EFIS TA app “MENU” → “Miscellaneous” → “Calibrate AoA” option. This
will bring up the window shown below in Figure 7(a); a value -1.0 in the mid-right part of the
window signifies uncalibrated FlySense AoA PRO.
(a) (b)
Figure 7: (a) Uncalibrated FlySense device. (b) Calibrated FlySense device (i.e. stall angle has
been determined at 12° and accordingly warning angle has been set at 10°).
Step 2:
While in flight mode, gradually reduce aircraft speed, until stall buffet is reached and press
the “Set AoA Warning” button. This will automatically determine and store the aircraft's stall
angle and will set the warning angle at a value of two degrees (2°) less. In the example case shown
above in Fig 7(b), stall angle has been determined at 12° and accordingly warning angle has been
set at 10°.
Angle of Attack operation
The Angle of Attack feature in FlySense AoA PRO offers both visual AoA indication as well as
aural warning signal. The visual indication is illustrated in Figure 8 and also detailed below.

11
Figure 8: AoA visual indicator explanation.
AoA's visual indicator consists of a color-bar that is composed of three (3) areas as shown above:
•
Green area, which signifies normal aircraft flight attitude.
•
Yellow area, which signifies higher AoA; the higher in the yellow area, the closer to stall
angle the aircraft is.
•
Red area, which depicts critical angle that ranges from 2° before stall and the actual stall
angle.
The upper side of the red area represents the stall angle as stored during calibration procedure.
Accordingly, the border between the red and yellow represents the calibrated warning angle.
For visual indication purposes, FlySense AoA PRO uses a moving white pointer on the color-bar
that indicates the actual AoA. This is illustrated below in Figure 9 that shows three (3) example
cases of AoA during flight. The case in Figure 9(c) is a critical case, where the aircraft is close to
stall attitude.Figure 9: (a) AoA Normal area. (b) AoA warning area. (c) AoA critical area.

12
1.7 Other Considerations Regarding FlySense AoA PRO
FlySense AoA PRO complies fully with applicable Electronic Emissions and Flame Resistance
standards. More specifically:
Electronic Emissions: FlySense AoA PRO deploys a WiFi network with
transmitter power
9mW EIRP. Accordingly
, it complies fully with the 10mW limit imposed by PS-ANM-25-
13 and part 15 of FCC rules.
Flame Resistance: Materials, design and construction of the FlySense AoA PRO are flame
resistant and in compliance with CAR regulation 3.
2
FlySense AoA PRO
Maintenance
FlySense AoA PRO has been designed and manufactured for long and maintenance-free
operation. Still, care must be applied for the following:
FlySense AoA PRO Compass: Any replacement and/or relocation of metallic items in the
cockpit may require re-calibration of the Compass. Please follow the steps outlined in
section 1.4 of the current document for Compass calibration.
3 Use Limitations and Abnormal Operation
The temperature and voltage operational ranges of
FlySense AoA PRO
are as follows:
Temperature range: -20C to 65C or -4F to 149F
Operation Voltage: 10-32Vdc
Operation Current: max 4A during tablet charging. Please use a fuse of 10A.
Inflight power reset: in case of inflight power reset or if you turn on the unit during the flight after
losing your main systems, please note that there is no limitation or constraint of attitude for correct
operation of the
FlySense AoA PRO
. This means that the
FlySense AoA PRO
will recover in any
flight attitude, such as sharp turns, strong turbulence, etc. No constraint is imposed of straight and
leveled flight for recovery, which sometimes, in IMC is impossible to know. In this case, if you
don’t have a visual reference, please wait for about 40 to 60 secs for full recovery of the Artificial
Horizon.
Loss of GPS or Pitot/static: our system uses both GPS and pitot/static for correct attitude
indication. In case of loss of one of them, correct operation relays on the other one. If you lose both,
then operation is based on less attitude accurate information provided by other inertial sensors and,
depending on the kind of flight, there will be a slight drift after 15 to 30 mins.
This manual suits for next models
1
Table of contents
Other TALOS AVIONICS GPS manuals