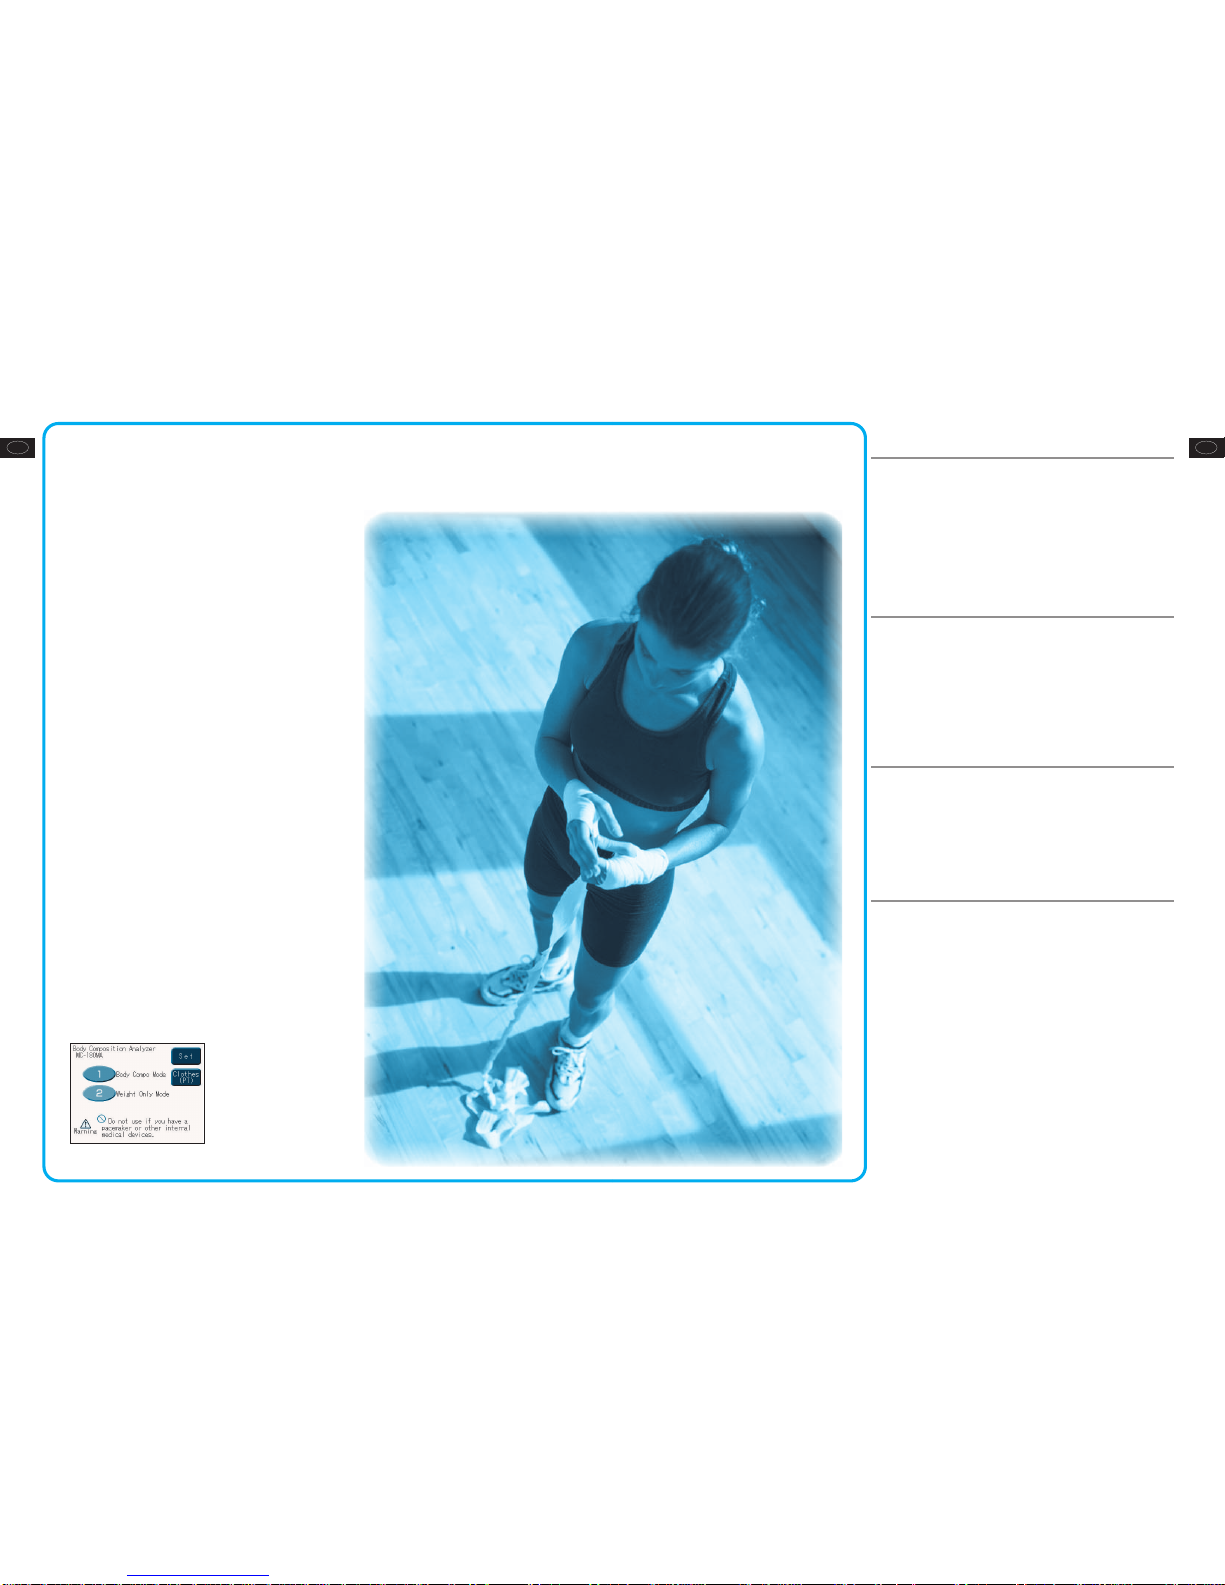
Before use
(cautions for safety)
Before use
(cautions for safety)
GBGB
76
For accurate measurements
Explanation of terminology
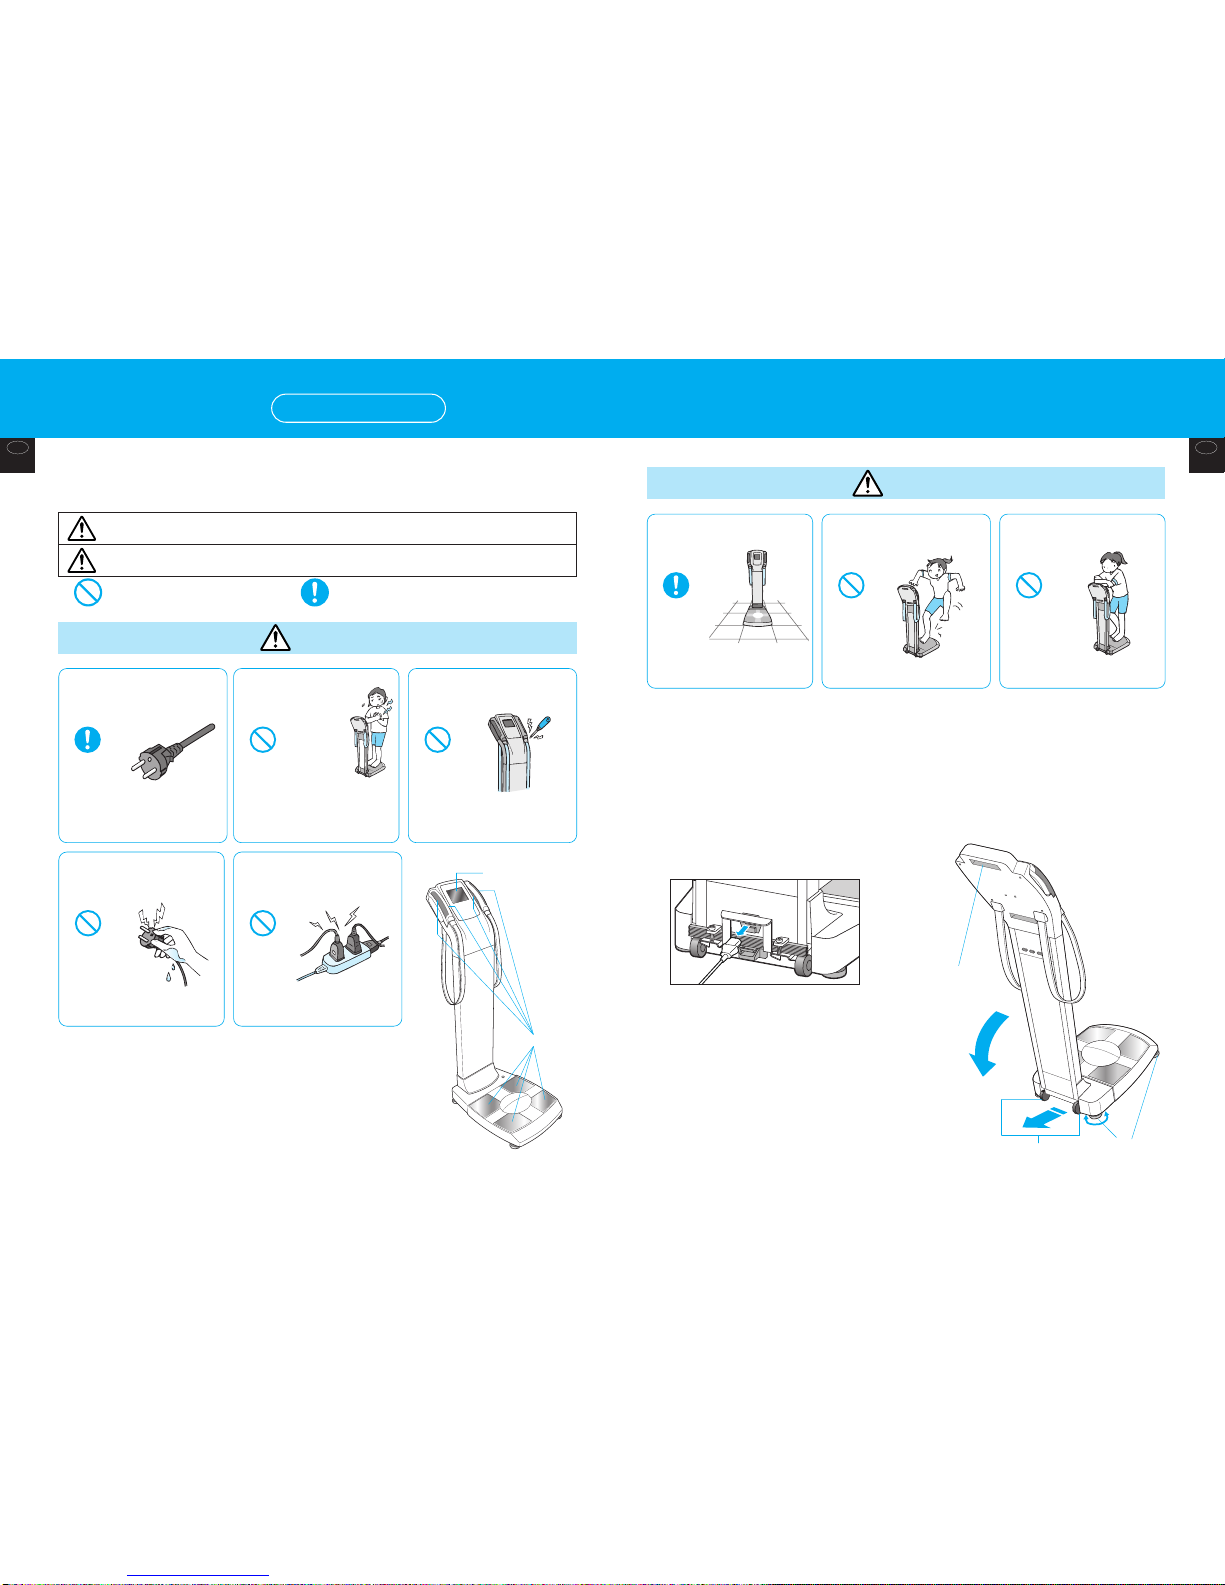
Installation
•Do not wipe the equipment with hot water, benzene.
Please use a damp cloth or a neutral detergent to clean the equipment, and wipe it dry with a dry cloth immediately
afterwards.
•Do not store on a surface subject to strong vibration.
•Do not store in locations subject to high humidity or dust.
•Do not store in locations subject to temperatures outside its storage range.
•When it has not been used for a long time, confirm it can be operated correctly and safely before use.
•Cover the main unit to prevent it from becoming dirty.
•Do not wash with water.
•Avoid subjecting the equipment to excessive shock or vibration.
•Do not unplug the power cord by pulling on the cord.
•When it is not to be used for a prolonged period, turn off the power, and unplug the power cord.
•Do not position in direct sunlight, in areas subject to airflow directly from an air conditioner, or near a heater.
•Do not position in locations subject to significant temperature fluctuation.
•Do not position in locations subject to high humidity or near a water supply.
•Do not position on surfaces subject to strong vibration.
•Do not position in close proximity to stored chemicals, or where gas is generated.
Handling
Storage
Clean-up
This product is precisely manufactured and accurately calibrated. Please observe the following instructions to ensure best results.
This equipment and the attached instruction manual use expressions including terminology sited in the NAWI directive.
Please review the following terminology explanations before use.
•Max (Maximum capacity)
This shows the maximum weight that can be measured by the scale.
[Example] In the case of “Max = 270 kg”, it can be used to measure an individual up to 270 kg.
* Individuals exceeding the weight capacity cannot be measured.
•e(Minimum graduation)
This shows the amount of one scale mark (graduation). In the case of a digital display, this shows the numeric interval value.
[Example] In the case of e = 0.05 kg”, the display increases or decreases in intervals of 0.05 kg.
•PT
To measure the body weight more accurately, the “Preset Tare Deduction” function automatically subtracts the pre-input weight of the
clothes (TARE). The pre-input weight of the clothes is called “Preset Tare” (PT).
<Usage Conditions>
Temperature Range for Use : 5°C / 35°C
Relative Humidity : 30% / 80%
<Storage Conditions>
Temperature Range of Environment : -10°C / 50°C
Range of Relative Humidity : 10% / 90% (without condensation)
To prevent malfunction, do not store the equipment in direct sunlight or subject it to significant changes in
temperature. Do not store in damp or dusty areas, near a fire or where the equipment may be subject to vibration or
shock.
<Power Source>
Value Range
Model Name MC-180MA
Voltage Range 230VAC
Frequency Range 50 / 60Hz
Electric Current Range 2.5A
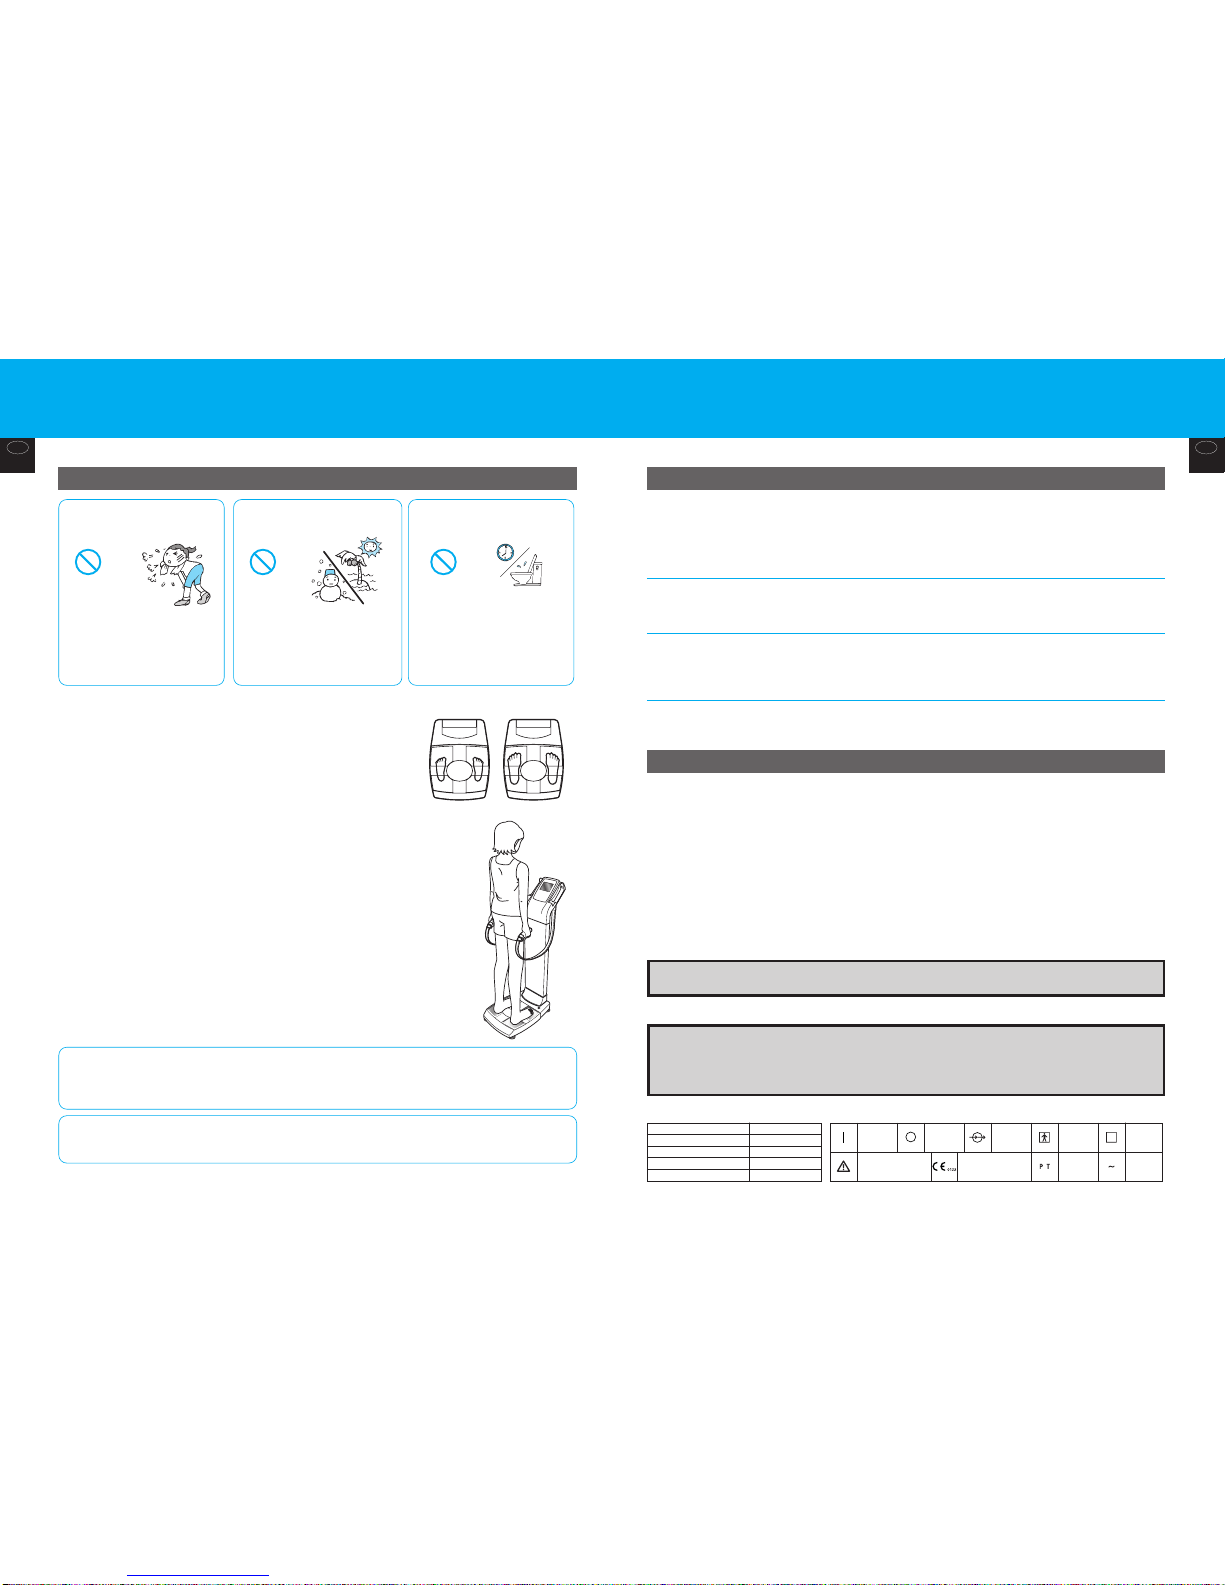
For correct measurement
Do not attempt to take measurements
after excessive consumption of either
food or drink, or while dehydrated.
Prohibited
Measurements are significantly affected
by changes in bodily water volume and
body temperature. It is therefore
recommended that measurements be
taken after going to the toilet, and
ideally measurements should be taken at
the same time every day under the same
conditions.
Monitoring any fluctuations is recommended for reference for the following types of
people.
• Patients undergoing artificial dialysis or with swellings
Method of abandoning product
• When disposing of this unit, please do so in accordance with the prevailing regulations in each country.
ProhibitedProhibited
Do not take measurements in areas
subject to significant temperature
changes.
The results may be erroneous. In the
event of the product being moved
somewhere with a temperature
difference of 20˚C or more, do not use
for at least 2 hours after such a
relocation.
Do not take measurements
immediately after strenuous
exercise.
The results may be erroneous. Please
ensure that the individual being
measured is sufficiently rested first.
Instructions
•Do not use this equipment near other products that emit electromagnetic waves.
Erroneous operation is possible as a result of interference with certain lighting equipment, medical instruments, and communications
equipment (such as inverter fluorescent lighting, microwave therapy devices, and mobile
phones), so these factors should be checked before use.
•Bare feet should be placed correctly on the electrode panel for
measurement.
Incorrect positioning may result in a lower fat % than is actually the case, or an error
message may be shown.
Feet should be positioned on the heel and toe electrodes on each side in roughly equal
proportions as indicated in the illustration on the right.
•Place arms straight down during measurement.
Other positions may induce a lower than actual fat %, or an error message may be shown.
•As far as possible, you should try to take measurements under the same conditions
each day in order to determine any fluctuations.
Otherwise, errors may be observed in the measured value. In order to enhance overall accuracy,
measurements should be taken at the same time every day, but not during the three hours after getting
up in the morning, or three hours after meals.
•Clean any dust or dirt from the palms and soles of the feet before measurement.
Such contaminants may induce a lower than actual fat %, or an error message may be shown.
•Avoid contact between the arms and torso, and between the inner thighs.
Such contact may induce a lower than actual fat %, or an error message may be shown. If they come
into contact because the measurement is being taken while naked or partially naked, a dry towel or
similar should be used as a barrier during measurement.
<Child> <Adult>
<Symbols and their Meanings>
On
Caution
Refer to the attached
notes.
Off
Conformity with
Medical Device
Directive 93/42/EEC
Input,
Output
Type BF
applied
part
Clothes
Weight
Setting
Class I
equipment
Alternating
current