Taurus Light Glamor Video Panel 4096 User manual
1
Video Panel 4096
User Manual
Thanks for choosing our goods please read this manual carefully
before your operating and keep this manual for future needs

2
Thank you for purchasing Video Panel 4096, Every unit has been
thoroughly tested and has been shipped in perfect operating condition.
Carefully check the shipping carton for damage that may have occurred
during shipping. If the carton appears to be damaged, carefully inspect
your fixture for any damage and be sure all accessories necessary to
operate the unit has arrived intact. In the case damage has been found
or parts are missing, please contact the manufacturer or your dealer for
further instructions. You now own a professional lighting unit that offers
endless possibilities.
For your own safety and that of others, please read this instruction
manual carefully before installing the unit.
Anyone involved in installing, operating or servicing the Video Panel
4096 must: •Be a qualified, authorized professional
•Strictly follow the instructions in this user manual.
Please take the time to read this manual carefully and thoroughly before
installing and operating the luminaire. You should have a good
knowledge of its operating conditions and all pertinent product
information.
After you have become familiar with this manual, we recommend that
you keep a copy for future use. All the information found in this manual

3
is subject to change without notice. We reserves the right to modify and
upgrade its range of products, with no obligation to integrate these
changes into products already sold.
Warning
●To prevent or reduce the risk of electrical shock or fire ,do not expose
the unit to rain or moisture.
●Do not open the unit within five minutes after switching off.
●Please consider that damages caused by manual modifications to the
device are not subject to warranty.
Installation
The unit should be mounted via its screw holes on the bracket.Always
ensure that the unit is firmly fixed to avoid vibration and slipping while
operating.And make sure that the structure to which you are attaching
the unit is secure and is able to support a weight of 10 times of the
unit’s weight. Also always use a safety cable that can hold 12 times of
the weight of the unit when installing the fixture.
The equipment must be fixed by professionals.And it must be fixed at a
place where is out of the touch of people and has no one pass by or
under it.

4
Specifications and Features:
•Light Source: 4096pcs SMD5050 RGB LED
•Pixel pitch (mm): 6
•Flicker free sources management, suitable for TV applications and all
video recorded events
•Extremely accurate positioning
•Control:DMX 512,Art-net,Auto,Klingnet
•Graphic LCD display for addressing and special functions settings, with
flip function
•Over temperature protection
•Moving-head skeleton made of aluminium and steel metal plates
•Pixels Density :16384dots/m2
•View Angle :H145°/V110°
•Video Output :DVI/DMX
•Powercon In/Out, 3pin/5pin XLR in and out
•Ethercon RJ45 IN / OUT connectors
•Power Input: AC110 to 240 Volts –50/60Hz
•Power: 180W Max
•Size: 473 x 641 x 307 mm
•Net Weight: 15.5 KG
•Gross Weight: 16.5KG
5
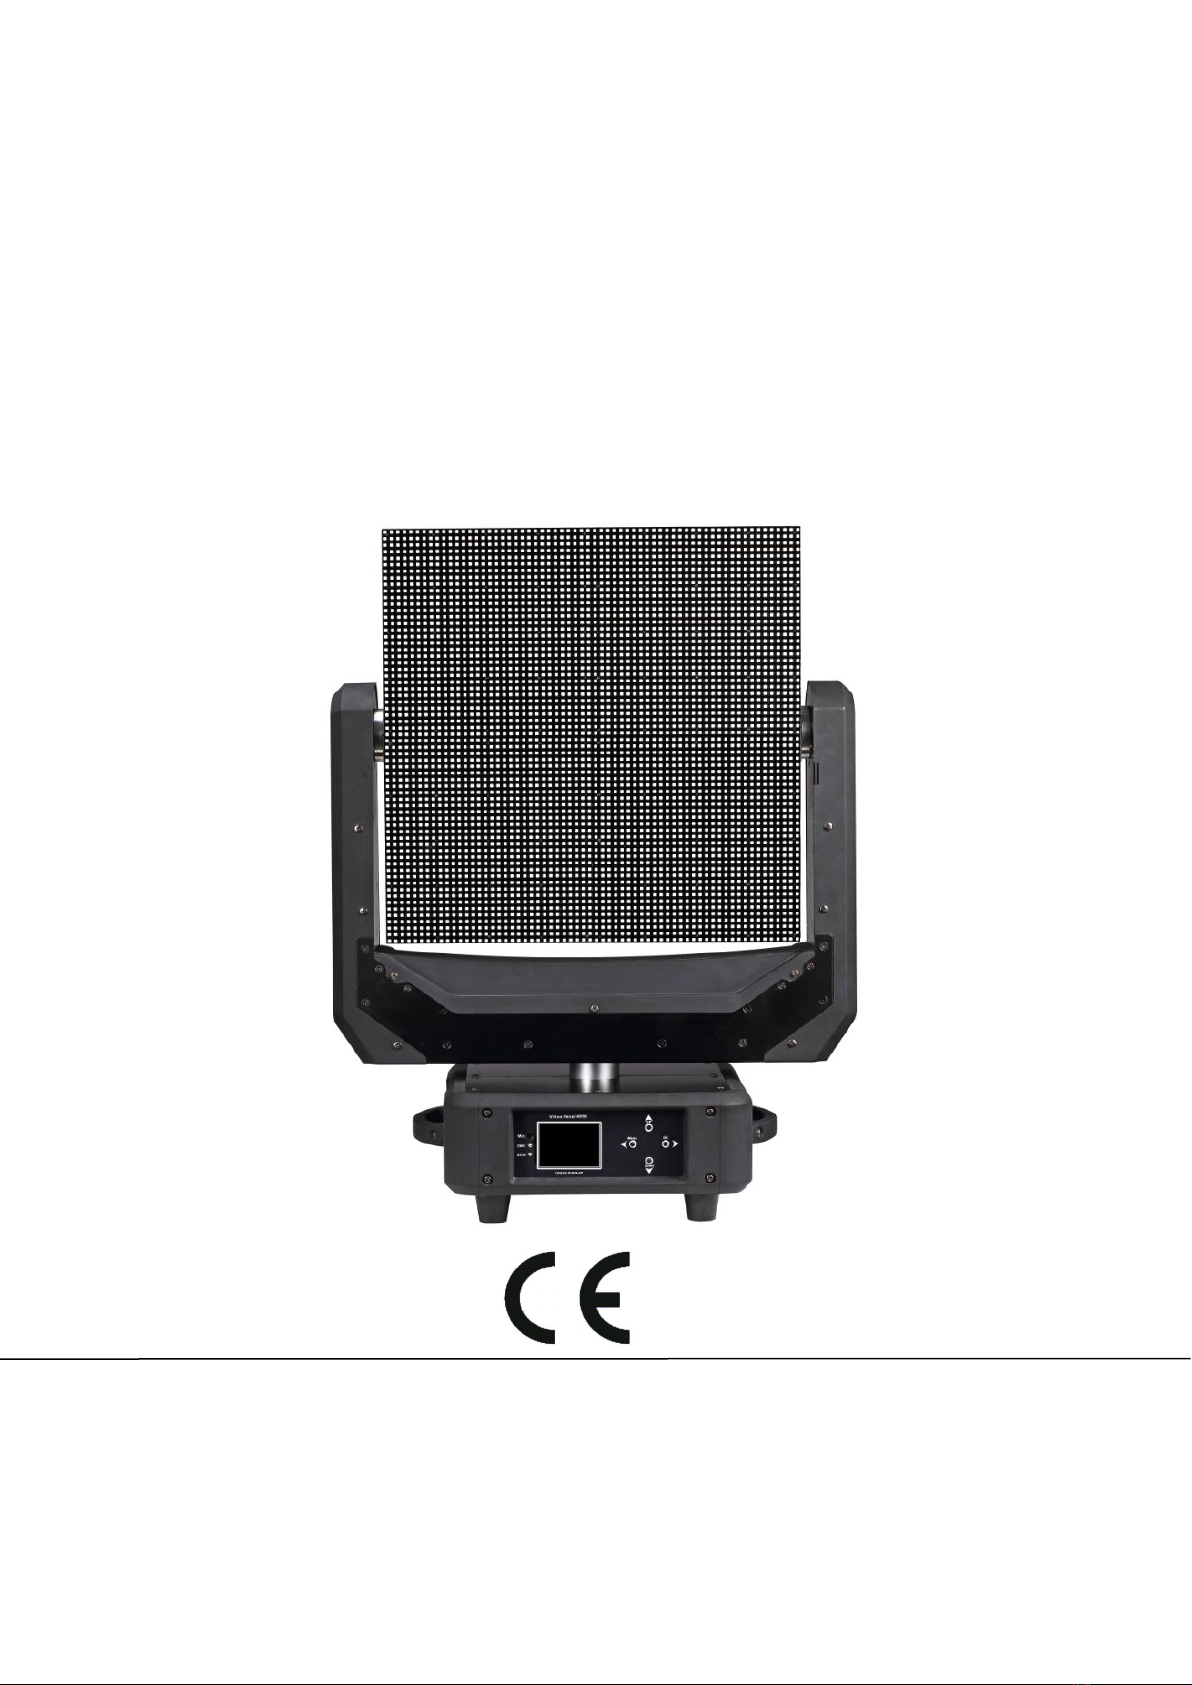
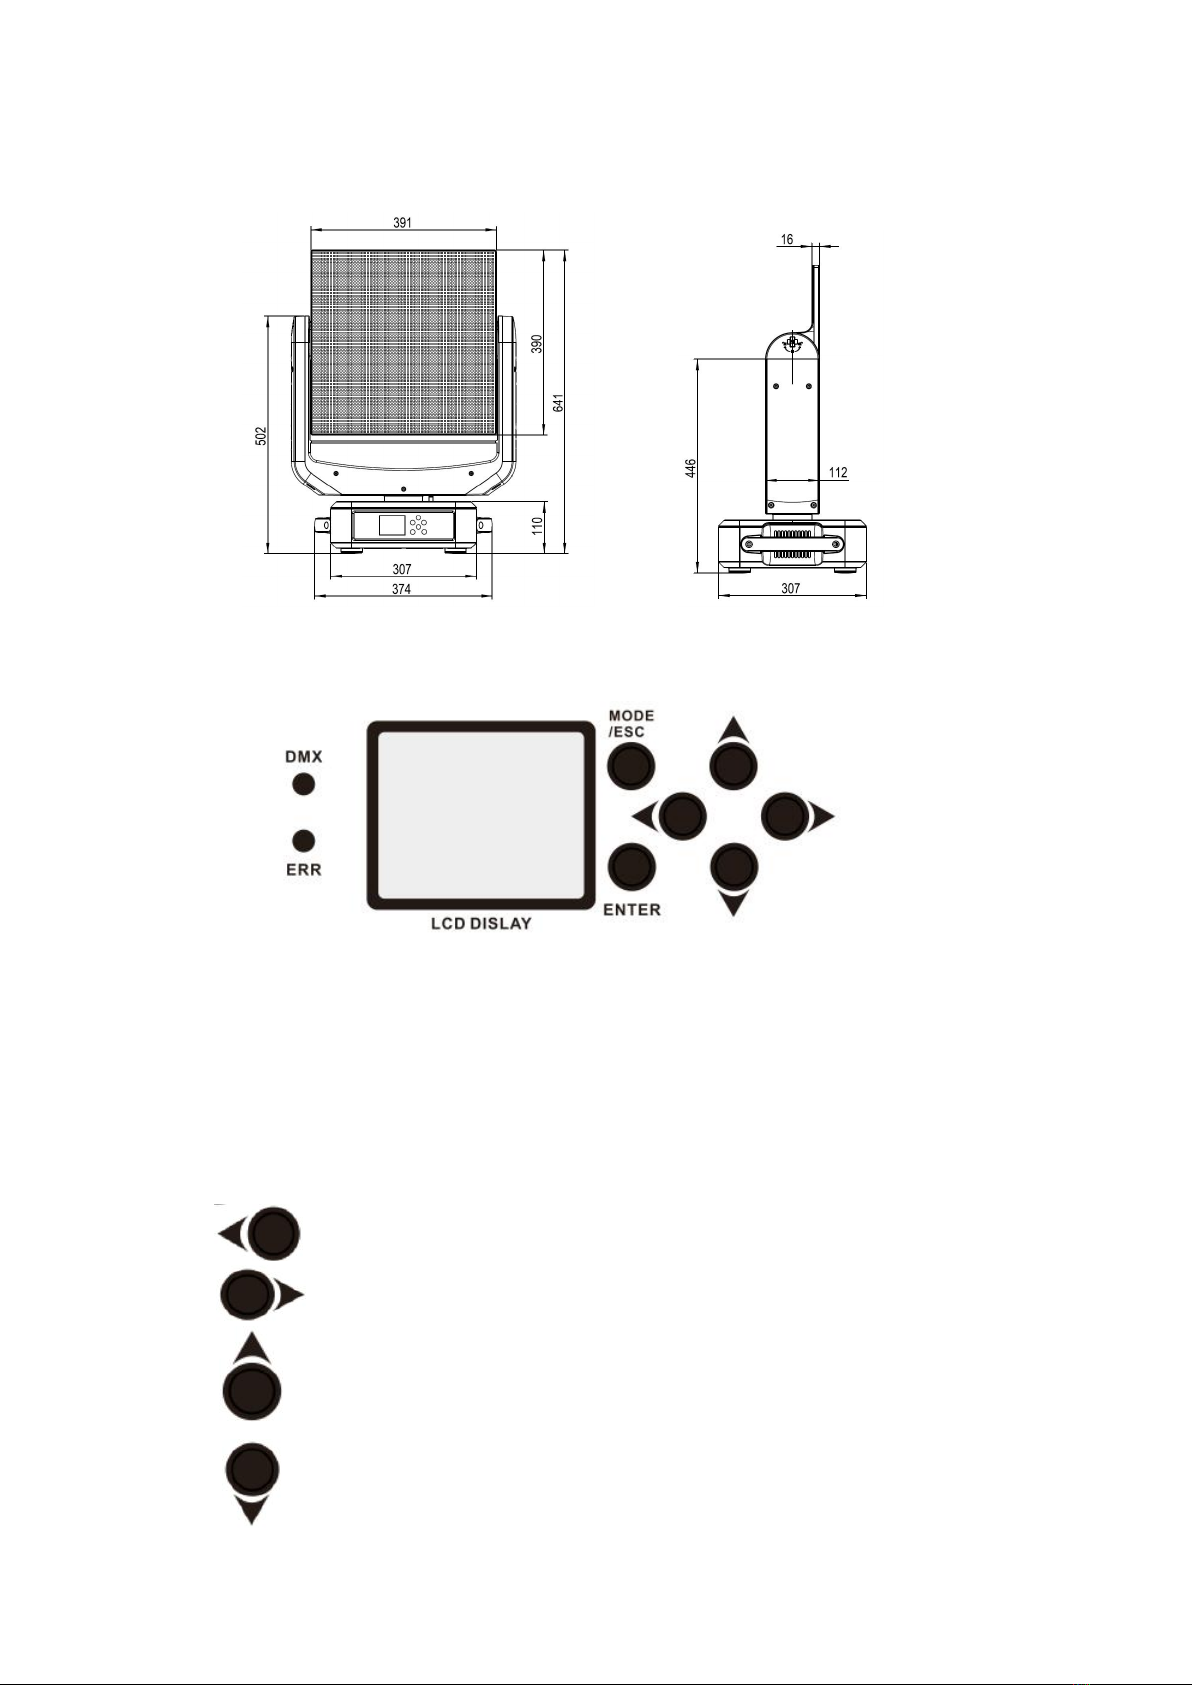
Product View
Menu Operation
•DMX : When DMX Signal in, the LED will be flash
•ERR: When the Light error, the LED will be flash
•Mode/ESC
•ENTER
•Left button
•Right button
•Up button
•Down button
This manual suits for next models
1
Table of contents


