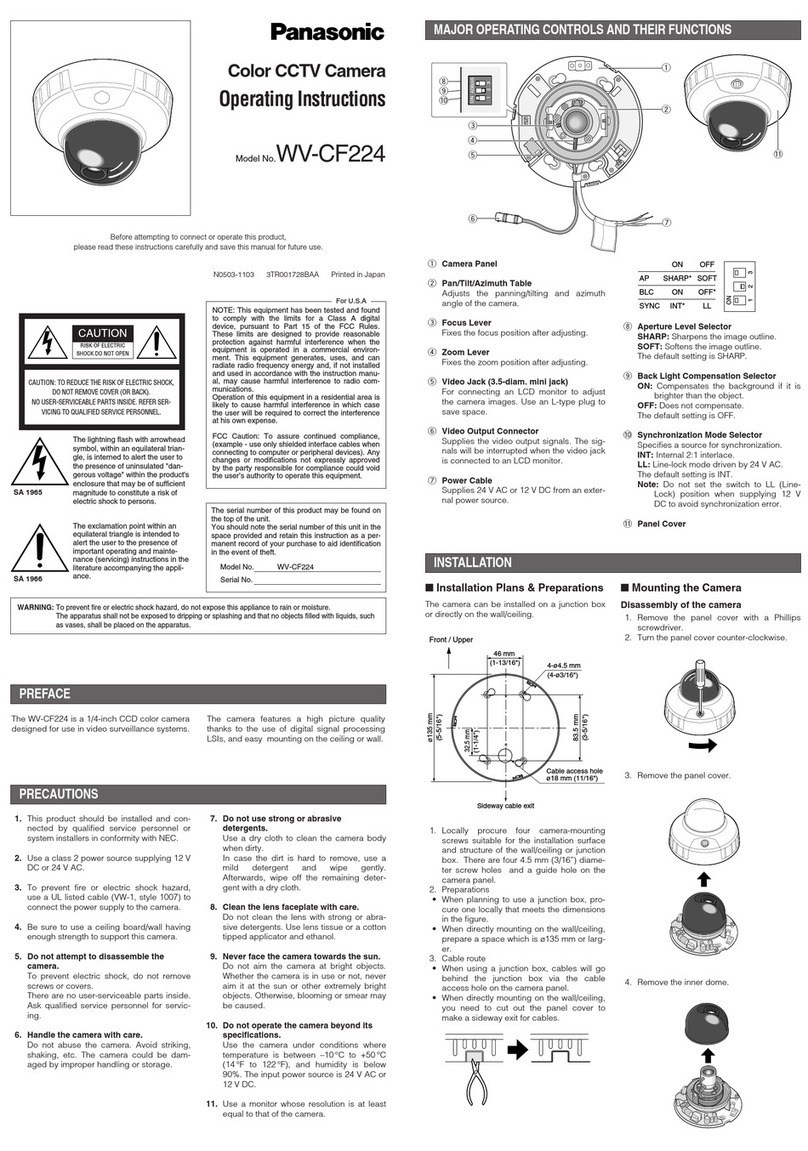
TCP 87743 TS User manual

German
TCP Smart Camera 1080P
TCP Smart-Kamera 1080P
Retail
box
WiFi 2.4 Ghz. 1080p Camera. Indoor use only. Battery. 100˚ wide
angle lens Motion detection. Two way audio. Infrared night vision.
Voice control with Amazon Alexa and Google Home. Works with
iOS and Android. No Hub or Gateway required.
WLAN 2,4 Ghz. Kameraauflösung: 1080p. Nur für die Verwendung in
Innenbereichen. Akkubetrieb. Weitwinkelobjektiv (100˚). Bewegungsmelder.
Zwei-Wege-Audio. Infrarot-Nachtsicht. Sprachsteuerung für Amazon Alexa und
Google Home. Kann mit iOS und Android verwendet werden. Kein Hub oder
Gateway erforderlich.
0
Thank you for purchasing this TCP Smart Camera.
This is a quick start guide for you to get your device connected to
our app and your home WIFI router device.
Before you get started you will need the following:
Smart device such as mobile phone or tablet
Access to the Google or Apple app store, log on and
passwords
The name of your WIFI network and password to your WIFI
network
Confirm your home WIFI router is running on 2.4GHZ and
not 5GHZ.
If you are unsure, please consult your broadband provider
such as Virgin Media, BT or Skype for details on how to
change your settings
Turn off any WIFI extenders during set up
Check you do not have any limitations of the number of
devices with your broadband provider
PLEASE NOTE: Our products do not work on 5 GHZ only 2.4GHZ
For more detailed instructions on how to connect to Amazon Alexa
/ Google Home or use the different functionality please visit:
https://www.tcpsmart.eu/how-to/
Vielen Dank, dass Sie sich für diese TCP Smart-Kamera entschieden haben.
Mit dieser Schnellstartanleitung können Sie Ihr Gerät schnell mit unserer App
und Ihrem WLAN-Router zu Hause verbinden.
Bevor Sie beginnen, benötigen Sie Folgendes:
ein Smartgerät, z. B. ein Mobiltelefon oder ein Tablet
Zugriff auf den App Store von Google oder Apple, mit Login und
Passwort
den Namen Ihres WLAN-Netzwerks und das Passwort, um darauf
zugreifen zu können
der WLAN-Router muss mit 2,4 GHz und nicht mit 5 GHz laufen
Wenn Sie sich nicht sicher sind, wenden Sie sich bitte an Ihren
Internetanbieter (etwa die Deutsche Telekom oder 1&1) für weitere
Details dazu, wie Sie Ihre Einstellungen ändern können
Sämtliche WLAN-Extender müssen während der Einstellung
ausgeschaltet sein
Prüfen Sie bei Ihrem Internetanbieter, ob die Anzahl der Geräte, die
mit dem WLAN-Netz verbunden werden können, beschränkt ist
WICHTIGER HINWEIS: Unsere Produkte können nur mit 2,4 GHz, nicht mit
5 GHz betrieben werden.
Für eine detailliertere Anleitung für die Verbindung mit Amazon Alexa/Google
Home oder für die unterschiedlichen Funktionalitäten des Geräts, gehen Sie
bitte auf: https://www.tcpsmart.eu/how-to/

The first step is to download the TCP Smart App from the Apple
App store or from Google Play store.
Search for “TCP Smart”. The app is free to download.
If you have a QR scanner on your phone please Scan the QR code
below.
Als erstes muss die TCP Smart-App aus dem App Store von Apple oder Google
heruntergeladen werden. Suchen Sie dafür nach „TCP Smart“. Die App ist
kostenlos.
Wenn Ihr Mobiltelefon einen QR-Scanner besitzt, können Sie dafür den unten
abgebildeten Code scannen.
1
Once the app has downloaded select Register from the opening
screen. You will then be presented with a Privacy Policy.
Please read and agree if you are happy to proceed.
Sobald die App heruntergeladen wurde, wählen Sie auf dem Bildschirm
„Register“ (Registrieren) aus. Es wird dann die Datenschutzbestimmung
angezeigt.
Bitte lesen Sie diese und stimmen Sie dieser zu, wenn Sie fortfahren möchten.
2
On the registration page, you can choose to register with either
your email or mobile number.
Once you have entered your details press the obtain verification
code button. Ensure the service agreement box is ticked.
Auf der Registrierungsseite können Sie entweder Ihre E-Mail-Adresse oder
Mobiltelefonnummer verwenden.
Sobald Sie Ihre Informationen eingegeben haben, drücken Sie auf die
Schaltfläche „Obtain verification code“ (Verifizierungscode erhalten). Kreuzen
Sie außerdem das Kästchen für die Zustimmung zum Dienstleistungsvertrag an.
3
You have 60 seconds to enter the verification code which would
have been sent to your mobile phone or email address.
If this time expires go back to the registration page and re-enter
your details.
Dann haben Sie 60 Sekunden Zeit, um den Verifizierungscode einzugeben, den
Sie auf Ihr Mobiltelefon oder per E-Mail erhalten haben.
Wenn diese Zeit abgelaufen ist, müssen Sie zurück zur Registrierung gehen und
Ihre Angaben erneut eingeben.
4
Set a Password. This password must contain 6-20 characters, and
include a combination of letters and numbers.
Once entered press complete.
Passwort erstellen. Dieses Passwort muss aus 6-20 Zeichen bestehen und
sowohl Nummern als auch Buchstaben besitzen.
Drücken Sie auf „Complete“ (Abschließen), sobald Sie es eingegeben haben.
5
Create a family for your devices, this can be anything you wish. You
can select rooms you wish to have in your family.
You can also enable your location which is useful for location apps.
Press completed in right hand corner.
Erstellen Sie, wie gewünscht, eine Familie für Ihre Geräte. Sie können die
Räume auswählen, die Sie in Ihre Familie integrieren möchten.
Außerdem können Sie Ihren Standort aktivieren, was für Apps mit
Standortfunktion hilfreich ist. Drücken Sie rechts in der Ecke auf „Complete“
(Abschließen).
6
Your Home page within the app is now ready to add your SMART
devices.
Do this by pressing the + button in the top right hand corner or
pressing 'Add device‘.
Sie können nun Ihre SMART-Geräte zu Ihrer Homepage in der App hinzufügen.
Dafür können Sie entweder oben rechts auf + oder auf „Add device“ (Gerät
hinzufügen) drücken.

7
A list of different types of SMART devices will now be listed for you
to select from.
Select Smart Camera from the list.
Ihnen wird hier eine Liste mit unterschiedlichen Typen von SMART-Geräten
angezeigt.
Wählen Sie die Smart-Kamera aus der Liste aus.
8
Turn the Smart Camera on using the switch at the base.
A red light under the lens should start to flash rapidly. If this does
not happen please refer to trouble shooting section.
Once flashing press the next step blue button on your screen.
Schalten Sie die Kamera mit Hilfe des Schalters ein.
Ein rotes Licht unterm dem Objektiv beginnt nun schnell zu blinken. Wenn dies
nicht der Fall ist, sehen Sie bitte im Abschnitt „Fehlersuche“ nach.
Sobald das Licht blinkt, drücken Sie bitte auf die blaue Schaltfläche auf Ihrem
Bildschirm.
9
Choose your WiFi network & enter your password to connect.
If you are unsure of your details please check with your broadband
provider.
Press the ok button to connect to your device.
Wählen Sie Ihr WLAN-Netzwerk aus und geben Sie Ihr Passwort ein, um die
Verbindung herzustellen.
Wenn Sie die Informationen nicht haben, wenden Sie sich bitte an Ihren
Internetanbieter.
Drücken Sie auf OK, um Ihr Gerät zu verbinden.
10
The QR code on your screen will need to be scanned. Press
continue and place your Smart device in front of the Smart Camera
between 15 to 20cm away. You should hear a beep, press the
Heard The Beep button. If the device does not beep press the
Heard Nothing At All button and follow the on screen steps.
Der QR-Code auf Ihrem Bildschirm muss eingescannt werden. Klicken Sie auf
„Continue“ (Weiter) und positionieren Sie Ihr Smart-Gerät 15 bis 20 cm vor der
Smart-Kamera. Es ertönt ein Piepsignal. Klicken Sie dann auf „Heard The Beep“
(Ich habe das Signal gehört). Wenn Sie kein Signal vernehmen, klicken Sie auf
„Heard Nothing At All“ (Ich habe nichts gehört) und befolgen Sie die Schritte
auf dem Bildschirm.
11
Your Smart Camera will start the connection process. The device
will stop blinking and the connection wheel will reach 100%. (If this
does not happen please see trouble shooting).
Ihre Kamera beginnt jetzt, die Verbindung herzustellen. Das Gerät hört auf zu
blinken und der Verbindungsstatus erreicht 100 %. (Wenn dies nicht der Fall
ist, sehen Sie bitte im Abschnitt „Fehlersuche“ nach.)
12
Once the Smart Camera is connected, it can be renamed to suit
your needs. We recommend you name the device for the room it is
i.e. nursery.
Once your Camera has been renamed press completed.
Your camera is now ready to use.
Sobald die Verbindung mit der Kamera hergestellt wurde, kann diese nach
Ihren Wünschen umbenannt werden.
Klicken Sie auf „Completed“ (Abgeschlossen), sobald Sie die Kamera
umbenannt haben.
Ihre Kamera ist nun bereit zur Nutzung und kann mit der magnetischen
Befestigung verbunden werden.

13
COMMON TROUBLE SHOOTING:
No Validation code
If you have not received a validation code please check you have
entered your details correctly. If you are still not receiving a
validation code try registering under a different source, either a
mobile number of email address.
No WiFi connection during the connection process
If you camera will not connect please ensure your router is 2.4GHZ
and your WIFI connection is working correctly and your detail are
correct.
Try resetting your router and if you have WIFI booster devices they
are turned off.
Camera device not flashing quickly
If the Smart Camera’s red light is not flashing quickly when starting
the connection process, you will need to reset the Camera using
the reset button on the back of the Camera.
Not sure if I have 2.4Ghz or 5Ghz
Your home WiFi router needs to be set to 2.4Ghz and not 5Ghz.
If you are unsure, please consult your broadband provider such as
Virgin Media, BT or Skype for details on how to change the settings.
For more trouble shooting advice please visit our website
https://www.tcpsmart.eu/faq/
RED compliance
TCP hereby declares that the device is in compliance with the
essential requirements and other relevant provisions of directives
2014/53/EU, 2009/125/EC and 2011/65/EU. Full declaration can be
viewed at tcpi.eu.
HÄUFIGE FEHLER:
Kein Validierungscode
Wenn Sie keinen Validierungscode erhalten haben, prüfen Sie bitte, ob Sie Ihre
Kontaktiünformationen richtig angegeben haben. Wenn Sie dann noch immer
keinen Validierungscode erhalten, registrieren Sie sich auf eine andere Art,
d. h. entweder mit Ihrer Mobiltelefonnummer oder Ihrer E-Mail-Adresse.
Während des Verbindungsprozesses konnte keine WLAN-Verbindung
aufgebaut werden
Wenn Ihre Kamera keine Verbindung aufbaut, prüfen Sie bitte, ob Ihr Router
mit 2,4 GHz arbeitet und Ihre WLAN-Verbindung ordnungsgemäß funktioniert.
Setzen Sie Ihren Router zurück und schalten Sie mögliche WLAN-Extender aus.
Die Kamera blinkt nicht schnell
Wenn das rote Licht der Kamera am Anfang des Verbindungsprozesses nicht
schnell blinkt, müssen Sie die Kamera mit der Reset-Taste auf der Rückseite
der Kamera zurücksetzen.
Ich bin mir nicht sicher, ob mein Router mit 2,4 GHz oder 5 GHz arbeitet
Ihr WLAN-Router muss mit 2,4 GHz und nicht mit 5 GHz betrieben werden.
Wenn Sie sich nicht sicher sind, wenden Sie sich bitte an Ihren Internetanbieter
(etwa die Deutsche Telekom oder 1&1) für weitere Details dazu, wie Sie diese
Einstellung ändern können.
Weitere Problemlösungen finden Sie auf unserer Webseite:
https://www.tcpsmart.eu/faq/
Einhaltung der Funkgeräterichtlinie
TCP erklärt hiermit, dass das Gerät den wesentlichen Anforderungen und
anderen relevanten Bestimmungen der Richtlinien 2014/53/EU, 2009/125/EG
und 2011/65/EU entspricht. Die vollständige Erklärung finden Sie auf tcpi.eu.
This manual suits for next models
1
Popular Security Camera manuals by other brands
Aigis Mechtronics
Aigis Mechtronics MLA Series Installation and operating instructions
Direct IP
Direct IP IDIS DC-S6281FX quick guide
Orion
Orion SC106 Instructions for use
Wirepath
Wirepath WPS-100-BUL-A-SL installation manual
Iqinvision
Iqinvision Alliance-mini Series Installation and operating instructions

LG
LG LV902 instruction manual
