Important Information
4
Table of Contents
If a television is not positioned in a sufficiently stable location, it can be potentially hazardous
due to falling. Many injuries, particularly to children, can be avoided by taking simple precautions
such as:
• Using cabinets or stands recommended by the manufacturer of the television.
• Only using furniture that can safely support the television.
• Ensuring the television is not overhanging the edge os the supporting furniture.
• Not placing the television on tall furniture (for example, cupboards or bookcases) without
anchoring both the furniture and the television to a suitable support.
• Not standing the televisions on cloth or other materials placed between the television and
supporting furniture.
• Educating children about the dangers of climbing on furniture to reach the television or its
controls.
• Keep small accessories out of reach of children so they are not mistakenly swallowed.
5
7
9
10
11
16
18
28
30
39
41
60
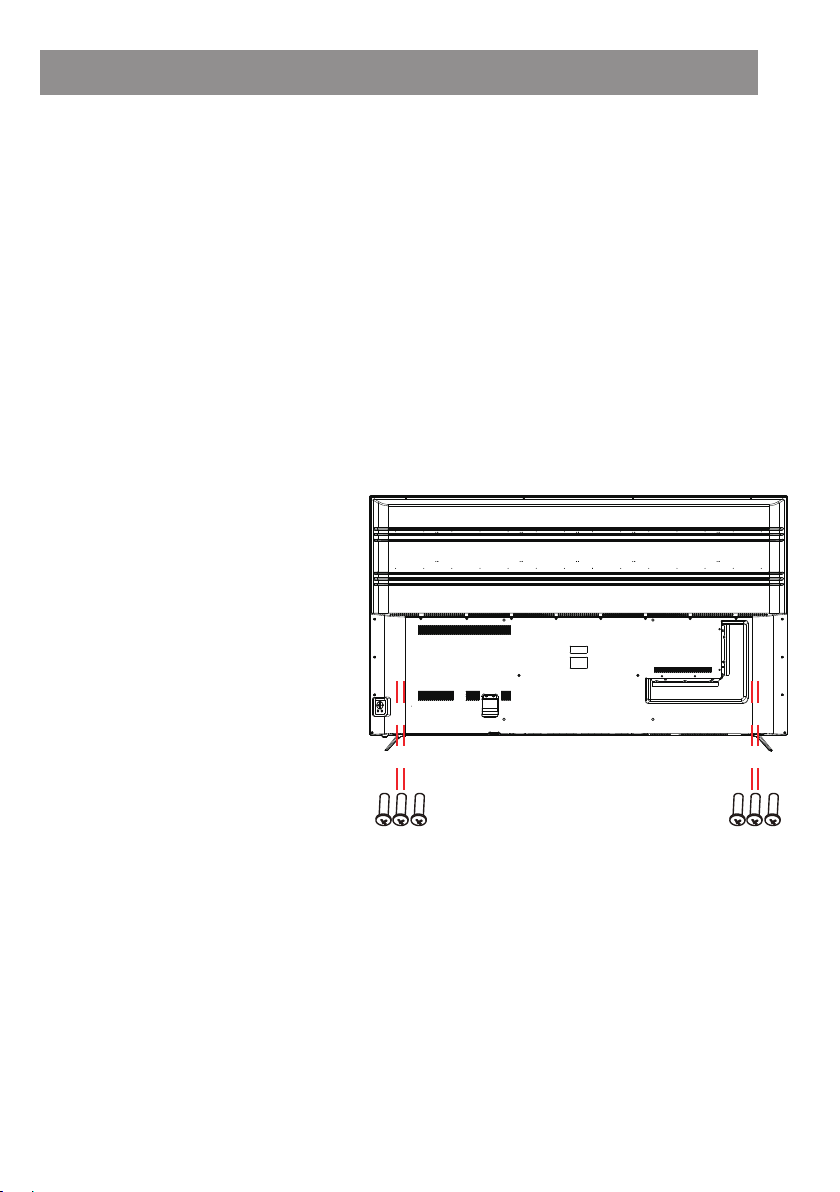
INSTALLATION --------------------------------------------------------------------------------------------------------
CONTROLS AND CONNECTIONS ------------------------------------------------------------------------------
SPECIFICATIONS -----------------------------------------------------------------------------------------------------
REMOTE CONTROL --------------------------------------------------------------------------------------------------
Getting Started with webOS TV
How to Operate TV
Enjoy Live TV
------------------------------------------------------------------------------------
---------------------------------------------------------------------------------------------------
-----------------------------------------------------------------------------------------------------------
ENJOYING CONTENT STORE
CONNECTING EXTERNAL DEVICES
------------------------------------------------------------------------------------
---------------------------------------------------------------------------
MAKING THE MOST OF SMART TV
SETTINGS
TROUBLESHOOTIN
-----------------------------------------------------------------------------
--------------------------------------------------------------------------------------------------
---------------------------------------------------------------------------------------------------------------