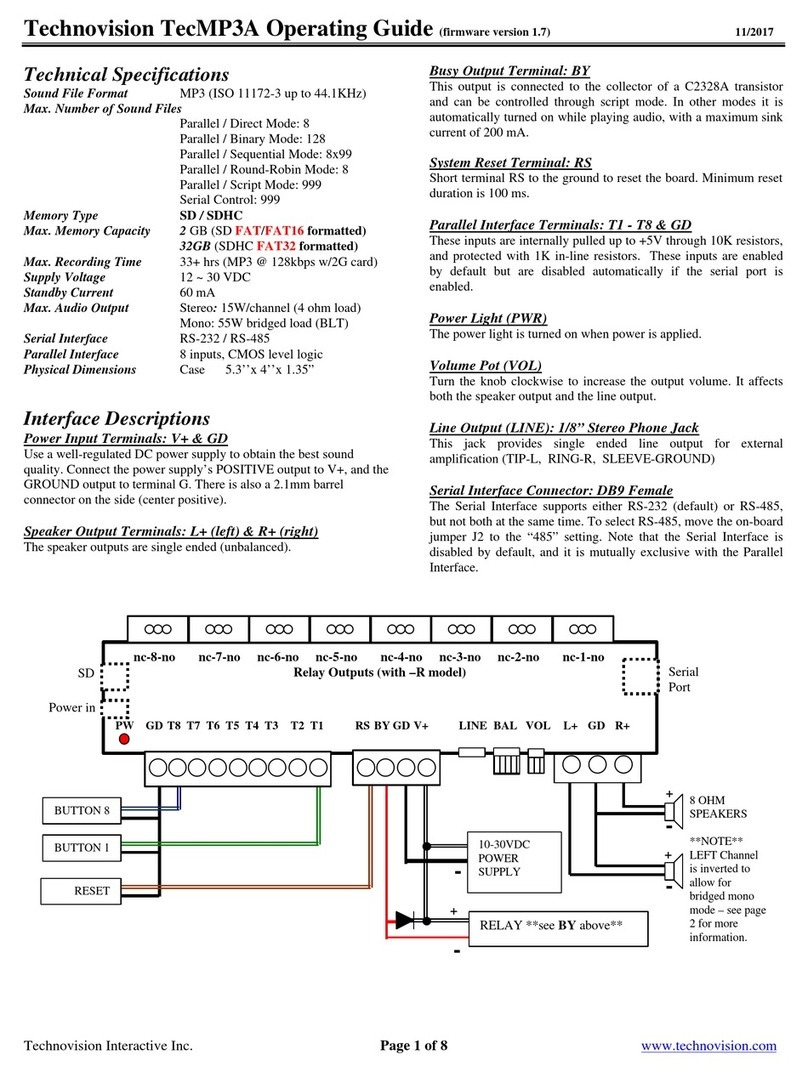
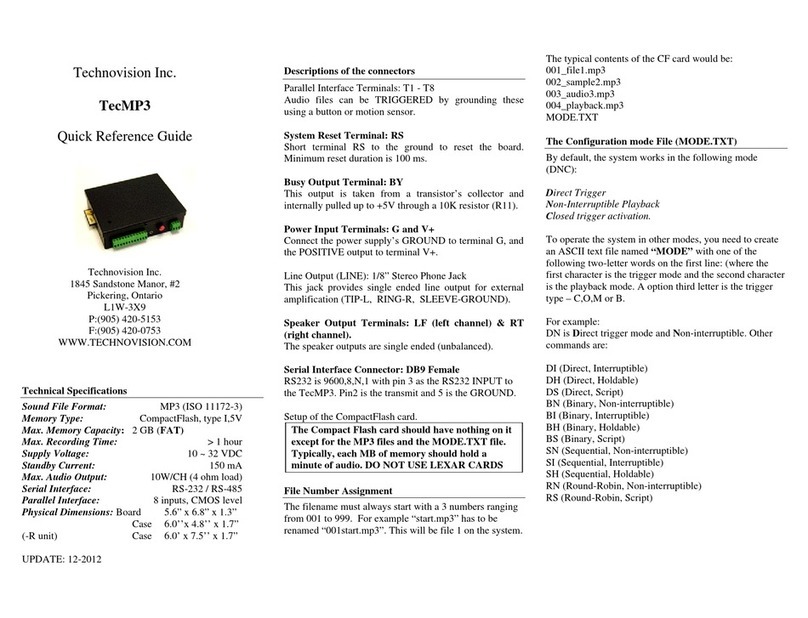
Technovision DV75N User manual

¯
12
Technovision
DV75N
Quick Reference Guide
Firmware 1.94
2015/12
DV75N plays:
MPEG-2 (MP@HL)
MPEG-4.2 (ASP@L5)
MPEG-4.10(H.264) [email protected] [email protected]
WMV9 (MP@HL)
Windows JPEG (.jpg, 4096x4096 max)
Audio (.mp3, AAC-LC, HE-AAC)
Technovision
1845 Sandstone Manor, #2
Pickering, Ontario
L1W 3X9
P:(905) 420-5153
F:(905) 420-0753
www.technovision.com
Operation
The DV75N high definition digital signage player is
capable of playing back full-motion HD 1080P audio &
video clips from its INTERNAL SDHC card.(default
4GB). Content is updated by inserting a USB FLASH
drive containing the content. This content can be updated
manually through a MENU choice or automatically by
using a command.txt text file (see page 2).
Initial Start-up
Upon start-up, the player will be set to 1280x720 VGA
output and will display the words “LOADING NOW..”
on the screen. Once initialized it will switch to its default
output (HDMI or VGA as chosen on the
VIDEO/AUDIO menu) and begin playing the content
based on the DSP MODE.
Setting the video output (VMODE button)
The default output on the DV75N is VGA, but the output
can be changed within the VIDEO/AUDIO menu or by
pressing the VMODE button on the remote. Pressing
VMODE button will toggle through the three outputs on
the player (Composite, VGA1280x720 and HDMI480p).
DSP (Digital Signage Playback) Mode
There are two main modes that are set in the BASIC
menu –STANDARD and INTERACTIVE. Within
INTERACTIVE there are three modes (STANDBY,
REPEAT, MENU or CONTINUE) and these are set in
the ADVANCED menu (see page 3). The default is
INTERACTIVE-REPEAT unless players are pre-
configured for Ethernet MultiSynch (ESYNCH) mode
prior to shipping.
Updating Content from a USB2.0 Flash Drive
MANUAL UPDATE:
To update the content manually, insert the USB2.0
Flash drive into the DV75N and press MENU on the
remote. Once the MAIN MENU is shown, select
“BASIC” from the MENU. On the BASIC menu
there are two choices for copying files:
USB SYNCH: Will erase the internal SD card and
copy all the contents off the USB. The only files on
the USB should be the media files -if there are
any other files or directories on the card (i.e. Mac
.dsstore or ._ trash files), the DV75N will still try
to play them.
USB COPY: Will copy all files to the SD card.
AUTOMATIC UPDATE (command.txt):
To have the USB content automatically update the
internal SDHC card, when inserted into the DV75N,
you must include a command.txt text file on the USB
flash drive with one for the following commands on
the first line:
“copycontents”, identical to the USB COPY
“updateall”, same as USB SYNCH
“updatecontents”, only new VALID media content
on the USB will be copied and any files not being
used on the SDHC card will be erased.
Filenames
The DV75N, sorts its files alphabetically for
playback. Even though it is not necessary, we
recommend that (with DSP mode set to MENU) the
“menu file” be named, for example, “000.mpg” and
that the other files be named “001.mpg”, ”002.mp3”,
“003.jpg” etc. This makes it easy to remember what
file is to be played on the button press.
more…

¯
345
MAIN MENU
You can always go to this menu by pressing the MENU
button on the remote.
(1) BASIC MENU
On this menu you can update and confirm the DV75Ns
firmware as well as view, erase or format the contents
of the internal SDHC card. You can also set the player
to STANDARD or INTERACTIVE DSP mode. In
STANDARD mode, the DV75N plays the files based
on a PLAYLIST.TXT text file. The type of
INTERACTIVE mode is set on the ADVANCED
menu (see next page).
(2) VIDEO/AUDIO
On this menu you can select the players output (HDMI
or VGA).
(3) SERVER
On this menu, you set the IP address and folder for the
server (INTERNET or STANDALONE) that the
DV75N will be pulling it’s content from.
(4 & 5) LAN and WLAN
On these menus, you set the LAN and WLAN
parameters for attaching the DV75N to a LAN or
WLAN. IF using a WLAN you MUST DISABLE the
LAN.
(6) SCREEN
You will set the JPG transition effect (crossfade etc)
and time that the JPG is shown. Other parameters are
AUTO SCALING for video and image, and the
position and type of captioning (i.e. RSS) on the
screen.
(7) TIME
Sets the parameters for the time on the DV75N
(manual or NTP) as well as the ON/OFF timer.
(8) ADVANCED
On this menu you set the DSP INTERACTIVE MODE
(see below) as well as the interactive parameters (RS232
protocol or Ethernet control –IP address and network
port#)
DSP (player) MODES:
STANDBY uses an external controller -plays file
(button press) and then goes into standby mode.
REPEAT uses an external controller -continues to
repeat all the files and will play file (button press). Files
named “000” will be ignored.
MENU uses an external controller -repeats file 1 and
will then plays file (button press) once.
CONTINUE uses an external controller -continues to
repeat file (button press). Ignores “000” upon start up.
You also set the MultiSync settings on this menu.
Mode: Enabled or Disabled
Controller IP:IP of the DV75Ncontrolplayer.
Number of Players: Total # of players being synched.
When using INTERACTIVE MultiSync, RS232
commands sent to thecontrolplayerare automatically
sent to all the other players.If you are not using
MultiSync mode –make sure the Mode is set to
Disabled.
(9) ADDITIONAL
This menu is only for OEM products that contain digital
modulators.
(10) LANGUAGE
You will select the default language for the system.
(11) PLAY
Use this option to EXIT from the MAIN MENU.
Start-up Troubleshooting
If, after a minute you notice the “SD” LED on the
front of the DV75N is flashing but there is nothing
being displayed, there is a very good chance that the
current video output is not set to the one you are
connected to. Press the <VMODE> button, to toggle
the player’s output, until you see the
CONFIGURATION MENU. You can then select
VIDEO/AUDIO to set the proper output resolution.
NOTE: Any video settings in the DSPCONFIG.TXT
text file will override manual settings.
If you are in ESYNCH mode, the screens are black
and the SD light is not blinking, make sure all the
players are connected via the Ethernet switcher, and
that the LAN (or WLAN) LEDs are lit. You can also
press the <MENU> button on the remote and then
select LAN (or WLAN) to confirm that network
settings are correct and that each player has a
different IP address. You can also then go to the
ADVANCED menu and confirm the Multisync
settings:
[ ] Controller IP is the same for all players.
[ ] Number of Players is correct.
AV OUT on DV75N
Please note that the 3.5mm (4 conductor) connector
on the DV75N has VIDEO as well as audio on the
connector:
1st ring (tip) Audio LEFT
2nd ring Audio RIGHT
3rd ring Composite VIDEO
4th ring (GRD) GROUND
DO NOT USE A STEREO CABLE WITH THIS
CONNECTOR.
Additional DV75N manuals can be found at:
www.technovision.com/manuals.html
Other Technovision MP3 Player manuals
