TECHWOOD TFO-3806 User manual

1
ELECTRIC 38L OVEN WITH INTERIOR LAMP
INSTRUCTION MANUAL
Dear consumer, Please read these instructions carefully before use in
order to avoid damage due to incorrect use and to better understand the
functions of this product. Please pay particular attention to the safety
guide. If you pass the device on to a third party, these Operating
Instructions must also be handed over.
Please keep them for future references.
TFO-3806

2
IMPORTANT SAFEGUARDS
❑Please read these instructions carefully before use.
❑Keep present instructions for future references.
❑Check that your mains voltage corresponds to that stated on
the appliance.
❑Only use the appliance for domestic purposes and
household or similar applications such as:
- staff kitchen areas, in shops, offices and other working
environments;
- By clients in hotels, motels and other residential type
environments;
- Environment type like :
• Farm Houses • Bed and Breakfast.
❑Only use the appliance in the way indicated in these
instructions.
❑Never use this unit near bathtub, shower, wash-hand basins
or other containers with water.
❑Never use this apparatus near water projections.
❑Never use this apparatus with the wet hands.
❑If, unfortunately the apparatus is wet, immediately withdraw
the cord of the socket-outlet.
❑Inform potential users of these instructions.
❑Never leave the appliance unsupervised when in use.
❑The appliance must be used only for its intended purpose. No
responsibility can be taken for any possible damage caused
by incorrect use or improper handling.
❑Children and persons with disabilities are not always aware
of the danger posed by the use of appliances.
❑This device can be used by children aged 8 years and older
and adults, with reduced physical, sensory or mental
capabilities or lack of experience and knowledge, if they have
been given supervision or instruction concerning use of the
appliance in a safe way and understand the hazards
involved.

3
❑Cleaning and user maintenance shall not be made by
children unless they are older than 8 and supervised.
❑Children shall not play with the appliance.
❑Keep the appliance and its cord out of reach of children aged
less than 8 years.
❑This device is not a toy, do not leave small children or people
with disabilities to play with.
❑In order to ensure your children‘s safety, please keep all
packaging (plastic bags, boxes, polystyrene etc.) out of their
reach.
❑Caution ! Do not allow small children to play with the foil :
THERE IS A DANGER OF SUFFOCATION !
❑From time to time check the cord for damages. Never use the
appliance if cord or appliance shows any signs of damage.
❑Never immerse the appliance in water or any other liquid for
any reason whatsoever.
❑Never place it into the dishwasher.
❑Never use the appliance near hot surfaces.
❑Do not operate the appliance with a damaged cord or plug, or
after the appliance has been damaged in any manner.
❑If the supply cord is damaged, it must be replaced by the
manufacturer, its service agent or similarly qualified persons
in order to avoid a hazard.
❑Disconnect the power source cable before any operation of
cleaning of maintenance and accessories assembly.
❑Never use the appliance outside and always place it in a dry
environment.
❑Never use accessories, which are not recommended by the
producer. They could constitute a danger to the user and
risk to damage the appliance.
❑Never use any other connector than the one provided.
❑Never move the appliance by pulling the cord. Make sure the
cord cannot get caught in any way.
❑Never wind the cord around the appliance and do not bend it

4
❑Ensure that the power cord does not come into contact with
hot parts of this unit.
❑Make sure the appliance has cooled down before cleaning
and storing it.
❑The temperature of accessible surfaces may be very high
when the appliance is operating. Never touch these parts, of
apparatus, to avoid burning itself.
❑Make sure the appliance never comes into contact with
flammable materials, such as curtains, cloth, etc... & the
power cord and plug do not come in contact with water.
❑Before cleaning, always unplug the appliance from the power
supply and let it cool down.
❑This appliance is not intended to be operated by means of an
external timer or separate remote-control system.
❑The appliance shall be placed against a wall.
❑Always place the unit on a flat surface. Ensure, also, not to
cover the device and not to put anything on it.
❑Always remove the plug from the wall socket when the
appliance is not in use.
❑When using an extension lead always make sure that the
entire cable is unwound from the reel. Use solely CE
approved extension leads. Input power must be at least 16A,
250V, 3000W.
❑Incorrect operation and improper use can damage the
appliance and cause injury to the user.
❑This device, designed for home use, complies with standards
relating to this type of product.
❑The appliance must be used and rested on a table or flat &
stable surface.
❑The item must not be left unattended when it is connected to
main supply.
❑The item is not to be used, if it has been dropped or if there
are visible signs of damage or if it is leaking.
❑This appliance is only intended for household use.

5
❑Regarding the instructions for cleaning, thanks to refer to the
below paragraph of the manual.
❑Regarding the details on how to clean surfaces in contact
with food, refer to the below paragraphs.
GENERAL INFORMATION
The symbol "OPEN BOOK" means a recommendation
to read important things contained in the record.
The symbol "BIN" crossed out, abbreviation WEEE
(Waste of Electrical and Electronic Equipment) means
that at the end of life, it should not be discarded with
household waste, but filed to the sorting of the
locality. Waste recovery can help preserve our
environment.
The symbol "CE" is the guarantee of compliance with
harmonized European standards, voluntary, reflecting
the essential requirements into technical
specifications. These standards are not mandatory
but are guarantees of compliance with essential
requirements.
The symbol ROHS (Restriction of use of some
Hazardous Substances) on the Environmental
Protection, certifies that for each of the five hazardous
substances • Lead • Mercury • (hexavalent) chromium •
products for protection against flames PBB and PBDE,
the peak concentration is equal to or less than 0.1% of
the weight of homogeneous material, and 0.01% for the
6th • cadmium.
The symbol "HOT SURFACE" warns the user that the
walls of the unit can become very hot, and to take
precautions as required.

6
The symbol "TRIMAN" indicates that the consumer is
invited to dispose the product as part of a separate
collection (eg recycling bin, waste, voluntary intake
point).
For more information : http://www.quefairedemesdechets.fr
CLEANING AND MAINTENANCE
Before cleaning switch off the appliance, always disconnect the
apparatus and to let it cool before cleaning.
Clean the outside of the apparatus with a sponge or slightly wet
linen.
The parts (removable) in contact with food like plate, Grid, bowl,
forks, Spatula etc. can be washed in hot water with sponge and
soft detergent or put in the dishwasher.
Never plunge the apparatus in water or all other liquid !
Do not use abrasive cleaners, gritting, or metal brush or
another cutting object.
TO KNOW ITS UNIT

7
1. Door handle
2. Double safety glass door
3. ON / OFF Interior lamp
4. Temperature setting
5. Heating selector
6. Timer
7. Power indicator light
8. Non-slip feet
Inside the oven :
9. 10. 11. Aluminum tray • Handle for tray • Rotisserie • Grid.
FIRST USE
Before using the oven for the first time, remove the unit and all accessories
carefully.
1. Wash all accessories from the oven with mild detergent.
2. Rinse it with clean water.
3. Dry all accessories.
Preheat the oven to HIGHEST temperature for 15 minutes to remove any packing
odour that may remain after producing.
ON / OFF LAMP SWITCH
Used to light the interior lamp.
1. Left = Stop
2. Right = Lit lamp
TEMPERATURE SELECTOR
Allows you to choose the desired
temperature from 100 ° C to 230 ° C for
baking or broiling.
HEATING SELECTOR
Left = Oven stopped
• Top (to the left) = Grill
Cooking fish, steak, poultry, etc.
• Right = Sole = Pastry oven
(Low electrical resistance)
• Bottom = Oven
(High and Low heating elements work together.)

8
TIMER
After choosing the Temperature and the
heating mode,
Turn the timer knob to display the desired
cooking time.
Notes : When the timer is activated (by turning clockwise), the oven will turns on
and the indicator light comes on.
It works for the duration of cooking and goes out at the same time as the
oven stops.
For a very short time, 1 minute for example, Turn the button to 10
minutes then go back to the left to adjust the time so precise.
The timer emits a sound at the end of the programmed time.
The handle supplied with the oven allows you to take out the rack and
the drip pan when they are hot.
USE
•Unroll the power cord completely.
•Check that the tension in force in the country where you are, corresponds to
that indicated on the apparatus.
•Connect the apparatus in a correct socket-outlet, (and connected to the
ground if the unit is Class I), to avoid any danger.
•Disconnect the power source cable before any operation of cleaning of
maintenance and accessories assembly.
•Stand the appliance on a table or flat surface.
•Never modify the appliance in anyway.
1. Place the removable and adjustable grid or the tray in the oven, in the
desired position.
2. Place the dish on the grid or on the tray and close the oven door.
3. Set the heating selector to the desired position. (see previous paragraph).
4. Set the Thermostat to the desired temperature.
5. Set the timer to the desired cooking time. This will activate the oven.
After cooking, set the Heating selector to the "Left" position to stop the oven.

9
WARNING
Always take extreme care when removing or replacing the tray or the grid or any
container when the oven is hot.
Always use the handle of the grid, provided for this purpose, or a muffle, when
removing or placing in the oven hot objects.
This will prevent serious burns.
HOW TO BAKE
1. Place the removable grill into the desired position
2. Place the tray on the grill, close the oven door.
3. Turn the timer dial to the desired cooking time.
4. Turn the Heater Selector dial on the position.
5. Turn the Temperature Selector dial for the desired temperature.
6. When finished baking, turn the Timer Selector dial till position "0", to switch off
the oven
HOW TO BROIL
1. Insert the removable grill with food and the all-purpose pan
2. Keep the door half-open
3. Turn the Heater Selector dial to the position .
4. Turn the Temperature Selector dial to the desired temperature.
5. When finished broiling, turn the Timer Selector dial till position"0",to switch off
the oven
STORAGE
-Ensure the unit is completely cool and dry.
-Do not wrap the cord around the appliance, as this will cause damage.
-Keep the appliance in a cool, dry place.
GUARANTEE
Before being delivered, all our products are subjected to a rigorous control.
This apparatus is guaranteed 24 months starting from the date of purchase by the
consumer.
The documents in proof of guarantee are :
• The invoice and
• The filled and stamped warrantee plate (located on side or bottom of the gift
box). Without these documents in proof, no free replacement, nor no free repair,
can be carried out.
During the warranty period, we deal for free, the defects of the apparatus or the
accessories, rising from a defect of materials or manufacture by repair or,

10
replacement. The services within the framework of the guarantee do not involve
any extension of the warranty period and does not give right to a new guarantee !
In the event of recourse to the guarantee, bring back the complete apparatus to
your retailer, in its original packing, accompanied by the proofs of purchase.
The breakage of parts out of glass or plastic is, in all the cases, not warranted.
Defects on the accessories or the wearing parts (for example: coals of engines,
hooks, drive belts, remote control of replacement, teeth brushes of replacement,
webs etc) as well as cleaning, maintenance or it replacement of wearing parts are
not guaranteed and are thus to pay !
In the event of foreign intervention, the guarantee becomes null and void.
After flow of the warranty period, repairs can be carried out, against payment, by
a specialized trade or a repair service.
SPECIFICATIONS
Power supply 220-240V~ 50-60Hz
Oven Power 1600W
Norms Class I
Capacity 38 Litres Made in PRC
The characteristics can change without prior notice.
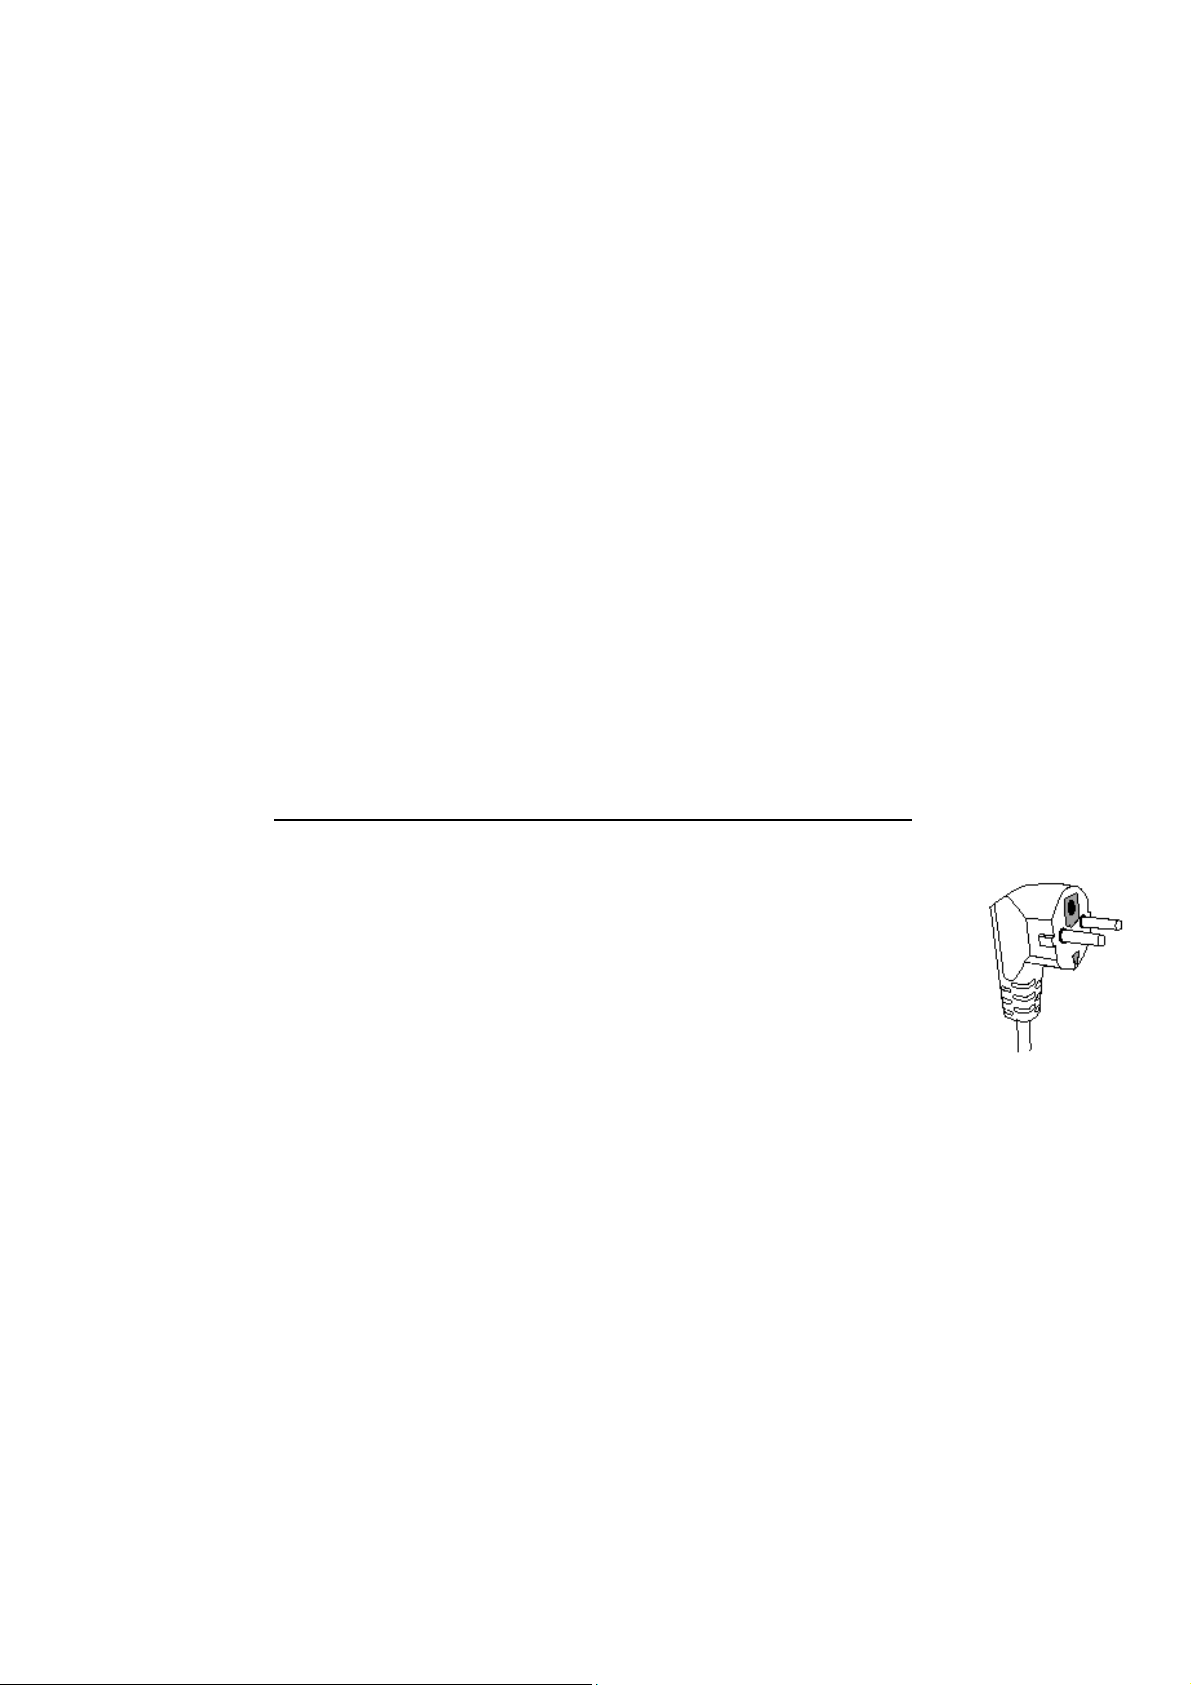
This unit is equipped with an electrical outlet with earth and must be
earthed in an according plug.
Note : In the event of question concerning the earth or electric
connection, please consult a qualified personnel.
In the event of short-circuit, earthing reduces the risk of electric
shock while making possible the current to be evacuated by the
wire of ground.
Always unplug the appliance before any cleaning or maintenance
operation and accessories assembly.
CAUTION: In order to minimize the risks of electric shock, In the event
of breakdown, not to open the case but to call upon a qualified
technician for repairs.
This apparatus satisfied EC directives, it was controlled according to all the
European current directives, like: electromagnetic compatibility (EMC) and low
tension (LVD).
This apparatus was designed and manufactured in respect of the last safety
regulations and technical specifications.

11
Imported by Sotech International
" LE PERIPOLE " N°A-107
33, Avenue du Marechal de Lattre de Tassigny
94120 Fontenay sous-bois –France
The symbol " CMIM " is the guarantee of compliance
with optional harmonized Moroccan Standards, which
reflect the essential requirements in terms of technical
specifications.
These standards are not mandatory but ensuring compliance
with the essential requirements.
Table of contents
Other TECHWOOD Oven manuals
Popular Oven manuals by other brands

Rational
Rational LM1 Series Original installation manual

Miele
Miele H2260E Operating and installation instructions

Whirlpool
Whirlpool 857744601500 installation instructions

Tasty Trotter
Tasty Trotter KYQ-1016G Assembly instructions

Whirlpool
Whirlpool 102.259.14 Service information

AEG
AEG BEE435060B user manual