TELUS Drive+ User manual

Quick Start Guide

Car Care
Get diagnostics and insights about
your car’s health.
Car Tracker
Track your location, monitor driving
behaviour, and set speed alerts.
Stay Connected
Turn your car into a Wi-Fi hotspot
for up to five devices.
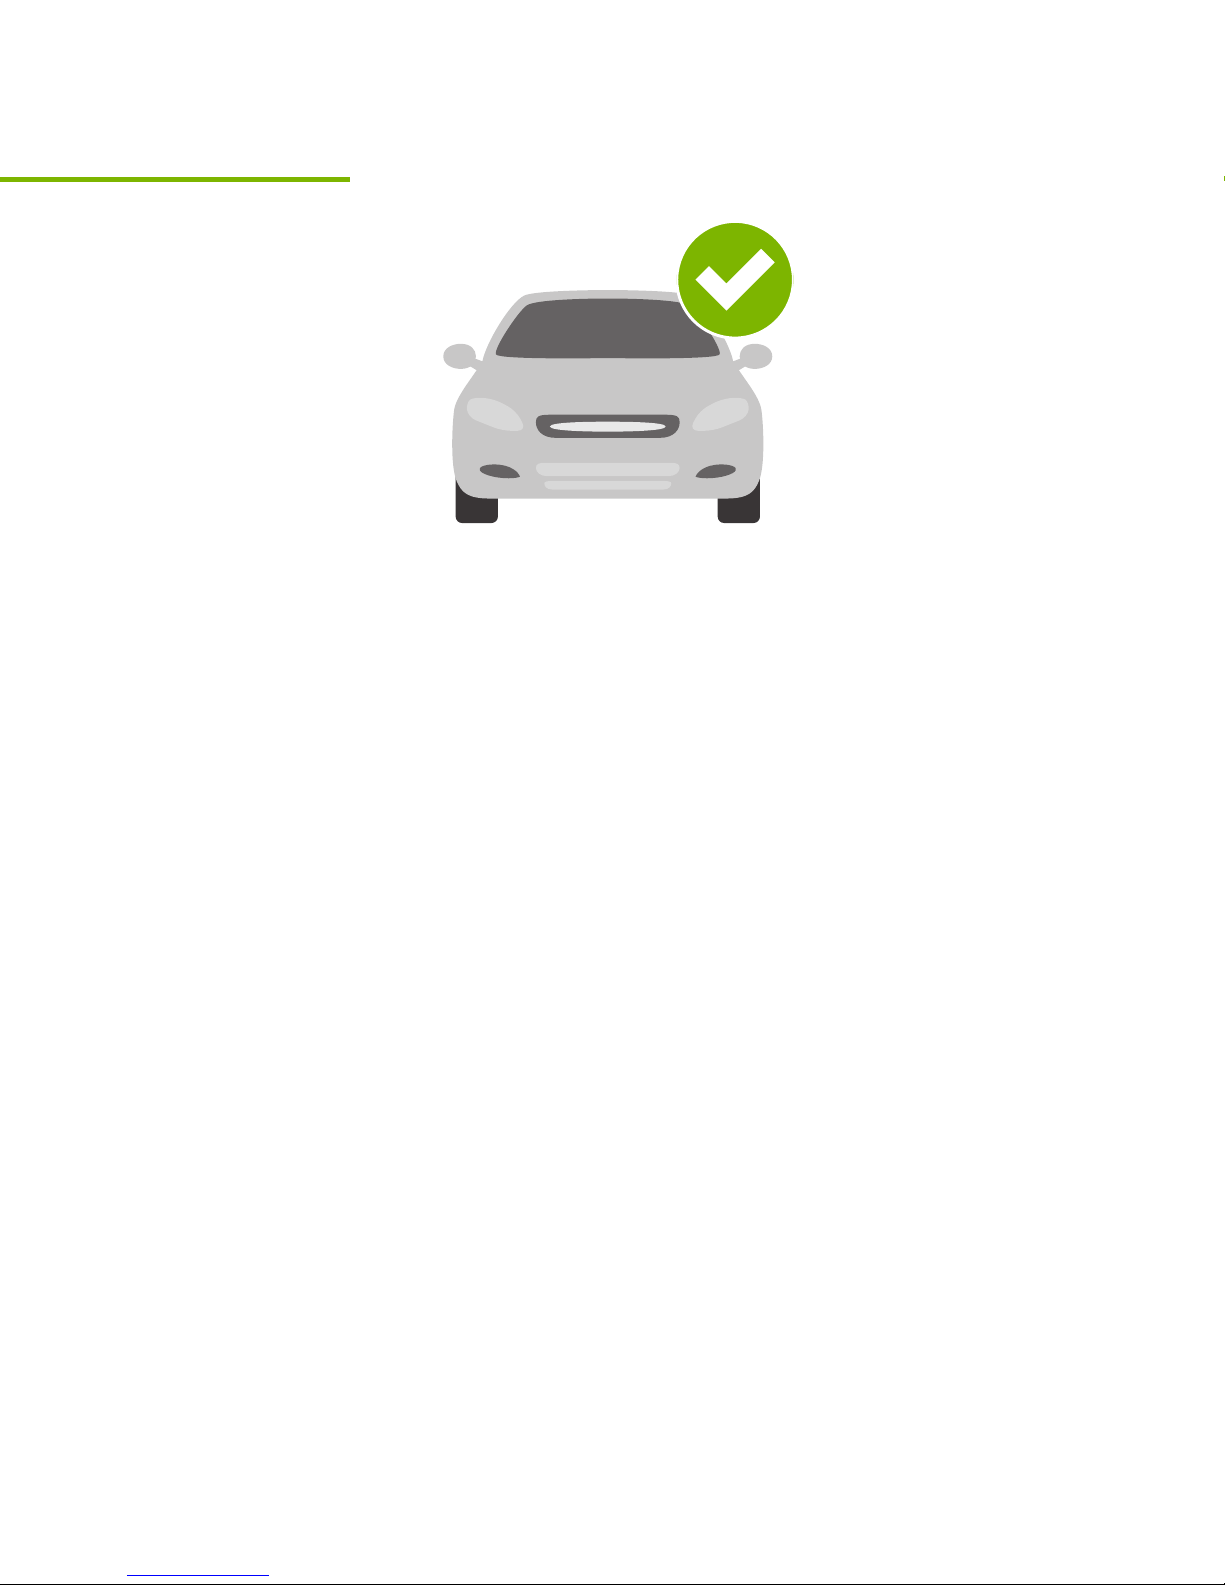
Check vehicle compatibility
Most vehicles that are model year 1996 or
newer in Canada have an OBD-II port to plug
the TELUS Drive+ device into. Before moving
to step 2, be sure to check that your vehicle is
compatible with TELUS Drive+ service.
Check your vehicle’s compatibility
at telus.com/Drive
Note: The TELUS Drive+ device is not
compatible with electric (EV) or plug-in hybrid
vehicles. Diesel fuel vehicles may not provide
accurate fuel efficiency data.
Step 1

Download the app
The TELUS Drive+ app is required to access
the complete TELUS Drive+ service experience,
including your in-car Wi-Fi hotspot. The app
is available on the Apple App Store and on
Google Play™. Search for "TELUS Drive+" in
your app store.
Tip: Make sure to have the latest operating
system version running and check that your
phone meets the minimum requirements for
the app.
Step 2

Create your account
Run the TELUS Drive+ app on your smartphone,
tap "Sign Up" on the home screen and follow
the prompts to create your new account.
You will be asked to verify your mobile phone
number via SMS. Please choose a phone
number that you would like to be reached at for
important service updates about your account.
Tip: If you already have a TELUS Drive+ account,
use your existing credentials to sign in.
Step 3

Insert the micro-SIM card
Use the included tool to eject the SIM tray from
the TELUS Drive+ device. Position the micro-SIM
card so that it sits flush, then fully insert the tray.
Step 4
Micro SIM
Nano SIM
Standard SIM
Note: The TELUS Drive+ device uses a
micro-Sim card only.
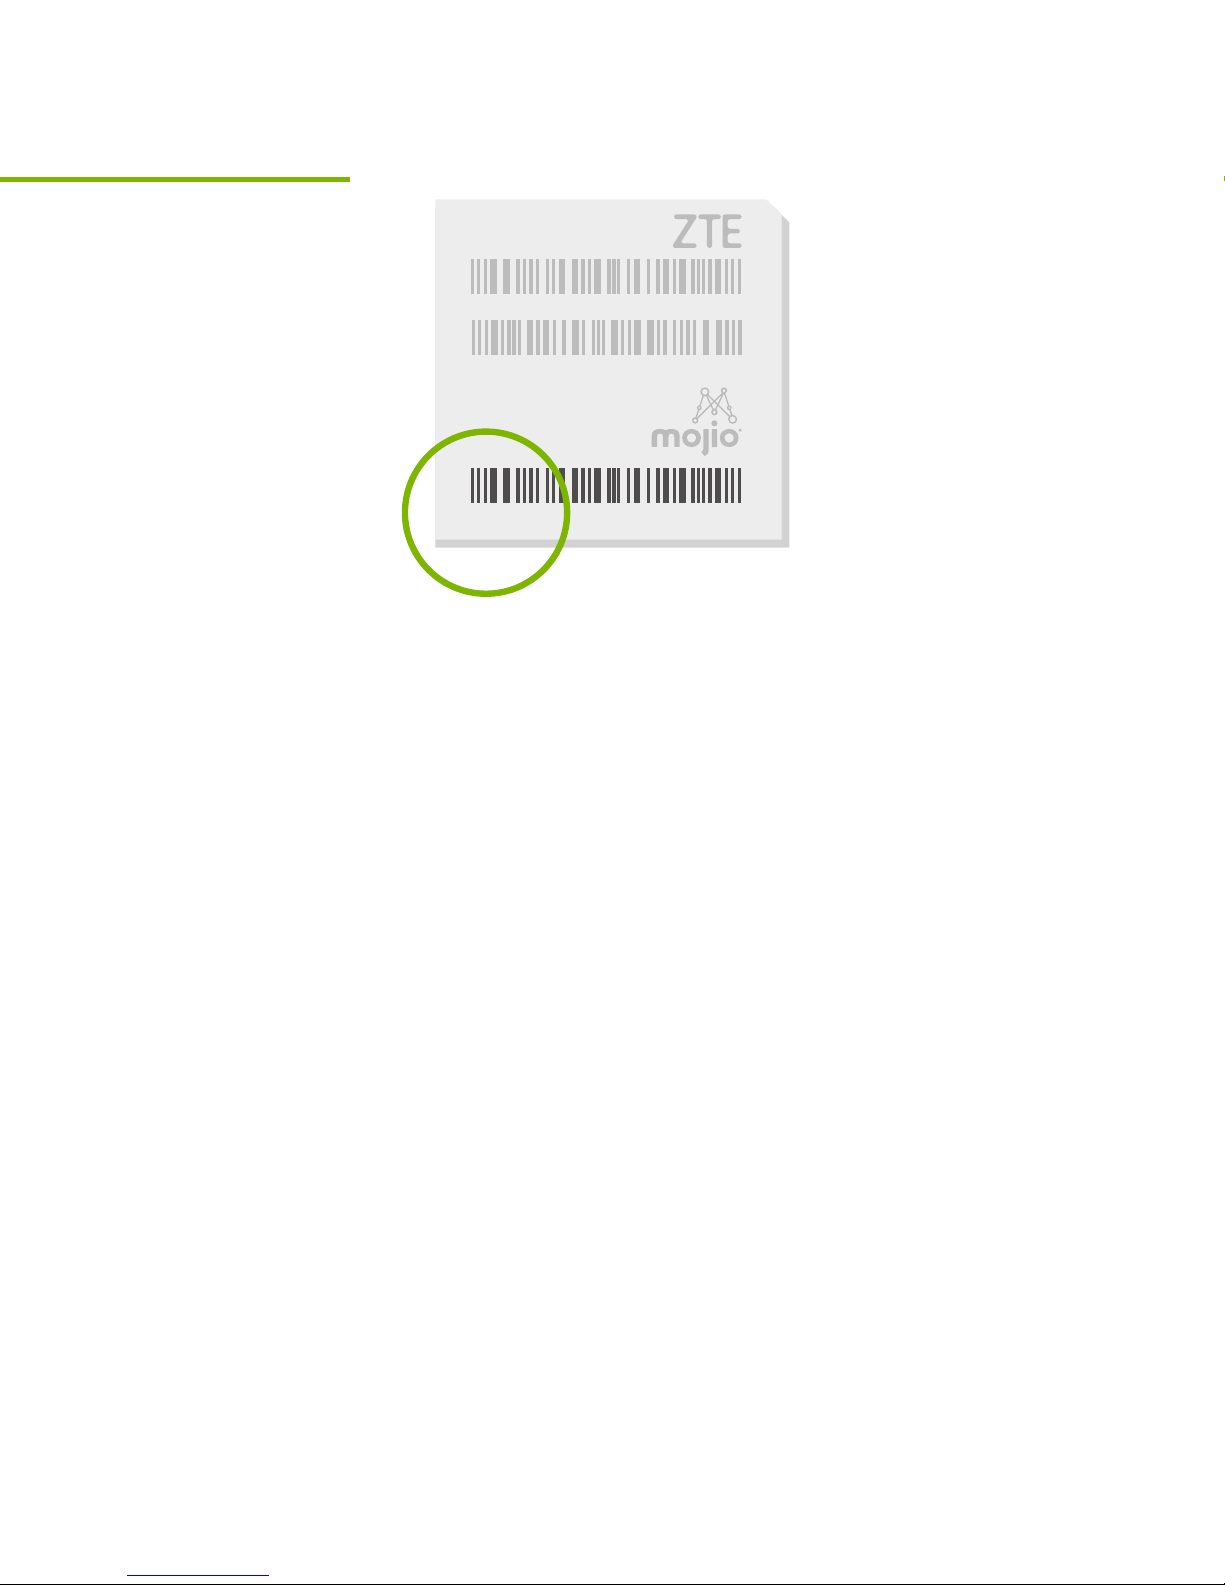
Scan the IMEI barcode
Every TELUS Drive+ device has a unique
15-digit code called the IMEI. The IMEI is
shown as a barcode on a sticker on the device
and also on the included Wi-Fi hotspot card.
When prompted, use the TELUS Drive+ app to
scan the IMEI barcode or enter the IMEI code
manually.
Tip: Do not plug the device into your car until
prompted to do so by the app (step 7).
IMEI:000000000000000
WIFI MAC:XXXXXXXXX
S/N:XXXXXXXXX
SSID:XXXXXXXXXX
Password:XXXXXXXX
H/W:XXXXXXX
DATE:MM/YYYY
Model: ZX000
FCC ID: 000-ZX000
Step 5
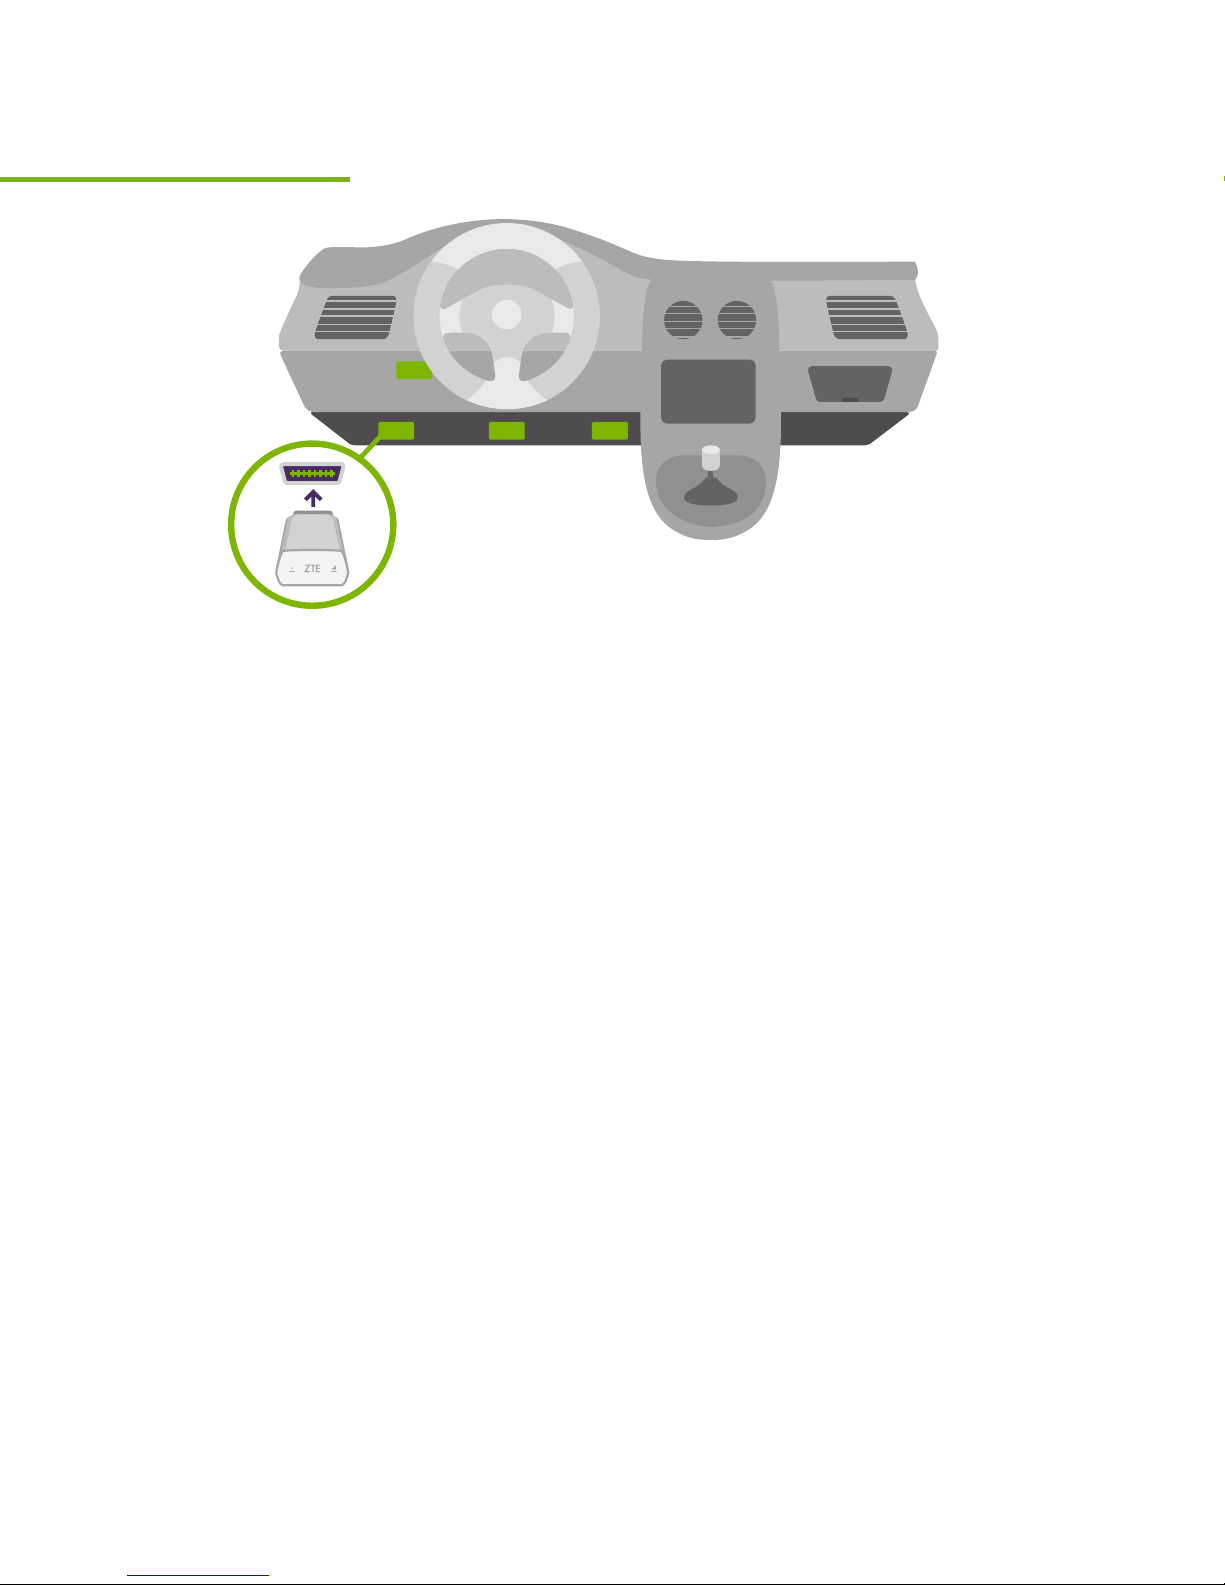
Locate your OBD-II port
The OBD-II port is usually located under the
driver’s side dashboard, often within 18" of the
steering wheel.
If you are having trouble locating the OBD-II
port, the TELUS Drive+ app will help you find it.
Tip: Tap the flashlight icon in the TELUS Drive+
app to turn on your smartphone’s flashlight
when searching for your OBD-II port.
Step 6

Install your device
Now that you’ve found your OBD-II port, you
are ready to install the TELUS Drive+ device.
Align the device with your port and firmly plug it
in. The device should fit snugly.
Tip: Never install your device in an underground
parking lot or in an area with weak cellular
coverage. The device needs to establish its
first connection to the network to complete the
setup. Only plug in or unplug the device with
the vehicle turned off.
Step 7

Go for a drive
Drive your car for 10 minutes to finish setting
up your device. The device needs to establish a
cellular connection and generate a GPS lock.
The TELUS Drive+ app will notify you once
a successful connection is established. Your
phone does not need to be turned on and the
app does not need to be open to establish a
connection.
Distracted driving is never okay. Do not use
your phone while driving.
Important: Do not unplug the TELUS Drive+
device within the first 24 hours after installation.
Step 8

Activate your Wi-Fi hotspot
Your in-car Wi-Fi hotspot will now be accessible
via its default network name (SSID) and
password. This information can be found on the
TELUS Drive+ device and the included Wi-Fi
hotspot card.
You can manage your Wi-Fi hotspot, including
turning it on and off, in the TELUS Drive+ app.
In the menu, tap "Wi-Fi Hotspot."
Tip: The default network name (SSID) and
password can be changed in the app.
Step 9

1
2
3
4 5
6
Device by
Understanding Your OBD-II Device
1 Device reset Hole
2 Micro-SIM card slot
3 Restart key
4 LED 1 (Power)
5 LED 2 (Signal)
6 OBD-II interface

LED Status Lights
LED Indicator LED Status
LED 2 (Signal) Green Blinking
The device is connected to the 4G LTE
network and data is being transferred.
LED 1 (Power) Green Blinking
The device is being powered by
the internal battery.
LED 1 (Power) Green Solid
The device is being powered by the vehicle.
LED 2 (Signal) Green Solid
The device is connected to the 4G LTE
network but no data is being transferred.
LED 2 (Signal) Red Solid
The device is on but is not connected to
the cellular network.

Additional information
Driving to the US or Mexico?
See telus.com/Drive for information on
how TELUS Drive+ works when travelling
outside Canada.
For use with compatible vehicles only. For
details, see telus.com/Drive. Data plan and
SIM card are required and charged separately.
Device can only be used with TELUS wireless
service. Use is subject to TELUS Drive+ terms
and conditions; see telus.com/Drive.
The manual is printed and published by TELUS,
25 York Street, Toronto, Ontario. TELUS
reserves the right to make modifications on
print errors and update specifications without
prior notice. © 2017 TELUS.

Support
Need help?
Find detailed support information about
TELUS Drive+ at telus.com/DriveSupport
Or contact us:
1-866-558-2273
*611 on your TELUS mobile phone
In the US
1-866-771-9666
International
+1-416-940-5995
Hours
Monday to Friday 9am–10pm
Saturday & Sunday 9am–8pm
All times are local. Technical support is
available 24/7.

Device by
Table of contents
Popular Automobile Accessories manuals by other brands


Yakima
Yakima K1043 manual

Truma
Truma Mover XT operating instructions

Car Solutions
Car Solutions SUNE10 PRO installation guide

Metra Electronics
Metra Electronics 95-7951 installation instructions

Metra Electronics
Metra Electronics 99-3012G-LC user manual

Dakota Digital
Dakota Digital VHX-69P-GTO Instrument Installation