TELUS Palm TreoTM 650 User manual

®
the future is friendly®
guide to
getting started
Palm®TreoTM 650
Treo User Guide_EN 11/7/05 3:52 PM Page 1

table of contents
activating your device 3
enabling your wireless connection 4
setting up your email
corporate email account 5
personal or small business email 5
email setup 6
troubleshooting 10
what do I do if my device resets unexpectedly? 10
what do I do if I’m getting error messages? 11
support 12

2
Thanks for choosing the Palm®TreoTM 650 from
TELUS Mobility.
This guide will help you activate your Treo 650 and
setup your email so that you can make calls and send
and receive emails from your device. For detailed
information on how to use your device, please refer to
the Palm user manual included on the Palm Software
Installation CD in your Treo 650 box.
If, after reading this guide, you have any questions,
please call 1-866-771-7292.
let's get started!
welcome

3
activating your device
Your Treo 650 should already be activated. If it isn’t,
please activate online at telusmobility.com/activate
or call us at 1-866-771-7292 (a service charge may
apply). We recommend that you charge your device
for four hours in order to maximize battery
performance. Please refer to the Palm user manual
for charging instructions.

4
activating your device
(continued)
enabling your wireless connection
In order to send and receive calls and emails, you need to enable your
wireless connection.
1. Verify that your device’s wireless connection is on, and that you are
getting service. You should see the digital signal strength indicator
in the top right corner of your screen.
2. If it is not there, turn on your wireless connection by pressing and
holding the red Phone/End button until the Treo home screen
appears. The icon should now appear on your screen.

5
setting up your email
Before you get started, you will need the following information to set
up your email.
corporate email account
If you are configuring your device for your corporate email, please
contact your network administrator to obtain the following information:
Username (network account):
Password (network account):
Email address:
Mail Server name:
SSL (Secure Sockets Layer) connection (if applicable): Yes or No
personal or small business email
To add small business, or other email such as Yahoo!, you may need
to upgrade your account to allow for POP3/IMAP4 access to your
email. Please have the following information handy before you start.
You can refer to telusmobility.com/emailsetup or contact your Internet
Service Provider for this information.

6
Username:
Password:
Incoming mail server address:
Outgoing mail server address:
email setup
step 1: adding an account
Press the Home button, select VersaMail.
Open the menus by tapping the top-left corner of the screen.
Select Accounts, then select Account Setup.
Select New.

7
step 2: choosing your email provider
Enter a descriptive name in the Account Name field.
From the Mail Service list, select your email provider.
- For a Corporate email account (Microsoft Exchange 2003 server
required), select Exchange ActiveSync.
- If your email provider is in the Mail Service pick list, the
protocol is automatically selected and the protocol pick list
does not appear.
- If your email provider is not in the list, select Other and check
with your email service provider to find the protocol for your email
account (POP or IMAP).
Select Next.
8
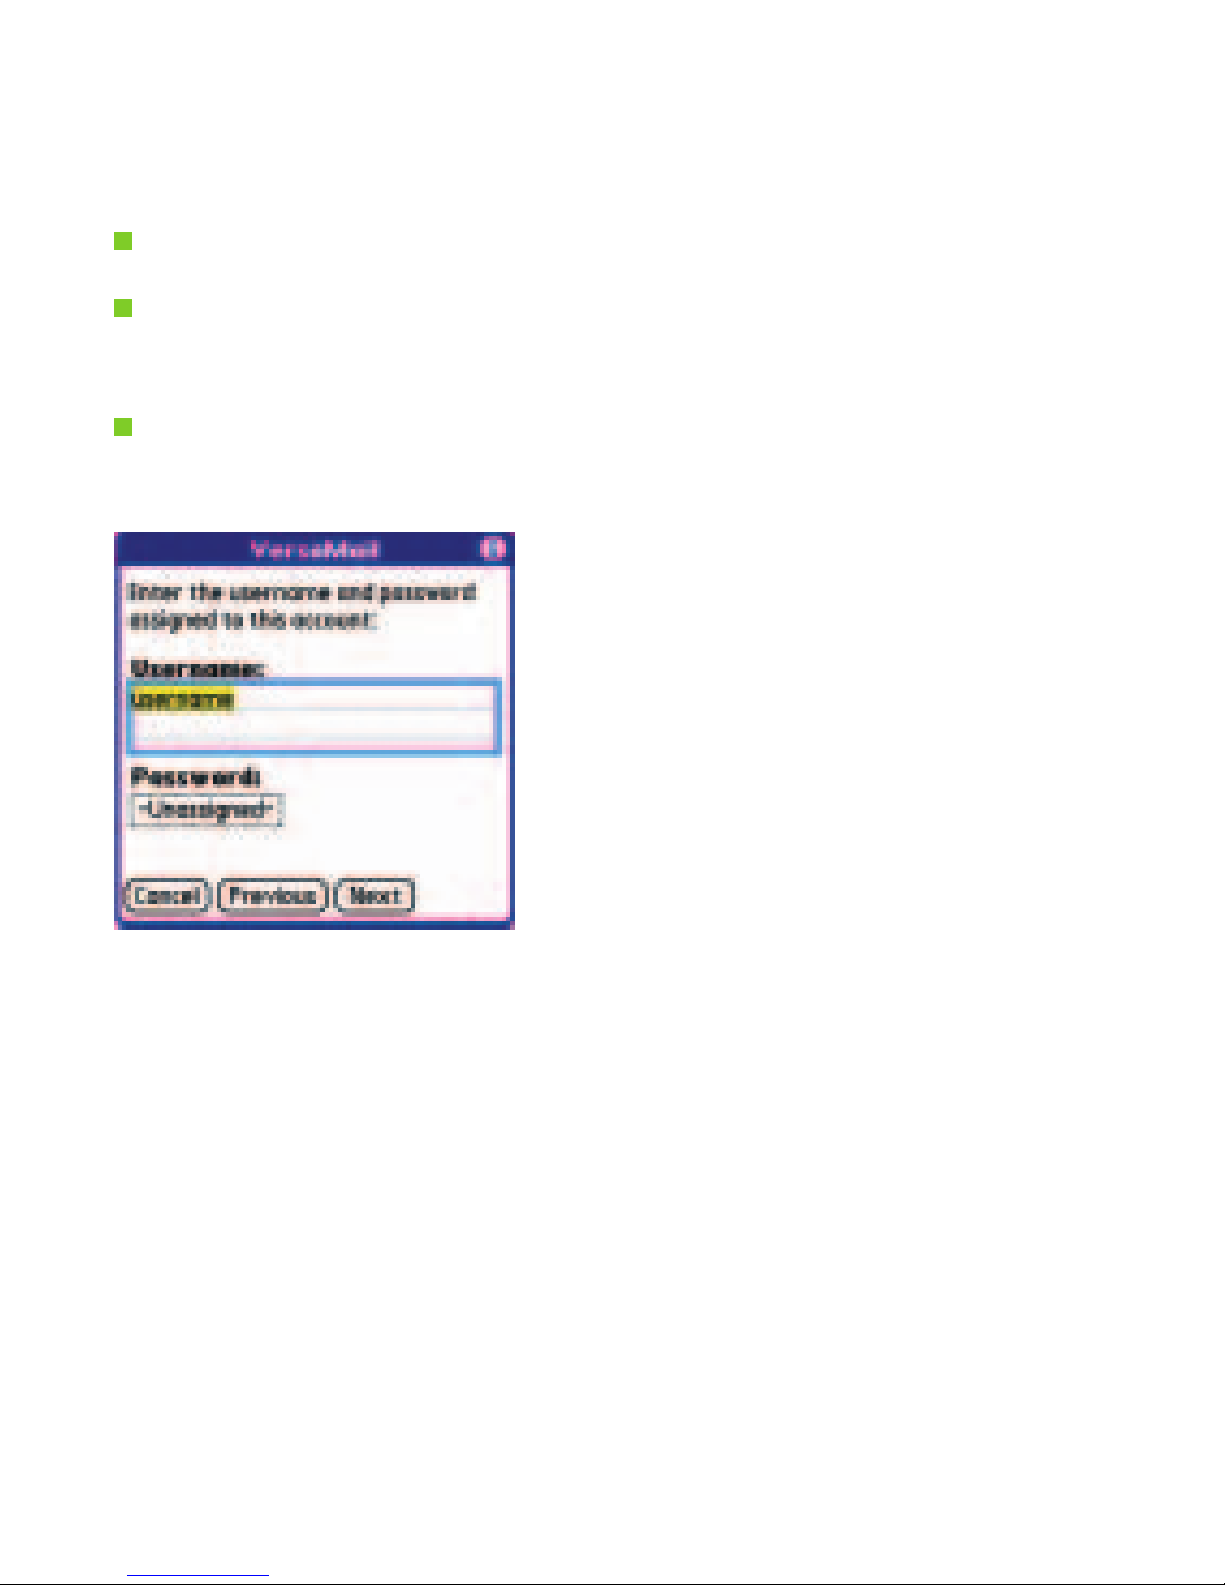
step 3: entering your email information
Enter the username for your email account.
Select the Password box, enter your email account password,
then select OK.
Select Next.
9
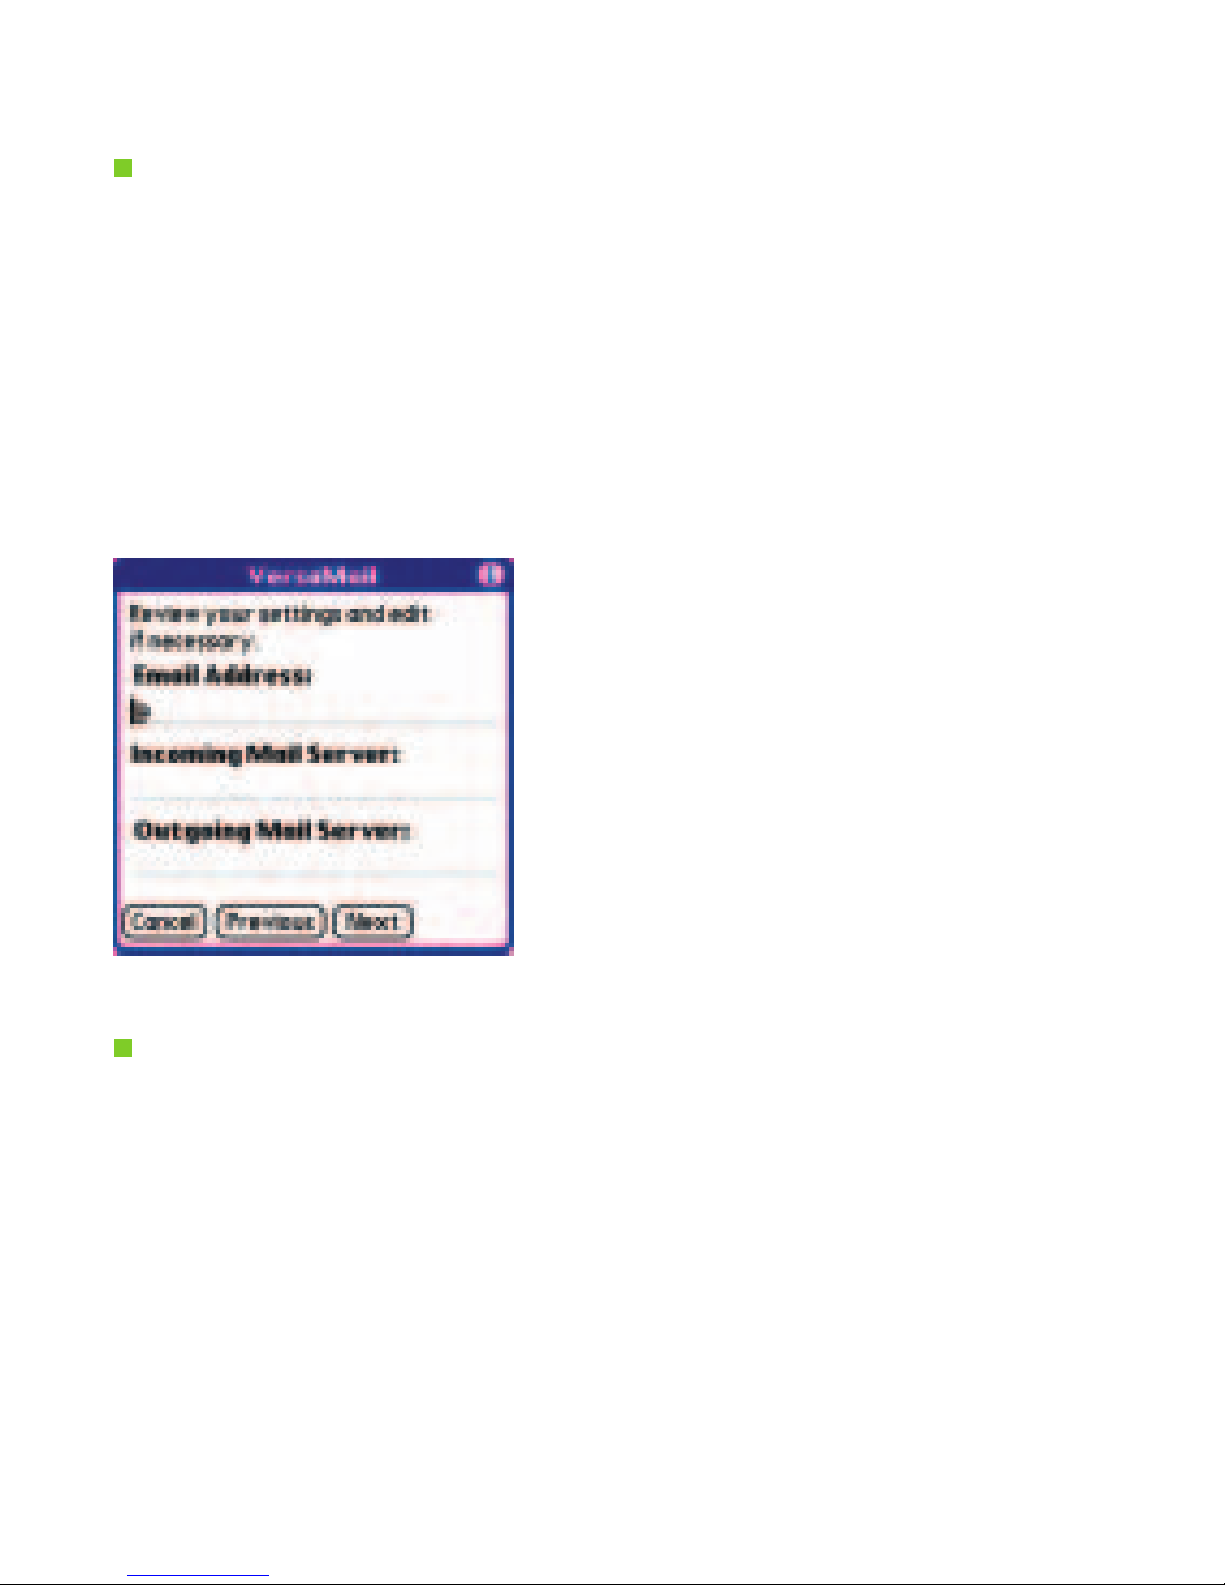
Select Next, then select Done.
Now your Treo 650 is ready for email!
Review your settings
- If you chose an email provider from the list in step 2, the mail
server screen is already filled in.
- If you chose Exchange ActiveSync or Other, enter your email
address and the names of the mail servers (check with your
email service provider for this information).

10
troubleshooting
what do I do if my device resets unexpectedly?
The device may reset unexpectedly if you have a large number
of emails and calendar appointments (i.e. over 50) at the time of initial
synchronization, or if you access the web or other applications during
email synchronization.
If a reset occurs, take the following steps:
Ensure the phone mode is turned on. Please refer to “enabling
your wireless connection” on page 4.
Set up your email account information if it has been lost. Please
refer to page 6.
If the device continues to reset, please perform a hard reset.
For a hard reset, take the following steps:
1. Press the Battery Door Release button and slide the battery door
downward to remove it from the device.
2. Press and hold the Power/End button and use the tip of the stylus
to tap the reset button located under the battery door.
3. Continue pressing and holding Power/End. The palmOne logo
appears with a progress bar, and then the circular Palm Powered
logo appears.
4. Release Power/End after the circular Palm Powered logo appears.
5. When “Erase all data?” appears, press Up to confirm the hard reset.

11
what do I do if I’m getting error messages?
If you are getting error messages infrequently, select “Yes” or “Okay” to
bypass the error. This should clear the error.
If you are getting error messages frequently, performing a soft reset
should minimize these errors.
To perform a soft reset, take the following steps:
1. Press the Battery Door Release button and slide the battery door
downward to remove it from the wireless handheld.
2. Use the stylus tip to press the Reset button on the back of the
wireless handheld.

12
support
If you have any questions about the setup of your device,
rate plans, or billing, please visit us at telusmobility.com/Treo650
or contact us at 1-866-771-7292.
© 2005 Palm, Inc. All rights reserved. Palm, Treo, VersaMail, and Palm OS are among the
trademarks or registered trademarks owned by or licensed to Palm, Inc. © 2005 TELUS Mobility.
Printed in Canada 10/05
This manual suits for next models
1
Table of contents
Other TELUS Cell Phone manuals


