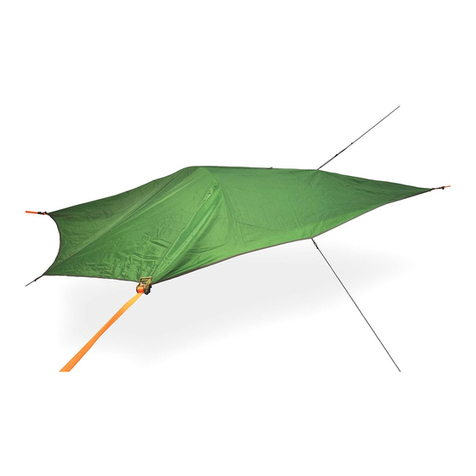
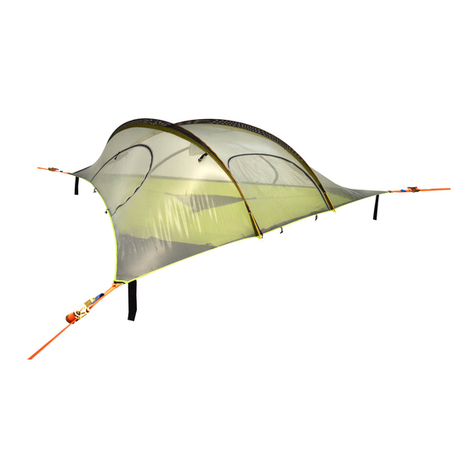
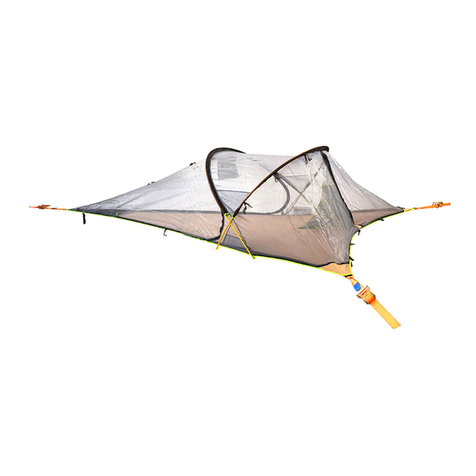
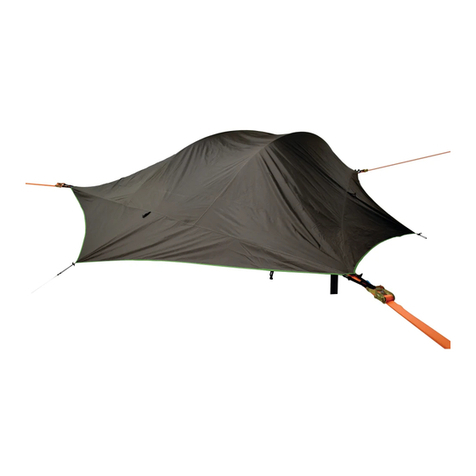
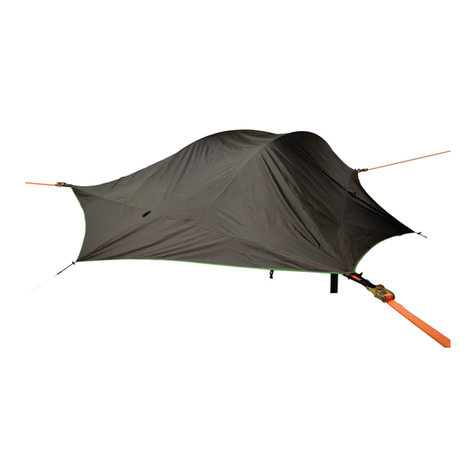
Tentsile Safari Connect User manual

It is important that all users read and understand the materials in
this manual before any installation and use of the product.
Safari Connect Tree Tent
OWNERS MANUAL

W A R N I N GW A R N I N G
TENTSILE IS NOT A TOYTENTSILE IS NOT A TOY
RISK OF SERIOUS INJURYRISK OF SERIOUS INJURY
A VISUAL AND TACTILE INSPECTION OF YOUR TENTSILE’S FLOOR,
STRAPS AND RATCHETS SHOULD BE MADE BEFORE EACH USE.
FOR SAFETY REASONS, STRAPS AND RATCHETS SHOULD BE
REPLACED EVERY 2 YEARS.
DO NOT LEAVE OUTSIDE UNATTENDED FOR MORE THAN A WEEK.
CHECK THE HEALTH AND STRENGTH OF THE TREES
CHOSEN TO BE ANCHOR POINTS BEFORE USE.
Recommended set up height 1.2m / 4 feet
MAX LOAD 400kg / 880lbs.
DO NOT EXCEED MAXIMUM WEIGHT LOAD CAPACITY.
01

CONGRATULATIONS
YOU ARE NOW THE PROUD OWNER OF A
03: Introduction03: Introduction
04: Terms of Use04: Terms of Use
05: Specications05: Specications
06: Warnings & Disclaimers06: Warnings & Disclaimers
07-08: Layout & Alignment07-08: Layout & Alignment
09-26: Set up instructions09-26: Set up instructions
27: Floor calibration27: Floor calibration
28: Ratchet usage28: Ratchet usage
29: Policies29: Policies
30: The small print30: The small print
IT IS IMPORTANT THAT ALL USERS READ AND UNDERSTAND THE MATERIALS
IN THIS MANUAL BEFORE ANY INSTALLATION AND USE OF THE PRODUCT.
Safari Connect Tree Tent
5 Year Guarantee
02

Introduction
03
The Safari Connect provides a unique opportunity for you and your friends to
experience the great outdoors with a whole new level of freedom and comfort.
Tentsile invented Tree Tents as treehouses you can take anywhere, combining
the versatility of a hammock with the comfort and security of a tent.
The Safari Connect comprises of a double hammock, suspended in tension
above the ground and enclosed in an elegantly simple insect mesh top and
rainy. All materials of the Safari Range are some of the most robust and
durable of any tent in the world.
The unique design creates a comfortable base camp, irrespective of ground
conditions, as well as providing increased protection from insects, snakes and
other predators – if you venture somewhere more exotic.
This product was created because Tentsile loves trees and believes that if we’re
all hanging out in trees, they can’t cut them down!
18 trees are planted for every Tentsile Tree Tent sold.
PLAY, CAMP, EXPLORE...

Terms of Use
Tentsile Tree Tents should be set up only as
outlined in this manual.
NEVER jump into, onto or use it as a trampoline
or swing. It is not intended to be used for rock
climbing, cliff faces, overhangs or above or next
to large drops.
DO NOT attempt to use this product for anything
another than its intended purpose, and always
observe height and weight limits.
DO NOT use walls, fences, street furniture, roof
racks, movable platforms, posts or trees less than
25cm/10inches in diameter as anchor points, as
they may not be strong enough.
DO NOT use tensioning components other than
those supplied with this product.
DO NOT set up higher than 1.2 metre / 4 feet from
the ground or above hard, sharp or pointy objects.
Tactile and visual checks should be made to
ALL tent components and ALL anchor points
before each use.
Replace any damaged elements if any are found.
Keep away from re and sharp objects.
DO NOT use after the consumption of any
intoxicating substances.
Children must be supervised by an adult at all times.
DO NOT attach to trees or branches that show
signs of structural weakness.
DO NOT adjust/open ratchets whilst tent
is occupied.
DO NOT use during lightning storms or high winds.
DO NOT use in areas of unstable ground.
Tentsile does not offer protection from all animals.
04

Specications
Size:
2.7 x 4 x 4m / 9 x 13 x 13ft
Floor area:
5sqm / 53sqf
Dry porch area
at ground level:
6sqm / 65sqf
Entry Points:
x 4
Bag Size:
59 x 28 x 28cm / 24 x 10 x 10”
Interior Height:
120cm / 4ft
Tent weight:
10kg / 22lbs
Poles:
x2 11mm diameter
anodised aluminium alloy.
Ratchet & straps:
Heavy-duty, plated, industry
grade buckles - 2.5 ton minimun
breaking strength
Roof:
Grade 4 165g/sqm Tear
resistant Safari insect mesh
Rainy:
Removable 70D/190T PU
coated waterproof polyester,
8000hh
Floor:
Heavy Duty Beige Ripstop
Dacron 300D/300g/sqm
Maximum capacity:
2 adults
DO NOT EXCEED MAXIMUM LOAD 400kg / 880lbs
05

Warnings & Disclaimers
Installation and use of the Tentsile Tree Tent may
involve heights, can be dangerous and may lead
to injury and/or death.
The installation must never be executed by
minors, and extreme care and caution must be
taken when executed by adults.
Do not use any other components, parts, tools or
materials other than those included in the Tentsile
Tree Tent package, recommended in this manual
or in other Tentsile literature.
A hanging and/or suspension system is only as
strong as its weakest link and all instructions and
guidelines must be followed.
The Tentsile Tree Tent must only be used in
the manner described in this manual. When
assembled and installed, the Tentsile Tree Tent
places signicant force on the anchor points,
great care must be exercised when using it to
decrease the risk of injury and/or death.
Overloading the Tentsile Tree Tent with more
than 880lbs (400kg) increases the forces and
may cause anchor, Tree Tent and/or any parts
to fail, resulting in injury and/or death.
The manufacturer and resellers of the Tentsile
Tree Tent explicitly disclaim any and all
responsibility and liability for any death,
paralysis, injury, and/or damage to any
person or property that may occur that arises
out of or is in any way related to the use of
this product.
Using any equipment that is suspended above
ground can be a dangerous activity that may
result in serious injury and/or death even
when used properly. Use at your own risk and
always use common sense.
06


Positioning the Safari ConnectPositioning the Safari Connect
Tentsile Tree Tents need 3 secure and strong anchor points to suspend from.Tentsile Tree Tents need 3 secure and strong anchor points to suspend from.
The distances are marked below. Once the location is found, lay out the The distances are marked below. Once the location is found, lay out the
Safari Connect on the ground with the corners facing your selected trees.Safari Connect on the ground with the corners facing your selected trees.
Safari Connect BodySafari Connect Body
Safari Connect RainySafari Connect Rainy
x2 Polesx2 Poles
x3 Ratchetx3 Ratchet
x3 Strapsx3 Straps
x4 Screw Pegsx4 Screw Pegs
Minimum setup distances:
5 x 5 x 4m / 16 x 16 x 13ft
Maximum setup distances:
9 x 9 x 10m / 29 x 29 x 32ft
Anchor point shouldAnchor point should
be less than 90 degreesbe less than 90 degrees
from each other.from each other.
TreeTree
TreeTree
Tree
07

Alignment Sight TagAlignment Sight Tag
Use the pole sockets on the side of the SafariUse the pole sockets on the side of the Safari
Connect and look along them to ensure the strapsConnect and look along them to ensure the straps
are inline with the tree.are inline with the tree.
The central seam should line up with the tree strapThe central seam should line up with the tree strap
at the rear of the Safari Connect.at the rear of the Safari Connect.
TreeTree TreeTree
TreeTree
08
ConnectConnect

09
1, Wrap the loop end of each
strap around your selected trees.
Tree Straps
With a location found,
start by wrapping the
tree straps around your
selected trees.

10
2, Once around, thread the
strap and pull it all through
towards the Safari Connect.
3, Ensure the strap is
at against the tree
and not twisted.

11
Rear/TailRear/Tail
Front:Front:
Attach Ratchet to each cornerAttach Ratchet to each corner
7, Pull the ratchet through
the loop.
4, The ratchet has a loop in
its strap
Attaching The Ratchet
With the tree straps attached and the
Safari Connect laid in postion, you can
now attach the 3 ratchet straps to the
D-rings at each corner.

12
8, Pull tight and dress the
Girth Hitch
5, The loop should be passed
through the D-ring in the
corners of the tent
9, Pushing the strap back
into the knot will loosen it.
6, Pass the ratchet through
the loop.

13
Fitting Strap To The Ratchet
With the ratchet strap attached to
the D-rings, it can now be connected
to the tree straps.
Check each corner of the Safari Connect is
aligned to each anchor point.
10, Ensuring there’s enough
length, bring the ratchet
and tree strap together.

14
14, Give a strong pull before
cranking the ratchet.
13, Lift the Safari Connect off
the ground by pulling through
excess strap at each point.
11, Feed the tree strap end
through the spindle.
12, Feed it in and pull it
through making sure it
does not twist.

18, Do this until the handle 18, Do this until the handle
has strong resistance.has strong resistance.
15, Release the ratchet 15, Release the ratchet
lock by pushing the innerlock by pushing the inner
latch upwards.latch upwards.
Tightening The RatchetTightening The Ratchet
Cranking the ratchet will give the tensionCranking the ratchet will give the tension
needed and allows for easy adjustment.needed and allows for easy adjustment.
Ensure the ratchet is correctly in the lockedEnsure the ratchet is correctly in the locked
position before entering the Safari Connect.position before entering the Safari Connect.
Attention - Ratchet Locking
Crank the ratchet handle back & forth
7- 9 times to increase tension to straps.
UNLOCKED LOCKED
15

Lift the innerLift the inner
latch handlelatch handle
to disengageto disengage
locking platelocking plate Push down soPush down so
it latches at.it latches at.
19, Once achieved, move the 19, Once achieved, move the
handle to the closedhandle to the closed
position and lock.position and lock.
16, This will release the handle 16, This will release the handle
and allow it to be cranked.and allow it to be cranked.
17, Pull the handle back17, Pull the handle back
and begin crankingand begin cranking
it back and forth.it back and forth.
LOCKING RATCHET
16

Aligning The Safari ConnectAligning The Safari Connect
Now the Safari Connect is raised, it needs Now the Safari Connect is raised, it needs
to be aligned. This is adjusted by slackingto be aligned. This is adjusted by slacking
the other ratchets and re-adjusting thethe other ratchets and re-adjusting the
tension between them to pull it in thetension between them to pull it in the
desired direction. Once aligned ensure alldesired direction. Once aligned ensure all
ratchets are tight and locked.ratchets are tight and locked.
Rear/TailRear/Tail
17

20, Now off the ground, use the straps and alignment20, Now off the ground, use the straps and alignment
tags to check the base is correctly aligned.tags to check the base is correctly aligned.
18

23, Push them through until23, Push them through until
they are visible from thethey are visible from the
other side.other side.
21, Take the 2 poles and unfold 21, Take the 2 poles and unfold
them to their full lengththem to their full length
before inserting.before inserting.
Inserting The PolesInserting The Poles
Insert the poles into the pole sleeves thatInsert the poles into the pole sleeves that
run across the top of the mesh. Oncerun across the top of the mesh. Once
through, secure the ends into the pole through, secure the ends into the pole
sockets and move around to the other sidesockets and move around to the other side
and repeat.and repeat.
Rear/TailRear/Tail
FrontFront
Insert polesInsert poles
from sidefrom side
19
Table of contents
Other Tentsile Tent manuals

Tentsile
Tentsile Universe User manual

Tentsile
Tentsile Stingray User manual

Tentsile
Tentsile Trillium XL User manual

Tentsile
Tentsile UNA User manual

Tentsile
Tentsile T-Mini User manual

Tentsile
Tentsile Connect User manual

Tentsile
Tentsile UNA User manual

Tentsile
Tentsile Safari Stingray User manual

Tentsile
Tentsile Safari Stingray Tree Tent User manual

Tentsile
Tentsile Universe Tree Tent User manual