Teuvan parra 21 User manual

Parra 21, fireplace stove
Installation and instructions for use
Teuvan Keitintehdas Oy • www.parrasauna.fi
Keitintehtaantie 29, 64700 Teuva

PARRA SAUNA FIREPLACE STOVE INSTALLATION, USE AND
MAINTENANCE INSTRUCTIONS
Congratulations on your excellent choice of sauna stove! A PARRA sauna stove is a high-
quality, traditional Finnish product that will serve you long when used and cared for proper-
ly. This guide describes the installation, use and maintenance of the stove. Read the guide
carefully before using the stove and keep it for further reference.
A PARRA sauna stove is a fireplace intended for heating a sauna. It is not intended for
continuous heating of an entire building. Only wood may be burned in a PARRA sauna
stove.
WARNINGS
! You must not burn wood in the tunnel of the Parra stove, but all combustible material
must be in the firebox on top of the grate.
! Parra fireplace stove is intended for heating a sauna. It is not intended for con-
tinuous heating of the entire building.
! Only wood may be burned in the Parra fireplace stove.
! The door of the fireplace must be kept closed to prevent smoke leaks during lighting,
adding wood and removing ash.
! The parts of the stove, especially the outer surfaces, are hot during use. Remember to be
careful around hot surfaces.
! Making changes to the stove is prohibited.
! Before installing the stove, make sure that all the safety distance requirements for the
structures are met.
! Remember to remove all protective plastic before the first heating.
! Use stove adjustment legs in all conditions and on all substrates, as they increase air cir-
culation under the stove keeping the platform dry.
! Take care of the sauna's adequate ventilation and ventilation, this way you extend the
lifespan of the heater and the sauna.

TECHNICAL SPECIFICATIONS
Table 1: TECHNICAL SPECIFICATIONS
P 21 Fireplace stove
Sauna volume
8–21 m3
Connecting flue diameter
143 mm
Height of upward flue connection
705 mm
Temperature class required of the chimney flue
T600
Minimum size of replacement air aperture in the
sauna room
Ø100 mm
Height
690 mm
Width
430 mm
Depth
490 mm
Max. length of firewood
35 cm
Firewood diameter
10–15 cm
Approximate amount of stones
35 kg
Stone diameter
8–12 cm
Weight of the fireplace
56 kg
Water heater / volume (OPTIONAL)
chimney container
30 l
Fireplace glass door
●
Adjustable legs
●
Height of the chimney connector
The heights of the chimney outputs of the Parra sauna stove models are shown in table 1
and the figure above (size B). The effect of optional items installed on top of the sauna
stove on the chimney connector height is shown in table 2.
Table 2: Effect of Parra accessories on the height of the chimney connector
Accessory
Add to the height of the chimney connector
Water heater VS 30
525 mm
65° angled smoke duct
246 mm (to the centre of the duct)
90° angled smoke duct
177 mm (to the centre of the duct)
25 cm smoke duct
approx. 200 mm
75 cm smoke duct
approx. 700 mm

SAUNA STOVE INSTALLATION AND FOUNDATION
All local regulations, including regulations with reference to local and European standards,
must be adhered to when installing the fireplace.
Before installation
Remove all packaging material and protective plastic. Shining, stainless parts (decorative
strips, exterior of the furnace door, exterior surfaces of stainless models) may have a thin
protective film, which also must be removed entirely. The film must also be removed if the
sauna stove is exposed to sunlight when stored, as the sunlight may make the film difficult
to remove.
Before placing the stones in the sauna stove, heat it to remove protective agents. Ensure
sufficient ventilation when doing this. It is recommended to do the first heating outdoors
with a non-insulated connector duct mounted to the stove to attain draught.
Sauna room size
A PARRA sauna stove san be installed in a sauna room whose size conforms to the size
stated in the technical specifications. Carefully select the sauna stove model, as you must
consider the properties that affect the heating of the sauna room when choosing the size
of the stove. A sauna stove with insufficient power must be heated longer and harder,
making its useful life shorter. If the sauna is made of timber but is not insulated and is used
in the winter, the computational volume of the sauna room is the real size multiplied by 1.5.
For every unlined square meter of stone wall, add 1.2 cubic meters to the computational
space. Similarly, every square meter of door or window surface will increase the computa-
tional space by 1.2 cubic meters. Choose the sauna stove according to the computational
space you attain with these rules.
Placement
Install the sauna stove on a level, non-moving, stable and incombustible platform. The
load-bearing capacity of the floor must be sufficient considering the weight of the sauna
stove, the water heater, if any, and the flue. Use the adjustable legs (optional) to fine-tune
the position of the sauna stove and ensure that it is steadily level and does not wobble.
The adjustable legs are mounted to the flanges at the bottom of the sauna stove body. To
adjust the height, turn the bottom nuts. Lock the leg in place with a nut attached above the
flange.
Flue
PARRA sauna stoves are connected to a CE-labelled PARRA flue, Parra chimney or a flue
conformant to sections E1 and E3 of the National Building Code of Finland. The heat clas-
sification of the flue must be at least T600 and it must be chimney fire proof.
PARRA sauna stoves are not suitable for installation in a shared smoke duct system.
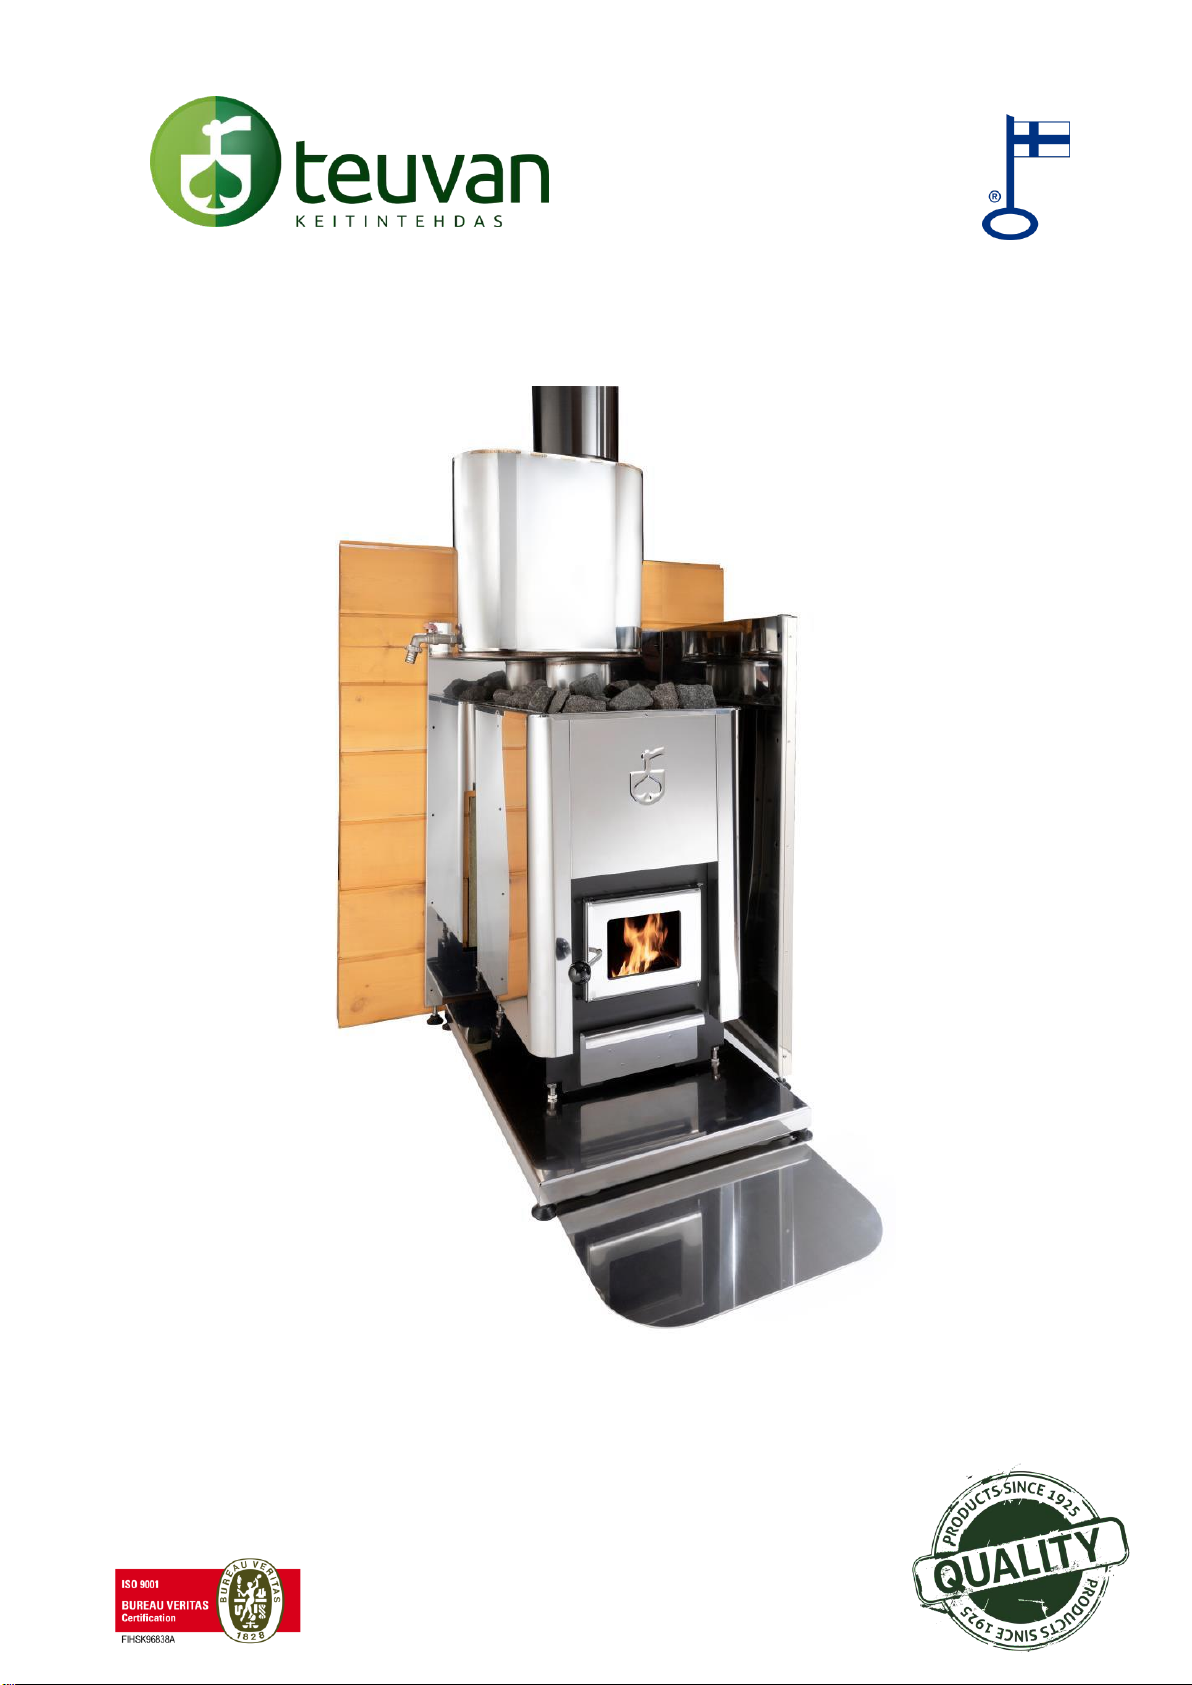
A 30-litre water heater installed above the stove on the flue is available as an option. In
this case, close the rear connection.
Connect the sauna stove to the flue with a separately supplied angular duct or direct flue.
Models with a rear connection aperture can also be connected to the flue with a separately
supplied rear connection duct. In these models, close the second connection aperture with
the supplied cover. With a masonry flue, make sure you don’t obstruct the flue with the
connector duct. You can insulate the gap between the flue and the connector duct with

suitable mortar or incombustible and heat-resistant mineral wool (minimum volume weight
100 kg/m3).
Furnace door
The door of the Parra sauna stove’s furnace is
packaged inside the furnace during transpor-
tation. The hinge pin is in place in the body’s
hinge flanges. Install the door so that the
hinge flanges on the stove body remain inside
the door flanges. For details, see figure 2.
The door can be installed for right-handed or
left-handed use.
Safety distances
Table 4: SAFETY DISTANCES (pls. see with pictures at the last page)
Parra 21
Safety distances combustible
materials
- sides
- rear
- front
- above
250 mm *)
250 mm *)
500 mm
1150 mm
Minimum distance (air gap) to
incombustible walls
50 mm
*) Can be reduced to 100 mm with the optional Parra sauna stove protective wall. In this case, the connect-
or duct’s thermal radiation shield is also needed.
**) Requires the use of a radiation shield intended for the sauna stove
Figure 2: Furnace door hinge
Door flange for hinge
Flange for hinge in stove frame

Protecting the walls
If necessary, the safety distances behind and on the sides of the sauna stove can be re-
duced with optional Parra stove protective walls. This allows for reducing the safety dis-
tance to 100 mm on the sides and behind the stove. The distance from the building wall
and from the exterior surface of the stove to the protective wall must be at least 30 mm to
allow for air circulation. When using protective walls, the uninsulated connection duct to
the flue must be protected with a Parra thermal radiation shield. With the thermal radiation
shield, the safety distance of the uninsulated connection duct to the wall is reduced to 150
mm.
Protecting the floor
The sauna stove can be installed directly on a concrete floor with at least 60 mm concret-
ing, if the floor structures under the stove do not have parts susceptible to heat, such as
electric wiring or pipes.
Harmful heating of the structural part underneath the sauna stove must be prevented. The
mortar, glue and water insulation of a tile floor do not withstand the thermal radiation from
the stove without a shield. It is recommended to use the optional Parra sauna stove’s
shield platform for protecting the underlying structures. Use the sauna stove’s adjustable
legs even with the shield platform. The adjustable legs lift the stove, improving air circula-
tion underneath it, which makes the shield platform and the sauna faster to dry after the
sauna bath. Carefully observe the instructions from local fire authorities. If necessary, con-
sult them for advice.
When installing on flammable floor, a Parra sauna stove’s shield platform or corresponding
protective shield must be used. The floor area to shield in front of the stove must extend at
least 100 mm from the sides of the door and at least 400 mm in front of it. Shield this area,
if necessary, with a shield plate of 450 x 280 x 6 mm (optional), which attaches firmly to
the floor and the stove platform.
Stove stones
The recommended stones for the stove are peridotite or olivine diabase stones with a di-
ameter of 8–15 cm. The stones must be washed before use. Lay in the stones so that you
put the largest ones at the bottom with the greatest stone surface against the stove’s steel
surface. Put the stones in the side pockets and generously, approximately 10–15 cm, over
the centre channel. An appropriate amount of stones guarantees a good sauna bath.
When laying in the stones, make sure that the sweeping hole doors stay in place.
Ventilation
Make sure the ventilation in the sauna is arranged so as to guarantee enough supply air
for combustion and that the air in the sauna is fresh and has sufficient oxygen levels for
sauna bathing. The task of the ventilation is to also remove the humidity from the room
after the sauna bath.
For combustion air, connect fresh-air duct with a diameter of 100 mm close to the sauna
stove. The grills for the supply air for the sauna must be placed so that they will not get
blocked easily. The burning consumes a lot of air, and natural ventilation will work well in
wood-burning sauna as long as there is fire in the furnace.
If the sauna space has mechanical ventilation, the supply air duct can also be placed over
the stove. In this case, install the exhaust air duct at the bottom of the sauna, preferably on

the opposing wall. Air can also be exhausted from the washing room, in which case you
need to leave a gap of at least 8 cm under the door between the sauna and the washing
room. When using mechanical ventilation/exhaust fan, make sure that it will not cause ex-
cessive underpressure in the sauna room, which may reduce the draught in the furnace
and make it more difficult to light up.
Install a ventilation valve on the sauna ceiling or top of the wall. Keep it closed during the
sauna bath and then open to dry the sauna. Sufficient ventilation after sauna is necessary
to guarantee a long useful life of the sauna stove and the sauna.
Fuel
The fuel of a PARRA sauna stove is only natural chopped wood. The dimensions are
shown in table 1. The amounts of firewood used for heating the sauna stove or when add-
ing wood are shown in table 3. Make sure you do not fill the furnace past the top of the
filling hole when you add wood. The performance values shown in the table apply to birch
firewood. Other wood can also be used. To attain good burning, make sure that the fire-
wood is dry.
Do not use materials with high calorific value, such as briquettes, coal, plastic or liquid
fuels to heat a PARRA sauna stove. They are specifically against the recommendations.
You can store an amount of wood suitable for a few uses close to a PARRA stove. The
wood must be placed so that its temperature will not exceed 80 °C.
Heating
Open the flue damper, if any, and empty the stove’s ash tray before heating. Use small,
dry wood for ignition. Then use the ash tray to adjust draught. At the early stages of heat-
ing, the ash tray may be wide open. When heating, the ash tray may be open up to the 25-
mm limiter. If you open the ash tray, make sure not to burn the stove too hot. A small
draught will reduce the amount of wood needed but also prolong the time needed for heat-
ing the sauna. Usually, one full load of wood is enough to heat up the stove. After this, add
the amount of larger wood necessary to sustain burning during the sauna bath.
Make sure that the supply air grills are clean and open.
If the sauna has been unused for a long time, make sure the flue is in order and open be-
fore you light up the fire. The draught will be poor with a cold flue and under certain
weather conditions. In this case, start the fire with a small amount of wood. Closing the
sauna door or windows may help in the starting stages.
Water for steaming
The water you pour on the stove must be water suitable for domestic use. Impurities and
minerals in the water, such as soil, iron and salt, will reduce the useful life of the stove.
CLEANING AND MAINTENANCE
Empty the ash tray preferably after sauna bathing once the fire has been extinguished
properly and definitely before the next heating. Also clear out loose ash from the furnace.
Ash in the furnace disturbs the circulation of air, which shortens the useful life of the stove.
Use an ash bucket or other suitable place for emptying the ash tray of the stove and make
sure that the hot ash will not pose a fire hazard.
Make sure the ash table is intact and in place, supported by its holders.

The stove, connection duct and flue must be cleaned and swept regularly in accordance
with the regulations of the Ministry of the Interior. This is very important particularly if the
stove has not been used for a long time. In connection with the sweeping, the flues of the
PARRA sauna stove must be cleaned through the sweeping hole on top of the stove. The
stove ducts are rather high, which means that little soot will not essentially affect the heat-
ing of the stove. Also make sure that the sweeping hole cover (and the cover of the alter-
native flue connector) are properly in place. In connection with the sweeping, check the
stove stones and remove the dilapidated ones. Replace removed stones with new ones.
You can wash a PARRA stove externally with soap and water and dry with a soft cloth.
A qualified person must regularly service the stove. Use only original PARRA spare parts.

INSTALLATION
Before installation, ensure the load-bearing capacity of the wall to be installed, on which
the installation opening for the fireplace stove is to be cut. Remove the cover plate with the
bay door and the insulation frame. Measure an opening in the wall for the insulation frame.
The fireplace stove can be installed on a wall with a maximum thickness of 140 mm. The
wall material can be either wooden or made of stone.
Install the protective walls of the heater in place before installing the heater and push the
heater into place from the side of the sauna room. Make sure that the protective distances
between the stove and the structures during installation are sufficient. Install the insulation
frame so that the insulation frame is even (“in line”) with the edge of the tunnel and that the
surface of the insulation faces the adjacent space. Fasten the stove's cover plate in place
in the tunnel with countersunk screws M5x10 (4 pcs) and to the wall, with the screws that
came with the delivery. When installing on a stone wall, nylon plugs must be used in con-
nection with the screws.

SAFETY INSTRUCTION
The stove will get very hot when used. Its surfaces will be burning hot. Consider this when
moving close to the stove and using it. Do not leave combustible materials within the safe-
ty distance of the stove. Never cover the stove or the ventilation holes in its body.
In case of chimney fire, close the stove’s air regulator (ash tray) and flue damper, if one
has been installed. Keep the fire furnace door closed. Contact the local fire authority. Do
not extinguish the fire with water. A sweeper must check the stove and the flue after the
chimney fire before the next heating. To avoid a chimney fire, remember to sweep regular-
ly and use only dry wood with sufficient draught for the burning.
NOTE! Chimney fires, even extinguished ones, must always be reported to fire au-
thorities.
WARRANTY
PARRA sauna stoves are covered by one-year warranty from their date of delivery. The
warranty is valid in Finland only. The warranty applies only to workmanship and materials.
The warranty does not cover cost of transportation, installation, wear and tear, faults from
use in conflict with the operating instructions or any other expenses. The manufacturer will
rectify possible errors either by repairing the faulty part or supplying a new one. Under no
circumstances will the manufacturer be responsible for indirect or consequential damage.
For more information on the terms of warranty, visit our website at www.parrasauna.fi.
Product, serial number ____________________
Checked by _______________________
Part
Description
Type label
Lower part of the stove right side
Ash table
At its place
Ash tray
At its place
Door
Inside the fire pit
Hinge pin
Taped to the bottom of the ashtray
Operation instructions
Inside the fire pit
Flue connector shutter
P14, P21 and P28 Inside the fire pit
Adjustable legs
P14, P21 and P28 Inside the fire pit
Rear connector duct
P14, P21 and P28 Inside the fire pit
Manufacturer
Keitintehtaantie 29, 64700 Teuva, Finland
Tel: +358 207 851 600
www.teuvan.com

MINUMUM SAFETY DISTANCES OF PARRA STOVES
Parra 14, 21, 28 and Q20 stoves safety distance Parra 14, 21, 28 and Q20 stoves safety distance to
to combustible materials without protective walls non-combustible materials without protective walls
All Parra stoves safety distance to combustible
materials with double layer protective walls
Table of contents
Popular Indoor Fireplace manuals by other brands

ORTNER
ORTNER SE11 56/56/42 Assembly instructions

Heatilator
Heatilator FL92 owner's manual

Lopi
Lopi Pro Builder 72 Linear GSB2 installation manual

Regency
Regency E18-NG Owners & installation manual

Valor
Valor BOLERO BR626 Installer's guide

FireplaceXtrordinair
FireplaceXtrordinair 36 DV EFIII owner's manual

Bellfires
Bellfires VIEW BELL XXL 3 LF Installation instructions & manual for maintenance

Vermont Castings
Vermont Castings 36CDVZRRN Installation instructions and homeowner's manual

Napoleon
Napoleon XIR4N Installation and operating instructions

Klarstein
Klarstein Chamonix manual

Desa
Desa GMC7CF Assembly instructions

New Buck Corporation
New Buck Corporation 21 User instruction manual