2
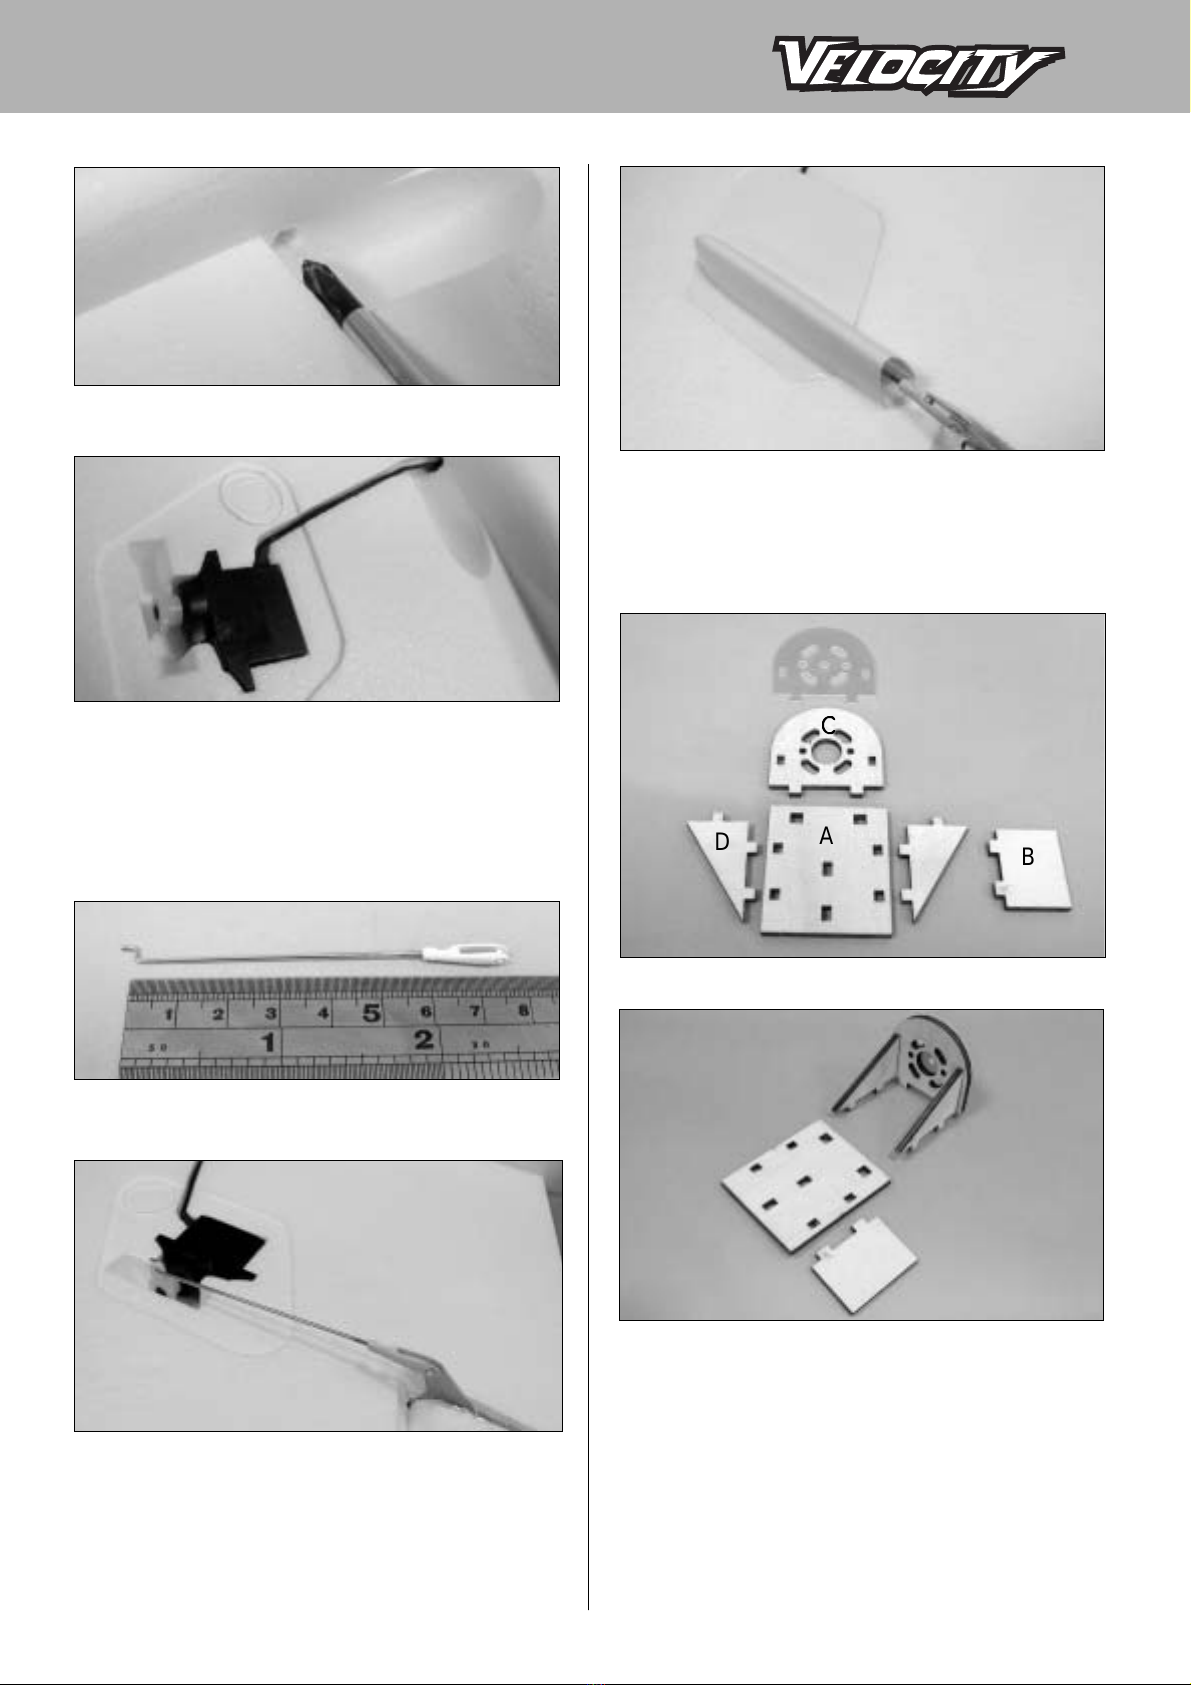
1.Cut trailing edge for aileron control surface along
with the molded line with hobby knife. Note: do
not cut hinge line.
2. Locate the fiberglass control horn. Epoxy
fiberglass control horn on the aileron with
furnished 5min. epoxy.
3. Apply decal on the wing. Attached to the leading
edge first then carefully apply decal on the wing
surface to the trailing edge. Note: Do not cut away
the transparent area, as it will cover the aileron
area.
4. Locate the flag strip then apply it at the bottom
wing surface. Note: Do not cut away the decal at
the hinge line. This decal will help holding the
aileron in place.
You may move the aileron at this moment and make
sure it moves freely.
ASSEMBLY / WING
PRE-ASSEMBLY NOTES
1. If you are not an experienced R/C pilot plan to have a fully
competent pilot help you to learn to fly your Velocity EP. This
will help you to be successful much faster and also avoid
potential damage to your model.
2. Please assemble your model exactly according to these
instructions. Do not attempt to modify or change the Velocity
EP in any way as doing so may adversely change its flying
characteristics.
3. Before you begin please check the entire contents of this
kit against the parts list and part drawings to be sure that no
parts are missing or damaged. This will also help you to
become familiar with each component of your Velocity EP. If
you find that any of the parts are either missing or damaged
please contact your dealer immediately for replacement.
Note: Your dealer cannot accept kits for return if construction
has begun.
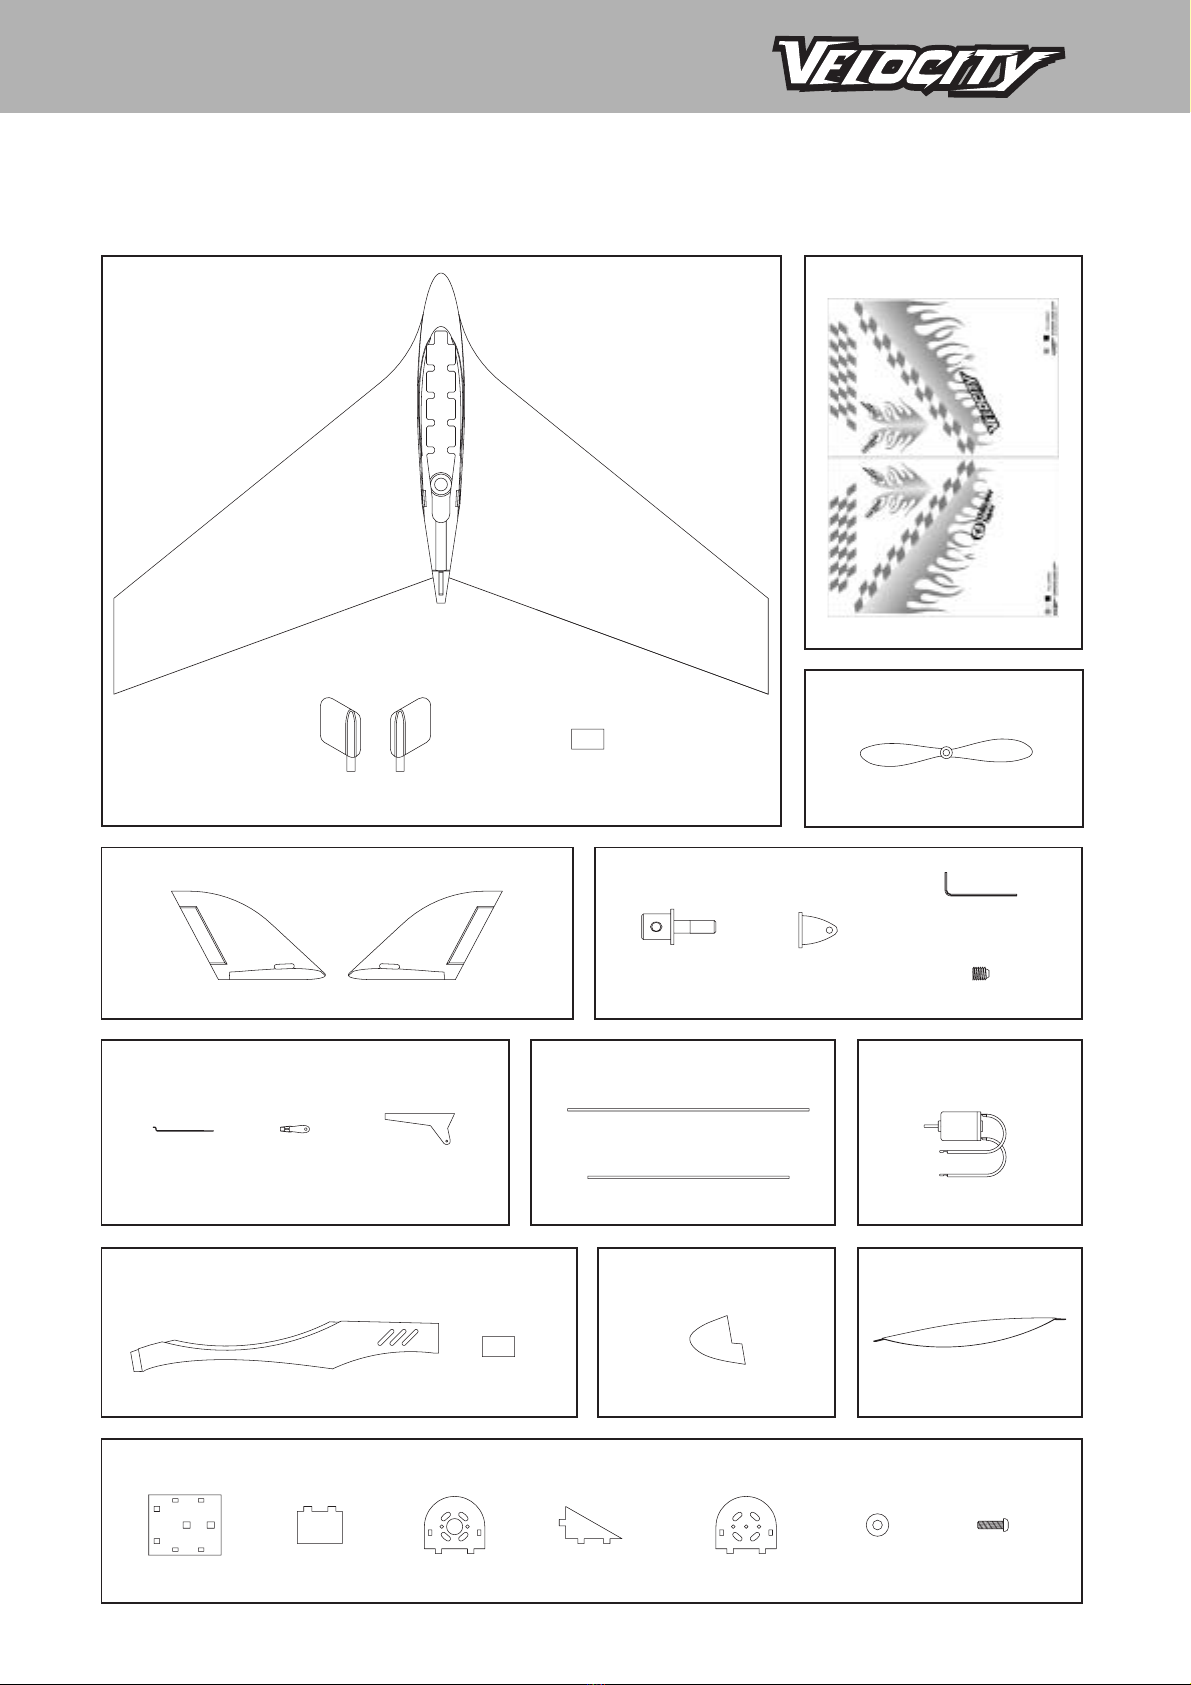
OTHER ITEMS REQUIRED
Radio: You will need at least a 3 channel radio control
system with Elevon mix fuction on an aircraft frequency for
use in your Velocity.
Micro Servo: ThunderTiger
C1016 No.8117 Micro Servo is
recommened for this flying wing.
Electronic motor controller: We
recommend ACE8012 ESC-30 with BEC (work with 3CH
radio) for controlling the power of your Velocity EP as well as
eliminating the need for a separate radio battery. The BEC
(Battery Eliminator Circuitry) in this
controller will automatically turn off
the power to the motor when the
battery reaches a factory present
discharge level leaving about 20-
25 minutes of flight time for the
radio system. Note: Some radio manufacturers offer a
lightweight radio system with a built-in motor controller with
BEC especially for this type of model.
Flight Battery: We recommend
the use of ACE 2935 8-cell 9.6V
1200 mAh NiMH battery pack for
maximum performance.
Charger: You will need a battery
charger to charge your power battery.
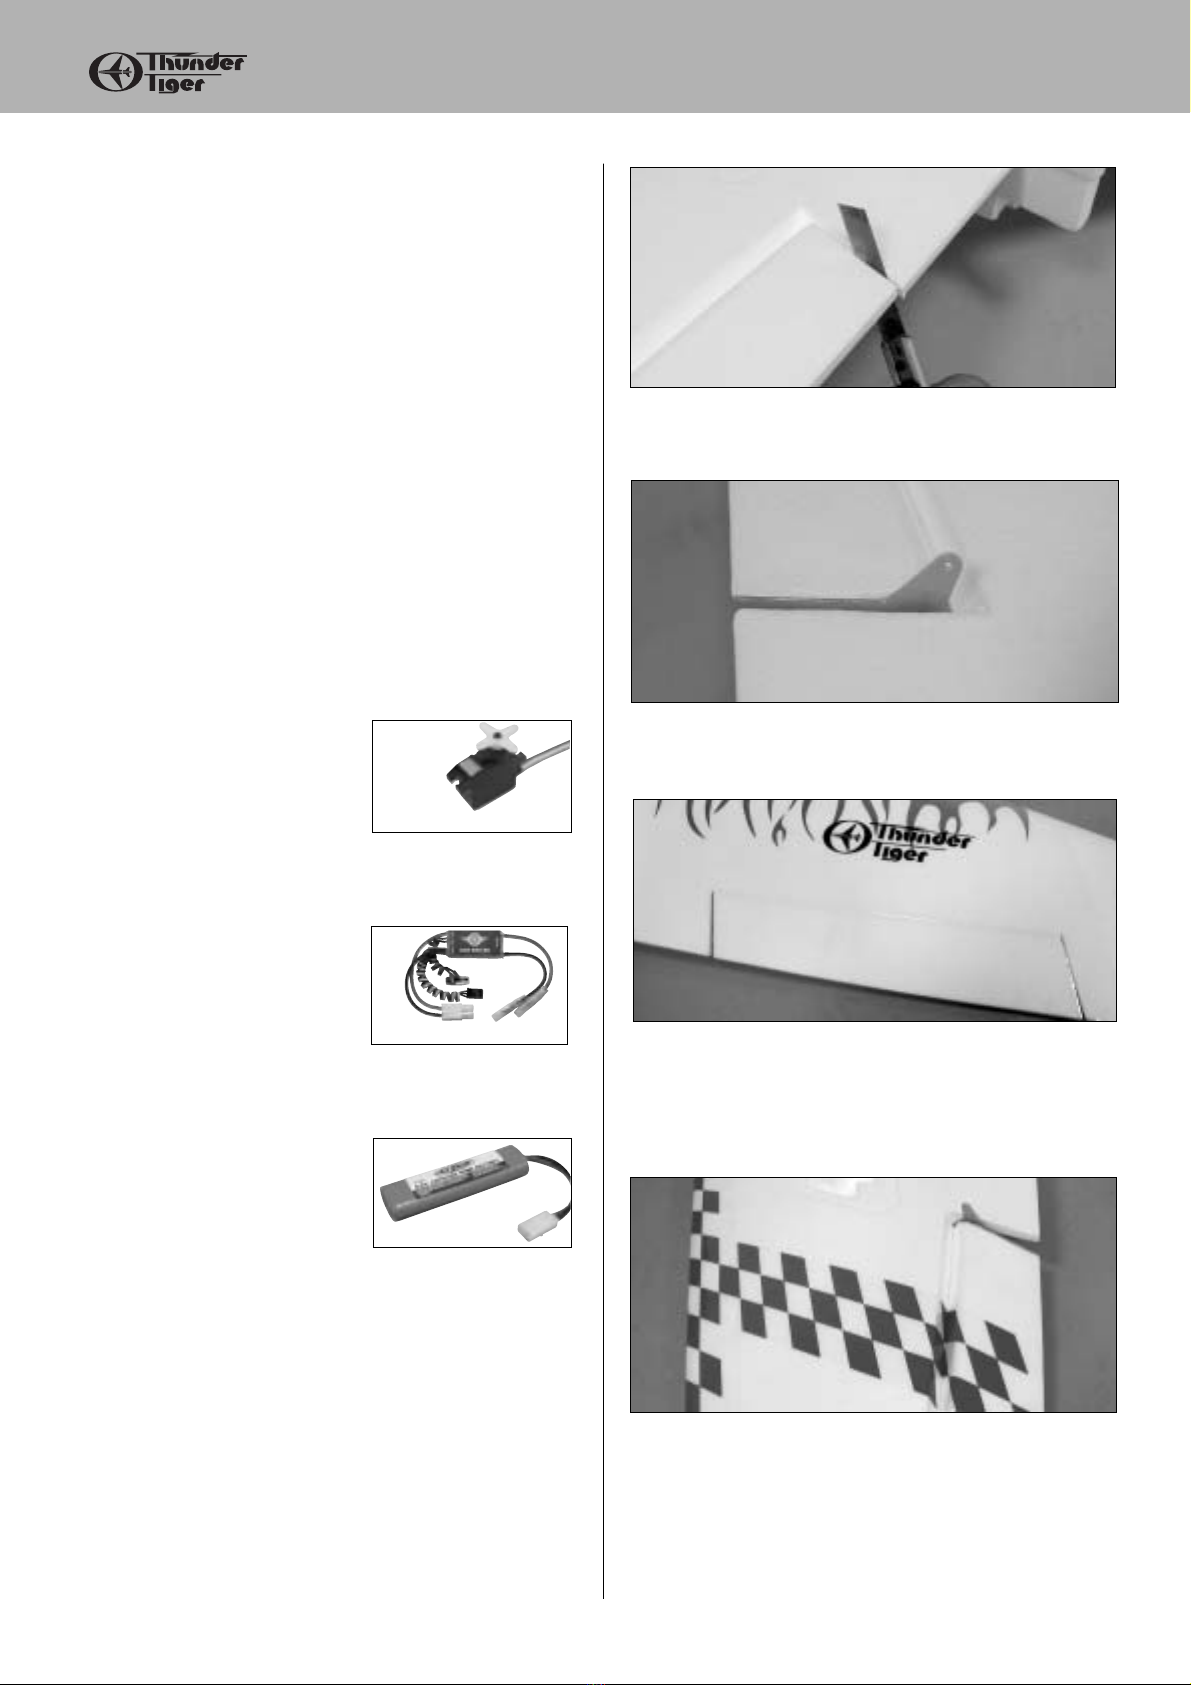
TOOLS AND SUPPLIES NEEDED
1. Thin CA Glue
2. Mixing Stick for Epoxy
3. Medium Grit Sandpaper
4. Rubbing Alcohol
5. Paper Towels
6. Hobby Knife
7. Ruler
8. Pen, Pencil or Marker
9. Small Screw Drivers
10. Curved Scissors
No.2935
No.8117
No.8012