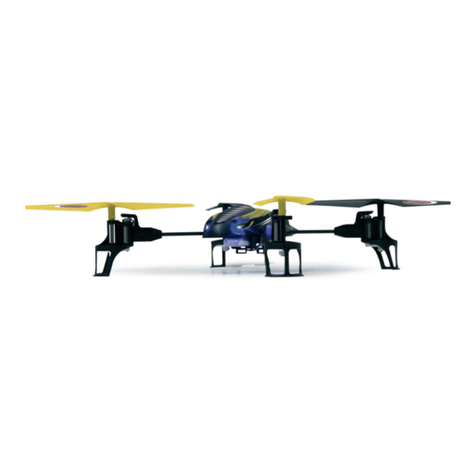
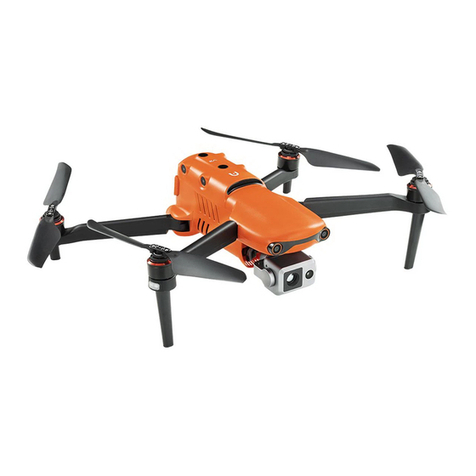
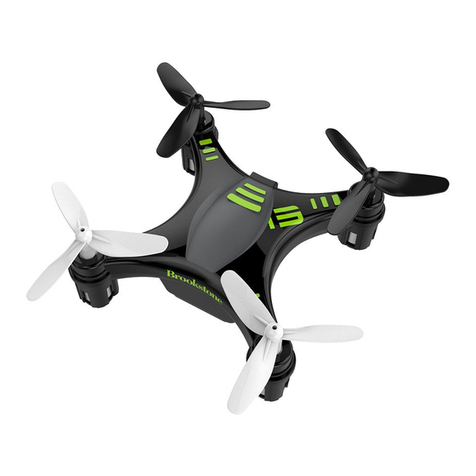
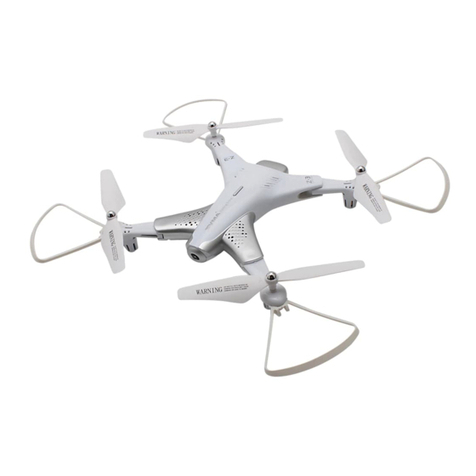
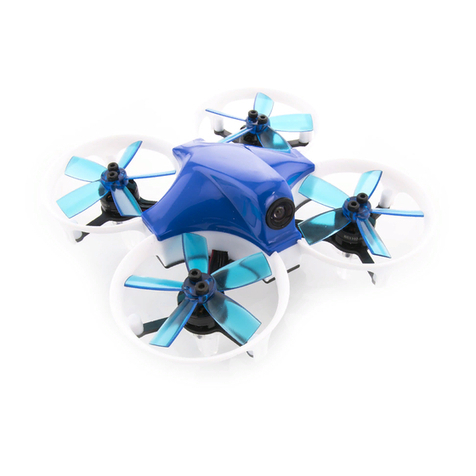
TILT RACING DRONE User manual

Cleanflight Manual Rev.6
Code No. MD04001-00-0108
1

Cleanflight Manual Rev.6
Code No. MD04001-00-0108
2
This document aims at explaining and guiding you in setting up your tilting arms multicopter. The actual Cleanflight (CF) version works
with Abusemark Naze32 and all its clones and assumes a single servo is used to rotate both arms. CC3D and other CF-compatible flight
controllers have not been tested yet.
We will appreciate your feedback: what you like, what you don't, what you think can work/be done better, what is missing, etc. Please
contact us for comments at [email protected] and join us at the official page on facebook TILT drone racer and the Dynamic Tilting
Arms users&help group.
Servo and motors connection:
The servo signal cable goes to motor output M1
t have anything connected to it
Motors 1 to 4 go to M3-M6 outputs respectively
We also recommend NOT to connect the tilt servo power cables plus and GND to the Naze but on any external 5V supply.

Cleanflight Manual Rev.6
Code No. MD04001-00-0108
3
Cleanflight Configurator download........................................................... 4
Flashing the Cleanflight firmware ............................................................ 5
Configuration tab.............................................................................................. 6
Pid setup tab ....................................................................................................... 7
Servos tab ............................................................................................................ 8
Tilt arm tab........................................................................................................10
Annex A: Cleanflight settings ......................................................................13

Cleanflight Manual Rev.6
Code No. MD04001-00-0108
4
Our Cleanflight code with tilting arms support is now public on Google Chrome. When the next official CF version is released including
our tilting arms features, you’ll be notified and our ‘Tiltflight’ code will eventually be remove from the Chrome Store. To enjoy your TILT
quadcopter, just dowload the Configurator from HERE.

Cleanflight Manual Rev.6
Code No. MD04001-00-0108
5
After installing our Cleanflight Configurator (we call it TiltFlight in Google’s webstore just to distinguish it from the oficial Cleanflight
Configurator. We’ll notify you when the tilt features will be available in the new official Cf ), click it and go to the Firmware Flasher tab
and tick on ‘Show unstable releases’. Then select the latest firmware version you’ll see in the unfolded menu. Finally, flash it as you flash
any other Cf firmware. Select ‘ ’ if you want to erase all previous settings (even if you don’t tick this option, we
recommend you to always revise your settings prior to fly with a new flashed firmware).

Cleanflight Manual Rev.6
Code No. MD04001-00-0108
6
After flashing the firmware (remember to select ‘’ if you are updating/downgrading from another firmware version!)
in the Configuration tab:
1. Check you have PPM
2. Choose the quadXTilt or octoXTilt (for X8 multicopters)

Cleanflight Manual Rev.6
Code No. MD04001-00-0108
7
We have only field tested the code with multiwii (0). Other PID controllers should also work and arebut right now their use is under your
responsability. The comming tuning sessions will be done with PID_controller=1 but for now take the parameters shown below for
PID_controller=0. Start by changing the two parametres below in the CLI:
set looptime = 2000
acc_lpf_factor = 100
save
In the at the end of this document you’ll find screenshots of the latest settings where TILT starts getting in shape from the
tuning perspective.
Choose looptime according to your ESC
max frequency:
3500 - 286Hz
3000 - 333Hz
2500 - 400Hz
- (Rctimer 30A mini ESC)
1600 - 600Hz

Cleanflight Manual Rev.6
Code No. MD04001-00-0108
8
What we want to set up are the first 5 columns and the ‘Direction’ one (NOT columns ‘CH1’ to ‘A4):
0° is when the servo is all on one direction: this is normally around 1000 μs. However, we’ve found that for non-180 degrees servos,
the PWM for this servo angle is below 500 μs (see note below).
90° is when the servo arm is centered: this is normally around 1500 μs.
180° is when the servo arm is exactly in the opposite direction from 0 deg: this is normally around 2000 μs.
MIN/MAX limit deg is a software limitation in degree on the spin of the servo: MIN for the maximum travel BACKWARDS and MAX
for the maximum travel FORWARD. It’s a good idea to start with ±45° from the neutral position (therefore, if 90° is the vertical
motor position, ±45° means the travel of the arms will go from ‒45° to +135°). When you feel comfortable, you can increase the
arms travel.
: During our tests of several servo brands and versions we found out that servos come calibrated in different ways, and
some can't even do a real full 180° (even forcing the PWM out of the recommended specs, especially digital ones, which are
limited by firmware). Therefore, it is very important to properly set up the ‘MIN limit deg’ and ‘MAX limit deg’, for instance to
45° or 60° and use a angle measuring tool to check the angulation (ideally a goniometer but a simple square sheet of paper
folded in diagonal will give you the 45° reference).
Direction: here you can reverse the servo rotation if you need to.

Cleanflight Manual Rev.6
Code No. MD04001-00-0108
9
To set up the values in this tab:
1. Set ‘MIN limit deg’ and ‘MAX limit deg’ to ‒90° and +90° respectively, ‘0 deg PWM’ to 1000 μs, ‘90 deg PWM’ to 1500 μs, and ‘180
deg PWM’ to 2000 μs.
2. Do full pitch forward and backward: the arm should move. Adjust the ‘0 deg PWM’ and ‘180 deg PWM’ values until you get a full
180° degree or you reach the physical limitation of servo.
3. Now set ‘MIN limit deg’ to ‒45° and ‘MAX limit deg’ to +45° and fine tune the 0° and 180° values
4. Finally, set MIN and MAX limit to your preferred value. We like to fly with a ±60° therefore.

Cleanflight Manual Rev.6
Code No. MD04001-00-0108
10
If at any time you hear the Servo forcing its position
and getting hot to the touch, turn the sistem off and let
him cool down. Possible causes of overheating are
physical limitation reached (decrease min/max limit)
or something is preventing the servo to move, like too
much tension on the belt or high friction on the
polymer bearings.
1. Connect the TILT flight controler (without propellers!) to the pc, then connect the battery.
2. If the motors are not vertical, unscrew a bit the set screw in the arms pulleys, rotate the arms and tighten the set screws again.
3. Set the Arm Gear Ratio to the correct value: you have to divide the servo pulley teeth by the arms pulley teeth.

Cleanflight Manual Rev.6
Code No. MD04001-00-0108
11
4. Select the receiver channel that you will use to change between dynamic tilting and fixed tilt: any value there below 1500 μs will
activate dynamic tilting. However, above 1500 μs, this channel will fix the motors inclination to the corresponding PWM value (only
forward). Therefore, if this channel is a potentiometer, the upper half pot travle allows you to set any fixed motor angle up to the value
‘MAX limit deg’ from the Servos tab. Or, you can just use a two-position switch here and set one position to a value under 1500 μs and the
other to a pre-determined motor inclination from 0° and forward.
5. Body pitch suppressor: if enabled, the value set there is a divider witch is applied to the RC input on the pitch (elevator) channel. The
body will pitch X times less, were X is the division coefficient: for instance, with 1 the body will picth normally, with 10 it will pitch 10
times less and, if negative, it will pitch in the opposite direction. We found out to have a bit of visual
feedback in LOS or from the FPV camera to know what the quad is doing but still having the camera facing forward (not down) in fast
forward velocity.

Cleanflight Manual Rev.6
Code No. MD04001-00-0108
12
6. Thrust compensation for servo inclination: as the motors tilt you will loose altitude. This feature tries to help you keep an horizontal
fly path adding thrust when needed so that you have to work less on the throttle stick to keep a leveled flight. The slider rapresents the
throttle stick position in hovering. This is very important to set correctly since, a too high value will make your quad compensate too
much and fly away without control:
7. Thrust compensation for body inclination: similar to above but works only on the body pitch inclination to compensate the small
allowed body inclination that may occurr due low ‘body pitch suppressor’, wind, fast acceleration/deceleration, etc.
8. Yaw and roll compensation: the more the motors tilt forward or backward from the vertical orientation, the more mixed are the yaw
and roll axis, i.e. that a yaw input has a roll component on the craft and viceversa. In the limit, when the motors are 90° forward or
backwards (i.e. horizontal) yaw will became roll viceversa. This setting tries to mix the yaw and roll results from the PIDs to minimize
unwanted effects, especially in banked/coordinated turns.

Cleanflight Manual Rev.6
Code No. MD04001-00-0108
13
Here you’ll find the latest settings and, when possible, videos flying with such values.

Cleanflight Manual Rev.6
Code No. MD04001-00-0108
14
Tuning session #2 (15-07-2015)
If attempting to roll please increase the rates from those shown in the following screenshots!
VIDEO: https://youtu.be/rpzbqyvrSlI

Cleanflight Manual Rev.6
Code No. MD04001-00-0108
15

Cleanflight Manual Rev.6
Code No. MD04001-00-0108
16

Cleanflight Manual Rev.6
Code No. MD04001-00-0108
17

Cleanflight Manual Rev.6
Code No. MD04001-00-0108
18
Code Number: MD04001-00-0108 Rev.6
Revision Date: 01/08/2015
Inkonova AB (Makerspark)
Kornhamnstorg 49
111 27 Stockholm
Email: [email protected]
Table of contents
