Tines & Reeds MARK II User manual

Manual for
CAREFULLY READ THIS MANUAL BEFORE USING THE DEVICE! THE MANUAL IS PART OF THE
DEVICE. IT CONTAINS IMPORTANT INFORMATIONS FOR OPERATION AND USAGE.
• Do never expose the device to rain or humidity. This will cause damage to the device.
• Repairs need to be done by qualified technicians only.
• Do not manipulate any jacks
• Do always shut off the device completely before cleaning. Wait till it is completely dry
before connecting it to the power supply.
This device conforms EMC 89/336/EEC and LV 73/23/EEC !"
Assembled in Germany by
Bahnhofstr. 41
Werkstatt im Hinterhof
27383 Scheeßel
Tel.: 04263 912 17 87
Mobil: 0172 5496901
E-Mail: info@tinesandreeds.com
Web: https://www.tinesandreeds.com

2
CONCEPT & USAGE
The MARK II Preamp was developed for Mark II Piano explicitly.
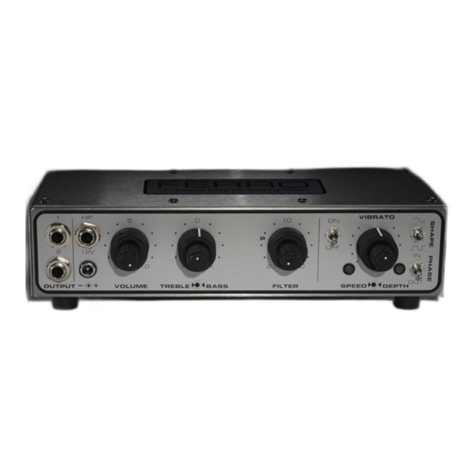
The MARK II Preamp is based on FERRO, our standalone preamp for all vintage keys. It comes
with a Rhodes-typical 2-band Baxandall-EQ, a switchable lowpassfilter as well as an optical
stereo-tremolo (which will be called “Vibrato” in the following for nostalgic reasons) with
switchable modulation waveforms.
Furthermore we have integrated a powerful DSP with a total of eight effects. This enhances the
musical possibilities greatly.
The MARK II Preamp was made as a “drop-in”-replacement for Rhodes Suitcase Pianos and so
it needs a power supply. If you want to use this preamp with your stage-version of a Mark II,
we are offering SideTwix. SideTwix is a power supply for all 5-pin preamps. It comes with a
headphone amp as well.
ATTENTION: The power supply
needs to be completely switched off
when connecting the
preamp. When making the connection while the power supply is switched on it is very likely
that you damage the preamp.
Connect first, power on second.

3
FUNCTIONS
POWER AMP CABLE:
Jack for the 5-pin cable to the power supply / SideTwix.
ACCESSORY 1 & 2:
This is an effect loop. The loop comes circuitry-wise after volume, bass and treble control and
the lowpass-switch. This means, the jacks are without function if the unit is not powered up.
Accessory 1 is the output (send), accessory 2 is the input (return).
Different from the original Rhodes preamp the instrument is still audible when using jack 1. On
the MARK II Preamp the effect loop will be engaged as soon as you are using jack 2 as well.
We have integrated an automatic stereo-detection. This allows you to use stereo effects within
this fx-loop. The preamp detects if a mono-plug (TS) or a stereo-plug (TRS) is inserted and will
accordingly switch internally. There is an indicator LED showing what the preamp has detected.
Please note that it may take a few seconds for the LED to switch off after removing a plug from
the jack.
VOLUME:
Control for volume.
BASS:
Control for low frequencies.
TREBLE:
Control for high frequencies.

4
MK I / MK II:
This is a toggle switch for the tone color. While in the MK I-position high frequencies will be
cut, the MK II-position gives you more sparkle. With flat EQ settings there won’t be a big
difference between these two settings. Anyway the more you boost the high frequencies using
the treble control the more audible it will be.
Advice:
Put the treble control to max and switch between these two settings while playing in the mid /
upper register. You’ll notice that the MK I-position gives you the 70s sound while the MK II-
position is way more sparkling and reminds of the 80s
IN / OUT:
Switch for changing the phase of the vibrato. IN means mono, well known from Wurlitzer
Pianos or guitar amps. OUT means stereo. This is what you probably expect from a Rhodes
preamp.
DEPTH:
Control for the depth of the vibrato modulation.
ON / OFF:
Switch for engaging the vibrato.
NOTE: We have integrated a 2-color LED. Red is the left, green the right channel. When the
vibrato is switched off both channels are running on half volume, so both LEDs light with half
power as well. That means although the vibrato is switched off, the LED will still be on. The
LED is useful as a power indicator since it always shows something when the MARK II Preamp
is powered on.
SPEED:
Control for the speed of the vibrato.

5
SHAPE:
Switch for changing the waveform of the modulation.
While the square wave is the classic Rhodes modulation, the sine wave gives you a wider and
softer modulation.
ON / OFF:
Switch for engaging the effects section.
NOTE: This switch interrupts the audio path to the DSP. The DSP itself will still operate though.
This gives room for experimentation. You could for example use a delay and adjust the
feedback so that its going endless. Now set the switch to “OFF”. You will still hear the delay.
You can adjust the volume by using the MIX control and you can play over this tapestry of
sound. All controls that are circuitry-wise in front of the DSP will not have any effect to the
delayed signal. Have fun!
PARAM 1.:
Control for changing the first effects parameter.
I / II:
Switch for toggling between two effect programs.
PARAM 2.:
Control for changing the second effects parameter.
MIX:
This control mixes the dry Rhodes signal with the DSP signal. It can act as a volume
potentiometer for the DSP unit as well.

6
APPENDIX: DSP
The DSP comes with eight effects:
1. Shimmer Reverb
2. Stereo Delay
3. Stereo Delay + Reverb
4. Plate Reverb
5. Chorus
6. Vibrato
7. Phaser
8. AutoWah
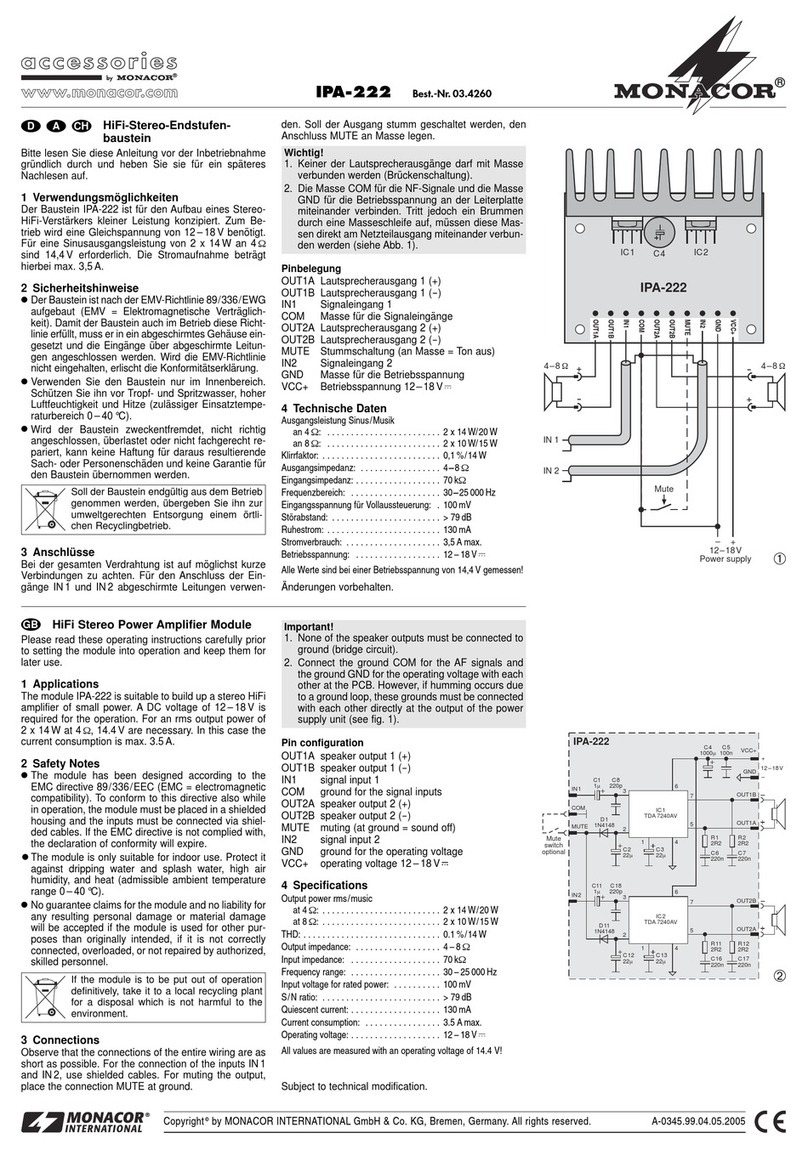
On the faceplate you can choose between two of them (see above).
We configure the MARK II Preamp so you can switch between Shimmer Reverb and Stereo
Delay.
Anyway if you wish to change those programs please follow these steps:
- Remove the preamp from the namerail.
- Remove all potentiometer knobs.
- Loosen all potentiometers. Unscrewing is not necessary!
- Loosen both Accessory-jacks. Unscrewing is not necessary!
- The switches can be left mounted.
- Now you can remove the shielding case by pulling it up.
- On the right side on the PCB you will see two pinheaders with one jumper on each.
- The left pinheader sets the effect for “I” on the frontpanel.
- The right pinheader sets the effect for “II” on the frontpanel.
- Each position on the pinheader stands for one program.
- By changing the position of the jumper you can change the program.
For testing purposes it is okay to leave away the shielding case. Tighten all potentiometers and
accessory-jacks. Now you can try the different effects and see what you prefer. If you have
made your decision, please follow the steps above in reverse order.
APPENDIX: Power-Up Delay
The MARK II Preamp comes with an electronic power-up delay to prevent audible pops. It
takes about two seconds after power on for it to boot.

7
TECHNICAL SPECIFICATIONS:
Output impedance: ca. 100 Ohm each channel
Powersupply:!+15V @ 120mA , -15V @ 70mA
Weight: 1400g
Table of contents
Other Tines & Reeds Amplifier manuals
