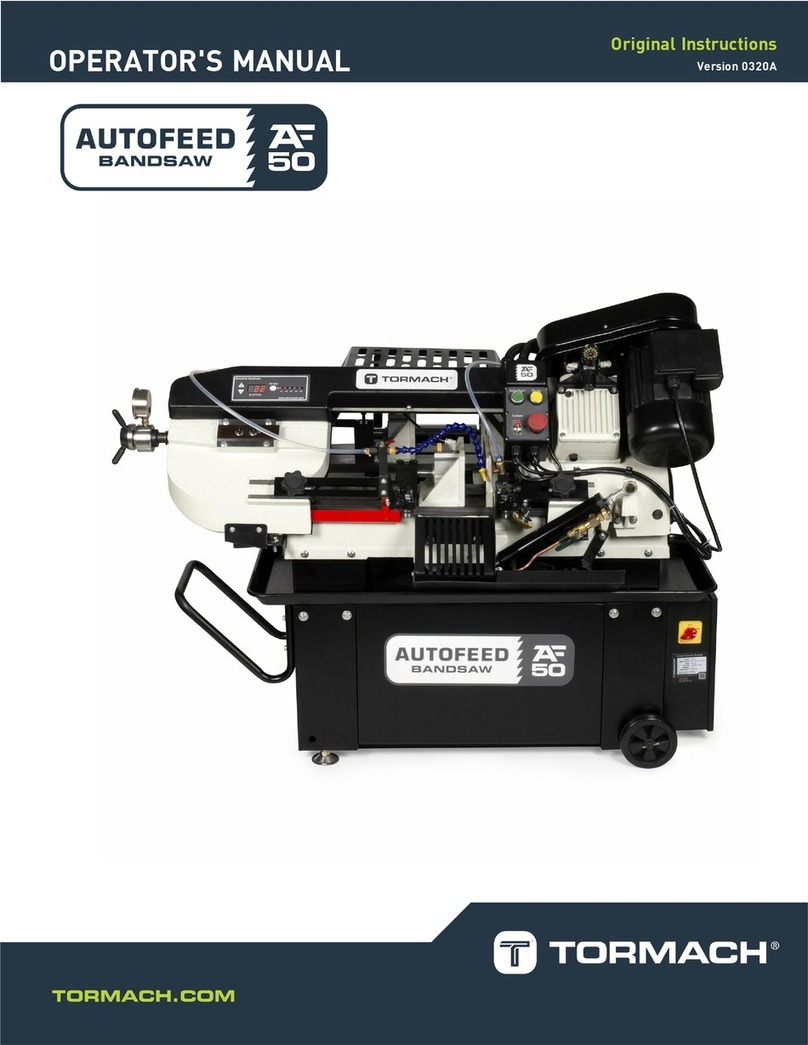
START CUTTING WITH YOUR BANDSAW
Follow the instructions to use the bandsaw in either automatic or manual mode. If you need any
more information, see the Operator's Manual included with your machine.
Note: The images used in this quick reference guide have been edited for clarity. Some
components on your bandsaw aren't shown in the images.
AUTOMATIC OPERATION
1. Open the vises (1)and load the material between them. Push the material up so that it's
touching the blade.
2. Move the horizontal quick-adjustment nut (2) and the infeed table (3) until they're just past the
desired length of cut.
3. Rotate the horizontal quick-adjustment nut (2) to make fine adjustments to the infeed table (3)
until the back edge of the table is aligned with the desired length of cut on the ruler.
4. Use the handwheel (4) and clamp handle (5) to close the vise clamps until they're
approximately 1/8 in. from the material.
5. Move the blade support guide (6) until it's as close to the material as possible, but so that it's
not past the outfeed guide (7).
6. Move the blade feed lever (8) up to the Stop position.
7. Lift the saw head until the blade is about 2 in. above the material.
8. Move the vertical quick-adjustment nut (9) until it meets the lift height sensor (10).
9. Twist out the Emergency Stop button (11).
10. Use the Down Arrow and Up Arrow buttons (12) to indicate the number of cuts desired.
11. Use the Stroke button (13) to indicate the number of strokes desired.
12. Push the green Cycle Start button (14) twice.
13. Move the blade feed lever (8) down to the Go position.
14. Use the feed adjustment knob (15) to set the cutting rate.
15. The bandsaw begins to cut your material. Watch the blade cut through to verify that the head
falls at a consistent rate through the material.
MANUAL OPERATION
1. Twist out the Emergency Stop button (11).
2. Push the Down Arrow and the Up Arrow buttons (12) at the same time.
The control panel displays ---.
3. Open the vises (1) and load the material between them.
4. Move the blade feed lever (8) up to the Stop position.
5. Lift the saw head up to its maximum allowed height.
6. Move the material forward until it's at the desired length for the cut.
7. Use the handwheel (4) to close the vise until the material is secure.
8. Move the blade support guide (6) until it's as close to the material as possible, but so that it's
not past the outfeed guide (7).
9. Push the green Cycle Start button (14) twice.
10. Move the blade feed lever (8) down to the Go position.
11. Use the feed adjustment knob (15) to set the cutting rate.
12. The bandsaw begins to cut your material. Watch the blade cut through to verify that the head
falls at a consistent rate through the material.
1. Vises
2. Horizontal Quick-Adjustment Nut
3. Infeed Table
4. Handwheel
5. Clamp Handle
6. Blade Support Guide
7. Outfeed Guide
8. Blade Feed Lever
9. Vertical Quick-Adjustment Nut
10. Lift Height Sensor
11. Emergency Stop Button
12. Down Arrow and Up Arrow Buttons
13. Stroke Button
14. Cycle Start Button
15. Feed Adjustment Nut
