Toro 31598N User manual

FormNo.3391-812RevA
Groundsmaster®5900and5910
RotaryMower
ModelNo.31598N—SerialNo.315000001andUp
ModelNo.31599N—SerialNo.315000001andUp
Registeratwww.Toro.com.
OriginalInstructions(EN)*3391-812*A

WARNING
CALIFORNIA
Proposition65Warning
Thisproductcontainsachemicalorchemicals
knowntotheStateofCaliforniatocausecancer,
birthdefects,orreproductiveharm.
Dieselengineexhaustandsomeofits
constituentsareknowntotheStateof
Californiatocausecancer,birthdefects,
andotherreproductiveharm.
Becauseinsomeareastherearelocal,state,orfederal
regulationsrequiringthatasparkarresterbeusedonthe
engineofthismachine,asparkarresterisincorporatedwith
themuferassembly.
GenuineTorosparkarrestersareapprovedbytheUSDA
ForestryService.
Important:Thisengineisequippedwithaspark
arrestermufer.ItisaviolationofCaliforniaPublic
ResourceCodeSection4442touseoroperatetheengine
onanyforest-covered,brush-covered,orgrass-covered
landwithoutasparkarrestermufermaintainedin
workingorder,ortheengineconstricted,equipped,and
maintainedforthepreventionofre.Otherstatesor
federalareasmayhavesimilarlaws.
Introduction
Thismachineisaride-on,rotary-bladelawnmowerintended
tobeusedbyprofessional,hiredoperatorsincommercial
applications.Itisprimarilydesignedforcuttinggrasson
well-maintainedlawnsinparks,golfcourses,sportselds,
andoncommercialgrounds.Itisnotdesignedforcutting
brush,mowinggrassandothergrowthalongsidehighways,
orforagriculturaluses.
Readthisinformationcarefullytolearnhowtooperateand
maintainyourproductproperlyandtoavoidinjuryand
productdamage.Youareresponsibleforoperatingthe
productproperlyandsafely.
YoumaycontactTorodirectlyatwww .Toro.comforproduct
safetyandoperationtrainingmaterials,accessoryinformation,
helpndingadealer,ortoregisteryourproduct.
YoumaycontactTorodirectlyatwww .Toro.comforproduct
andaccessoryinformation,helpndingadealer,ortoregister
yourproduct.
Wheneveryouneedservice,genuineToroparts,oradditional
information,contactanAuthorizedServiceDealerorToro
CustomerServiceandhavethemodelandserialnumbersof
yourproductready.Figure1identiesthelocationofthe
modelandserialnumbersontheproduct.Writethenumbers
inthespaceprovided.
Figure1
1.Modelandserialnumberlocation
ModelNo.
SerialNo.
Thismanualidentiespotentialhazardsandhassafety
messagesidentiedbythesafetyalertsymbol(Figure2),
whichsignalsahazardthatmaycauseseriousinjuryordeath
ifyoudonotfollowtherecommendedprecautions.
Figure2
1.Safetyalertsymbol
Thismanualuses2wordstohighlightinformation.
Importantcallsattentiontospecialmechanicalinformation
andNoteemphasizesgeneralinformationworthyofspecial
attention.
©2014—TheToro®Company
8111LyndaleAvenueSouth
Bloomington,MN554202
Contactusatwww.Toro.com.
PrintedintheUSA.
AllRightsReserved

Contents
Safety...........................................................................4
SafeOperatingPractices...........................................4
ToroMowerSafety..................................................6
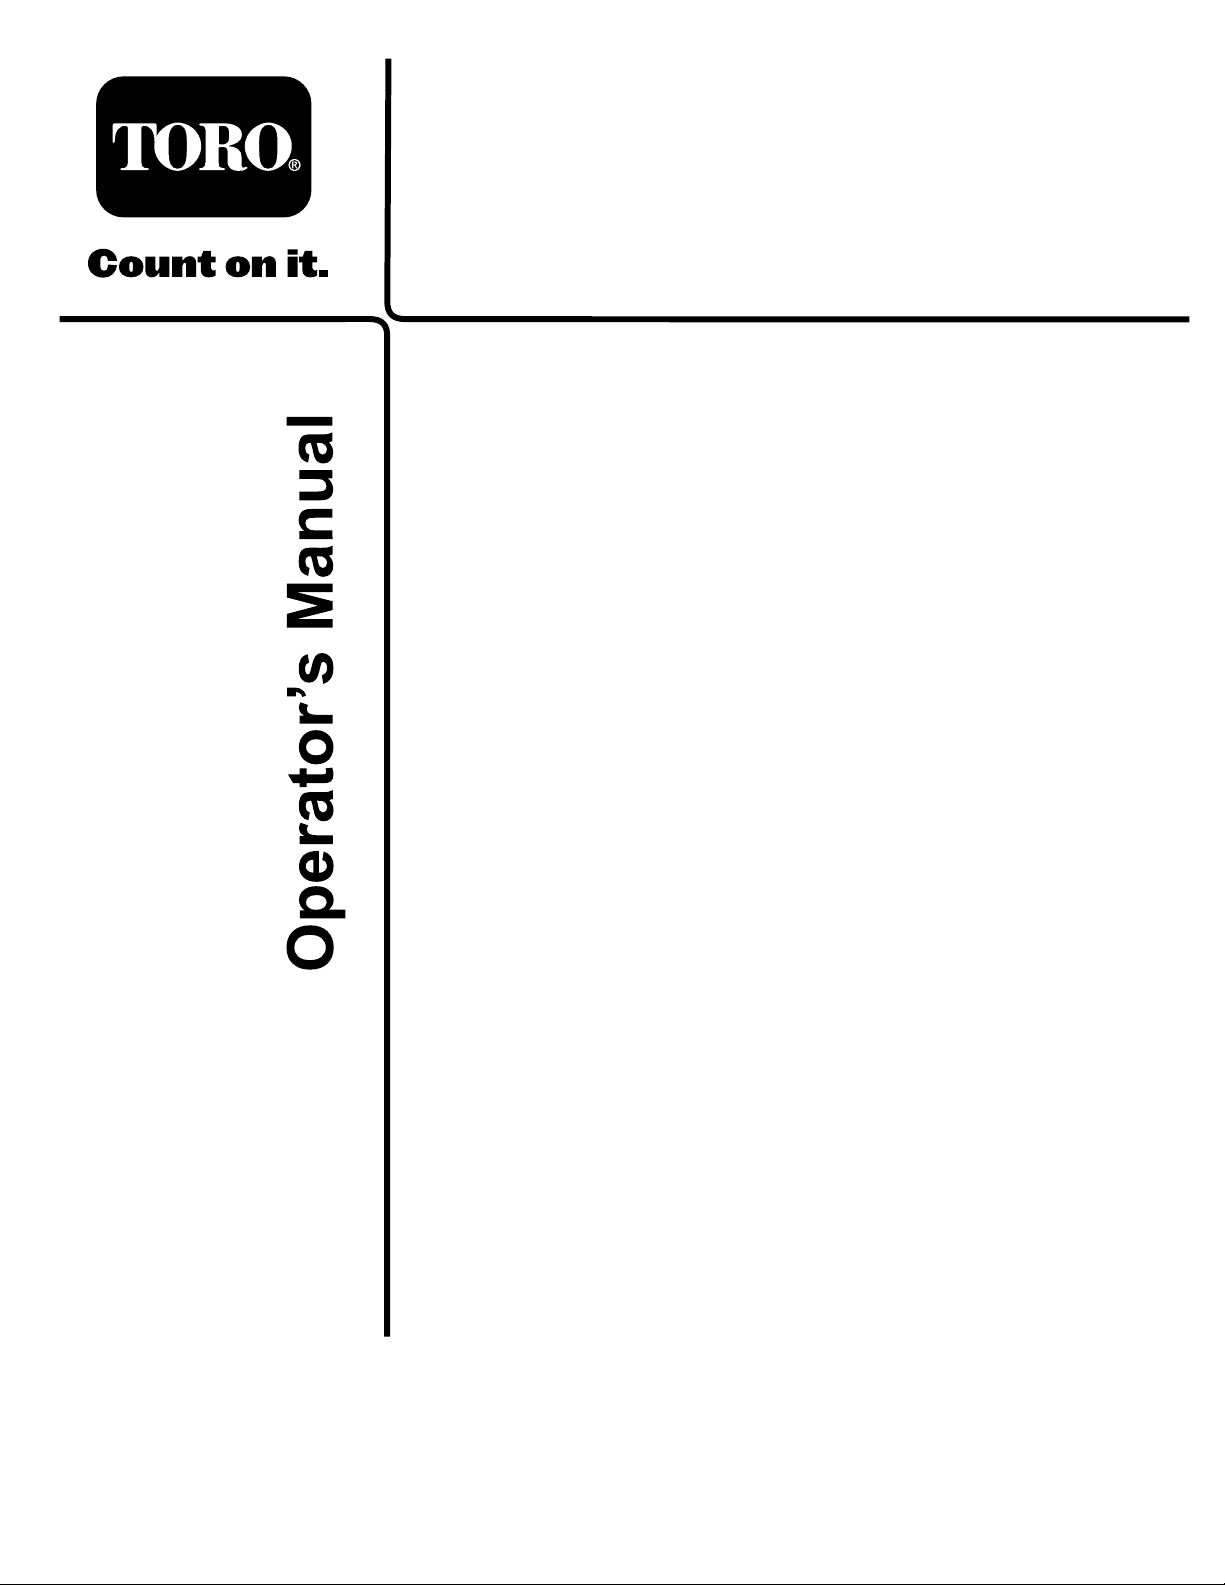
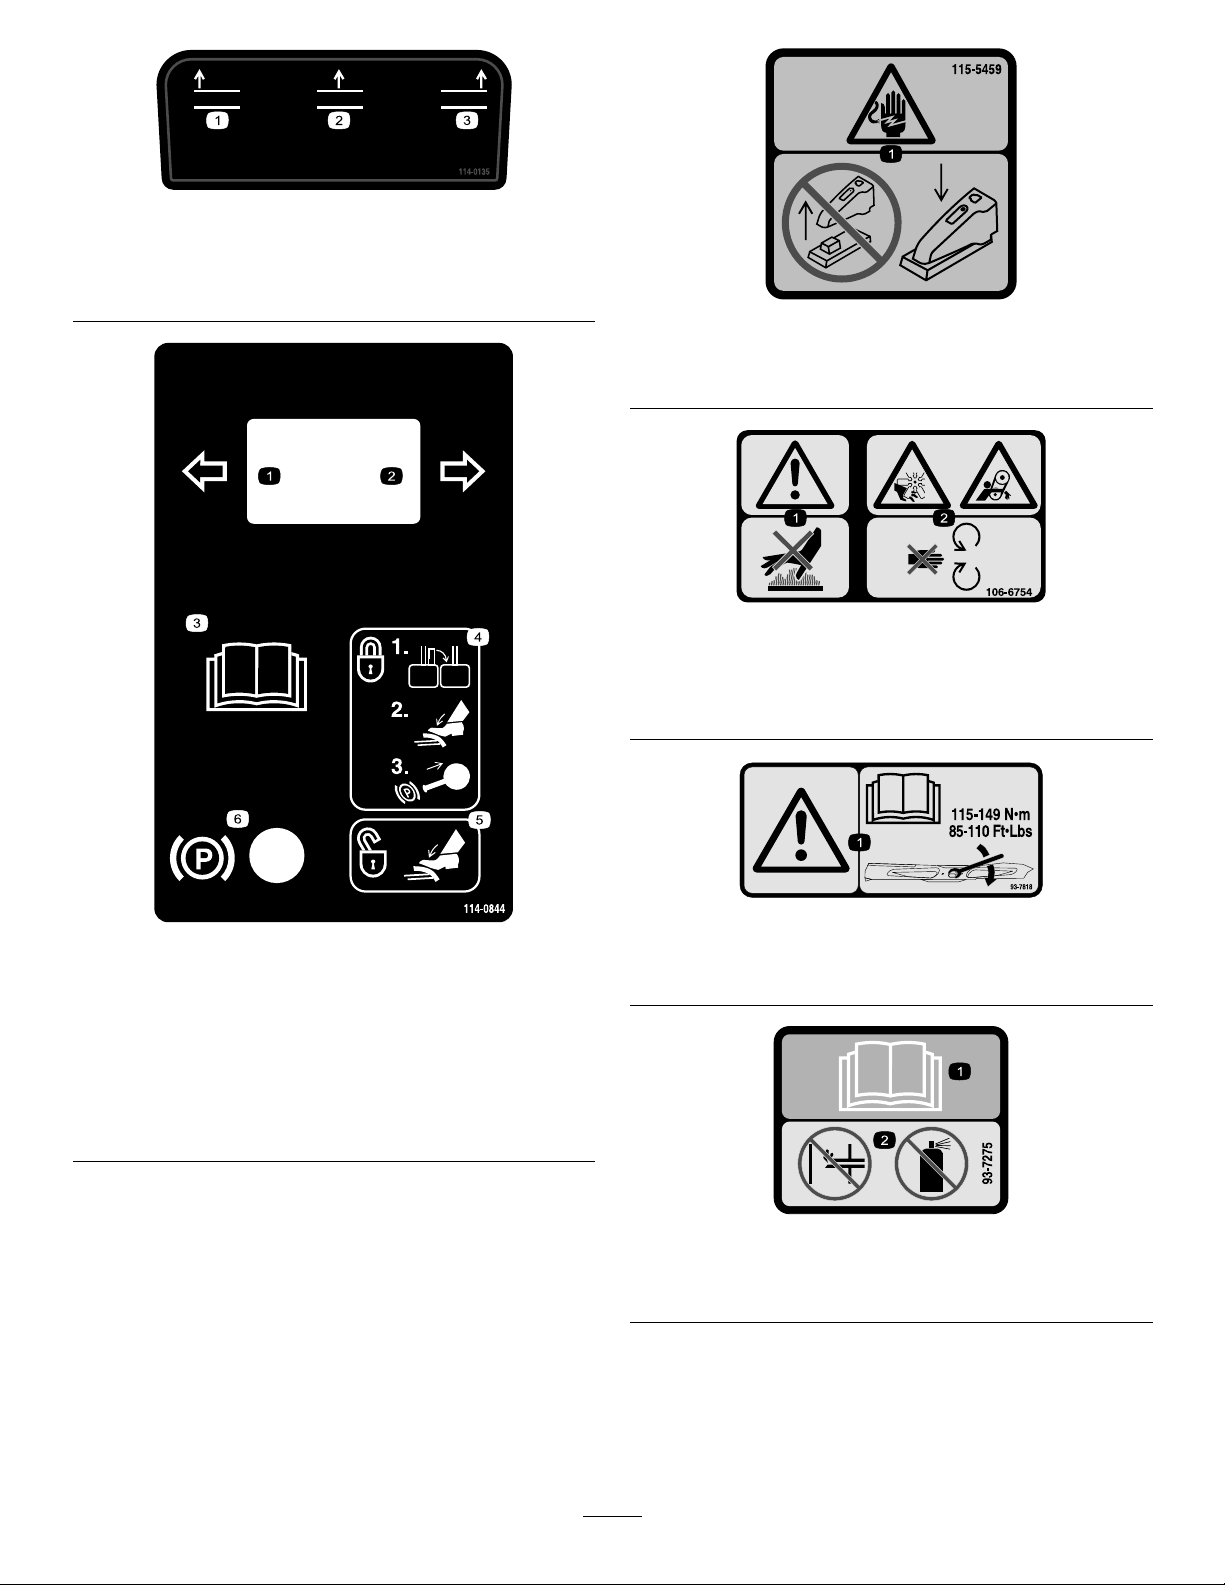
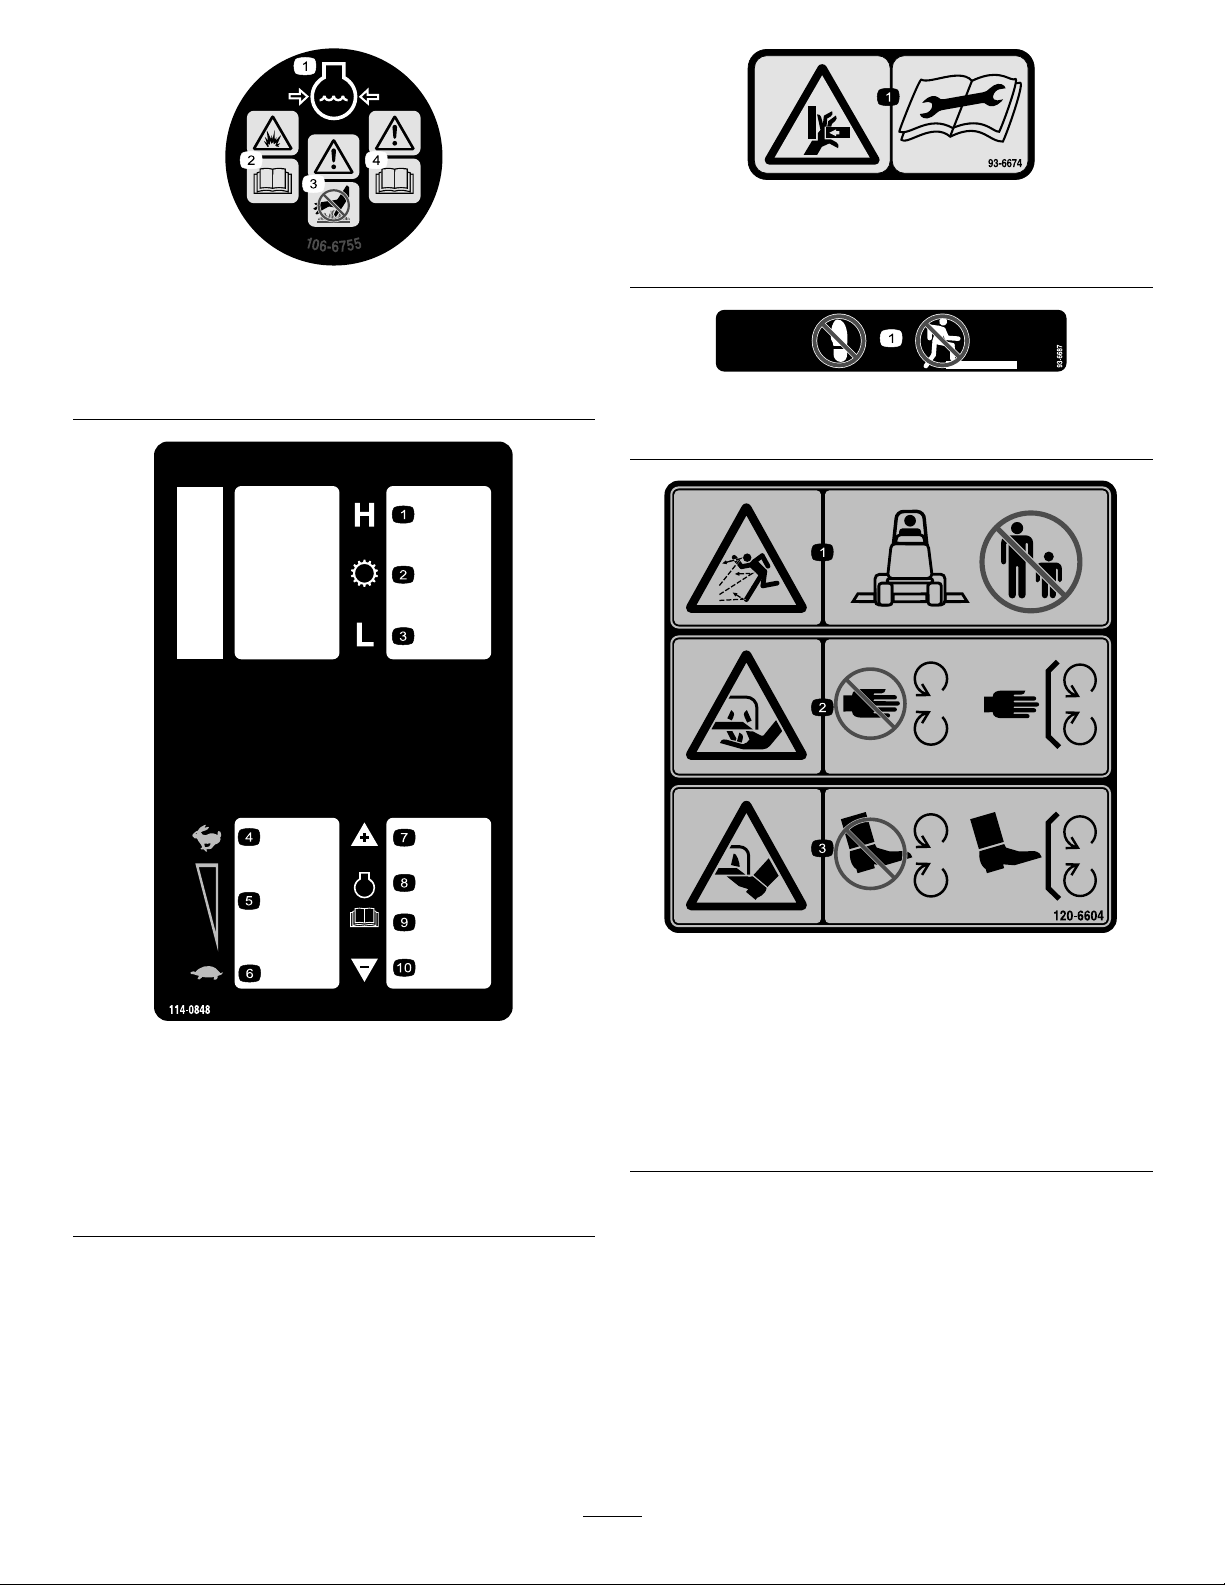
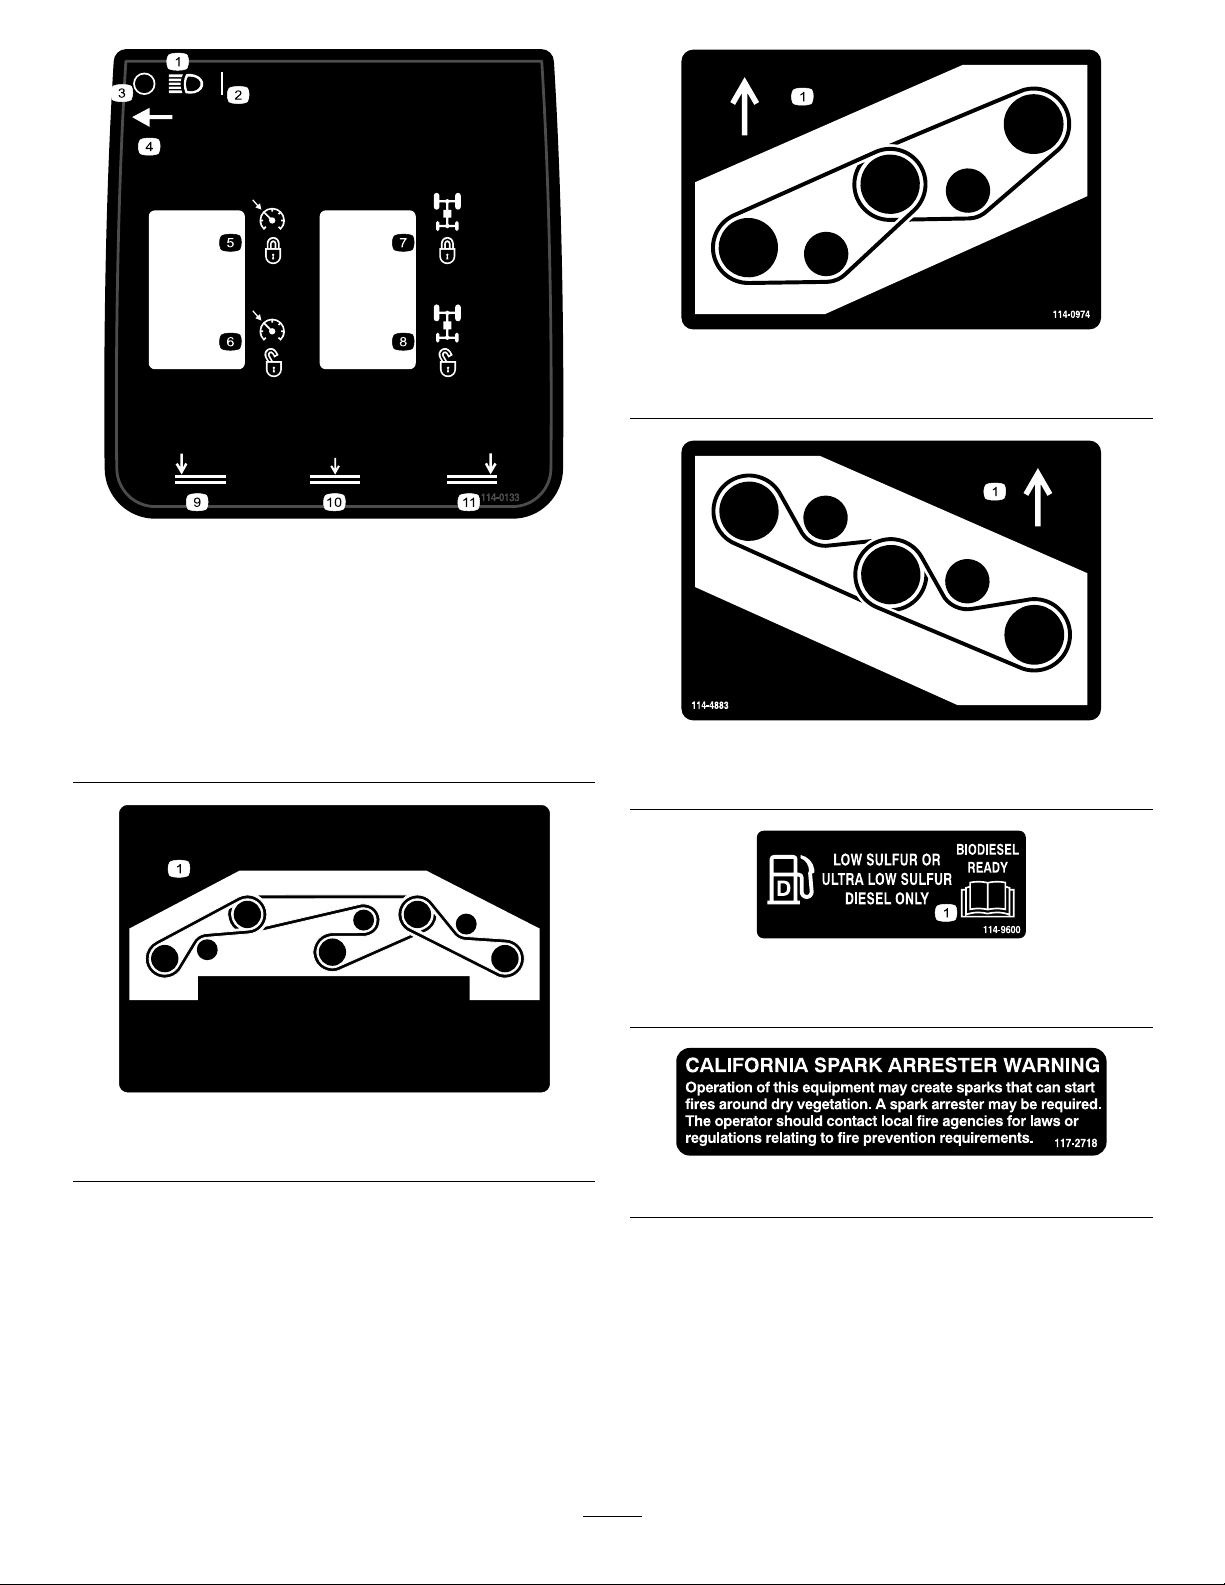
SafetyandInstructionalDecals.................................7
Setup...........................................................................15
1RemoveSideDeckShippingStrapand
Brace................................................................15
2LoweringtheFrontDeckWinglets.........................15
3LevelingtheFrontCenterDeck.............................17
4LevelingtheWingletDeckstotheFrontCenter
Deck.................................................................17
5CheckingtheTirePressure....................................18
6CheckingtheFluidLevels.....................................18
7GreasingtheMachine...........................................18
ProductOverview.........................................................19
Controls...............................................................19
Specications........................................................26
Attachments/Accessories........................................26
Operation....................................................................27
CheckingtheEngineOilLevel.................................27
CheckingtheCoolingSystem...................................27
CheckingtheHydraulicSystem................................27
AddingFuel...........................................................27
CheckingtheTirePressure......................................28
CheckingtheTorqueofWheelLugNuts....................28
AdjustingtheHeight-of-Cut....................................28
AdjustingtheSkids.................................................31
AdjustingtheCuttingUnitAnti-ScalpRollers.............31
CheckingtheMismatchBetweenCutting
Units.................................................................32
AdjustingtheMirrors..............................................33
AimingtheHeadlights............................................33
StartingandStoppingtheEngine..............................33
CheckingtheInterlockSwitches...............................34
PushingorTowingtheMachine................................34
JackingPoints........................................................35
TieDowns............................................................35
OperatingCharacteristics........................................36
ReversingFanOperation.........................................36
OperatingTips......................................................37
Maintenance.................................................................38
RecommendedMaintenanceSchedule(s)......................38
ServiceIntervalChart.............................................39
PremaintenanceProcedures........................................39
InnerWingDeckCovers.........................................39
Lubrication...............................................................40
GreasingtheBearingsandBushings..........................40
EngineMaintenance..................................................43
AirCleanerMaintenance.........................................43
ServicingtheEngineOil..........................................44
AdjustingtheValveClearance..................................45
FuelSystemMaintenance...........................................45
ServicingtheFuelSystem........................................45
ServicingtheWaterSeparator..................................45
ReplacingtheFuelFilter..........................................46
ElectricalSystemMaintenance....................................47
Fuses....................................................................47
BatteryCare...........................................................48
JumpStarting/BatteryCharging..............................48
RecalibrateTractionPedal.......................................48
DriveSystemMaintenance.........................................49
AdjustingtheTractionPedalAngle...........................49
CheckingthePlanetaryDriveGear/Brake
Oil....................................................................49
ChangingthePlanetaryDriveGear/Brake
Oil....................................................................49
CheckingtheRearWheelToe-In..............................50
CoolingSystemMaintenance......................................51
CheckingtheCoolingSystem...................................51
ServicingtheEngineCoolingSystem........................52
BrakeMaintenance....................................................52
AdjustingtheServiceBrakes....................................52
BeltMaintenance......................................................53
ServicingtheAlternatorBelt....................................53
ServicingtheCompressorBelt.................................53
ReplacingtheBladeDriveBelts................................53
FrontCuttingUnit..................................................53
SideCuttingDecks.................................................54
HydraulicSystemMaintenance....................................55
CheckingtheHydraulicFluid...................................55
ChangingtheHydraulicFluidandFilters....................56
CheckingtheHydraulicLinesandHoses....................56
HydraulicSystemTestPorts.....................................57
MowerMaintenance...................................................57
Pivoting(Tilting)theFrontCuttingUnit
Upright.............................................................57
PivotingtheFrontCuttingUnitDown.......................58
AdjustingtheCuttingUnitPitch...............................58
ServicingtheCastorArmBushings...........................59
ServicingtheCastorWheelsandBearings..................59
BladeMaintenance.....................................................60
CheckingforaBentBlade........................................60
RemovingandInstallingtheCutterBlade(s)...............60
InspectingandSharpeningtheCutterBlade(s)............61
CorrectingtheCuttingUnitMismatch.......................62
MiscellaneousMaintenance.........................................62
ServicingtheSparkArrestorMufer.........................62
CleaningtheCabAirFilters(For31599N
Models).............................................................62
CleaningtheAirConditioningCoil...........................63
Storage........................................................................64
PreparingforSeasonalStorage.................................64
3

Safety
Thismachinehasbeendesignedinaccordancewith
ANSIB71.4-2012.
Improperuseormaintenancebytheoperatoror
ownercanresultininjury.Toreducethepotential
forinjury,complywiththesesafetyinstructionsand
alwayspayattentiontothesafetyalertsymbol,which
meansCaution,Warning,orDanger—personalsafety
instruction.Failuretocomplywiththeinstructionmay
resultinpersonalinjuryordeath.
SafeOperatingPractices
Training
•ReadtheOperator'sManualandothertrainingmaterial
carefully.Befamiliarwiththecontrols,safetysigns,and
theproperuseoftheequipment.
•Neverallowchildrenorpeopleunfamiliarwiththese
instructionstousethemower.Localregulationsmay
restricttheageoftheoperator.
•Nevermowwhilepeople,especiallychildren,orpetsare
nearby.
•Keepinmindthattheoperatororuserisresponsiblefor
accidentsorhazardsoccurringtohimselforherself,other
people,orproperty.
•Donotcarrypassengers.
•Alldriversandmechanicsshouldseekandobtain
professionalandpracticalinstruction.Theowneris
responsiblefortrainingtheusers.Suchinstructionshould
emphasize:
–theneedforcareandconcentrationwhenworking
withride-onmachines;
–controlofaride-onmachineslidingonaslopewill
notberegainedbytheapplicationofthebrake.The
mainreasonsforlossofcontrolare:
◊insufcientwheelgrip;
◊beingdriventoofast;
◊inadequatebraking;
◊thetypeofmachineisunsuitableforitstask;
◊lackofawarenessoftheeffectofground
conditions,especiallyslopes;
◊incorrecthitchingandloaddistribution.
Preparation
•Whilemowing,alwayswearsubstantialfootwear,long
trousers,hardhat,safetyglasses,andearprotection.Long
hair,looseclothingorjewelrymaygettangledinmoving
parts.Donotoperatetheequipmentwhenbarefootor
wearingopensandals.
•Thoroughlyinspecttheareawheretheequipmentisto
beusedandremoveallobjectswhichmaybethrownby
themachine.
•Replacefaultysilencers/mufers.
•Beforeusing,alwaysvisuallyinspecttoseethatthe
blades,bladebolts,andcuttingassemblyarenotworn
ordamaged.Replacewornordamagedbladesandbolts
insetstopreservebalance.
•Evaluatetheterraintodeterminewhataccessoriesand
attachmentsareneededtoproperlyandsafelyperform
thejob.Onlyuseaccessoriesandattachmentsapproved
bythemanufacturer.
•Checkthatoperatorspresencecontrols,safetyswitches,
andshieldsareattachedandfunctioningproperly.Donot
operateunlesstheyarefunctioningproperly.
SafeHandlingofFuels
•Toavoidpersonalinjuryorpropertydamage,use
extremecareinhandlinggasoline.Gasolineisextremely
ammableandthevaporsareexplosive.
•Extinguishallcigarettes,cigars,pipes,andothersources
ofignition.
•Useonlyanapprovedfuelcontainer.
•Neverremovefuelcaporaddfuelwiththeengine
running.
•Allowenginetocoolbeforerefueling.
•Neverrefuelthemachineindoors.
•Neverstorethemachineorfuelcontainerwherethereis
anopename,spark,orpilotlightsuchasonawater
heateroronotherappliances.
•Neverllcontainersinsideavehicleoronatruckor
trailerbedwithaplasticliner.Alwaysplacecontainerson
thegroundawayfromyourvehiclebeforelling.
•Removeequipmentfromthetruckortrailerandrefuelit
ontheground.Ifthisisnotpossible,thenrefuelsuch
equipmentwithaportablecontainer,ratherthanfroma
fueldispensernozzle.
•Keepthenozzleincontactwiththerimofthefueltank
orcontaineropeningatalltimesuntilfuelingiscomplete.
Donotuseanozzlelockopendevice.
•Iffuelisspilledonclothing,changeclothingimmediately.
•Neveroverllfueltank.Replacefuelcapandtighten
securely.
Operation
•Donotoperatetheengineinaconnedspacewhere
dangerouscarbonmonoxidefumescancollect.
•Mowonlyindaylightoringoodarticiallight.
•Beforeattemptingtostarttheengine,disengagethePTO,
shiftintoneutral,andengagetheparkingbrake.Only
4

starttheenginefromtheoperatorsposition.Useseat
belts,ifprovided.
•Rememberthereisnosuchthingasasafeslope.Travel
ongrassslopesrequiresparticularcare.Toguardagainst
overturning:
–Donotstoporstartsuddenlywhengoingupor
downhill.
–Themachinespeedshouldbekeptlowonslopesand
duringtightturns.
–Stayalertforhumpsandhollowsandotherhidden
hazards.
–Nevermowacrossthefaceoftheslope,unlessthe
machineisdesignedforthatpurpose.
•Stayalertforholesintheterrainandotherhiddenhazards.
•Usecarewhenusingheavyequipment.
–Donotturnsharply.Usecarewhenreversing.
–Usecounterweight(s)orwheelweightswhen
suggestedintheOperator'sManual.
•Watchoutfortrafcwhencrossingornearroadways.
•Stopthebladesfromrotatingbeforecrossingsurfaces
otherthangrass.
•Whenusinganyattachments,neverdirectdischargeof
materialtowardbystandersnorallowanyonenearthe
machinewhileinoperation.
•Neveroperatethemachinewithdamagedguards,shields,
orwithoutsafetyprotectivedevicesinplace.Besureall
interlocksareattached,adjustedproperly,andfunctioning
properly.
•Donotchangetheenginegovernorsettingsoroverspeed
theengine.Operatingtheengineatexcessivespeedmay
increasethehazardofpersonalinjury.
•Beforeleavingtheoperatorsposition:
–Stoponlevelground.
–Disengagethepowertake-offandlowerthe
attachments.
–Changeintoneutralandsettheparkingbrake.
–Stoptheengineandremovethekey.
•Disengagedrivetoattachments,stoptheengineand
removetheignitionkey:
–beforeclearingblockages;
–beforechecking,cleaning,orworkingonthemachine;
–afterstrikingaforeignobject.Inspectthemachine
fordamageandmakerepairsbeforerestartingand
operatingtheequipment.Torqueallthespindlepulley
nutsto176to203N-m(130to150ft-lb)andallthe
bladeboltsto115to149N-m(85to110ft-lb),
–ifthemachinestartstovibrateabnormally(check
immediately).
•Disengagedrivetoattachmentswhentransportingornot
isuse.
•Stoptheengineanddisengagedrivetoattachment:
–beforerefuelling;
–beforemakingheightadjustmentunlessadjustment
canbemadefromtheoperatorsposition.
•Reducethethrottlesettingbeforestoppingengineand,if
theengineisprovidedwithafuelshut-offvalve,turnthe
fueloffattheconclusionofmowing.
•Neverraisedeckwiththebladesrunning.
•Keephandsandfeetawayfromthecuttingunits.
•Lookbehindanddownbeforebackinguptobesureof
aclearpath.
•Slowdownandusecautionwhenmakingturnsand
crossingroadsandsidewalks.
•Donotoperatethemowerundertheinuenceofalcohol
ordrugs.
•Lightningcancausesevereinjuryordeath.Iflightning
isseenorthunderisheardinthearea,donotoperate
themachine;seekshelter.
•Usecarewhenloadingorunloadingthemachineintoa
trailerortruck.
•Theoperatorshallturnonashingwarninglights
whenevertravelingonapublicroad,exceptwheresuch
useisprohibitedbylaw.
MaintenanceandStorage
•Keepallnuts,bolts,andscrewstighttobesurethe
equipmentisinsafeworkingcondition.
•Neverstoretheequipmentwithfuelinthetankinsidea
buildingwherefumesmayreachanopenameorspark.
•Allowtheenginetocoolbeforestoringinanyenclosure
anddonotstorenearame.
•Toreducetherehazard,keeptheenginecompartment,
silencer/mufer,batterycompartment,cuttingunits,
drives,andfuelstorageareafreeofgrass,leaves,or
excessivegrease.Cleanupoilorfuelspillage.
•Replacewornordamagedpartsforsafety.
•Ifthefueltankhastobedrained,dothisoutdoors.
•Onmulti-bladedmachines,takecareasrotatingoneblade
cancauseotherbladestorotate.
•Whenmachineistobeparked,stored,orleftunattended,
lowerthecuttingunitsunlessapositivemechanicallock
isprovided.
•Disengagedrives,lowerthecuttingunits,movetraction
pedaltoNeutral,setparkingbrake,movethethrottle
switchtothelowidleposition,stopengineandremove
ignitionkey.Waitforallmovementtostopbefore
adjusting,cleaningorrepairing.
•Shutofffuelwhilestoringortransporting.Donotstore
fuelnearames.
•Parkmachineonlevelground.Neverallowuntrained
personneltoservicemachine.
•Usejackstandstosupportcomponentswhenrequired.
•Carefullyreleasepressurefromcomponentswithstored
energy.
5

•Disconnectbatterybeforemakinganyrepairs.Disconnect
thenegativeterminalrstandthepositivelast.Reconnect
positiverstandnegativelast.
•Usecarewhencheckingblades.Wrapthebladesor
weargloves,andusecautionwhenservicingthem.Only
replaceblades.Neverstraightenorweldthem.
•Keephandsandfeetawayfrommovingparts.Ifpossible,
donotmakeadjustmentswiththeenginerunning.
•Chargebatteriesinanopenwellventilatedarea,away
fromsparkandames.Unplugchargerbeforeconnecting
ordisconnectingfrombattery.Wearprotectiveclothing
anduseinsulatedtools.
•Makesureallhydrauliclineconnectorsaretightandall
hydraulichosesandlinesareingoodconditionbefore
applyingpressuretothesystem.
•Keepyourbodyandhandsawayfrompinholeleaksor
nozzlesthatejecthydraulicuidunderhighpressure.
Usepaperorcardboard,notyourhands,tosearchfor
leaks.Hydraulicuidescapingunderpressurecanhave
sufcientforcetopenetratetheskinandcauseserious
injury.Ifuidisinjectedintotheskinitmustbesurgically
removedwithinafewhoursbyadoctorfamiliarwiththis
formofinjuryorgangrenemayresult.
Hauling
•Usecarewhenloadingorunloadingthemachineintoa
trailerortruck.
•Usefullwidthrampsforloadingmachineintotraileror
truck.
•Tiethemachinedownsecurelyusingstraps,chains,cable,
orropes.Bothfrontandrearstrapsshouldbedirected
downandoutwardfromthemachine
ToroMowerSafety
ThefollowinglistcontainssafetyinformationspecictoToro
productsorothersafetyinformationthatyoumustknowthat
isnotincludedintheCEN,ISO,orANSIstandards.
Thisproductiscapableofamputatinghandsandfeetand
throwingobjects.Alwaysfollowallsafetyinstructionsto
avoidseriousinjuryordeath.
Useofthisproductforpurposesotherthanitsintendeduse
couldprovedangeroustouserandbystanders.
Operation
•Beforeoperatingthemachinebecertainthattheseat
beltsareattached.
•Knowhowtostopthemachineandenginequickly.
•Donotoperatethemachinewhilewearingtennisshoes
orsneakers.
•Wearingsafetyshoesandlongpantsisadvisableand
requiredbysomelocalordinancesandinsurance
regulations.
•Keephands,feet,andclothingawayfrommovingparts
andthemowerdischargeareaandundersideofthe
mowerwhiletheengineisrunning.
•Fillfueltankuntillevelis25mm(1inch)belowthe
bottomofthellerneck.Donotoverll.
•Checkthesafetyinterlockswitchesdailyforproper
operation.Ifaswitchshouldfail,replacetheswitch
beforeoperatingthemachine.
•Checkcarefullyforoverheadclearances(i.e.branches,
doorways,electricalwires)beforedrivingunderany
objectsanddonotcontactthem.
•Donotmowinreverseunlessabsolutelynecessary.
•Reducespeedwhenmakingsharpturns.
•Avoidstartingorstoppingonaslope.Iftireslosetraction,
disengagethebladesandproceedslowlystraightdown
theslope.Avoidraisingthesidecuttingunitsonaslope.
•Avoidturningonslopes.Ifyoumustturn,turnslowly
andgraduallydownhill,ifpossible.
•NeverremovetheROPSfromthemachine.
•Alwaysweartheseatbeltwhenoperatingthemachine.
•Becertainthattheseatbeltcanbereleasedquicklyifthe
machineisdrivenorrollsintoapondorwater.
•Watchfortrafcwhennearorcrossingroads.Always
yieldtheright-of-way.
•Donotmowneardrop-offs,ditches,orembankments.
Themachinecouldsuddenlyturnoverifawheelgoes
overtheedgeofaclifforditchorifanedgegivesway.
•Donotmowonwetgrass.Reducedtractioncouldcause
sliding.
•Machineshouldnotbeusedasatowvehicle.
•Useextracarewithotherattachments.Thesecanchange
thestabilityofthemachine.
•Turnoffthebladeswhennotmowing.
•Foroperatingenvironmentsexceeding43degreesC(110
degreesF),consultToroforspecialmachineneeds.
•Donotoperatetheenginebelow1350rpm.
MaintenanceandStorage
•Donottouchequipmentorattachmentpartswhichmay
behotfromoperation.Allowtocoolbeforeattempting
tomaintain,adjust,orservice.
•Neverstorethemachineorfuelcontainerinsidewhere
thereisanopename,suchasnearawaterheateror
furnace.
•Keepnutsandboltstight,especiallythebladeattachment
bolts.Keepequipmentingoodcondition.
•Iftheenginemustberunningtoperformamaintenance
adjustment,keephands,feet,clothing,andanypartsof
thebodyawayfromthecuttingunits,attachments,and
anymovingparts.Keepeveryoneaway.
6

•Checkbrakeoperationfrequently.Adjustandserviceas
required.
•Batteryacidispoisonousandcancauseburns.Avoid
contactwithskin,eyes,andclothing.Protectyourface,
eyes,andclothingwhenworkingwithabattery.
•Batterygasescanexplode.Keepcigarettes,sparks,and
amesawayfromthebattery.
•DonotusehighpressurewaternearInfoCenter.
•Theenginemustbeshutoffbeforecheckingtheoilor
addingoiltothecrankcase.
•Ifmajorrepairsareeverneededorifassistanceisdesired,
contactanAuthorizedToroDistributor.
•Tomakesureofoptimumperformanceandcontinued
safetycerticationofthemachine,useonlygenuineToro
replacementpartsandaccessories.Replacementparts
andaccessoriesmadebyothermanufacturerscouldbe
dangerous,andsuchusecouldvoidtheproductwarranty.
SafetyandInstructionalDecals
Safetydecalsandinstructionsareeasilyvisibletotheoperatorandarelocatednearanyareaofpotential
danger.Replaceanydecalthatisdamagedorlost.
114-0849
1.Warning—disengagethePTOthenraisethedeck.
2.Nostep
3.Tractioncontrolpedal
4.Forward
5.Reverse
114-0845
1.Tiltsteeringlever2.Horn
121–3883
1.DisengagethePTO3.ReadtheOperator’s
Manual
2.EngagethePTO
121–3884
1.Engine—stop3.Engine—start
2.Engine—preheat
7

114-0135
1.Raisecuttingunits—left3.Raisecuttingunits—right
2.Raisecutting
units—center
114-0844
1.Lefthandturnsignal4.Tolockthebrakes,close
latch,pressthebrake
pedalandpulluponthe
parkingbrakeknob.
2.Righthandturnsignal5.Tounlocktheparking
brake,pressthebrake.
3.ReadtheOperators
Manual.
6.Parkingbrake
115-5459
1.Electricshockhazard—donotremovecover;keepcoverin
place.
106-6754
1.Warning—donottouchthehotsurface.
2.Cutting/dismembermenthazard,fanandentanglement
hazard,belt—stayawayfrommovingparts.
93-7818
1.Warning—readtheOperator'sManualforinstructionson
torquingthebladebolt/nutto115-149N-m(85-110ft-lb).
93–7275
1.ReadtheOperator’sManual—donotusestartinguidto
starttheengine.
8

106-6755
1.Enginecoolantunder
pressure.
3.Warning—donottouchthe
hotsurface.
2.Explosionhazard—read
theOperator'sManual.
4.Warning—readthe
Operator'sManual.
114-0848
1.Highrange6.Lowidle
2.Transmission7.Increaseenginespeed
3.Lowrange8.Engine
4.Highidle9.ReadtheOperator’s
Manual.
5.Mididle10.Decreaseenginespeed
93-6674
1.Crushinghazard,hand—readtheinstructionsbefore
servicingorperformingmaintenance.
93-6687
1.Donotstephere.
120-6604
1.Thrownobjecthazard—keepbystandersawayfromthe
machine.
2.Cutting/dismembermenthazardofhand,mower
blade—stayawayfrommovingparts,keepallguardsand
shieldsinplace.
3.Cutting/dismembermenthazardoffoot,mowerblade—stay
awayfrommovingparts,keepallguardsandshieldsin
place.
9

114-0133
1.Headlights7.Tractionassist—engage
2.On8.Traction
assist—disengage
3.Off9.Lowercuttingunits—left
4.Headlightswitchlocation10.Lowercutting
units—center
5.Cruisecontrol—engage11.Lowercuttingunits—right
6.Cruisecontrol—disengage
114-0922
114-0922
1.Beltrouting
114-0974
1.Beltrouting
114-4883
1.Beltrouting
114-9600
1.ReadtheOperator'sManual.
117–2718
10

117–2754
1.Warning—readtheOperator'sManual.
2.Warning—donotoperatethismachineunlessyouaretrained.
3.Warning—weartheseatbeltwhenseatedintheoperator'sposition.
4.Warning—wearhearingprotection.
5.Thrownobjecthazard—keepbystandersasafedistancefromthemachine.
6.Cuttinghazardofhandorfoot—stayawayfrommovingparts;keepallguardsinplace.
7.Tippinghazard—lowerthecuttingunitwhendrivingdownslopes;slowmachinebeforeturning,donotturnathighspeeds
8.Warning—locktheparkingbrake,stoptheengineandremovetheignitionkeybeforeleavingthemachine.
93-6686
1.Hydraulicoil
2.ReadtheOperator'sManual.
117–4979
1.Entanglementhazard,belt—stayawayfrommovingparts,
keepallguardsandshieldsinplace.
114-0864
1.Heightofcutadjustment
114-0865
1.Heightofcutadjustment
115-5509
(Model31599Nonly)
11

115-5489
(Model31599Nonly)
1.Warning—whenthecabwindowsareopenwearhearing
protection.
2.Closetherearwindowbeforeattemptingtoopenthehood.BatterySymbols
Someorallofthesesymbolsareonyourbattery
1.Explosionhazard6.Keepbystandersasafe
distancefromthebattery.
2.Nore,opename,or
smoking.
7.Weareyeprotection;
explosivegasescan
causeblindnessandother
injuries
3.Causticliquid/chemical
burnhazard
8.Batteryacidcancause
blindnessorsevereburns.
4.Weareyeprotection9.Flusheyesimmediately
withwaterandgetmedical
helpfast.
5.ReadtheOperator's
Manual.
10.Containslead;donot
discard.
114-0975
1.Height-of-cut
12

130–2449
1.ReadtheOperator’sManualforinformationonmaintenance.
125–5263
1.ReadtheOperator’sManualforinformationonfuses.
114-0846
1.ReadtheOperatorsManual;tostarttheengine,movethe
tractionpedaltoNeutral,applythebrake,movethethrottle
switchtolow,turntheignitionkeytoPreheat.Whenthe
WaittoStartAdvisoryclearsontheInfoCenterthenturn
theignitionkeytoStart.
2.ReadtheOperatorsManual;tostoptheengine,movethe
throttlelevertoslow,disengagethePTO,settheparking
brake,wait5minutes,turntheignitionkeytoStop,and
removethekey;readtheOperatorsManual.
3.ReadtheOperatorsManual.
4.ToengagethePTO,pulluponthePTOswitch.
5.TodisengagethePTO,pushdownonthePTOswitch.
6.Toswitchthetransmissiontohighspeed,fullyraisethe
attachmentsandswitchthespeedcontroltoHigh.
13

130-0458
1.ReadtheOperator's
Manualformore
informationonfuses
5.Headlights—25A
2.Electricalpower
accessory—15A
6.CondenserfanandA/C
clutch—30A
3.Domelight—15A7.Fan—15A
4.Windshieldwiper
uid—15A
8.Worklight—15A
14

Setup
LooseParts
Usethechartbelowtoverifythatallpartshavebeenshipped.
ProcedureDescriptionQty.Use
1Nopartsrequired–Removethesidedeckstrapsandbrace
DeckcoverR.H.1
DeckcoverL.H.1
2V-Belt2
Lowerthefrontdeckwinglets
3Nopartsrequired–Levelthefrontcenterdeck
4Nopartsrequired–Levelthewingletdeckstothefront
centerdeck
5Nopartsrequired–Checkthetirepressure
6Nopartsrequired–Checktheuidlevels
7Nopartsrequired–Greasethemachine.
MediaandAdditionalParts
DescriptionQty.Use
Operator'sManual1
EngineOperator'sManual1
OperatorTrainingMaterial1
Providetheoperatorwithinformationontheuseand
maintenanceofthemachine
PartsCatalog1Orderingparts
DeclarationofConformity1
Note:Determinetheleftandrightsidesofthemachine
fromthenormaloperatingposition.
Note:Somepartsmayhavealreadybeeninstalledatthe
factory.
1
RemoveSideDeckShipping
StrapandBrace
NoPartsRequired
Procedure
Removethestrapandbracesecuringthesidedecksfor
shipping.
2
LoweringtheFrontDeck
Winglets
Partsneededforthisprocedure:
1DeckcoverR.H.
1DeckcoverL.H.
2V-Belt
Procedure
1.Removethenutssecuringthefrontandrearstopbolts
totherightwingletdeckmounts(Figure3).
2.Whilesupportingtherightwinglet,removethefront
andrearstopboltsfromthedeckmounts(Figure
15

3).Leavetheeccentricspositionedbetweenthedeck
mounts.
3.Lowerthewinglettotheoperatingposition.
Figure3
1.Winglet4.Eccentric
2.Hingepin5.Upperhole
3.Stopbolt6.Deckmounts
4.Installthefrontandrearstopboltsthroughtheupper
mountingholesandeccentrics.Makesurethestopbolt
engagesthetabonthehingepin.
5.Installthenutssecuringthestopboltsbutdonot
tightenatthistime.
6.Repeattheprocedureonleftwinglet.
Figure4
1.Winglet4.Eccentric
2.Hingepin5.Lowerhole
3.Bolt
7.Installthewingletbeltsasfollows:
•Startthebeltaroundthewingletspindlepulleyand
thefrontdeckspindlepulley(Figure5).
•Usingaratchetwrenchorsimilartool,movethe
idlerpulleyawayfromthepulleys(Figure5).
•Routethebeltaroundthewingletspindlepulley
andtheupperspindlepulleyonthefrontdeck.
•Releasetheidlerpulleytoputtensiononthebelt.
Figure5
1.Wingletspindlepulley3.Idlerpulleyassembly
2.Frontdeckspindlepulley
8.Installthewingletdeckcoverandsecurewithrubber
latch(Figure6).
16

Note:Makesuretoslidethecoverunderthefront
centerdeckcovertabsbeforeinsertingitontothe
mountinghooksandpost.
9.Repeattheprocedureontheotherwinglet.
Figure6
1.Cover3.Frontcenterdeckcover
tabs
2.Rubberlatch4.Mounthooks
3
LevelingtheFrontCenterDeck
NoPartsRequired
Procedure
RefertoAdjustingtheHeight-of-CutinOperation.
1.Rotatebladeoneachouterspindleuntiltheendsface
forwardandbackward.
2.Measurefromtheoortothefronttipoftheblade.
Adjustthe1/8inchshimsonthefrontcastorfork(s)
tomatchthedesiredheightofcut.
3.Rotatetheblades180°andnowmeasurefromtheoor
tothe(rearfacing)tipoftheblade.
4.Loosenthelowerjamnutsontheheight-of-cutchain
U-bolt.
5.Adjustthenutstoraiseorlowertherearofthecutting
unitsothatthefrontandrearbladetipshavethesame
measurement.Tightenthejamnuts.
6.Proceedtoprocedure4andlevelthewingletdecksto
thefrontcenterdeck.
4
LevelingtheWingletDecksto
theFrontCenterDeck
NoPartsRequired
Procedure
Levelthewingletdeckstothefrontdeckasfollows:
•Rotatethebladeoneachwingletsothatitpointsside
toside.
•Loosentheboltsandnutssecuringthetwoeccentric
spacerstothewinglets(Figure7).
Figure7
1.Winglet4.Eccentric
2.Hingepin5.Upperhole
3.Stopbolt
•Rotatetherear(closesttotractionunit)eccentricuntilthe
outsidebladetipisabout3mm(1/8inch)higherthan
thedesiredheightofcut(Figure7).
Note:Thereisanotchontheeccentrichexwhichis
180°fromthelobeontheeccentriccam(Figure8).Use
thenotchestoreferencethelocationofthelobeswhen
adjustingtheeccentrics.
17

Figure8
1.Eccentricnotch
•Tightentheboltandnutforthiseccentricto149N-m
(110ft-lb).
•Adjusttheforwardeccentricuntilitjustmakescontact
withtheinnerslotsurfaceofthewingletpivotbrackets.
•Tightentheboltandnutforthiseccentricto149N-m
(110ft-lb).
•Repeattheprocedureontheoppositewinglet.Referto
AdjustingtheCuttingUnitPitchprocedureinMower
Maintenance.
5
CheckingtheTirePressure
NoPartsRequired
Procedure
Checktheairpressureinallthetiresbeforeoperatingthe
machine.Thecorrectairpressureinthefronttiresis345kPa
(50psi)andthereartiresis207kPa(30psi)(Figure9).
Important:Maintainpressureinalltirestoensurea
goodquality-of-cutandpropermachineperformance.
Do not under -inate.
Figure9
6
CheckingtheFluidLevels
NoPartsRequired
Procedure
1.Checktheengineoillevelbeforestartingtheengine,
refertoCheckingtheEngineOilLevelinEngine
Maintenance.
2.Checkthehydraulicuidlevelbeforestartingthe
engine,refertoCheckingtheHydraulicFluidLevelin
HydraulicSystemMaintenance.
3.Checkthecoolingsystembeforestartingtheengine;
refertoCheckingtheCoolingSysteminCooling
SystemMaintenance.
7
GreasingtheMachine
NoPartsRequired
Procedure
Beforethemachineisoperated,itmustbegreasedto
ensureproperlubricatingcharacteristics;refertoGreasing
theBearingsandBushingsprocedureinLubricationinthe
MaintenanceSection.Failuretoproperlygreasethemachine
willresultinprematurefailureofcriticalparts.
18

ProductOverview
Controls
Note:Determinetheleftandrightsidesofthemachine
fromthenormaloperatingposition.
CAUTION
Thismachineproducessoundlevelsinexcessof85
dBAattheoperatorsearandcancausehearingloss
throughextendedperiodsofexposure.
Wearhearingprotectionwhenoperatingthis
machine.
TractionPedal
Thetractionpedal(Figure10)controlsforwardandreverse
operation.Pressthetopofthepedaltomoveforwardand
thebottomtomovebackward.Groundspeeddependson
howfaryoupressthepedal.Fornoload,maximumground
speed,fullypressthepedalwhilethethrottleisintheHi
idleposition.
Tostop,reduceyourfootpressureonthetractionpedaland
allowittoreturntothecenterposition.
BrakePedals
Twofootpedals(Figure10)operateindividualwheelbrakes
forturningassistance,parking,andtoaidinobtainingbetter
sidehilltraction.Alatchconnectsthepedalsforparking
brakeoperationandtransport.
PedalLockingLatch
Thepedallockinglatch(Figure10)connectsthepedals
togethertoengagetheparkingbrake.
TiltSteeringLever
Pressthelever(Figure10)downtotiltthesteeringwheel
tothedesiredposition.Thenreleasethelevertolockthe
adjustment.
TurnSignalSwitch
Presstheleftsideoftheturnsignalswitch(Figure10)to
activatetheleftturnsignalandtherightsideoftheswitchto
activatetherightturnsignal.Thecenterpositionisoff.
Hi-LoRangeSpeedSwitch
Pressthefrontoftheswitch(Figure10)toselecthighspeed
range.Presstherearoftheswitchtoselectlowspeedrange.
Themachinemustbestationaryortravelingataveryslow
speed,lessthan2mph,toshifttoHiorLo.
HornButton
Pressthehornbutton(Figure10)toactivatethehorn.
ParkingBrakeLatch
Theknobontheleftsideoftheconsoleactuatestheparking
brakelock(Figure10).Toengagetheparkingbrake,connect
thepedalswiththelockinglatch,pushdownonbothpedals,
andpulltheparkingbrakelatchout.Toreleasetheparking
brake,pressbothpedalsuntiltheparkingbrakelatchretracts.
Figure10
1.Brakepedals7.Variablethrottleswitch
2.Pedallockinglatch8.Throttleswitch
3.Parkingbrakelatch9.Horn
4.Turnsignalswitch10.Tractionpedal
5.Infocenter11.Tiltsteeringlever
6.Hi-lorangespeedcontrol
ThrottleSwitch
Thethrottleswitch(Figure11)hasthreepositionslowidle,
mididleandhighidle.
VariableThrottleSwitch
Thevariablethrottleswitch(Figure11)allowstheengine
speedtobeadjustedinsmallincrements.Pressthe“+”once
toincreasetheenginespeedandthe“-”oncetodecrease
theenginespeed.
Note:Movingthethrottleswitchwilloverrideandcancel
thevariablethrottlesetting.
Important:Donotoperatetheenginebelow1350rpm.
LiftSwitches
Theliftswitches(Figure11)raiseandlowerthecuttingunits.
Presstheswitchesforwardtolowerthecuttingunitand
backwardtoraisethecuttingunits.
19

Note:ThedeckswillnotlowerwhileintheHispeedrange.
andthedeckswillnotraiseorloweriftheoperatorisoutof
theseatwhentheengineisrunning.
KeySwitch
Thekeyswitch(Figure11)hasthreepositions:Stop,
Run/Preheat,andStart.
Figure11
1.PTOswitch5.Cruisecontrol
2.Keyswitch6.Lightswitch
3.Tractionassistswitch7.Powerpoint(ontheright
sideofconsole)
4.Liftswitches
PTOSwitch
ThePTOswitch(Figure11)hastwopositions:Out(start)
andIn(stop).PullthePTObuttonouttoengagethe
implementorcuttingunitblades.Pushinthebuttonto
disengagetheimplementoperation.
TractionAssistSwitch
Whenmowing(lowspeedrange),pressandholdthe
tractionassistswitch(Figure11)toenhancetractiondrive
performanceincompromisedoperatingconditions.
Note:ThetractionassistonlyengagesinMow-Forward.
ThetractionassistwillnotengageinMow-ReverseorHi
speedrange.
CruiseControlSwitch
Thecruisecontrolswitch(Figure11)setsthespeedofthe
machine.Pressingtherearoftheswitchturnsoffthecruise
control,themiddlepositionoftheswitchenablesthecruise
controlfunctionandthefrontoftheswitchsetsthedesired
groundspeed.
Note:Pressingeitherbrakepedalormovingthetraction
pedalintothereverseposition,foronesecond,willalso
disengagethecruisecontrol.
LightSwitch
Presstheloweredgeoftheswitch(Figure11)toturnonthe
lights.Presstheupperedgeoftheswitchtoturnoffthelights.
AudibleAlarm(Console)
Thealarmisactivatedwhenafaultisdetected.
Thebuzzersounds:
•continuouswhentheenginesendsastopfault.
•withashortpulsewhentheenginesendsacheckengine
fault.
•whenthereislowfuel.
PowerPoint
Thepowerpoint,locatednexttotheconsoleontheside
ofthepowercenter,isusedtopoweroptionalelectrical
accessories(Figure11).
SeatAdjustments
Weightgauge
Indicateswhentheseatisadjustedtotheweightofthe
operator(Figure12).Heightadjustmentismadeby
positioningthesuspensionwithintherangeofthegreen
region.
Figure12
1.Weightgauge4.Seatbackadjustinglever
2.Weightadjustinglever5.Armrestadjustingknob
3.ForeandAftadjusting
lever
WeightAdjustingLever
Adjustforoperatorweight(Figure12).Pulluponthelever
toincreasetheairpressureandpushdowntodecreasetheair
20
This manual suits for next models
4
Table of contents
Other Toro Lawn Mower manuals

Toro
Toro 13-32XLE Wheel Horse User manual

Toro
Toro 03200 Reelmaster 3100-D User manual

Toro
Toro 30367 User manual

Toro
Toro groundsmaster 3240-d User manual

Toro
Toro 73580 User manual

Toro
Toro 20997 User manual

Toro
Toro TimeCuter 136-7494 User manual

Toro
Toro 74920 TITAN ZX4820 User manual

Toro
Toro 30069 User manual

Toro
Toro TimeMaster 21200 User manual
Popular Lawn Mower manuals by other brands

Harbor Freight Tools
Harbor Freight Tools 03513 Assembly and operating instructions

Poulan Pro
Poulan Pro PO10530LT Repair parts manual

RYNO
RYNO XSS41D instruction manual

Stiga
Stiga G300 Original instruction manual

Yard force
Yard force LM G34A Original instructions

Husqvarna
Husqvarna LT131 instruction manual