Toro Z593-D Z Master 74265TE User manual

FormNo.3412-319RevA
ZMaster®Professional7000
SeriesRidingMower
With132cmor152cmTURBOFORCE®Side
DischargeMower
ModelNo.74264TE—SerialNo.400000000andUp
ModelNo.74265TE—SerialNo.400000000andUp
Registeratwww.Toro.com.
OriginalInstructions(EN)*3412-319*A

ThisproductcomplieswithallrelevantEuropeandirectives;
fordetails,pleaseseetheseparateproductspecicDeclaration
ofConformity(DOC)sheet.
Pleaserefertotheenginemanufacturer’sinformation
includedwiththemachine.
Introduction
Thisrotary-blade,ridinglawnmowerisintendedtobe
usedbyresidentialhomeownersorprofessional,hired
operators.Itisdesignedprimarilyforcuttinggrasson
well-maintainedlawnsonresidentialorcommercial
properties.Itisnotdesignedforcuttingbrushorfor
agriculturaluses.
Readthisinformationcarefullytolearnhowtooperateand
maintainyourproductproperlyandtoavoidinjuryand
productdamage.Youareresponsibleforoperatingthe
productproperlyandsafely.
YoumaycontactTorodirectlyatwww.Toro.comforproduct
safetyandoperationtrainingmaterials,accessoryinformation,
helpndingadealer,ortoregisteryourproduct.
Wheneveryouneedservice,genuineToroparts,oradditional
information,contactanAuthorizedServiceDealerorToro
CustomerServiceandhavethemodelandserialnumbersof
yourproductready.Figure1identiesthelocationofthe
modelandserialnumbersontheproduct.Writethenumbers
inthespaceprovided.
g000935
Figure1
1.Modelandserialnumberlocation
ModelNo.
SerialNo.
Thismanualidentiespotentialhazardsandhassafety
messagesidentiedbythesafety-alertsymbol(Figure2),
whichsignalsahazardthatmaycauseseriousinjuryordeath
ifyoudonotfollowtherecommendedprecautions.
g000502
Figure2
1.Safety-alertsymbol
Thismanualuses2wordstohighlightinformation.
Importantcallsattentiontospecialmechanicalinformation
andNoteemphasizesgeneralinformationworthyofspecial
attention.
©2016—TheToro®Company
8111LyndaleAvenueSouth
Bloomington,MN554202
Contactusatwww.Toro.com.
PrintedintheUSA
AllRightsReserved

Contents
Safety...........................................................................4
GeneralSafety.........................................................4
SlopeIndicator.......................................................5
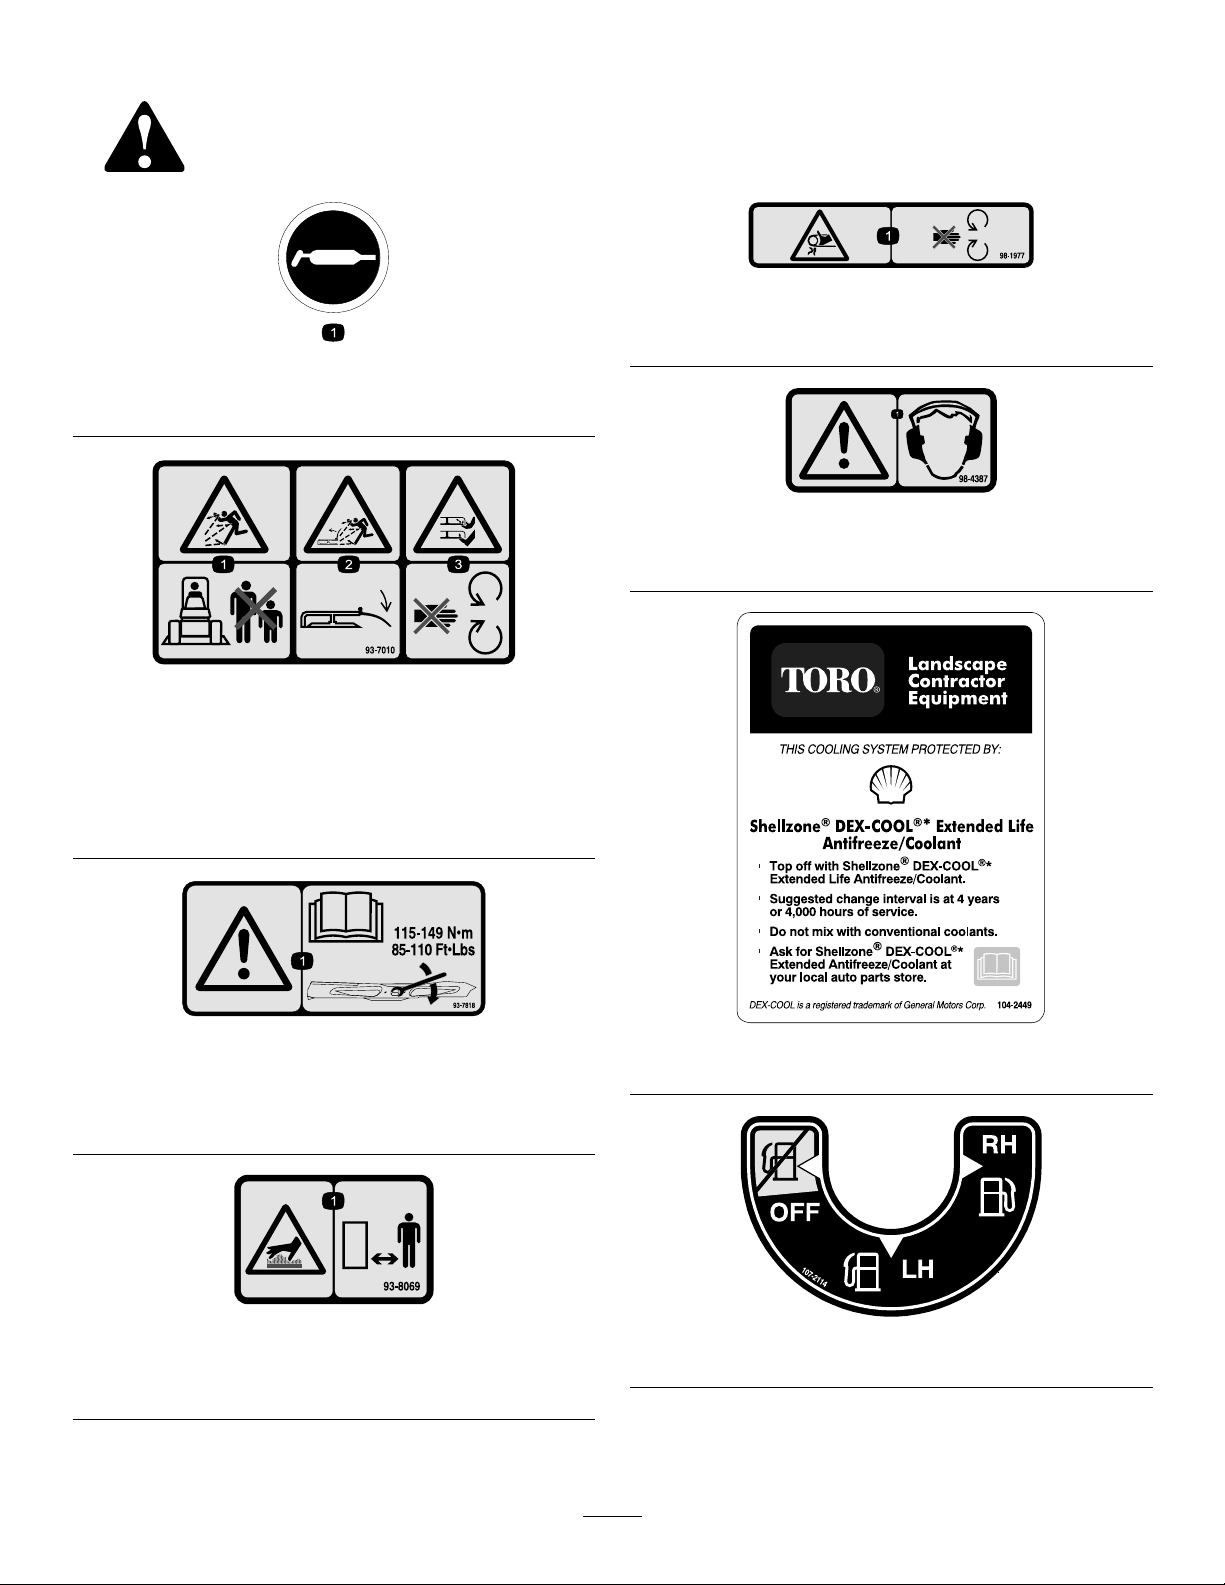
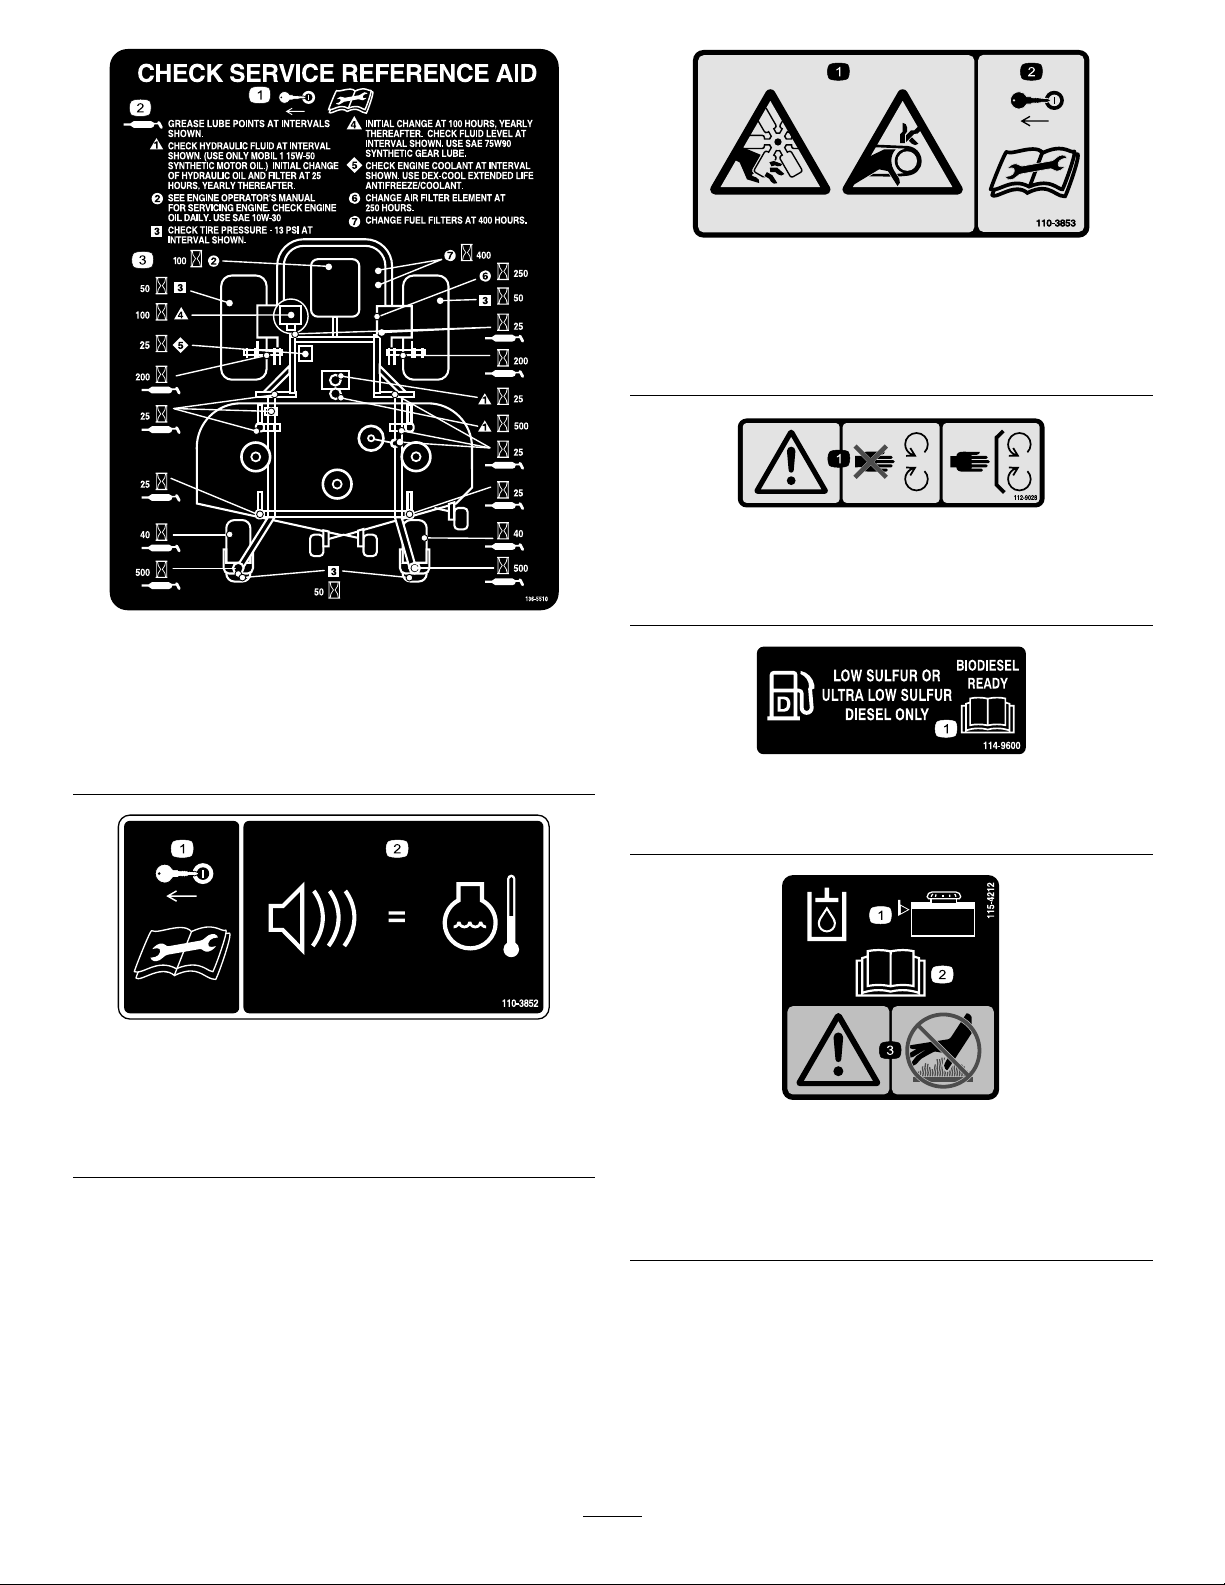
SafetyandInstructionalDecals.................................6
ProductOverview.........................................................14
Controls...............................................................14
BeforeOperation......................................................15
BeforeOperationSafety..........................................15
RecommendedFuel................................................16
BiodieselReady......................................................16
FillingtheFuelTank...............................................16
SwitchingtheFuelTanks.........................................17
CheckingtheEngine-OilLevel.................................17
BreakinginaNewMachine......................................17
UsingtheRolloverProtectionSystem(ROPS)............18
ThinkSafetyFirst...................................................18
UsingtheSafety-InterlockSystem.............................19
PositioningtheSeat................................................20
UnlatchingtheSeat.................................................20
ChangingtheSeatSuspension..................................21
DuringOperation.....................................................21
DuringOperationSafety.........................................21
OperatingtheParkingBrake....................................22
OperatingtheMowerBlade-ControlSwitch
(PTO)...............................................................23
OperatingtheThrottle............................................23
OperatingtheIgnitionSwitch..................................23
StartingandShuttingOfftheEngine.........................24
UsingtheMotion-ControlLevers.............................25
DrivingtheMachine...............................................25
StoppingtheMachine.............................................27
UsingtheSideDischarge.........................................27
UsingtheLift-AssistLever......................................27
AdjustingtheHeightofCut.....................................27
AdjustingtheAnti-ScalpRollers...............................28
AdjustingtheFlowBafeCamLocks........................28
PositioningtheFlowBafe......................................29
OperatingwiththeOverheatSensor..........................30
OperatingTips......................................................30
AfterOperation........................................................31
AfterOperationSafety............................................31
UsingtheFuel-ShutoffValve...................................31
PushingtheMachinebyHand..................................31
TransportingtheMachine........................................32
LoadingtheMachine..............................................32
UsingtheZStand™...............................................33
Maintenance.................................................................35
RecommendedMaintenanceSchedule(s)......................35
Pre-MaintenanceProcedures......................................36
MaintenanceandStorageSafety................................36
ReleasingtheMower-DeckCurtain...........................36
RemovingtheSheet-MetalGuard.............................37
Lubrication...............................................................37
AddingLightOilorSprayLubrication.......................37
GreasingtheMachine.............................................38
GreasingtheFrontCasterPivots..............................38
AddingGrease.......................................................38
GreasingtheMowerDeckandBeltIdlers...................38
LubricatingtheCaster-WheelHubs...........................39
EngineMaintenance..................................................40
EngineSafety.........................................................40
ServicingtheAirCleaner.........................................40
ServicingtheEngineOil..........................................41
FuelSystemMaintenance...........................................46
ServicingtheFuelFilterandWaterSeperator..............46
ServicingtheFuelTank...........................................47
ElectricalSystemMaintenance....................................47
ElectricalSystemSafety...........................................47
ServicingtheBattery...............................................47
ServicingtheFuses.................................................49
DriveSystemMaintenance.........................................50
AdjustingtheTracking............................................50
CheckingtheTirePressure......................................50
CheckingtheWheel-HubSlottedNut.......................51
AdjustingtheCaster-PivotBearing............................51
ServicingtheGearbox.............................................51
AdjustingtheElectricClutch....................................52
CoolingSystemMaintenance......................................53
ServicingtheCoolingSystem...................................53
BrakeMaintenance....................................................55
AdjustingtheParkingBrake.....................................55
BeltMaintenance......................................................55
InspectingtheBelts................................................55
ReplacingtheMowerBelt........................................55
AdjustingtheMowerBeltTension............................56
ReplacingthePTO-DriveBelt..................................57
ReplacingthePumpDriveBelt.................................58
ReplacingandTensioningtheAlternator
Belt...................................................................58
ControlsSystemMaintenance.....................................59
AdjustingtheControlHandleNeutral
Position.............................................................59
HydraulicSystemMaintenance....................................60
HydraulicSystemSafety..........................................60
ServicingtheHydraulicSystem.................................60
SettingtheHydraulicPumpNeutralPosition..............63
MowerDeckMaintenance...........................................65
LevelingtheMowerat3Positions.............................65
ServicingtheCuttingBlades.....................................68
ReplacingtheGrassDeector..................................70
Cleaning...................................................................71
CleaningundertheMower.......................................71
WasteDisposal.......................................................71
Storage........................................................................72
CleaningandStorage..............................................72
Troubleshooting...........................................................73
Schematics...................................................................75
3

Safety
ThismachinehasbeendesignedinaccordancewithENISO
5395:2013.
GeneralSafety
Thisproductiscapableofamputatinghandsandfeetand
ofthrowingobjects.Alwaysfollowallsafetyinstructionsto
avoidseriouspersonalinjury.
Usingthisproductforpurposesotherthanitsintendeduse
couldprovedangeroustoyouandbystanders.
•ReadandunderstandthecontentsofthisOperator’sManual
beforeyoustarttheengine.Ensurethateveryoneusing
thisproductknowshowtouseitandunderstandsthe
warnings.
•Donotputyourhandsorfeetnearmovingcomponents
ofthemachine.
•Donotoperatethemachinewithoutallguardsandother
safetyprotectivedevicesinplaceandworkingonthe
machine.
•Keepclearofanydischargeopening.Keepbystandersa
safedistanceawayfromthemachine.
•Keepchildrenoutoftheoperatingarea.Neverallow
childrentooperatethemachine.
•Stopthemachineandshutofftheenginebeforeservicing,
fueling,oruncloggingthemachine.
Improperlyusingormaintainingthismachinecanresult
ininjury.Toreducethepotentialforinjury,complywith
thesesafetyinstructionsandalwayspayattentiontothe
safety-alertsymbol,whichmeansCaution,Warning,or
Danger—personalsafetyinstruction.Failuretocomplywith
theseinstructionsmayresultinpersonalinjuryordeath.
Youcanndadditionalitemsofsafetyinformationintheir
respectivesectionsthroughoutthismanual.
4

SlopeIndicator
G01 1841
g011841
Figure3
Thispagemaybecopiedforpersonaluse.
1.Themaximumslopeyoucansafelyoperatethemachineonis15degrees.Usetheslopecharttodeterminethedegreeofslope
ofhillsbeforeoperating.Donotoperatethismachineonaslopegreaterthan15degrees.Foldalongtheappropriateline
tomatchtherecommendedslope.
2.Alignthisedgewithaverticalsurface,atree,building,fencepole,etc.
3.Exampleofhowtocompareslopewithfoldededge
5

SafetyandInstructionalDecals
Safetydecalsandinstructionsareeasilyvisibletotheoperatorandarelocatednearanyareaofpotential
danger.Replaceanydecalthatisdamagedormissing.
decal58-6520
58-6520
1.Grease
decal93-7010
93-7010
1.Thrownobjecthazard—keepbystandersasafedistance
awayfromthemachine.
2.Thrownobjecthazard,mower—keepthedeectorinplace.
3.Cutting/dismembermentofhandorfoot—stayawayfrom
movingparts.
decal93-7818
93-7818
1.Warning—readtheOperator'sManualforinstructionson
torquingthebladebolt/nutto115to149N∙m(85to110
ft-lb).
decal93-8069
93-8069
1.Hotsurface/burnhazard—stayasafedistanceawayfrom
thehotsurface.
decal98-1977
98-1977
1.Entanglementhazard,belt—stayawayfrommovingparts.
decal98-4387
98-4387
1.Warning—wearhearingprotection.
decal104-2449
104-2449
decal107-2114
107-2114
6

decal107-3069
107-3069
1.Warning–thereisnorolloverprotectionwhentherollbaris
down.
2.Toavoidinjuryordeathfromarolloveraccident,keepthe
rollbarintheraisedandlockedpositionandweartheseat
belt.Lowertherollbaronlywhenabsolutelynecessary;do
notweartheseatbeltwhentherollbarisdown.
3.ReadtheOperator'sManual;driveslowlyandcarefully.
decal107-3961
107-3961
1.Heightofcutinmillimeters
decal107-3962
107-3962
1.Heightofcutinmillimeters
7

decal107-3968
107-3968
1.Disengage3.Parkingbrake
2.Engage
decal107-3969
107-3969
1.Warning—readtheOperator'sManual.
2.Crushinghazard,mower—engagetheparkingbrake,shut
offtheengine,andremovetheignitionkeybeforeworking
underthemower.
decal107-7719
107-7719
1.Cutting/dismembermenthazard,fanandentanglement
hazard,belt—stayawayfrommovingparts.
2.Beforestartingtheengine,cleangrassanddebrisfromthe
mowerbeltandpulleys,inserttheignitionkey,andstart
theengine.
decal108-5955
108-5955
decal108-5957
108-5957
decal108-5981
108-5981
decal110-2067
110-2067
decal110-2068
110-2068
1.ReadtheOperator'sManual.
8

decal136-5510
136-5510
1.Removethekeyand
readtheOperator's
Manualbeforeperforming
maintenance.
3.Hourinterval
2.Greasepoint
decal110-3852
110-3852
1.Removetheignitionkey
andreadtheinstructions
beforeservicingor
performingmaintenance.
2.Continuoustonesignals
theuserthatengineis
overheating.
decal110-3853
110-3853
1.Cutting/dismemberment
hazard,fanand
entanglementhazard,
belt.
2.Removetheignitionkey
andreadtheinstructions
beforeservicingor
performingmaintenance.
decal112-9028
112-9028
1.Warning—stayawayfrommovingparts;keepallguardsin
place.
decal114-9600
114-9600
1.ReadtheOperator'sManual.
decal115-4212
115-4212
1.Hydrauliciudlevel3.Warning—donottouchthe
hotsurface.
2.ReadtheOperator's
Manual.
9

decal116-5610
116–5610
1.Hourmeter4.Neutral
2.Powertake-off(PTO)5.Operator-presenceswitch
3.Parkingbrake6.Battery
decal119-0397
119–0397
decal119-0398
119–0398
decal121-7562
121–7562
1.Pushtostart4.Variablespeedcontrol
2.ReadtheOperator’s
Manualformore
informationonpreheating
theengine.
5.Fast
3.Slow
decal126-2055
126-2055
1.Wheellugnuttorque129N∙m(95ft-lb)(4x)
2.Wheelhubnuttorque319N∙m(235ft-lb)
3.ReadandunderstandtheOperator’sManualbefore
performinganymaintenance,checktorqueafterrst100
hoursthenevery500hoursthereafter.
10

decal127-0326
127-0326
1.ReadtheOperator's
Manual.
3.Removethekeyfrom
theignitionandreadthe
Operator'sManualbefore
performingmaintenance
orservicingthemachine.
2.Heightofcut
decal131-4036
131-4036
1.Maximumdrawbarpull36
kg(80lb).
2.ReadtheOperator's
Manual.
decaloemmarkt
Manufacturer'sMark
1.Indicatesthebladeisidentiedasapartfromtheoriginal
machinemanufacturer.
decalbatterysymbols
BatterySymbols
Someorallofthesesymbolsareonyourbattery
1.Explosionhazard6.Keepbystandersasafe
distanceawayfromthe
battery.
2.Nore,opename,or
smoking
7.Weareyeprotection;
explosivegasescan
causeblindnessandother
injuries.
3.Causticliquid/chemical
burnhazard
8.Batteryacidcancause
blindnessorsevereburns.
4.Weareyeprotection.9.Flusheyesimmediately
withwaterandgetmedical
helpfast.
5.ReadtheOperator's
Manual.
10.Containslead;donot
discard
decal107-9309
107-9309
1.Warning—readtheOperator'sManualforinformationonchargingthebattery;containslead;donotdiscard.
2.ReadtheOperator'sManual.
11

decal107-3964
107-3964
1.Warning—donotusedrugsoralcohol.3.Warning—engagetheparkingbrake,
shutofftheengine,andremovethe
ignitionkeybeforeleavingthemachine.
5.ReadtheOperator'sManual.
2.Warning—readtheOperator'sManual
andreceivetraining.
4.Warning—wearhearingprotection.
decal110-0820
110-0820
1.Fast5.Warning—readtheOperator'sManual.
2.Slow6.Poisonandcausticliquid/chemicalburnhazard—keep
childrenasafedistancefromthebattery.
3.Neutral7.Explosionhazard—nore,openames,orsmoking;avoid
sparks.
4.Reverse8.Tounlockthetractiondrive,turnthebypassvalve1complete
revolutioncounterclockwiseusinga5/8inchor16mm
wrench.
12

decal127-0335
127–0335
1.Tippinghazardonslopes—donotusethismachineonslopes
greaterthan15degrees;donotmakesudden,tightturns;
makeslow,wideturns.
2.Ramphazard—whenloadingontoatrailer,donotusedual
ramps;onlyuseasingularrampwideenoughforthemachine;
backuptheramp(inreverse)anddriveforwardofftheramp.
13

ProductOverview
g019888
g019888
Figure4
1.Height-of-cutdecklift
pedal
6.Rollbar
2.Transportlock7.Seatbelt
3.Parking-brakelever8.Fuelcap
4.Controls9.Mowerdeck
5.Motion-controllever10.Casterwheel
Controls
Becomefamiliarwithallofthecontrolsbeforeyoustartthe
engineandoperatethemachine(Figure4andFigure5).
g010363
Figure5
1.Hourmeter6.Glow-pluglight
2.Ignitionswitch7.Enginetemperaturelight
3.Fuel-selectorvalve8.Throttlecontrol
4.Audiblealarm9.PTOswitch
5.Glow-plugswitch
HourMeter
Thehourmeterrecordsthenumberofhourstheenginehas
operated.Itoperateswhentheengineisrunning.Usethese
timesforschedulingregularmaintenance(Figure5).
Safety-InterlockIndicators
Therearesymbolsonthehourmeterandtheyindicatewitha
blacktrianglethattheinterlockcomponentisinthecorrect
position(Figure5).
Battery-IndicatorLight
WhentheignitionkeyisinitiallyturnedtotheRUNposition
forafewseconds,thebatteryvoltageisdisplayedinthearea
wherethehoursarenormallydisplayed.
Thebatterylightturnsonwhentheignitionisturnedonand
whenthechargeisbelowthecorrectoperatinglevel(Figure
5).
g009610
Figure6
1.Safety-interlocksymbols3.Batterylight
2.Hourmeter
ThrottleControl
ThethrottlecontrolisvariablebetweenFastandSlow.
Neutral-LockPosition
TheNEUTRAL-LOCKpositionisusedwiththesafety-interlock
systemandtodetermineNEUTRALposition.
IgnitionSwitch
Thisswitchisusedtostartthemowerengineandhas3
positions:START,RUN,andOFF.
Glow-PlugLight
Theglow-plugindicatorlightturnsonwhentheglow-plug
buttonisengaged(Figure5).
14

Glow-PlugSwitch
Thisswitchactivatestheglowplugsandisindicatedbythe
glow-pluglight.Holddowntheglow-plugswitchfor10
secondspriortostartingthemachine.
TemperatureLight
Thetemperaturelightcomesonwhentheengineisover
heating(Figure5).
AudibleAlarm
Thismachinehasanaudiblealarmthatalertstheusertoshut
offtheengine;otherwise,enginedamagecanoccurfrom
overheating.RefertoOperatingwiththeOverheatSensor
(page30).
Fuel-SelectorValve
Thefuel-selectorvalveislocatedbehindtheseat.
Closethefuel-selectorvalvewhentransportingorstoring
mower.
Movetheselectorvalvetotheleftorrightpositionfor
operation.
Attachments/Accessories
AselectionofToroapprovedattachmentsandaccessoriesis
availableforusewiththemachinetoenhanceandexpand
itscapabilities.ContactyourAuthorizedServiceDealeror
Distributororgotowww .Toro.comforalistofallapproved
attachmentsandaccessories.
Tobestprotectyourinvestmentandmaintainoptimal
performanceofyourToroequipment,countonTorogenuine
parts.Whenitcomestoreliability,Torodeliversreplacement
partsdesignedtotheexactengineeringspecicationofour
equipment.Forpeaceofmind,insistonTorogenuineparts.
Operation
Note:Determinetheleftandrightsidesofthemachine
fromthenormaloperatingposition.
BeforeOperation
BeforeOperationSafety
GeneralSafety
•Neverallowchildrenoruntrainedpeopletooperateor
servicethemachine.Localregulationsmayrestrictthe
ageoftheoperator.Theownerisresponsiblefortraining
alloperatorsandmechanics.
•Becomefamiliarwiththesafeoperationoftheequipment,
operatorcontrols,andsafetysigns.
•Knowhowtostopthemachineandshutofftheengine
quickly.
•Checkthatoperator-presencecontrols,safetyswitches,
andshieldsareattachedandfunctioningproperly.Donot
operatethemachineunlesstheyarefunctioningproperly.
•Evaluatetheterraintodeterminetheappropriate
equipmentandanyattachmentsoraccessoriesrequiredto
operatethemachineproperlyandsafely.
•Donotoperatethemachinewithoutanattachment
installedonthefrontofthemachine.
FuelSafety
•Toavoidpersonalinjuryorpropertydamage,useextreme
careinhandlingfuel.Fuelvaporsareammableand
explosive.
•Extinguishallcigarettes,cigars,pipes,andothersources
ofignition.
•Useonlyanapprovedfuelcontainer.
•Donotremovethefuelcaporaddfueltothefueltank
whiletheengineisrunningorwhilehot.
•Donotrefuelthemachineindoors.
•Donotstorethemachineorfuelcontainerwherethere
isanopename,spark,orpilotlight,suchasonawater
heateroronotherappliances.
•Donotllcontainersinsideavehicleoronatruckor
trailerbedwithaplasticliner.Alwaysplacecontainerson
theground,awayfromyourvehiclebeforelling.
•Removetheequipmentfromthetruckortrailerand
refuelitwhileitisontheground.Ifthisisnotpossible,
thenrefuelfromaportablecontainerratherthana
fuel-dispensernozzle.
•Donotoperatethemachinewithouttheentireexhaust
systeminplaceandinproperworkingcondition.
•Keepthefuel-dispensernozzleincontactwiththerimof
thefueltankorcontaineropeningatalltimesuntilfueling
iscomplete.Donotuseanozzlelock-opendevice.
15

•Ifyouspillfuelonyourclothing,changeyourclothing
immediately.Wipeupanyfuelthatspills.
•Neveroverllthefueltank.Replacethefuelcapand
tightenitsecurely.
•Storefuelinanapprovedcontainerandkeepitoutofthe
reachofchildren.Neverbuymorethana30-daysupply
offuel.
•Donotllthefueltankcompletelyfull.Addfueltothe
fueltankuntilthelevelis6to13mm(1/4to1/2inch)
belowthebottomofthellerneck.Thisemptyspacein
thetankallowsfueltoexpand.
–Avoidprolongedbreathingofvapors.
–Keepyourfaceawayfromthenozzleandfueltank
opening.
–Avoidcontactwithskin;washoffspillswithsoapand
water.
RecommendedFuel
Theenginerunsonclean,freshdieselfuelwithaminimum
octaneratingof40.Purchasefuelinquantitiesthatcanbe
usedwithin30daystoensurefuelfreshness.
Usesummer-gradedieselfuel(No.2-D)attemperatures
above-7°C(20°F)andwinter-gradedieselfuel(No.1-Dor
No.1-D/2-Dblend)below-7°C(20°F).Useofwinter-grade
dieselfuelatlowertemperaturesprovideslowerashpoint
andpourpointcharacteristics,thereforeeasingstartabilityand
lesseningchancesofchemicalseparationofthefueldueto
lowertemperatures(waxappearance,whichmaypluglters).
Usingsummer-gradedieselfuelabove-7°C(20°F)contributes
towardlongerlifeofthepumpcomponents.
Important:Donotusekeroseneorgasolineinsteadof
dieselfuel.Failuretoobservethiscautionwilldamage
theengine.
BiodieselReady
Thismachinecanalsouseabiodieselblendedfuelofup
toB20(20%biodiesel,80%petrodiesel).Thepetrodiesel
portionshouldbeloworultralowsulfur.
Observethefollowingprecautions:
•Thebiodieselportionofthefuelmeetspecication
ASTMD6751orEN14214.
•TheblendedfuelcompositionshouldmeetASTMD975
orEN590.
•Paintedsurfacesmaybedamagedbybiodieselblends.
•UseB5(biodieselcontendof5%)orlesserblendincold
weather.
•Monitorseals,hoses,gasketsincontactwithfuelasthey
maydegradeovertime.
•Fuellterpluggingmaybeexpectedforatimeafter
convertingtobiodieselblends.
•Contactyourdistributorifyouwishformoreinformation
onbiodiesel.
FillingtheFuelTank
1.Parkthemachineonlevelground.
2.Shutofftheengineandengagetheparkingbrake.
3.Cleanaroundthefuel-tankcap.
4.Fillthefueltanktothebottomofthellerneck(Figure
7).
Note:Donotllthefueltankcompletelyfull.The
emptyspaceinthetankallowsthefueltoexpand.
16

g027726
Figure7
SwitchingtheFuelTanks
Important:Donotallowthemachinetorunoutoffuel,
asthiscandamagethemachine.
Thefuel-selectorvalveislocatedbehindtheleftsideofthe
seat.
Theunithas2fueltanks.Onetankisontheleftsideand
oneontherightside.Eachtankconnectstothefuel-selector
valve.Fromthereacommonfuellineleadstotheengine
(Figure8).
Tousetheleftfueltank,rotatethefuel-selectorvalvetothe
left.Tousetherightfueltank,rotatethefuel-selectorvalve
totheright(Figure8).
Closethefuel-selectorvalvebeforetransportingorstoring
machine.
g000962
Figure8
1.Leftfueltank2.Fuel-selectorvalve
CheckingtheEngine-OilLevel
Beforeyoustarttheengineandusethemachine,check
theoillevelintheenginecrankcase;refertoCheckingthe
Engine-OilLevel(page17).
BreakinginaNewMachine
Newenginestaketimetodevelopfullpower.Mowerdecks
anddrivesystemshavehigherfrictionwhennew,placing
additionalloadontheengine.Allow40to50hoursof
break-intimefornewmachinestodevelopfullpowerand
bestperformance.
17

UsingtheRolloverProtection
System(ROPS)
WARNING
Toavoidinjuryordeathfromrollover:keepthe
rollbarintheraisedlockedpositionandusethe
seatbelt.
Ensurethattherearpartoftheseatissecuredwith
theseatlatch.
WARNING
Thereisnorolloverprotectionwhentherollbaris
inthedownposition.
•Lowertherollbaronlywhenabsolutely
necessary.
•Donotweartheseatbeltwhentherollbaris
inthedownposition.
•Driveslowlyandcarefully.
•Raisetherollbarassoonasclearancepermits.
•Checkcarefullyforoverheadclearances(i.e.,
branches,doorways,electricalwires)before
drivingunderanyobjectsanddonotcontact
them.
Important:Lowertherollbaronlywhenabsolutely
necessary.
1.Removethehairpincottersandremovethe2pins
(Figure10).
2.Lowertherollbartothedownposition(Figure9).
Note:Thereare2downpositions;refertoFigure9.
3.Installthe2pinsandsecurethemwiththehairpin
cotters(Figure10).
g004954
Figure9
1.Full-downposition2.Downpositionwiththe
baggerinstalled
Important:Ensurethatyousecuretherearpart
oftheseatwiththeseatlatch.
4.Toraisetherollbar,removethehairpincottersand
removethe2pins(Figure10).
5.Raisetherollbartotheuprightposition,installthe2
pins,andsecurethemwiththehairpincotters(Figure
10).
Important:Alwaysusetheseatbeltwiththeroll
barintheraisedposition.
G004955
1
2
3
4
g004955
Figure10
1.Rollbar3.Pin
2.Raisedposition4.Hairpincotter
ThinkSafetyFirst
Pleasereadallsafetyinstructionsandsymbolsinthesafety
section.Knowingthisinformationcouldhelpyouor
bystandersavoidinjury.
DANGER
Operatingthemachineonwetgrassorsteepslopes
cancauseslidingandlossofcontrol.
•Donotoperateonslopesgreaterthan15degrees.
•Reducespeedanduseextremecautionon
slopes.
•Donotoperatethemachinenearwater.
18

DANGER
Wheelsdroppingoveredgescancauserollovers,
whichmayresultinseriousinjury,death,or
drowning.
Donotoperatethemachineneardrop-offs.
DANGER
Operatingthemachinewhiletherollbarisdown
mayleadtoseriousinjuryordeathintheeventofa
rollover.
Alwayskeeptherollbarinthefullyraisedand
lockedpositionandusetheseatbelt.
g000963
Figure11
1.SafeZone—usethe
machinehereonslopes
lessthan15degreesor
atareas.
3.Water
2.DangerZone—usea
walk-behindmowerand/or
ahandtrimmeronslopes
greaterthan15degrees
andneardrop-offsor
water.
CAUTION
Thismachineproducessoundlevelsinexcessof
85dBAattheoperator’searandcancausehearing
lossthroughextendedperiodsofexposure.
Wearhearingprotectionwhenoperatingthis
machine.
Useprotectiveequipmentforyoureyes,ears,hands,feet,
andhead.
G009027
12
g009027
Figure12
1.Weareyeprotection.2.Wearhearingprotection.
UsingtheSafety-Interlock
System
WARNING
Ifsafety-interlockswitchesaredisconnectedor
damaged,themachinecouldoperateunexpectedly
causingpersonalinjury.
•Donottamperwiththeinterlockswitches.
•Checktheoperationoftheinterlockswitches
daily,andreplaceanydamagedswitchesbefore
operatingthemachine.
UnderstandingtheSafety-Interlock
System
Thesafety-interlocksystemisdesignedtopreventtheengine
fromstartingunless:
•Theparkingbrakeisengaged.
•Theblade-controlswitch(PTO)isdisengaged.
•Themotion-controlleversareintheNEUTRAL-LOCK
position.
Thesafety-interlocksystemalsoisdesignedtoshutoffthe
enginewhenthetractioncontrolsaremovedfromthelocked
positionwiththeparkingbrakeengagedorifyourisefrom
theseatwhenthePTOisengaged.
Thehourmeterhassymbolstonotifytheuserwhenthe
interlockcomponentisinthecorrectposition.Whenthe
componentisinthecorrectposition,atrianglelightsupin
thecorrespondingsquare.
19

g009612
Figure13
1.Triangleslightupwhentheinterlockcomponentsareinthe
correctposition
TestingtheSafety-InterlockSystem
ServiceInterval:Beforeeachuseordaily
Testthesafety-interlocksystembeforeyouusethemachine
eachtime.Ifthesafetysystemdoesnotoperateasdescribed
below,haveanAuthorizedServiceDealerrepairthesafety
systemimmediately.
1.Sittingontheseat,engagetheparkingbrakeandmove
theblade-controlswitch(PTO)totheONposition.
Trystartingtheengine;theengineshouldnotstart.
2.Sittingontheseat,engagetheparkingbrakeand
movetheblade-controlswitch(PTO)totheOFF
position.Moveeithermotion-controllever(outofthe
NEUTRAL-LOCKposition).Trystartingtheengine;the
engineshouldnotstart.Repeatfortheothercontrol
lever.
3.Sittingontheseat,engagetheparkingbrake,movethe
blade-controlswitch(PTO)totheOFFposition,and
movethemotion-controlleverstotheNEUTRAL-LOCK
position.Nowstarttheengine.Whiletheengine
isrunning,disengagetheparkingbrake,engagethe
blade-controlswitch(PTO),andriseslightlyfromthe
seat;theengineshouldshutoff.
4.Sittingontheseat,engagetheparkingbrake,movethe
blade-controlswitch(PTO)totheOFFposition,and
movethemotion-controlleverstotheNEUTRAL-LOCK
position.Nowstarttheengine.Whiletheengine
isrunning,centereithermotioncontrolandmove
(forwardorreverse);theengineshouldshutoff.Repeat
forothermotioncontrol.
5.Sittingontheseat,disengagetheparkingbrake,
movetheblade-controlswitch(PTO)totheOFF
position,andmovethemotion-controlleverstothe
NEUTRAL-LOCKposition.Trystartingtheengine;the
engineshouldnotstart.
PositioningtheSeat
Theseatmovesforwardandbackward.Positiontheseat
whereyouhavethebestcontrolofthemachineandaremost
comfortable.
Toadjust,movetheleversidewaystounlocktheseat(Figure
14).
g019754
g019754
Figure14
UnlatchingtheSeat
1.Movetheseattothemostrearwardposition.
Note:Thispreventsinterferencewhenyouraisethe
seat.
2.Pushtheseatlatchrearwardtounlatchtheseat.
3.Raisetheseatup(Figure15).
Note:Thisallowsaccesstothemachineunderthe
seat.
g000950
Figure15
1.Seatlatch3.Seat
2.Fuelcap
20
This manual suits for next models
1
Table of contents
Other Toro Lawn Mower manuals
Popular Lawn Mower manuals by other brands

Cub Cadet
Cub Cadet RZT L Operator's manual

Husqvarna
Husqvarna R152SVSW instruction manual

Yazoo/Kees
Yazoo/Kees ZEKW48190 Operator's manual

POWERTEC Garden
POWERTEC Garden BIG WHEELER 561 Trike Translation of the original instructions

Dixon
Dixon D22KH46 Operator's manual

Simplicity
Simplicity 7800071 Operator's manual