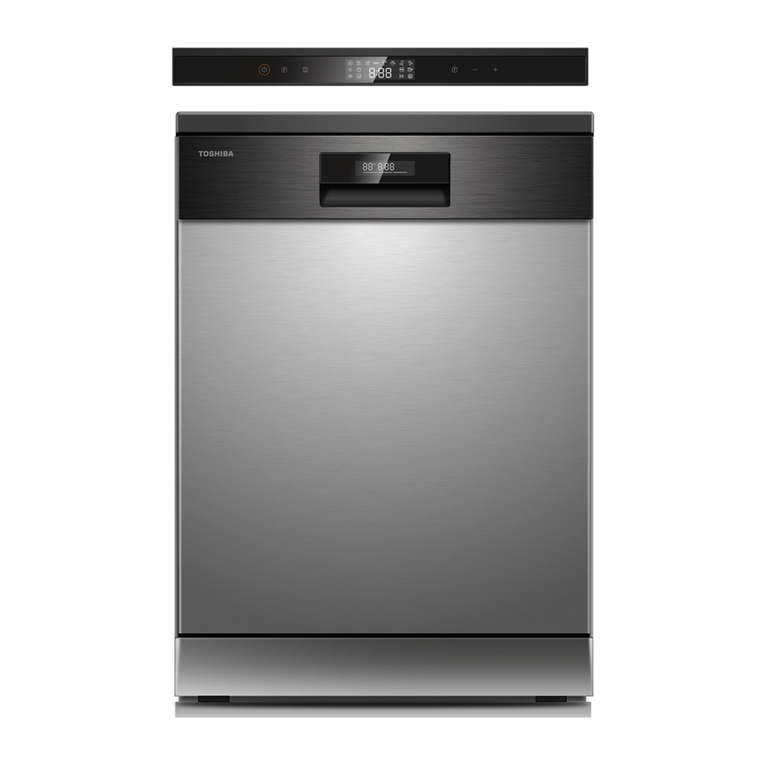
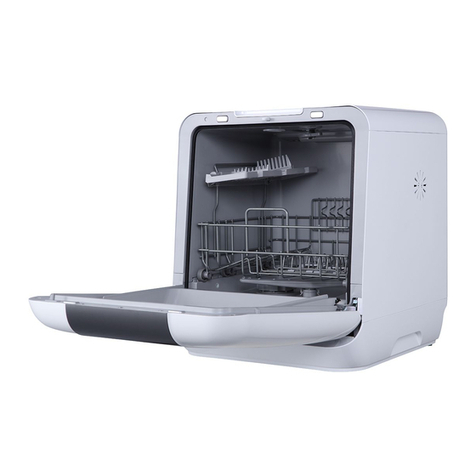
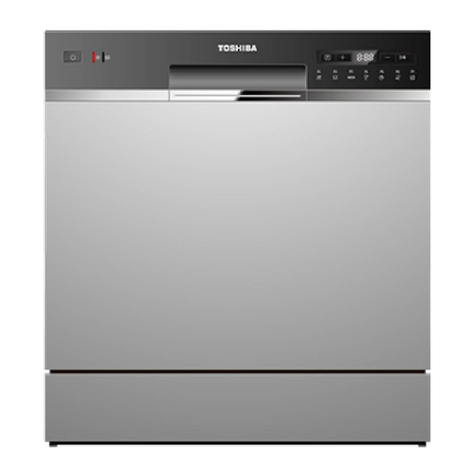
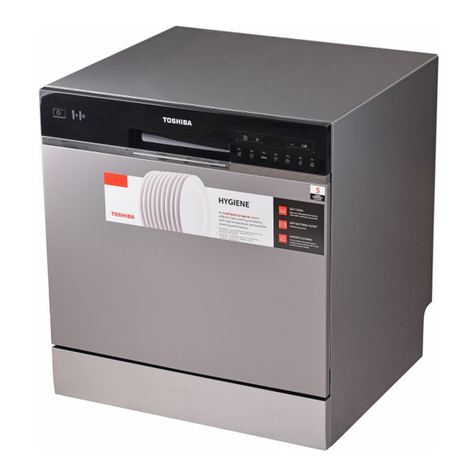
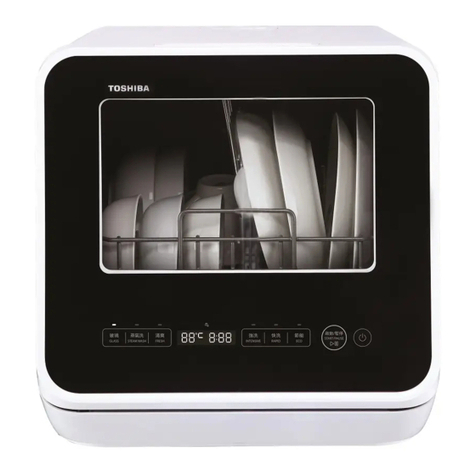
Toshiba DWS-22A Series User manual

English
Model:
SERVICE MANUAL
DWS-22AXX(WQP4-T2601C)
This manual is intend to guide after sale service,
please read the manual careful before service.
DISHWASHER

Warning
All instructions described should
be carefully read and followed.
cold skin burn, electric shock, broken bones or poisoning.
No
Electric
shock
from
children
the dishwasher.
a
WARNING indicates high possibility of serious injury (*1) or
death of the user.
SAFETY INSTRUCTIONS
CAUTION indicates high possibility of injury (*2) or property
loss (*3).
Detailed instructions would be indicated on the inside of the
triangle or around the symbol in figuresor in writing
The dishwasher cannot be used by persons (including children) with reduced
These instructions are precautions to prevent the risks of serious injury or death of the user,
and any damages to property.

Instruction
Prohibit
Do not touch the inside of the cabinet, steam jets for during operation or 30
minutes after operation.
There is a fear of burning.
Instruction
Please ask the agent you purchased for inspection / repair. There is a danger of
electric shock, electric leakage short-circuiting.
Do not use extension cord.
Prohibit
No touch
by wet
hand
Electric
shock
No water
spraying
Away from
materials
Disconnect
power plug
Wipe
Do not connect or disconnect the power plug by wet hand.
This may cause electric shock or fault and cause injuries.
Do not use damaged power lines, power plug or loose power socket.
alcohol etc. as well as dishes having such matters into the dishwasher.
Do not spray water directly onto the parts of the main body of the dishwasher.
This may cause accidents of electric shock or short circuit.
Do not damage power line.
Do not damage, cut, process power line or bend, pull, twist or bind power line.
Besides, do not yank the metal part of the power line, or put weights on the line
or clamp the power line.
power line is damaged, the damaged line must be replaced by the
No
dis-assembly
and repair
without
permission
T
or its service agent or personnel having similar qualification,so as to prevent
dangers
manufacture
Insert plug
Prohibit
Insert the power plug securely to the base and let the cord go downward.
or heat generation.
Do not operate by putting easily combustible items such as towels and cloth inside
the cabinet of the dishwa er.
Prohibit
Do not place anything on the main unit
containers
of water or hot water, heat appliances, glasses
Falling by opening and closing the door may cause injury. Also, spilled water may
Do not place the dishwasher near fire.
Do not put the burning candle or cigarette on the dishwasher. It may cause f ire.
Away from
materials
installation
grounding
dishwasher fault
Do not change the plug without permission.
When the plug does not match the socket, proper power socket shall be installed by
Make sure the dishwasher can be set at a smooth drainage location.

Caution
No pulling
No use
No
washing
ment
No
climbing
plastic utensils without
scald.
power plug
Care about
the door
Care for
Care for
cleaning
Attention

Prohibit
to pinching
Prohibit
Prohibit
hit or tap the dishwasher .
Prohibit
due to clogging the dishwasher.
Prohibit
Loading
capacity
Do not

Specification.............................................2
Water flow diagram....................................4
Operating principle....................................5
Component location views ........................6
Replaceable Parts.....................................9
Water tank................................................10
Door Assembly..........................................12
Door Switch Assembly...............................14
Indicator Lamp..........................................16
Fan Aseembly...........................................17
Filter........................................................18
Base Cover...............................................19
PCB ........................................................20
Inlet valve ................................................24
Drain pump...............................................26
Heater .....................................................28
Washing pump..........................................29
NTC.........................................................31
Flowmeter.................................................33
Explore view of the product............... .........35
Part list.....................................................37
Contents

Work process detail chart...........................38
Work flow timing chart................................39
Washing program......................................46
Test program ............................................47
Error code ................................................48
Trouble shooting flow logic chart.................49
Schematics and Wiring Diagrams................54
Contents
There is a program named “Steam Wash”. This is the best washing performance.
For the first 5 minutes, the product generates steam to soften the stains&dirt and
make it easily to remove. Also, steam has bacteria removal effect.

Model
Dimension (mm)
Washing capacity
AC 220V
50Hz
730 W
5 L
0.47 kwh
16 Kg
13 Kg
435mm
420mm
435mm
750mm
Cross weight
IPX1
02
WQP4-T2601C

The information in this service guide is intended for use by individuals possessing adequate
backgrounds of electrical, electronic, and mechanical experience. Any attempt to repair
a major appliance may result in personal injury and property
damage. The manufacturer or seller cannot be responsible for the interpretation of this
information, nor can it assume any liability in connection with it’s use.
WARNING
To avoid personal injury, disconnect power before servicing this product. If electrical power is
required for diagnosis or test purposes, disconnect the power immediately after performing
the necessary checks.
RECONNECT ALL GROUNDING DEVICES
If grounding wires, screws, strops, clips, nuts, or washers used to complete a path to ground
are removed for service, they must be returned to their original position and properly fastened.
IMPORTANT SAFETY NOTICE
03

Inlet water route
Water flow diagram
Cycle water route
Drain water route
Water tank
Tub
Inlet hose
(Optional)
Drain hose
Drain pumpWashing pump
Inlet valve
Water
04

washing
pump
Heater
Inlet water
Inlet water
Water tank
Control panel steam outlet
Operating principle
Water flow
Out door Basket
cool air
hot wet air
Air flow
05

Indicator Lamp
Upper Spray Arm
Under Spray Arm
Interior View
Filter Assembly
Component Location Views
06

Component Location Views
Back view
Note: The view that removes back shell
Water Tank
Filter
Right view
Note: The view that removes right shell
Fan
Left view
Note: The view that removes Left shell
07

PCB Box
Bottom view
Note: loose the screw to remove the base cover.
Component Location Views
Water Inlet Valve
Water Pump
Assembly
Heating Element
Drain Pump
Thermistor
08

Replaceable Parts
water tank Door Assembly Door Switch Assembly
Indicator Lamp Fan Assembly Filter
PCB
Base Cover
Washing Pump
Water Inlet Valve Drain Pump
Heater Element
Flow Meter
NTC
09

Part name
Funtion
Water tank
Steps of Disassemble
The water tank stores water and provides water for the washing of
machine.
1. Disconnect the power
supply to the dishwasher.
2. Open the door. 3. Remove 2 screws in the
top of interior.
4. Remove the top cover. 5. Remove the top shell. 6. Remove the back shell.
1
2
3
7. Remove two side shells
after loosen 6 screws.
8. loosen 2 screws(mark 1).
9. Disconnect 3 wire harnesses from water tank(mark 2).
10. Disconnect pipe from water tank by removing snap
ring(mark 3).
10

Part name
Funtion
Water tank
Steps of Disassemble
The water tank stores water and provides water for the washing of
machine.
11. Disconnect 1 wire harness.
12. Remove 2 screws. 13. Water tank is got down.
11

Part name
Funtion
Door Assembly
Steps of Disassemble
The door assembly consists of inner door ,outer door and control
panel.
1. Disconnect the power supply to the
dishwasher, and then open the door.
2. Remove 2 slides.
3. Remove 4 screws. 4. remove the base cover
5. open the main board case. 6. Disconnect the wire terminal mark
with ring.
12

Part name
Funtion
Door Assembly
Steps of Disassemble
The door assembly consists of inner door ,outer door and control
panel.
7. Replace the door assembly ,rewiring the data
wire to the main board recover all parts as the
reverse steps.
WARNING: The door assembly is made by professional equipment,
the components in the door assembly can not be replace separately.
13
This manual suits for next models
1
Table of contents
Other Toshiba Dishwasher manuals

Toshiba
Toshiba DW-14F1(SS)-NZ User manual

Toshiba
Toshiba DW-08T1(S)-MY User manual

Toshiba
Toshiba DWS-22AHK User manual

Toshiba
Toshiba DW-15F3(BS)-NZ User manual

Toshiba
Toshiba DW-14F2MESS User manual

Toshiba
Toshiba DW-08T1CIS-UA User manual

Toshiba
Toshiba DW-15F5(SS)-NZ User manual

Toshiba
Toshiba DW-14F1ME(W)-IQ User manual

Toshiba
Toshiba DWS-34AHK User manual
Popular Dishwasher manuals by other brands

Jackson
Jackson AJ-44TE Installation/operation & technical manual

Indesit
Indesit DFP 273 operating instructions

Teka
Teka LX710 Use and maintenance manual

Electrolux
Electrolux EIDW1805KS Use & care guide

VOX electronics
VOX electronics LC12A15-BIX operating instructions

Dacor
Dacor DDWF24S use and care manual