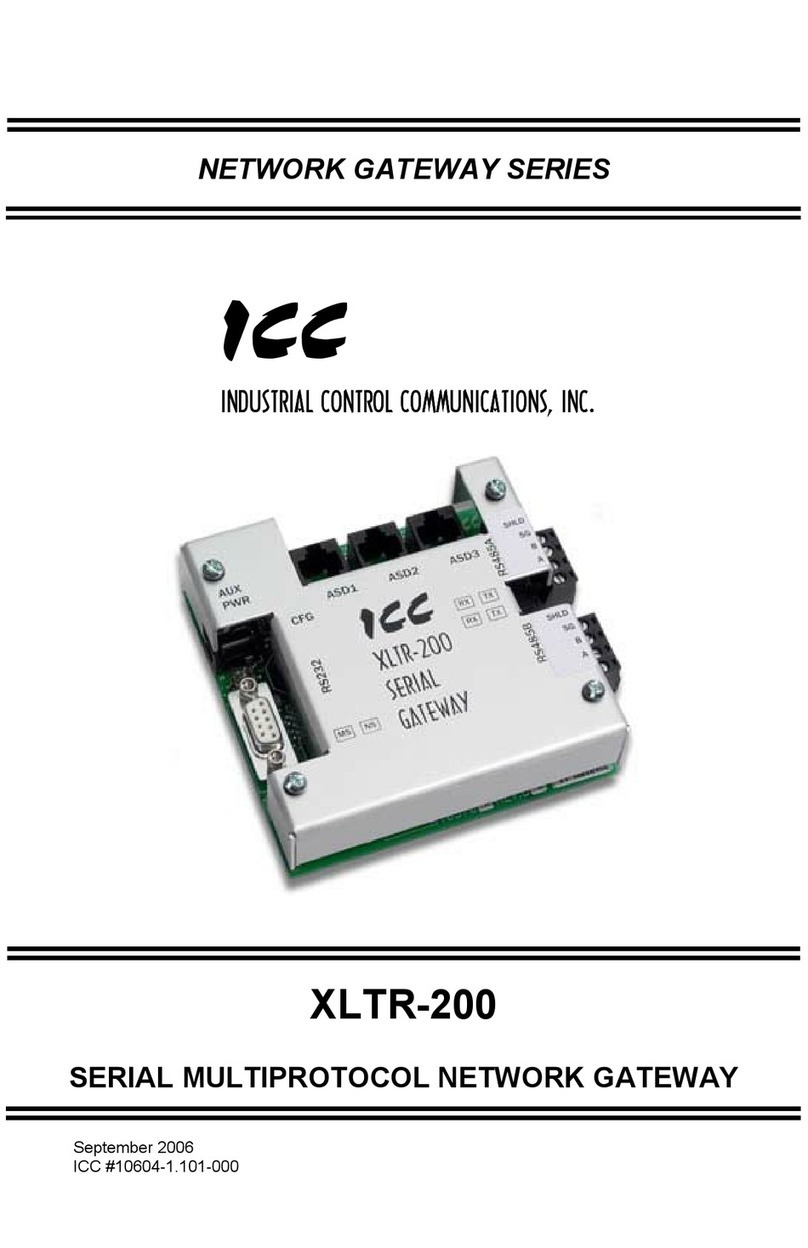
Toshiba ProtoNode User manual

ProtoNode Quick Install Guide – 66939-000 1
ProtoNode Quick Install Guide
1.0 Introduction
ProtoNode is a multi-protocol client/server device that is reliable to network serial and Ethernet devices.
The ProtoNode works with SNMP, MODBUS RTU (Serial), MODBUS TCP, BACnet IP, BACnet MSTP(Serial),
EtherNet/IP and Metasys N2. This Quick Install Guide provides the necessary information to set up and
use the ProtoNode as quickly as possible.
2.0 Package Components
1. Quick Install Guide
2. ProtoNode (Multi-Protocol Device Server)
3. One Cat5e direct Ethernet cable
4. One serial cable (Connection link between UPS and ProtoNode)
5. One power supply
3.0 Installing the ProtoNode
Step 1: Installation of the ProtoNode Hardware
Each ProtoNode has a unique serial number and MAC address located on the underside of the unit.
These numbers should be recorded as they may be required for technical support.
Serial Number: _________________________________________________
MAC Address: __________________________________________________
1. A DB-9 cable should be connected between the Serial 1 port on the ProtoNode and the
serial port of the Toshiba UPS RS-232 port (See Figure 1). NOTE: for G8000 UPS use a
straight serial cable. Use a gender changer if needed.
2. Connect one end of the Ethernet cable to the ProtoNode RJ45 port and the other end to
your computer (switch or Hub) RJ45 port. NOTE: The ProtoNode Ethernet port automatically
senses an uplink connection, and may therefore be connected to a PC or a hub/switch using
either a crossover cable (not supplied) or a direct Ethernet cable (supplied).
3. Connect the 5-30 VDC power supply adapter to the terminal block in the back of the
ProtoNode.

ProtoNode Quick Install Guide – 66939-000 2
Figure 1
Step 2: Installing FieldServer Utilities Software
1. Download FieldServer utilities setup files to a PC from the following link:
http://www.toshiba.com/ind/product_display.jsp?id1=14&id2=30&id3=581.
2. Once the Utilities have been downloaded, double click on the “setup.exe” file to install.
NOTE: These instructions assume a Windows Operating System.
Step 3: Identification of the ProtoNode on the Network
1. Check that the IP netmask of the PC matches the ProtoNode. The default IP address of the
ProtoNode is 192.168.1.168, and the default subnet mask is 255.255.255.0 (see Section 10.2 in
Reference manual to change the IP settings).
2. Select Start|Programs|FieldServer Utilities|Ping Utility. If configured correctly, Ping Utility,
should display (See Figure 2):
•ProtoNode Name
•IP Number (192.168.1.168)
•ProtoNode Version

ProtoNode Quick Install Guide – 66939-000 3
Figure 2
NOTE: If the ProtoNode’s information does not show (even after repeated attempts), either the
network cabling is incorrect, the IP settings are not correct or the computer network card is faulty.
Here are some troubleshooting tips:
•Check the Ethernet RJ45 port of the ProtoNode that the Activity LED is blinking (Amber or
Green LED).
•Ensure that the PC and ProtoNode are on the same IP Network, or assign a Static IP Address
to the PC on the 192.168.1.0 IP network.
•Confirm that there is an Ethernet adapter installed in the PC’s Device Manager List, and that
it is configured to run the TCP/IP protocol.
•If using Windows XP, ensure that the firewall is disabled.
•If still having problems, see Reference Manual “Troubleshooting Tips”
Step 4: Connection to the ProtoNode Using RUI (Remote User Interface)
1. Open the Remote User Interface application by clicking Start|Programs|FieldServer
Utilities|Remote User Interface.
2. Select “yes” to synchronize the ProtoNode’s time and date with the computer.
3. Remote User Interface application should now detect the ProtoNode (Note: it can take up
to 3 minutes to detect the ProtoNode). Select the ProtoNode by pressing ‘”1” then hit the
“Enter” (See Figure 3) key to bring up the main menu (See Figure 4).

ProtoNode Quick Install Guide – 66939-000 4
Figure 3
Figure 4
Step 5: Changing the IP Settings
Should it be necessary to change the IP settings of the ProtoNode to match your current network
configuration, open RUI application and go to the main menu and follow these steps:
1. Type “I”, “Change IP Address”, in the main menu to change the IP address.
2. Type “1”, and then type the IP address desired for the ProtoNode and hit the <enter> key
when finished.
3. Type “2”, and then type the Netmask and hit the <enter> key when finished.
4. Type “3”, and then type the Gateway address and hit the <enter> key when finished.
5. When done entering the information required hit the <esc> key and then type “!” in order
for the changes to take effect.
Step 6: Uploading New Firmware
By default, the ProtoNode is setup to work with ModBus, Metasys and SNMP communication
protocols. If BACnet protocol is desired go to the following link
http://www.toshiba.com/ind/product_display.jsp?id1=14&id2=30&id3=581 (always check this
link for new firmware releases) and download the correct firmware (See Table 1). Please see the
following steps to upload new firmware.

ProtoNode Quick Install Guide – 66939-000 5
File Name
Protocols
Firmware pcc6029
BACnet MSTP, BACnet IP
Firmware pcc6030
Modbus RTU, Modbus TCP,
Metasys NS, SNMP
Firmware pcc6032
EtherNet/IP
Table 1
1. Open and extract the ProtoNode firmware file (NLPN.BIN) and place it in the “Configuration
File Folder”, by going to Start|Programs|FieldServerUtilities|Configuration File Folder.
NOTE: Do not rename the “NLPN.BIN” file.
2. In the main menu of the Remote User Interface screen, type “d” to go to “Download
configuration to FieldServer” menu (See Figure 4).
3. Type “f”, for firmware, and the program will automatically fetch the firmware from the
“Configuration File Folder” (See Figure 5).
4. Type “y”, for yes, to precede the installation of the new firmware.
5. Wait until the download completes (Note: resetting or turning off while the ProtoNode is
installing the firmware can corrupt the ProtoNode.)
6. Once download is complete hit “<esc>” key to go to the main menu. Type “!” or cycle power
to ProtoNode to put the new firmware into operation.
Figure 5
Note: to verify firmware version from the main menu type “b”, for “FieldServer
Information”. Then hit the <space bar> key and look at the “Kernel Version” (See Figure 6).

ProtoNode Quick Install Guide – 66939-000 6
Figure 6
Step 7: Downloading Configuration File
By default, the ProtoNode is setup with G9000 UPS Modbus configuration file. If using a different UPS
model, please go to http://www.toshiba.com/ind/product_display.jsp?id1=14&id2=30&id3=581 and
download the correct UPS protocol configuration file.
1. Before attempting to download the protocol configuration file onto the ProtoNode, put the
protocol configuration file (e.g. config-mod.csv) in “Configuration File Folder”, by going to
Start|Programs|FieldServerUtilities|Configuration File Folder.
2. From the main menu on RUI, type “d”, for the download configuration option.
3. Type “L” to specify the name and extension of the file to be sent to the ProtoNode (e.g.
config-mod.csv). Hit <Enter> when done.
4. The utility will search for the configuration file specified on step 3 (e.g. config-mod.csv) to
download the CSV file onto ProtoNode. On rare occasions where other files need to be
downloaded to the ProtoNode, type ‘o’ for other files, then type “r” to specify the remote
filename needed on the ProtoNode.
5. When satisfied that the correct file names are specified, type “d” to send the file to the
ProtoNode. The utility will display progress until it is complete.
6. Note: Wait until the utility indicates that the download is complete before resetting the
ProtoNode or you could corrupt the ProtoNode.
7. Once download is complete hit <esc> key to go to the main menu. Type “!” or cycle power
to ProtoNode to put the new firmware into operation.
8. To verify that the protocol configuration file was downloaded successfully, go to the main
menu and look on the top on the main menu to see the UPS model and the protocol (see
figure 4).
Note: If configuring multiple ProtoNode modules, see reference manual.
Note: Make sure that you have the latest display, control board, and ProtoNode firmware
versions installed. Failure to do so can cause communications problems between the
ProtoNode and UPS.
Step 8: Testing and Commissioning of the ProtoNode
1. From the main menu of Remote User Interface, type “o”, for Connection Overview, to see
the data traffic flow for each protocol.

ProtoNode Quick Install Guide – 66939-000 7
INDUSTRIAL DIVISION
13131 West Little York Rd., Houston, TX 77041
Tel: 713/466-0277 Fax 713/466-8773
US 877/867-8773 Canada 800/872-2192 Mexico 01/800/527-1204
www.toshiba.com/ind
Printed in U.S.A.

ProtoNode Quick Install Guide – 66939-000 8
Table of contents
Other Toshiba Gateway manuals