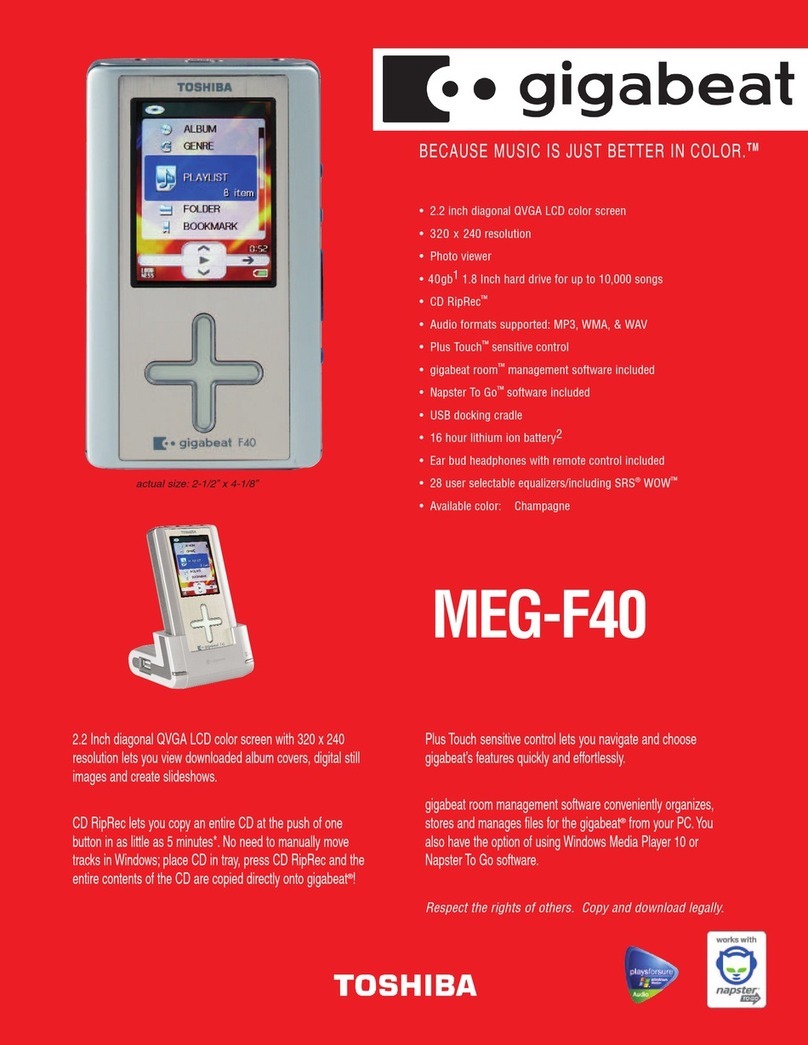
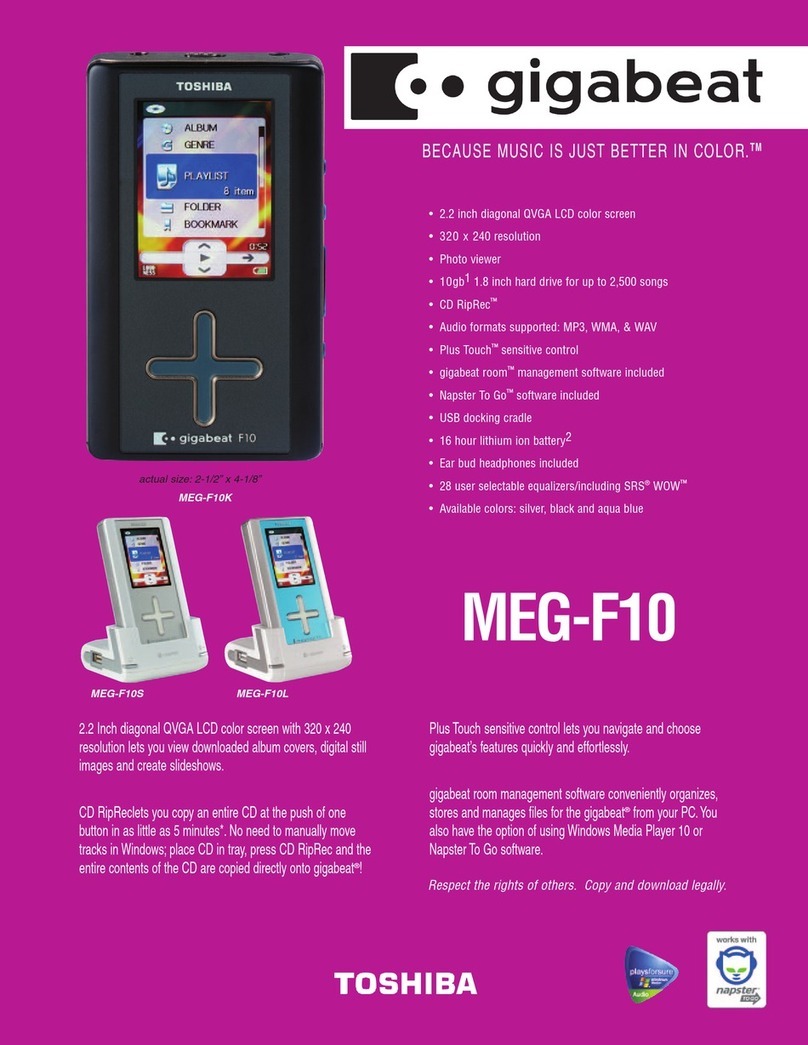
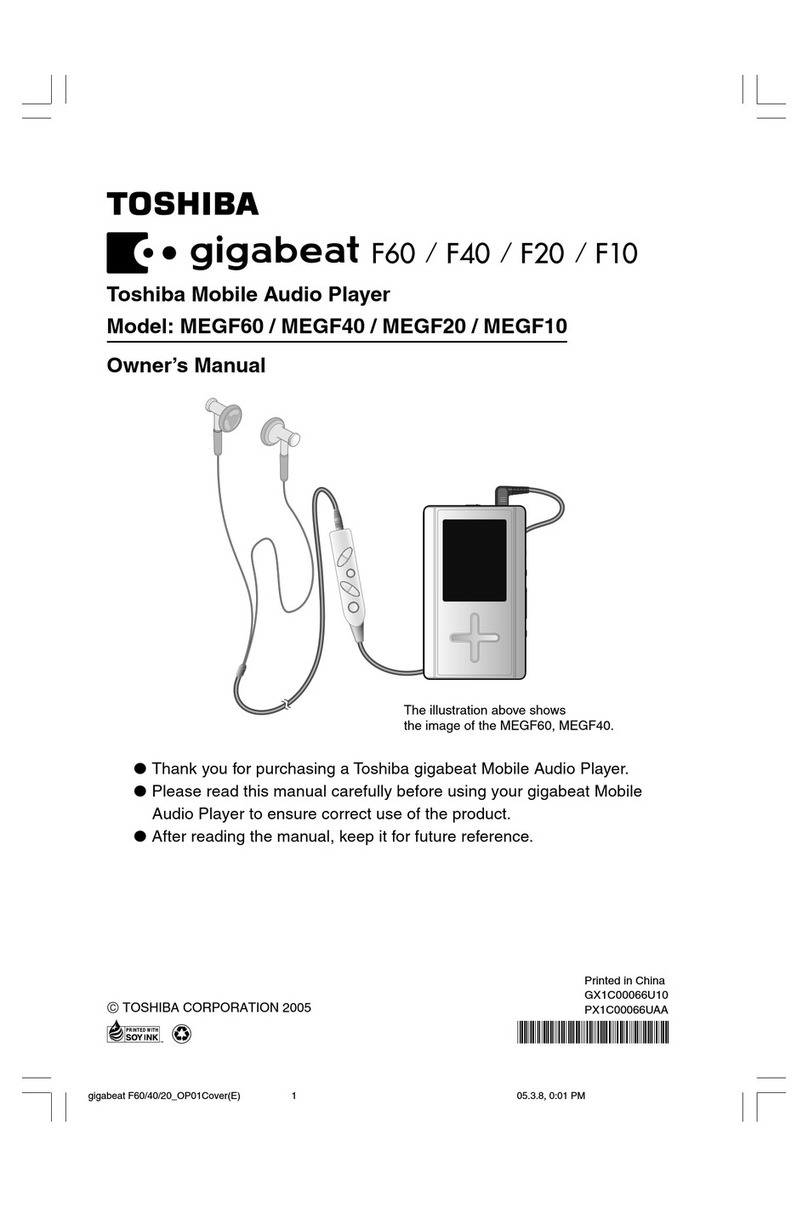
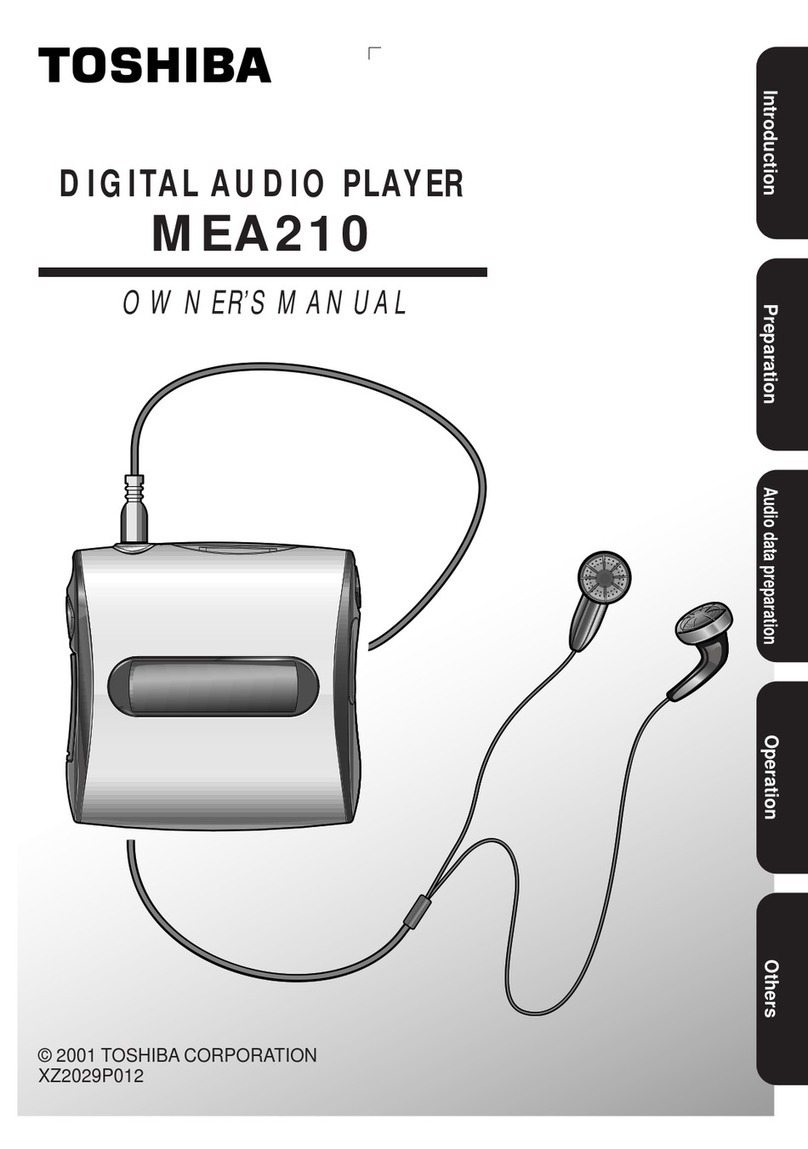
Toshiba Gigabeat P Series User manual

DIGITAL AUDIO PLAYER
SERVICE MANUAL
MEP05F, MEP10F
(US/CA)
FILE NO. 400-200602GR
Jan., 2006
Series
The above models are classified as green products (*1).
This Service Manual describes replacement parts for the green products. When repairing these green
product(s), use the part(s) described in this manual and lead-free solder (*2).
For (*1) and (*2), see the next page.

(*1) GREEN PRODUCT PROCUREMENT
The EC is actively promoting the WEEE & RoHS Directives that define standards for recycling
and reuse of Waste Electrical and Electronic Equipment and for the Restriction of the use of
certain Hazardous Substances. From July 1, 2006, the RoHS Directive will prohibit any marketing
of new products containing lead.
Increasing attention is given to issues related to the global environmental.Toshiba Corporation
recognizes environmental protection as a key management tasks, and is doing its utmost to
enhance and improve the quality and scope of its environmental activities. In line with this,
Toshiba proactively promotes Green Procurement, and seeks to purchase and use products,
parts and materials that have low environmental impacts.
Green procurement of parts is not only confined to manufacture.The same green parts used in
manufacture must also be used as replacement parts.
(*2) LEAD-FREE SOLDER
This product is manufactured using lead-free solder as a part of a movement within the CE
industry at large to be environmentally responsible. Lead-free solder must be used in the servicing
and repair of this product.
WARNING
This product is manufactured using lead free solder.
DO NOT USE LEAD BASED SOLDER TO REPAIR THIS PRODUCT !
The melting temperature of lead-free solder is higher than that of leaded solder by 86°F to 104°F
(30°C to 40°C). Use of a soldering iron designed for lead-based solders to repair product made
with lead-free solder may result in damage to the component and or PCB being soldered. Great
care should be made to ensure high-quality soldering when servicing this product –especially
when soldering large components, through-hole pins, and on PCBs – as the level of heat required
to melt lead-free solder is high.

Precautions
Safety Precautions for Service
This section provides critical information for safety. Be sure to observe the content.
Meaning of each indication is as follows:
DANGER
Safety indications mean that death or serious injury may be caused to service personnel
and/or surrounding people or users due to incorrect work by neglecting safety instruc-
tions or due to resulting defects of the product, which indicates imminence of danger.
WARNING
Death or serious injury may be caused to service personnel and/or surrounding people
or users due to incorrect work by neglecting the following instructions or due to
resulting defects of the product.
CAUTION
Injury or physical damage* may be caused to service personnel and/or surrounding
people or users due to incorrect work by neglecting the following instructions or due to
resulting defects of the product.
* Physical damage includes damage to buildings, household goods, properties, livestock, and pets.
WARNING
•Unplug the power cable before starting work (for example, disassembly) that does not need power
supply.
Otherwise, it may cause electric shock.
•Use an insulation transformer and/or wear protective gloves when power is ON, and unplug the power
cable when replacing parts to avoid electric shock.
•Use specified spare parts of the product for replacement.
Since some parts have safety characteristics (fire resistance, withstand voltage, etc.), use replacement parts
with same characteristics.
For safety-sensitive parts specified by marking in circuit diagrams or parts lists, use specified parts.
•After repair work is completed, properly reassemble disassembled parts and securely reconnect cables
as they were.
For safety reasons, some insulating materials such as tubes and tapes are used, and some parts are mounted
with a gap from the board surface. Furthermore, internal wiring is kept away from heating parts or high-
voltage parts by using clampers or by other means. When reassembling/reconnecting these parts, put them as
they were.
Do not catch the internal cables by the cabinet or cover. Improper assembling or cable connection may cause
electric leak or fire, which may lead to an accident on the user side.
•After repair work is completed, unplug the power cable, and measure the insulation resistance between
the external metal portion and plug blade with a 500V megger. The resistance shall be 1M ohms or
more.
If the resistance is lower than 1M ohms, inspect and rectify the product.
•Do not alter the product.
Alteration of the product may cause malfunction or failures, which may lead to an accident such as electric
leak or fire on the user side.
•Advise users to keep children away from the on-site work area.
Children in the work area may be injured by tools, disassembled product or parts.
Precautions for Removing the Built-in Battery
DANGER
Do not attempt to drive a nail into the built-in battery, nor strike it with a hammer, step
on it or otherwise subject it to strong impact. The electrodes may shortcircuit, resulting
in heat generation, explosion or ignition.
DANGER
Do not connect the electrodes (positive/negative terminals) of the built-in battery using
a wire or other metal object. Also avoid carrying or storing the battery together with a
necklace, hairpin or other object made of metal. The electrodes may short-circuit,
resulting in heat generation, explosion or ignition.
DANGER
Do not heat, disassemble or modify the built-in battery or place it in fire or water.
Doing so may cause an explosion, ignition or heat generation, resulting in fire or
serious injury.
DANGER Do not place the built-in battery near fire or in the heat of the sun.
Doing so may result in fire, explosion or heat generation.
DANGER Do not bring the built-in battery near heating equipment. Doing so may result in fire,
explosion or heat generation.
DANGER
Wrap the connector of the built-in battery with insulation tape.
Otherwise, the electrodes may short-circuit, resulting in heat generation, explosion or
ignition.
WARNING Do not place the built-in battery within the reach of small children.
Doing so may result in injury or accident.
WARNING
If leaked fluid from the built-in battery should enter your eye, rinse with clean water
and seek immediate medical attention. Neglecting proper cleaning or medical treatment
may result in eye injury.

1
CONTENTS
1. Built-in Battery Replacement Procedures .................................................................................. 2
1.1. Disassembling Procedures ...................................................................................................................... 2
1.2. Reassembling Procedures ....................................................................................................................... 4
2. Exploded View ................................................................................................................................ 6
3. Parts List ......................................................................................................................................... 7

1. Built-in Battery Replacement Procedures
1.1. Disassembling Procedures
Step Tool
Photo Description Note
<Tools>
Blower, tweezers,
Phillips screwdriver,
flathead screwdriver
Heat the top panel to
about 40ºC with a
blower.
Blower
Blower
Insert the edge of a
flathead screwdriver (or
tweezers) into the slit.
Heat the rear panel to
about 40ºC with a
blower.
Tweezers,
Flathead
screwdriver
When the panel is
raised slightly, insert
tweezers into the gap,
and remove the panel
fixed with double-sided
adhesive tape.
Be careful not to
scratch the frame.
Tweezers
Lift slightly the top panel
and rear panel
sequentially with the
screwdriver inserted into
the slit.
2
1
6
5
4
3
2

Ste
p
Tool
9
8
7
13
12
11
10
Battery fixing bracket
drawn out of the frame
Phillips
screwdriver
Draw the battery fixing
bracket out of the frame.
Insert tweezers into the
bottom right and left
openings alternately
and draw the bracket.
(Widen the frame of the
hold switch to facilitate
the drawing.
Tweezers
Remove the two screws
on the top side to detach
the battery fixing
bracket.
Phillips
screwdriver
Remove the two screws
on the top side to detach
the battery fixing
bracket.
Phillips
screwdriver
Remove the screw on
the rear side to detach
the battery fixing
bracket.
Removed top panel
Photo Description Note
Removed rear panel
3

Ste
p
Tool
1.2. Reassembling Procedures
3
2
15
16
1
Photo Note
Disconnect the battery
connector with
tweezers.
The connector is not
locked.
Description
Tweezers
Remove the battery
fixing bracket.
Remove the two
screws.
Phillips
screwdriver
Removed battery
14
Phillips
screwdriver
Plug the battery
connector.
Connect it securely.
Protect the bracket
contact area of the
battery with tape or the
like (brown tape in the
photo).
Insert it from the
headphone terminal
side, and the strap side
last.
Insert the battery fixing
bracket into the frame.
Install a new battery
onto the battery fixing
bracket.
4

Ste
p
Tool
6
5
4
10
9
8
7
Photo Description Note
Secure the battery fixing
bracket with the two
screws on the top side.
Phillips
screwdriver
Secure the battery fixing
bracket with the screw
on the rear side.
Phillips
screwdriver
Attached top panel Press the top panel with
fingers to ensure close
contact.
Attach the top panel. Avoid dust from
entering inside.
Assembling completed
Attached rear panel Press the rear panel
with fingers to ensure
close contact.
Attach the rear panel.
5

6
2. Exploded View
2
1
3
4
7
5
86

3. Parts List
gigabeat P-SERIES-US/CA
(
R
)
:Multi shades
p
ink ,
(
K
)
:Blac
k
US - MEP05FR-US/10FK-US
CA - MEP05FR-CA/10FK-C
A
Location Sevice Parts Description Model Remarks
No. No. No.
(
Destination
)
1 P000453410 PM0025678010 USB-COVER BLAC
K
2 P000453330 G71C0006J110 BATTERY, H382550-480mAh
P000453450 GDM300000237 HEADPHONE BLACK, P04-019-00 MEP10F
(
K
)
P000453340 GDM300000238 HEADPHONE CLEAR-SILVER, P04-026-00MEP05F
(
R
)
4 P000453350 GDM900001018 USB-CABLE, D0D0017-0001
5 P000453390 GX1C000B7210 QUICK-START GUIDE, EF
6 P000453360 GX0C000EF210 APPLICATION CD-ROM, US
P000453430 PM0025680010 STRAP BLACK MEP10F
(
K
)
P000453440 PM0025681010 STRAP WHITE MEP05F
(
R
)
8 P000453380 GX0C000EF410 EASY-START CD MEP05F
(
R
)
/10F
(
K
)
-US US
3
7
7

Specifications
Playback audio format • MPEG-1 Audio Layer 3 (MP3)
• Windows Media Audio (WMA)
• PCM (WAV)
Sampling frequency 22.05kHz to 48kHz
Bit rate 16kbps to 320kbps
Recording media MEP10F : Built-in flash memory 1GB (*1)
MEP05F : Built-in flash memory 512MB (*1)
Maximum recording time MEP10F : Approximately 16.6 hours (*2) (at 128kbps bit rate)
MEP05F : Approximately 8.3 hours (*2) (at 128kbps bit rate)
Continuous playback time Approx. 14 hours (*2)
Assuming 128 kbps, 44.1 kHz WMA tracks (excluding content protected with Windows Media DRM 10),
in normal temperature (25°C), DISPLAY OFF, volume adjusted to center
The continuous playback time is a reference value but is not guaranteed, since the actual playback time
will vary depending on the operating condition, ambient operating temperature, the number of times the
built-battery has been recharged, etc.
Even under allowable operating conditions, using the gigabeat at low temperature will result in a reduction
of the maximum continuous playback time.
Display screen 1.1 inch diagonal colour organic EL display (96 x 96 dot, 65,535 colours)
FM RADIO RECORD Stereo, 44.1kHz, MP3
High Quality (192kbps), Normal (128kbps), Extended play (96kbps)
VOICE RECORD Monaural, 44.1kHz, MP3
High Quality (192kbps), Normal (128kbps), Extended play (96kbps)
FM Radio Reception 76MHz-108MHz
USB port USB2.0/USB1.1 (*3)
Headphone jack 3.5 mm jack/stereo type/Load impedance 32Ω
External dimensions Width 31.9mm x Height 13.2mm x Depth 82.0mm, excluding projections
Weight MEP10F: Approximately 50g (main unit only)
MEP05F: Approximately 49g (main unit only)
Power Rechargeable lithium-ion battery, USB recharging
S/N ratio 90dB
Operating conditions Temperature: 5 to 35°C, Humidity: 30 to 80% (RH) (No condensation)
*1: The following conversions are used in this manual: 1 Gigabyte = 1 billion bytes, 1 MB = 1 million bytes.The actual formatted storage
capacities are slightly less than those stated in the manual. Also, system files use approximately 20MB of memory space.
*2: These values are for reference purposes only and may vary.
*3: In order to use USB 2.0, your PC must be equipped with USB 2.0 interface as standard, or must be upgraded to USB 2.0. If the
gigabeat is connected to a USB 1.1 interface, it will operate as a USB 1.1 device.

Combination of Sampling Frequency and Bit Rate
The tracks that can be played on the gigabeat have the following combinations of sampling frequency and bit rate.Tracks with another
combination may not play properly.
MP3 (stereo)
Sampling frequency: 22.05, 44.1, 48 kHz
Bit rate: 32 to 320 kbps
MP3 (mono)
Sampling frequency: 22.05, 44.1, 48 kHz
Bit rate: 16 to 192 kbps
WMA (stereo)
Sampling frequency: 22.05, 32, 44.1, 48 kHz
Bit rate: 32 to 192 kbps
WMA (mono)
Sampling frequency: 44.1kHz
Bit rate: 32kbps
WAV (stereo/mono)
Sampling frequency: 22.05, 32, 44.1, 48 kHz
Bits: 16 bits
• This model complies with the above specifications.
• Designs and specifications are subject to change without notice.
• This model may not be compatible with features and/or specifications that may be added in the future.
Using Windows Media®Player 10
Use Windows Media Player 10 to transfer music. If Windows Media Player 10 is not installed on your PC, or if your version is older than
10.00.00.3802, you will need to install the Windows Media Player 10 version 10.00.00.3802 and patch from the included CD-ROM.To
confirm your version of Windows Media Player, just click on “HELP →About Windows Media Player”.
If you are already using version 10.00.00.3802 of Windows Media Player 10, you need to will still need install a patch from the included
CD-ROM.
PC Requirements
■Operating system : Microsoft®Windows®XP Home Edition / XP Professional
/ XP Media Center Edition
■CPU : Intel®Pentium®II 300MHz or more
(Pentium®III 1GHz or more recommended)
■RAM : 128MB or more
■Hard disk space : 50MB or more
■Interface : USB port (2.0/1.1)
■Others : CD-ROM drive
■Software : Windows Media®Player 10

This manual suits for next models
2
Table of contents
Other Toshiba MP3 Player manuals

Toshiba
Toshiba gigabeat MEG-F20K User manual

Toshiba
Toshiba gigabeat MEG-F20 User manual

Toshiba
Toshiba Portable MP3 Player User manual

Toshiba
Toshiba MET400 User manual

Toshiba
Toshiba MEGF40S - Gigabeat 40 GB Digital Player User manual

Toshiba
Toshiba SD800KA - SD800KA - All Region Codefree DVD... User manual

Toshiba
Toshiba gigabeat MEG-F40 User manual

Toshiba
Toshiba MEA210 User manual

Toshiba
Toshiba DMF82XKU - Wireless Digital Media Frame User manual

Toshiba
Toshiba MEGF60S User manual