Trail Rover ATV User manual
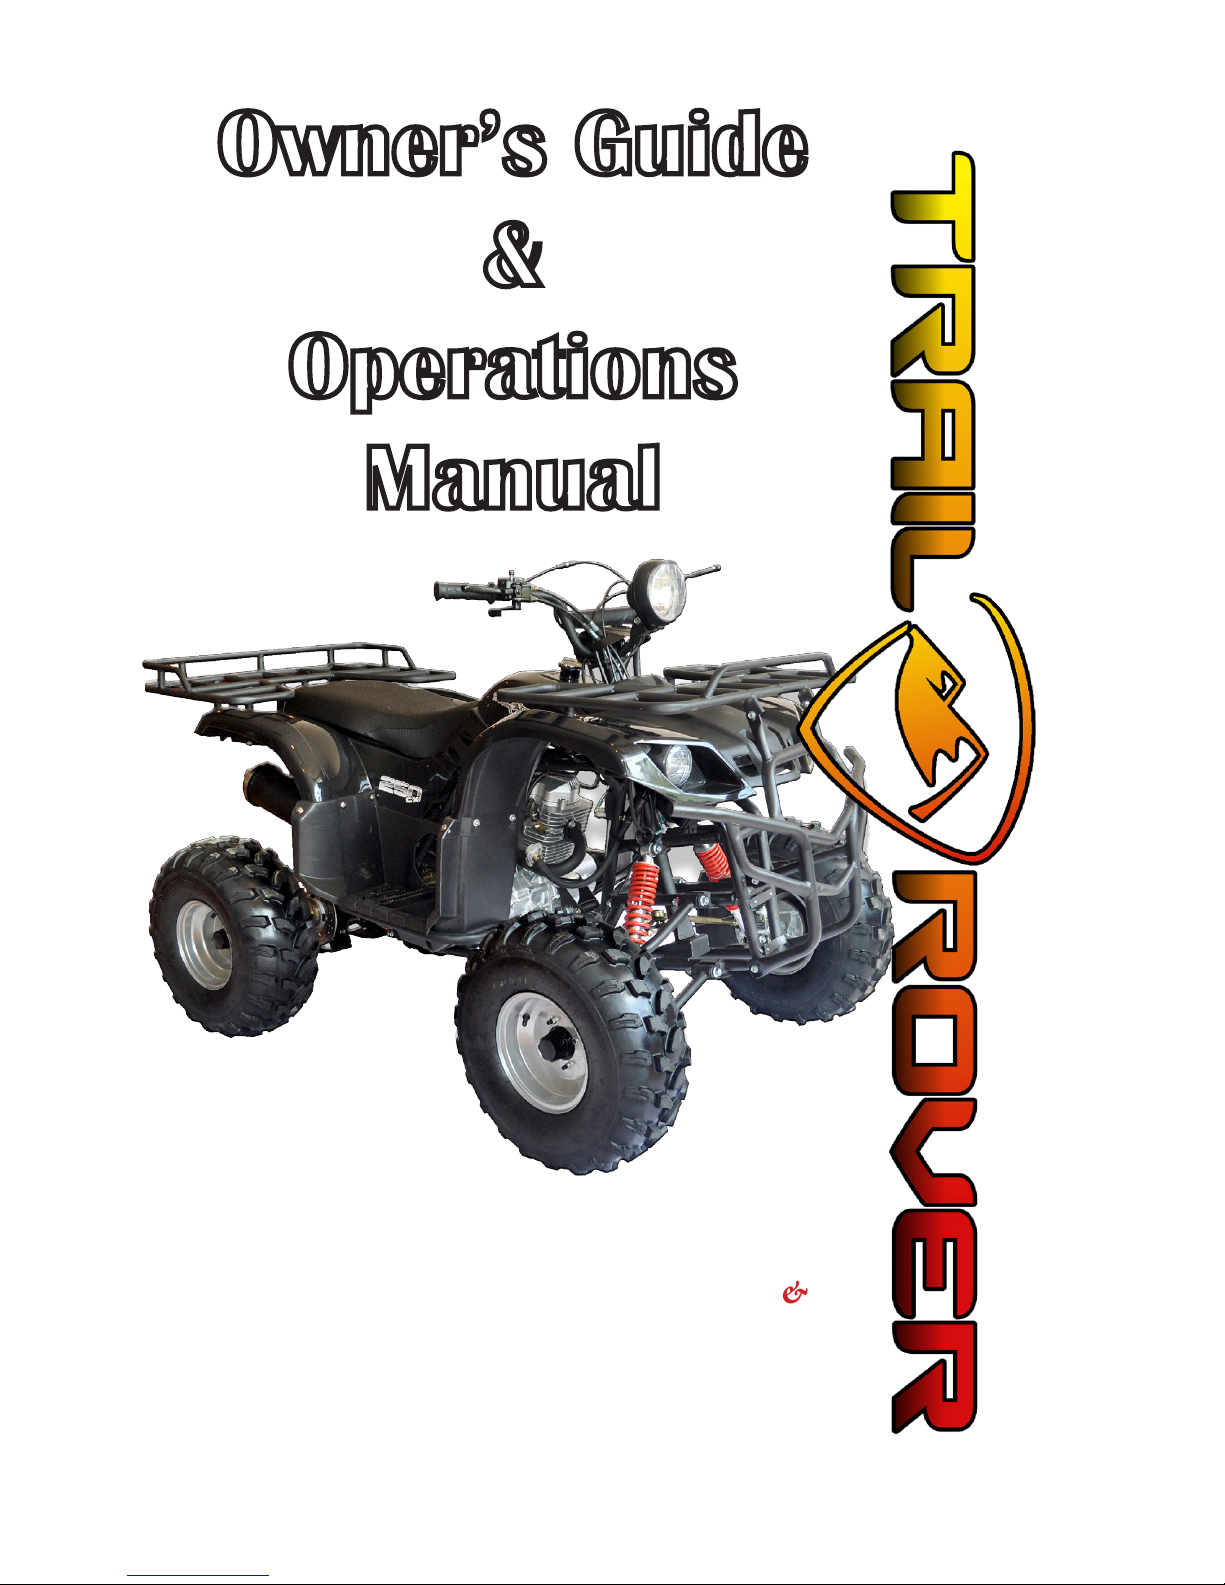
Owner’s Guide
&
Operations
Manual
C
.
TrailRover™ should not be ridden by
anyone under 16 years of age

2
Congratulations on the purchase of your new
Trail Rover All Terrain Vehicle.
e TrailRover™ ATV is the result of many years of experience in the nest
sporting, touring, and pace setting racing machines. is manual will provide
you with a basic understanding of the features and operation of your new
TrailRover™ ATV.
is manual includes important safety information, special techniques and skills
necessary to ride the ATV. It also includes basic maintenance and inspection
procedures. If you have any questions about the operation or maintenance of
your TrailRover™ ATV, please call us at (423) 349-2900 to speak to a factory
trained technical service representative.
Read this manual carefully. You should pay special attention to sections labeled
“W”, “ C” and “T”.
Failure to follow W instructions could result in severe injury or death to
the TrailRover™ operator, a bystander, or a person inspecting or repairing your
AT V.
A C indicates special precautions that must be taken to avoid damage to
t h e AT V.
A T provides key information to make procedures easier or more clear.
W
Your TrailRover™ ATV is not a toy and can be hazardous to operate. Read this
manual in its entirety before operating your ATV making sure you understand
all of the instructions prior to use.
Pay close attention to the and C labels on your TrailRover™
ATV and within this owner’s manual.
Never operate your TrailRover™ ATV without proper instruction.
Your TrailRover™ ATV should not be operated by a child under 16 years of age
because they may not be able to safely maneuver this ATV which may result in
serious injury or death.
Never use your TrailRover™ ATV without wearing an approved helmet and other
protective clothing

An Important Safety Notice
Read this manual carefully making sure you should understand the
instructions and warnings in the owner’s manual.
Pay Close attention to the warnings and labels on your TrailRover™.
Never operate your TrailRover™ without proper training and instruction.
Free training is available to anyone who buys a new ATV by calling 877-251-
8975 for more information.
is TrailRover™ and any other ATV over 90 cc should not be ridden by
anyone under 16 years of age.
is TrailRover™ is a high-performance ATV for o-road use only, for sport
type recreational use by experienced operators.
Your TrailRover™ ATV is not a toy and can be hazardous to operate. Your
TrailRover™ handles dierently from other vehicles, including motorcycles
and cars. A collision or rollover can occur quickly even during routine
maneuvers such as turning and riding on hills and over obstacles. If you fail
to take proper precautions, SEVERE INJURY OR DEATH can result if you do
not follow these instructions
• Take a training course.
• Always follow the age recommendation.
• Never allow a child under 16 years of age to operate an ATV over 90 cc.
• Never allow a child under 16 years of age to operate an ATV without adult
supervision and never allow continued use of an ATV by a child who does not
have the ability to operate it safely.
• Never operate at speeds that are too fast for your skills or riding conditions.
Always travel at a speed that is appropriate for the terrain, visibility, operating
conditions and experience level.
• Do not operate your TrailRover™ on any paved surfaces including roads,
sidewalks, driveways and parking lots.
• is TrailRover™ is designed for operation by a single user with no passengers.
Never carry a passenger.
• Always go slowly being very careful when operating in unfamiliar terrain.
Always be alert to changing terrain conditions.
• Never operate your TrailRover™ on excessively rough, slippery or loose terrain
until you have learned and practiced the skills necessary to control your ATV on
such terrain. Always be especially cautious on this kind or terrain.
• Never operate your Trail Rover™ on any public road or highway including dirt
and gravel roads. Your TrailRover™ is not designed for use on public roads.
• Never operate your TrailRover™ without wearing an approved motorcycle
helmet that ts properly. You should also wear eye protection (goggles of face
shield), gloves, boots, a long sleeved shirt or a jacket and long pants.
• Never consume alcohol or use drugs while operating your TrailRover™.

4
• Never use your TrailRover™ on hills that are too steep for the ATV or your abilities.
Practice on smaller hills before operating on steeper hills.
• Do not modify your TrailRover™ through improper installation or use of
accessories.
• Never attempt wheelies, jumps or other stunts.
• Always follow proper procedures for climbing hills as described in this manual.
Check the terrain carefully before climbing any hill. Never climb hills with
excessively loose or slippery surfaces. Shi your weight forward. Never open the
throttle suddenly or make sudden gear changes. Never go to the top of a hill at high
speed.
• Always follow proper procedure for going down hills and for braking on hills as
described in this manual. Check the terrain carefully before going down any hill.
Shi your weight backward. Never go down a hill at high speed. Avoid going down
any hill at an angle that would cause your TrailRover™ to lean sharply to one side. Go
straight down a hill where possible.
• Always follow proper procedures for crossing the side of a hill as described in this
manual. Avoid hills with excessively slippery or loose surfaces. Shi your weight to
the uphill side of the ATV. Never attempt to turn your TrailRover™ around on any
hill until you have mastered the turning technique described in this manual on level
ground. Avoid crossing the side of a steep hill if possible.
• Always use proper procedures if you stall or roll backwards when climbing a hill.
To avoid stalling, use the proper gear and maintain steady speed when climbing a
hill. If you stall or roll backwards, follow the special procedure for braking described
in this manual. Dismount on the uphill side or to a side if pointed straight uphill.
Turn the ATV around and remount, following the procedure described in this
manual.
• Always check for obstacles when riding in a new area.
• Never attempt to operate over large obstacles, such as rocks or fallen trees. Always
follow proper procedures when operating over obstacles as described in this manual.
• Always be careful when skidding or sliding. Learn to safely control skidding or
sliding by practicing at low speeds on level, smooth terrain. On extremely slippery
surfaces, like ice, go slowly and be very cautious in order to reduce the risk of
slipping or skidding out of control.
• Never operate your TrailRover™ in fast owing water or in water deeper than
recommended in this manual. Remember that wet brakes may have reduced
stopping ability. Test your brakes aer leaving water. If necessary, apply gentle
pressure several times to let friction dry the brake linings.
• Always use the tire size specied in this manual.
• Always maintain proper tire pressure as described in this manual.
• Never exceed the stated weight load capacity for your TrailRover™ Cargo should be
Safety Information

properly distributed and securely attached. Reduce speed and follow instructions
in this manual for carrying cargo for pulling a trailer. Allow greater distance for
braking.
• Inspect your TrailRover™ prior to each use to make sure it is in safe operating
condition. Always follow the inspection and maintenance procedures and schedules
described in the manual.
• Always keep both hands on the handlebars and both feet on the footpegs of the
ATV during operation.
• Drain all fuel from the fuel tank and carburetor before transporting your
TrailRover™.
W
POTENTIAL HAZARD
IMPROPER HANDLING OF GASOLINE
WHAT CAN HAPPEN
Gasoline can catch re and you could be severely burned.
HOW TO AVOID THE HAZARD
Always turn o the engine when adding fuel.
Do not add fuel immediately aer use while the engine is still hot.
Do not spill gasoline on the engine or exhaust pipe/muer when adding fuel.
Never add fuel while smoking or in the vicinity of sparks, open ames, or other
sources of ignition such as pilot lights of water heaters and clothes dryers.
When transporting your TrailRover™ be sure it is kept upright. Failure to do so
may allow fuel to leak out of the carburetor or fuel tank.
WHAT CAN HAPPEN
Gasoline is poisonous and can cause injuries
HOW TO AVOID THE HAZARD
If you should swallow some gasoline, inhale fumes or get gasoline in your
eyes, seek immediate medical attention. If gasoline spills on your skin, wash
with soap and water. If gasoline spills on your clothes, change your clothes and
wash them immediately.
Safety Information

6
Location of Warning and Specication Labels
Read and understand all of the labels on your TrailRover™. ese labels contain
important information for safe and proper operation
Never remove the labels from your TrailRover™. If a label becomes dicult to
read, contact your dealer for a replacement.
Serial Number Location
Engine and Frame serial numbers are used to mark your TrailRover™. If some
parts need special service, these numbers can provide information about parts
needed for service. e Engine serial number is stamped on the topside of the
engine transmission case. e Frame serial number (VIN) is located on the
frame head pipe.
Please write down these serial numbers and keep them in a safe place for future
use.
Safety Information

Location of Parts
1. Headlights
2. Choke
3. Tail/Brake Light
4. Shi Pedal
5. Foot Rest
1. Spark Arrester
2. Seat
3. Fuel Tank Cap
4. Oil Filter Element
5. Brake Pedal
6. Front Wheel
7. Back Wheel
2 3
54

8
Location of Parts
1. Clutch Lever
2. Handlebar Switches
3. Parking Brake Lever
4. Ignition Switch
5. rottle Lever
6. Brake Lever
7. Choke
T: e front view model may dier slightly.

Ignition Switch
e ignition switch is located on the right side of the body, which
has two positions, “ON” and “OFF”. Removing the key can prevent
unauthorized use to your TrailRover™ ATV.
ON: Put the key in the ignition and turn the key to the “ON’
position.
OFF: Turn the key to the “OFF” position. Remove the key from the ignition to
help prevent unauthorized use.
Pull the front lever toward the handlebar grip, gradually applying gentle, even
pressure. Applying too much pressure, too quickly may cause bodily harm.
Handlebar Switches
1. Light Switch “OFF”
2. Engine Stop Switch
3. Start Switch
4. Choke
Light Switch
Set this switch to low turn on the low
beams and the taillight.
Set the switch to high turn on the high beams and the taillight.
Set the switch to “OFF” to turn o all the lights.
Do not use the headlights with the engine turned o for an extended period of
time, otherwise the battery may discharge to the point the starter motor will not
operate properly. If this should happen, remove the battery and recharge it.
Engine Stop Switch
Set this switch to before starting the engine.
e engine stop switch controls the ignition and stops the engine when it is
running. Use this switch to stop the engine in an emergency situation. e
engine will not start when the switch is in this position.
Start Switch
Push this switch to crank the engine with the starter.
Choke
Starting a cold engine requires a richer air fuel mixture which is supplied by the
choke.
Move the choke to direction (a) to turn the choke “ON”.
Move the choke to direction (b) to turn the choke “OFF”.
Function of Parts
a
b

10
Indicator Light
Neutral Indicator Light “N”
Reverse Indicator Light “R”
rottle Lever
Once the engine is running, movement of the throttle lever will increase the
engine speed.
Regulate the speed of the ATV by varying the throttle position. Because the
throttle is spring-loaded, your TrailRover™ will decelerate, and the engine will
return to an idle any time the hand is removed from the throttle lever.
Before starting the engine, make sure the throttle is operating smoothly. Make
sure it returns to idle position as soon as the lever is released.
Speed Limiter Screw
1. Locknut
2. Adjusting Screw
3. DO NOT Adjust more than 0.47”
Function of Parts

Your TrailRover™ was delivered with an adjustable speed limiter. e speed
limiter keeps the throttle from opening fully even when the throttle is pushed to
its maximum.
To make adjustments, loosen the locknut. To increase engine power and increase
to the maximum speed, turn the adjusting screw in direction (a). To decrease the
engine power and reduce to the minimum speed, turn the screw in direction (b).
Tighten the locknut.
Clutch Lever
e clutch lever is located on the le handlebar and the ignition circuit cut-o
system is incorporated in the clutch lever holder. To disengage the clutch, pull
the clutch lever toward the handlebar grip. TO engage the clutch, release the
clutch lever. e clutch lever should be pulled rapidly and released slowly for
smooth operation of the clutch.
Brake Lever
e brake lever is located at the right handlebar grip. To apply the front brake,
pull the brake lever toward the handlebar grip
Brake Pedal
e brake pedal is located on the right side of your TrailRover™. To apply the
rear brake, apply gentle, increasing pressure on the brake pedal.
Function of Parts

12
Parking Brake Plate
In addition, hold the front brake lever rmly and press the parking brake plate.
It is used to prevent slipping. To engage the parking brake plate, hold the front
brake lever the press down the parking brake plate.
Shi Pedal
Your TrailRover™ is equipped with a constant- mesh 5- speed transmission. e
shi pedal is located on the le side of the engine and is used in combination
with the clutch when shiing.
Fuel Tank Cap
Remove the fuel tank cap by turning it counter-clockwise.
Fuel
Make sure there is sucient fuel in the tank. Fill the fuel tank to the bottom of
the ller tube.
Function of Parts

Seat
To remove the seat, pull the lock lever upward and pull the seat at the rear.
To re-install the seat, insert the projection on the front of the seat into the seat
holder and push down on the seat at the rear.
Adjusting the Front Shock Absorber Assemblies
1. Spring preload adjusting ring
2. Wrench
3. Position indicator
e spring preload can be adjusted to suit the rider’s weight and riding
conditions. To increase the spring preload and harden the suspension, turn in
direction (a). Turn in direction (b) to decrease the spring preload and soen the
suspension.
Function of Parts

14
Adjusting the Rear Shock Absorber Assembly
1. Locknut
2 Adjusting nut
3. Distance A
e spring preload can be adjusted to suit the rider’s weight and riding
conditions. e spring preload setting is determined by measuring distance “a”
shown in the illustration. e shorter distance “a”, the higher the spring preload;
the longer distance “a”, the lower the spring preload. With each complete turn of
the adjusting nut, distance “a” is changed by 0.04”.
Begin by loosening the locknut. To increase the spring preload and harden the
suspension, turn in direction (a). Turn in direction (b) to decrease the spring
preload and soen the suspension.
Charging and Installing the Battery
e battery for your new TrailRover™ is installed at the factory prior to delivery.
To prolong battery life, aer charging, install the battery into the battery case
making sure it is held rmly in place with the tightening belt.
C
Never remove the seal plug to avoid danger, to prevent water from entering the
battery and to prevent electrolyte leaks
e battery should always be held rmly in place with the tightening belt.
Always connect RED to RED (+) and BLACK to BLACK (-).
Never connect RED (+) to BLACK(-) and/or BLACK(-) to RED (+).
Never store the battery in high temperatures, near re, or smoke.
Function of Parts

Adding Fuel and Engine Oil
Check fuel and engine oil levels before each use. If necessary, add before turning
on the engine.
C
Spilling gasoline can harm your vehicle. Any gasoline can damage painted
surfaces.
Be careful no to spill gasoline when lling the fuel tank. Wipe up any spilled
gasoline immediately.
Refueling
Remove the gasoline cap by turning it counter-clockwise. When the correct fuel
level has been reached, replace the cap and turn clock wise to lock the cap in
place.
Your TrailRover™ is designed to operate most eciently with SAE 15W/40. Use
only high quality four-stroke premium engine oil.
Adding Engine Oil
Warm engine for about 5 minutes. Remove oil drain screw to allow oil to ow
out.
Clean the oil screw and reinstall tightly to prevent leaking.
Remove the oil gauge. Add oil until the level reaches the full level on the oil
gauge.
Re-install the oil gauge.
W
• Aer adding fuel or engine oil, the cap must be screwed on tightly.
• Fuel and engine oil should only be added by an adult.
• Add fuel in well ventilated areas, only.
• When adding fuel, the engine must be o to prevent it from coming into
contact with a warm motor.
• Do not smoke when adding fuel
• Children should be at a safe distance when adding fuel to prevent injury.
• Avoid getting fuel in contact with skin and clothing.
• Do not breathe fuel vapors.
Front and Rear Brakes
Brake and rear pedal
Check for correct play in brake levers and brake pedal. If free play is incorrect,
make adjustments. Check for operation of the brake levers and the brake pedal.
Function of Parts

16
ey should move smoothly and there should be a rm felling when the brakes
are applied. Check for correct brake pedal height. If service is required, take to
your dealer for service.
Brake Operation
Test the brakes at slow speed aer starting to make sure they are in proper
working order. If they require service, take to your dealer.
Brake Fluid Leakage
Check to see if any brake uid is leaking out of the pipe joints or brake uid
reservoirs Apply the brakes rmly for one minute. If there is any leakage, get
service.
Drive Chain
Check the condition of the drive chain and check the drive chain slack. Lubricate
and adjust the drive chain as necessary.
Getting to Know your TrailRover™
Your TrailRover™ is intended for recreational use by experienced operators only.
Even if you are an experienced operator of all other ATVs and motorcycles,
riding a TrailRover™ requires special skills that only come with practice. Take
your time to fully learn techniques before attempting more dicult maneuvers.
Riding your new TrailRover™ can be a very enjoyable experience providing
hours of pleasure. However, it is essential that you familiarize yourself with
the operation and obtain the necessary skills to ride safely. Before you begin to
ride, be sure you have read this owner’s manual completely and understand the
operation of the controls. Pay particular attention to the safety information.
Please also read all notices and warning labels on your TrailRover™.
Riding with Good Judgement
Get training if you are inexperienced. Beginners should get training from a
certied instructor.
Become familiar with your TrailRover™ at slow speeds rst, even if you are an
experienced operator. Do not attempt to operate at maximum speeds until your
are completely familiar with the handling and performance characteristics. Take
your time to learn the basics before attempting more dicult maneuvers.
Always keep your feet on the footboards during operation, otherwise they may
come into contact with the wheels. Avoid wheelies and jumping. You may lose
control of your TrailRover™.
Function of Parts

Function of Parts
W
Potential Hazard
Attempting wheelies, jumps and other stunts.
What Can Happen
Increases the chance of an accident, including overturn.
How to Avoid the Hazard
Never attempt stunts, such as wheelies or jumps.
T TR™ . C
.
W
Potential Hazard
Carrying passengers on your TrailRover™
What can happen
Greatly reduces your ability to balance and control your TrailRover™.
Could cause an accident resulting in harm to the operator and/or passenger.
How to avoid the Hazard
Never carry a passenger. e long seat is to allow operator to shi position as
needed during operation. It is not intended for carrying passengers.
N .
W
Potential Hazard
Failure to follow age recommendations for this TrailRover™
What Can Happen
Use by children of your TrailRover™ that are not recommended for their age can
result in severe injury or death.
How to Avoid the Hazard
A child under 16 should never operate your TrailRover™ or any ATV with an
engine size over 90 cc.

18
Function of Parts
Apparel
W
Potential Hazard
Operating your TrailRover™ without
wearing an approved motorcycle helmet,
eye protection and protective clothing.
What Can Happen
Operating without an approved
motorcycle helmet increases your chances
of a severe head injury or death in the
event of an accident.
Operating without eye protection can
result in an accident and increases your
chance of a severe injury in the event of an
accident.
Operating without protective clothing
increases your chance of severe injury in
the event of an accident.
To Avoid the Hazard, always wear
1. An approved motorcycle helmet that ts properly.
2. Eye protection (goggles or face shield)
3. Gloves
4. Boots
5. Long sleeved shirt or jacket & long pants
Do Not Operate Aer Consuming Drugs or Alcohol
Do not operate aer consuming alcohol or drugs. e performance capabilities
of the operator may be reduced by the eects of alcohol or drugs.
W
Potential Hazard
Operating your TrailRover™ aer consuming alcohol or drugs.
What Can Happen
Serious negative aect on judgement
Slower reaction times
Negative impact on balance and perception
Increased risk of accident

Function of Parts
How to Avoid the Hazard
Never consume alcohol or drugs before or while you are riding your TrailRover™.
Exhaust System
e exhaust system on your TrailRover™ is very hot during and following
operation. To prevent burns, avoid touching the exhaust system. Park your
TrailRover™ in a place where pedestrians and children are not likely to touch it.
W
Potential Hazard
Hot Exhaust System
What Can Happen
Dry grass or brush and other combustible materials accumulating around the
engine area can catch re.
Someone touching the exhaust system during or aer operation could be burned.
How to Avoid the Hazard
Do not operate, idle, or park your TrailRover™ in dry grass or other dry ground
coverings.
Keep the engine area free of dry grass, brush or other combustible material.
Do not touch the hot exhaust system.
Do not part your TrailRover™ in a place where others are likely to touch it when
it’s hot.
Be Careful where you ride
Your TrailRover™ is designed for o-road use only. Riding on pave surfaces can
cause loss of control of your TrailRover™.

20
Pre-Ride Check List
Check these things before every ride!
Fuel Check fuel level in fuel tank and add fuel if
necessary.
Check fuel line for leaks. Correct if necessary.
Engine Oil Check oil level in engine and add oil if
necessary.
Check TrailRover™ for leaks. Correct if
necessary.
Front Brake Check operation and make corrections is
necessary.
Lubricate brake cable if necessary.
Check lever for free play and make adjustments
if needed.
Rear Brake Check operation and adjust if necessary.
Lubricate brake cable if necessary.
Check lever and pedal for free play and make
adjustments if necessary.
rottle Lever Make sure operation is smooth and check free
play
Lubricate cable and housing if necessary.
Control Cables Make sure operation is smooth and adjust if
necessary.
Wheels & Tires Check condition and replace if necessary.
Check tread depth and replace if necessary.
Check air pressure and adjust if necessary.
Brake & Shi Pedals Make sure operation is smooth. Lubricate pedal
pivoting pints if necessary.
Brake Levers Make sure operation is smooth. Lubricate pedal
pivoting pints if necessary.
Chassis Fasteners Make sure all nuts, bolts and screws are
properly tightened. Make adjustments if
necessary.
Instruments & Switches Check operation and make adjustments if
necessary.
Battery Check electrolyte level. Fill with distilled water
if necessary.
Table of contents
Other Trail Rover Offroad Vehicle manuals