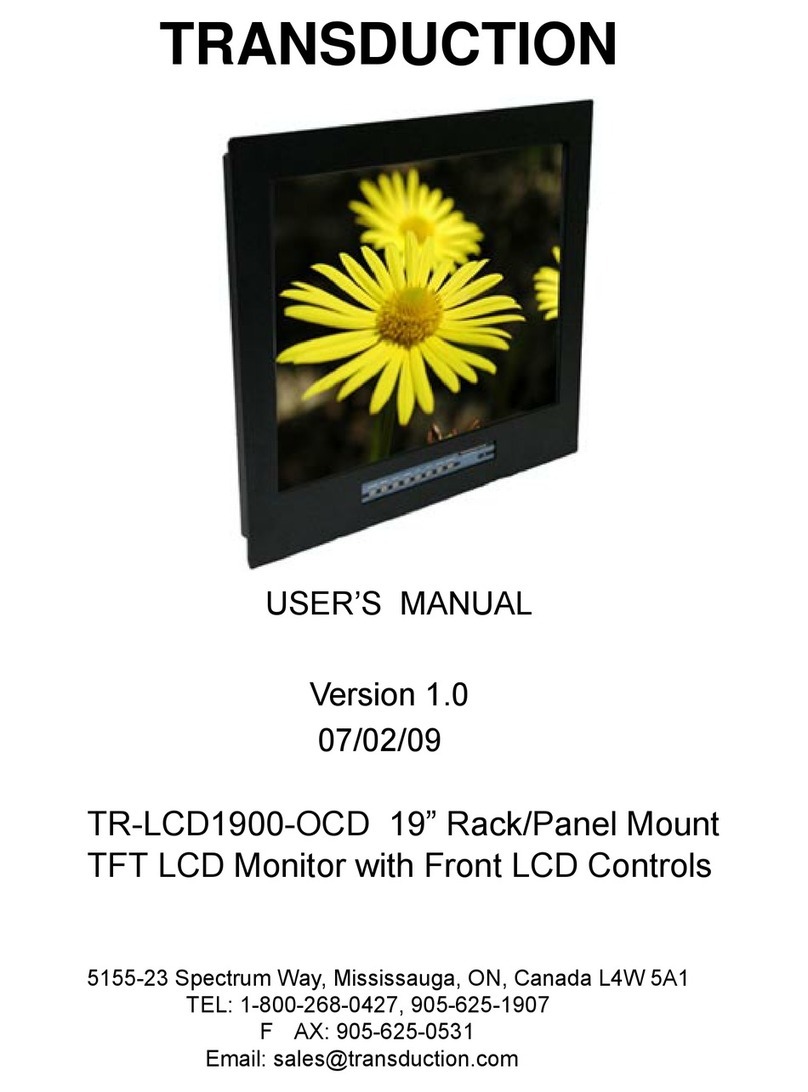
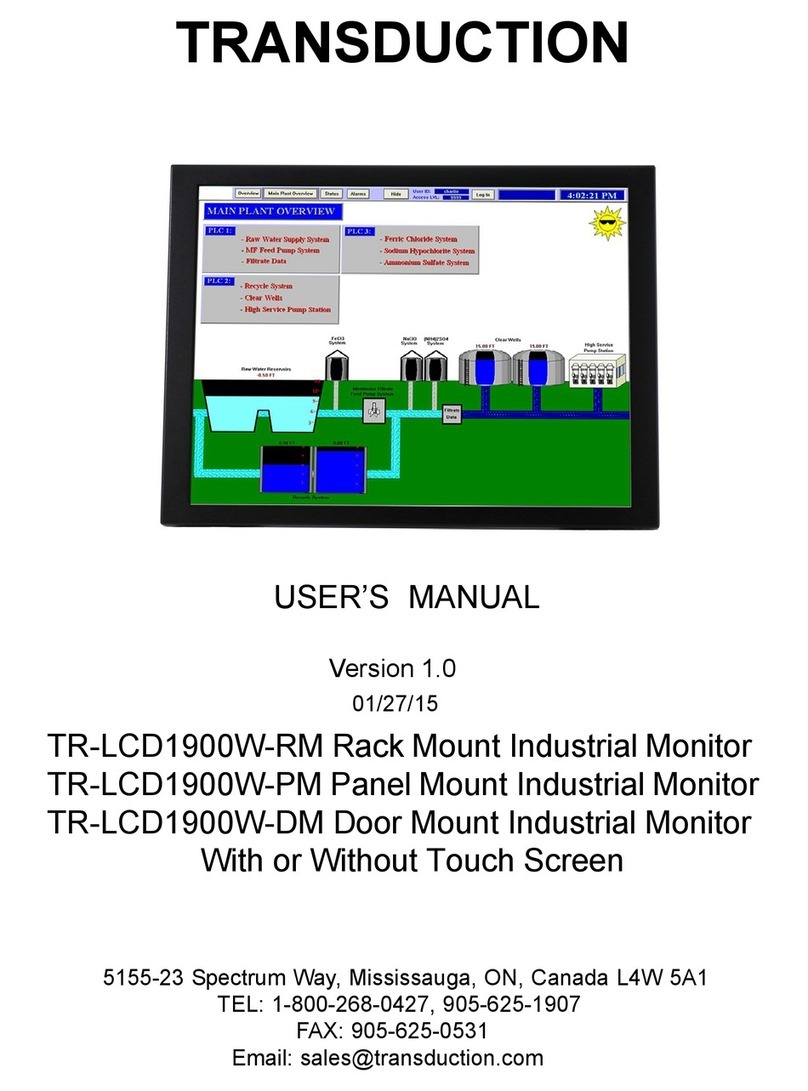
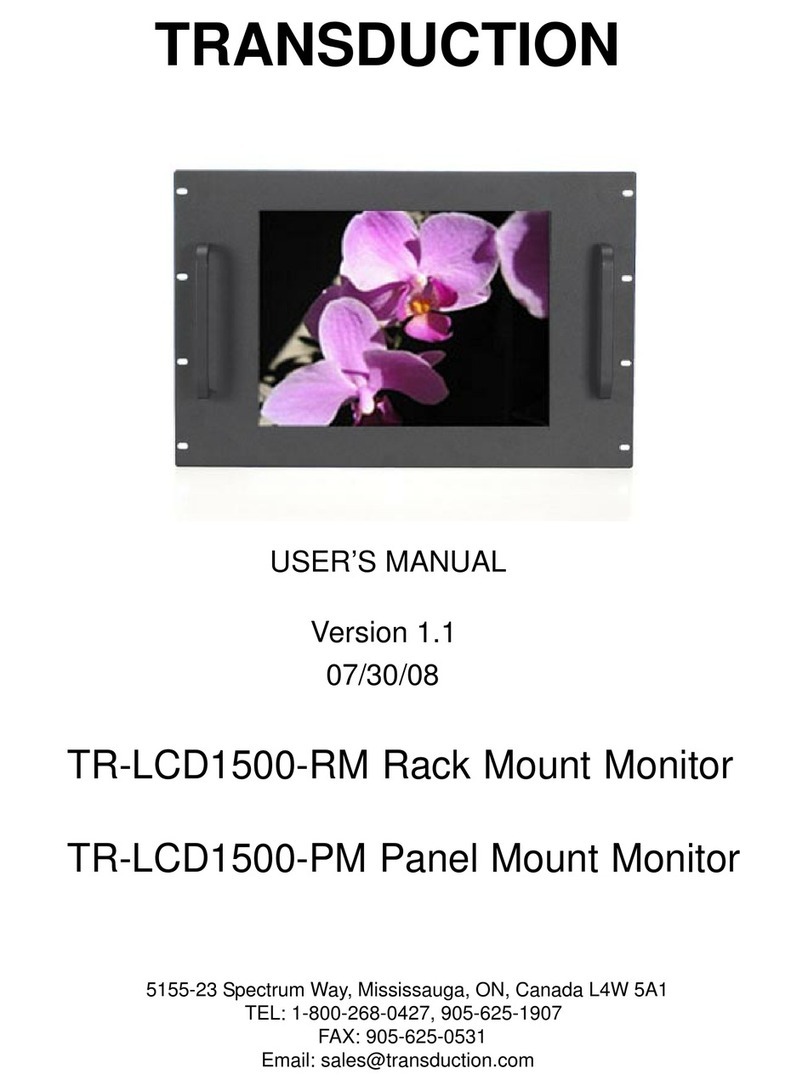
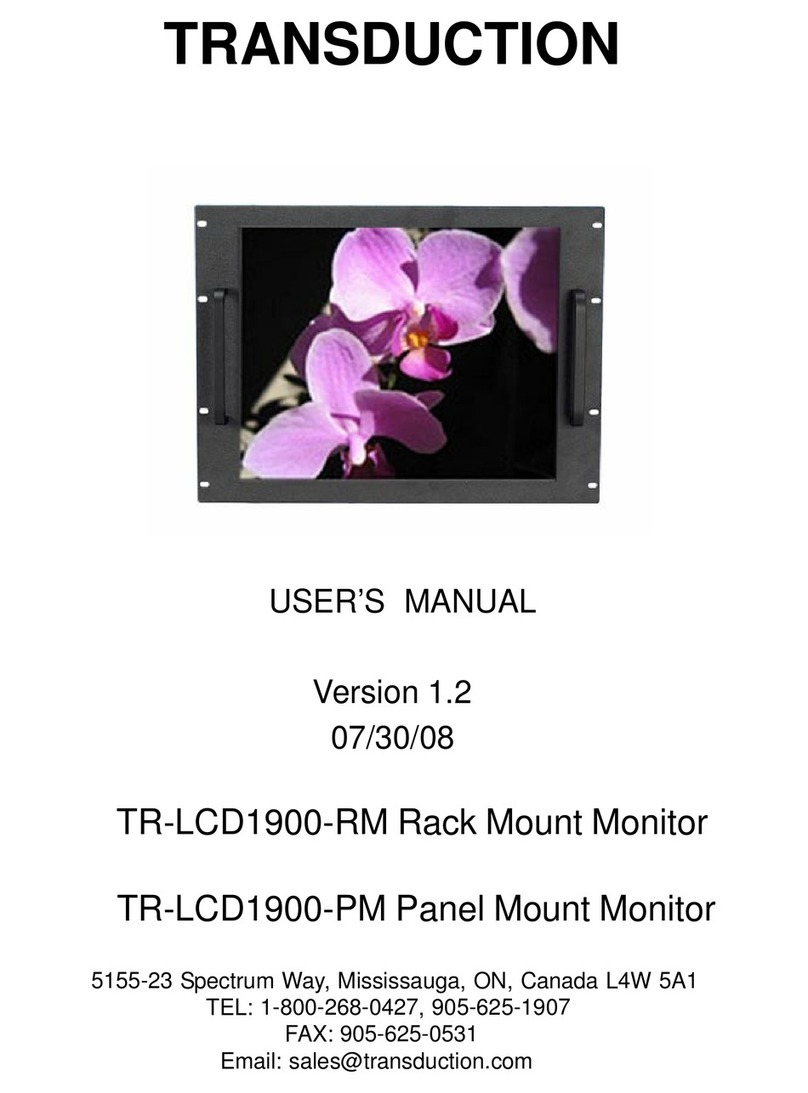
Transduction TR-LCD1900-RM User manual

TRANSDUCTION
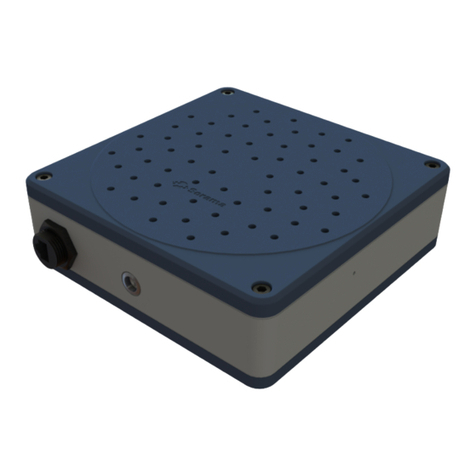
TR-LCD1900-RM Rack Mount Monitor
TR-LCD1900-PM Panel Mount Monitor
User Manual - Ver.2

Important Information
The information in this document is subject to change without notice. All relevant issues have been
considered in the preparation of this document. Should you notice an omission or any questionable item
in this document, please feel free to notify Transduction.
Regardless of the foregoing statement, Transduction assumes no responsibility for any errors that may
appear in this document nor for results obtained by the user as a result of using this product.
Copyright © 2020 Transduction. All rights reserved.
This document is protected by copyright. No part of this document may be reproduced, copied or
translated in any form or means without prior written permission from Transduction.
All other trademarks, brand and product names are the property of their respective owners.
Return policy
Products returned for repair must be accompanied by a Return Material Authorization (RMA) number,
obtained from Transduction prior to return. Freight on all returned items must be prepaid by the customer.
The customer is responsible for any loss or damage caused by the carrier in transit. Double pack tight to
prevent any damage.
To obtain an RMA number, call us at 905-625-1907. We will need the following information:
• Return company address and contract
• Model name, model number and serial number
• Description of the failure
Mark the RMA number clearly on the outside of each box, include a failure report and return the product
to:
Transduction
23-5155 Spectrum Way
Mississauga, ON Canada L4W 5A1
Attn: RMA Department
Page 1 of 37
TR-LCD1900-V2 User Manual

SafetyPrecaution
When not used for extended periods of time, set your PC to DPMS. If using a
screen saver, set it to the active screen mode.
Do not use a damaged or loose plug. This may cause an electric shock or fire.
Do not pull the plug out by the wire or touch the plug with wet hands. This may
cause an electric shock or fire.
Use only a properly grounded plug or receptacle. An improper ground may
cause electric shock or equipment damage.
Do not excessively bend the plug and wire or place heavy objects on them. This
could cause damage and an electric shock or fire.
Do not place the monitor face down. The LCD surface may be damaged.
When cleaning, wipe with a slightly moistened, soft cloth. Do not spray any
cleaner directly on to the monitor.
Do not remove housing. No serviceable parts inside. Refer servicing to
Transduction.
Page 2 of 37
TR-LCD1900-V2 User Manual

TRANSDUCTION 5155 Spectrum Way, Bldg 23, Mississauga, ON L4W 5A1
1.800.268.0427 905.625.1907 Fax: 905.625.0531
TR-LCD1900-RM-V2
TR-LCD1900-PM-V2
19” Rack Mount LCD Monitor
19” Panel Mount LCD Monitor
Transduction
troPyalpsiD,D-IVD,AGVS2V-0091DCL-RT
Features
Viewable Area 14.90” x 12.00”
Brightness 300cd/m2.
Contrast ratio 700:1.
Viewing angle - Vertical = 75º, Horizontal = 80º.
Response time 8ms.
Pixel pitch 0.294mm.
Maximum Resolution 1280 x 1024
Choice of EETI or ELO touch controllers
Input power 100-240VAC or 12VDC, optional 24V, 48V, 125V and 250VDC.
Warranty 5 years
•
•
•
•
•
•
•
•
•
•
Reliable 19” TFT LCD SXGA module in industrial rack mount or panel mount
enclosure. NEMA 4 epoxy coated finish over steel. Optional stainless steel
version. Optional resistive touch screen.
OSD (On-Screen Display) Controls: Allow you to quickly and easily adjust elements of your screen image
with simple to use on-screen menus.
Full Scan Capability: Allows you to use the entire screen area.
Plug and Play: The Microsoft solution with the Windows 95/98/ME/2000/XP/7/10 operating systems facilitate
setup and installation by allowing the monitor to send it’s capabilities (such as screen size and resolutions
supported) directly to your computer, automatically optimizing display performance.
Input Signal: SVGA, DVI-D and DisplayPort.
Power Saving Mode: The monitor can be set to shift to a lower power consumption level when not in use.
This will save useful life of backlight lamps.
Page 3 of 37
TR-LCD1900-V2 User Manual

TRANSDUCTION 5155 Spectrum Way, Bldg 23, Mississauga, ON L4W 5A1
1.800.268.0427 905.625.1907 Fax: 905.625.0531
TR-LCD1900-RM-V2
TR-LCD1900-PM-V2
19” Rack Mount LCD Monitor
19” Panel Mount LCD Monitor
Transduction
TR-LCD1900-V2 SVGA, DVI-D, DisplayPort
Specifications:
Reliable LCD Module
Diagonal: 19 inch
Viewable Image Size: 14.90” x 12.00”
Native Resolution (Pixel Count): 1280 x 1024
Active matrix, thin film transistor (TFT) liquid
crystal display (0.294mm dot pitch, 300cd/m2white
luminence
Input Signal
SVGA Analog RGB
DVI-D
DisplayPort
Display Colors
Analog input 16,194,277
Maximum Viewing Angles
Up/Down - 75º
Left/Right - 80º
Synchronization Range
Vertical - 15KHz to 80KHz
Horizontal - 50Hz to 77Hz
Resolution
Analog RGB - VGA/SVGA/XGA/SXGA/WXGA/
WUXGA 1280 x 1024 @ 60Hz max.
DVI-D - VGA/SVGA/XGA/ SXGA/WXGA/WUXGA
1280 x 1024 @ 60Hz max.
DisplayPort - VGA/SVGA/XGA/SXGA/WXGA/
WUXGA 1280 x 1024 @ 60Hz max.
Active Display Area
Vertical - 301.056mm
Horizontal - 376.32mm
Power Consumption
60W max.
•
•
•
•
•
•
•
•
•
•
•
•
•
•
•
•
•
•
Dimensions
Rack mount: 18.96” (L) x 2.875” (W) x 14” (H) (8U) /
14.3lbs (48.16cm x 7.3cm x 35.56cm / 6.5kg)
Panel mount: 17.75” (L) x 3.00” (W) x 15.25” (H) /
6.5kg - (45.09cm x 7.62cm x 38.74cm / 6.35kg)
Environmental Considerations
Operating Temperature: 0 ~ 50ºC (32 ~ 122ºF), 60ºC
(140ºF) for 2 hours
Operating Humidity 10 ~ 90%, non-condensing
Operating Altitude: 0 to 10,000 ft
Storage Temperature: -20 ~ 60ºC (-4 ~ 140ºF)
Vibration & Shock: 5G and 30G
Storage Humidity: 5 ~ 40%, non-condensing
Regulatory Approvals
CSA, CE, UL
Ordering Information
TR-LCD1900-RM-V2 - Rack Mount version
TR-LCD1900-PM-V2 - Panel Mount version
Warranty: 5 years
Options
TOUCH (Resistive USB)
TOUCH EETI controller
TOUCH ELO controller
Safety glass, no touch
12V DC input power
24V DC input power
48V DC input power
125V DC input power
250V DC input power
TR-LCD1900 series monitors are often used with
Novatech ORION series and SEL Inc. RTAC series of
Linux based RTU’s. Make sure to specify your device
when ordering monitor for the compatibility with touch
screen controller.
•
•
•
•
•
•
•
•
•
•
•
•
•
•
•
•
•
•
•
•
Page 4 of 37
TR-LCD1900-V2 User Manual

Quick Start
Your new TR-LCD1900 monitor box should contain the
following:
•
TR-LCD1900 rack mount / panel mount monitor
•
Power cord
•
SVGA cable
•
DVI cable
•
DisplayPort cable
•
USB cable if touch option included
•
User’s manual and driver installation CD
*Remember tosave your original box and packing material totransport or ship the monitor.*
Page 5 of 37
TR-LCD1900-V2 User Manual

Quick Start
To attach the TR-LCD1900 monitor to your system, follow these instructions:
1. Turn off the power to your computer.
2. Connect the power cord for your monitor to the power port on the back of the monitor. Plug the power
cord for the monitor into a nearby outlet.
3-1. Using the SVGA (analog) connector on the video card:
Connect the signal cable to the 15-pin, D-sub SVGA connector on the back of your monitor.
3-2. Using the DVI (digital) connector on the video card:
Connect the DVI cable to the DVI port on the back of your monitor.
3-3. Using the DisplayPort (digital) connector on the video card:
Connect the DisplayPort cable to the DisplayPort on the back of your monitor.
4. Connect to a Mac:
Use the D-sub connection cable.
(An older model Macintosh may require a special Mac adapter).
5. Turn on your computer and monitor. If your monitor displays an image, installation is complete.
NOTES:
•You may get a blank screen depending on the type of video card you are using, if you connect
simultaneously both SVGA, DVI and/or DisplayPort cables to one computer.
•If the monitor is connected properly using the DVI connector but you get a blank or fuzzy
screen, check to see if monitor status is set to analog. Press Source button to have the monitor
double-check the input signal source.
Page 6 of 37
TR-LCD1900-V2 User Manual

Rear Panel Video Input Connectors
(The configuration at the back of the monitor may vary from product to product.)
1 Analog SVGA port Connect the signal cable to the 15-pin, D-sub SVGA
connector on the back of your monitor.
2 DVI port Connect the DVI Cable to the DVI Port on the back of
your Monitor.
3 DisplayPort Connect the DisplayPort cable to the DisplayPort
connector on the back of your monitor.
Note: See Quick Start on page 5 for further information regarding cable connections
Page 7 of 37
TR-LCD1900-V2 User Manual

ReferenceData
Page 8 of 37
TR-LCD1900-V2 User Manual

SupportedInputFormats
TR-LCD1900 series monitor can support any video mode within the following input
constraints:
Page 9 of 37
TR-LCD1900-V2 User Manual

MonitorandPowerSupplyWiringDiagram
Page 10 of 37
TR-LCD1900-V2 User Manual

Control Panel Buttons
The Control Panel Buttons give various and very easy graphic user interfaces. Users can easily
access the function needed. Be sure that your system power and LED is turned on before operating
the keyboard.
Key Name and Function
Key Name
Description
Power
Turns ON/OFF the system
Menu
Activates the OSD menu or goes to previous menu
Down
Moves the highlight icon up to the function that user wants
Left
Decreases the adjustment of the selected function
Right
Increases the adjustment of the selected function
Source
Selects the Input Signal among analog RGB, Digital DVI and DisplayPort
Hot Key and Function
Hot Key
Description
Menu
Menu popup and menu exit
Down
Auto adjustment – VGA ONLY
Left
Contrast menu
Right
Brightness menu
Page 11 of 37
TR-LCD1900-V2 User Manual

SummaryofOSDMenu
Page 12 of 37
TR-LCD1900-V2 User Manual

SummaryofOSDMenu
Page 13 of 37
TR-LCD1900-V2 User Manual

OSDMenuSettings
Page 14 of 37
TR-LCD1900-V2 User Manual

OSDMenuSettings
Page 15 of 37
TR-LCD1900-V2 User Manual

OSDMenuSettings
Page 16 of 37
TR-LCD1900-V2 User Manual

OSDMenuSettings
Page 17 of 37
TR-LCD1900-V2 User Manual

TouchScreenCalibration(IfOptionIncluded)
1. Insert the TR-LCD Touchscreen Drivers & User Manual CD into the CD-DVD-R/W
drive.
2. Open the Touch folder.
3. Open the EETI_Resistive_Capactive folder. **(Open the ELO folder if monitor was
ordered with ELO touch controller.)**
Page 18 of 37
TR-LCD1900-V2 User Manual

TouchScreenCalibration(IfOptionIncluded)
4. Open the eGalaxTouch_5.11.0.9126_Win2K_XP_Vista_7 folder.
5. Double-click the setup icon.
Page 19 of 37
TR-LCD1900-V2 User Manual
Other manuals for TR-LCD1900-RM
1
This manual suits for next models
2
Table of contents
Other Transduction Monitor manuals
