Transonic TC2348CR User manual
Digital AM/FM Alarm Clock Radio
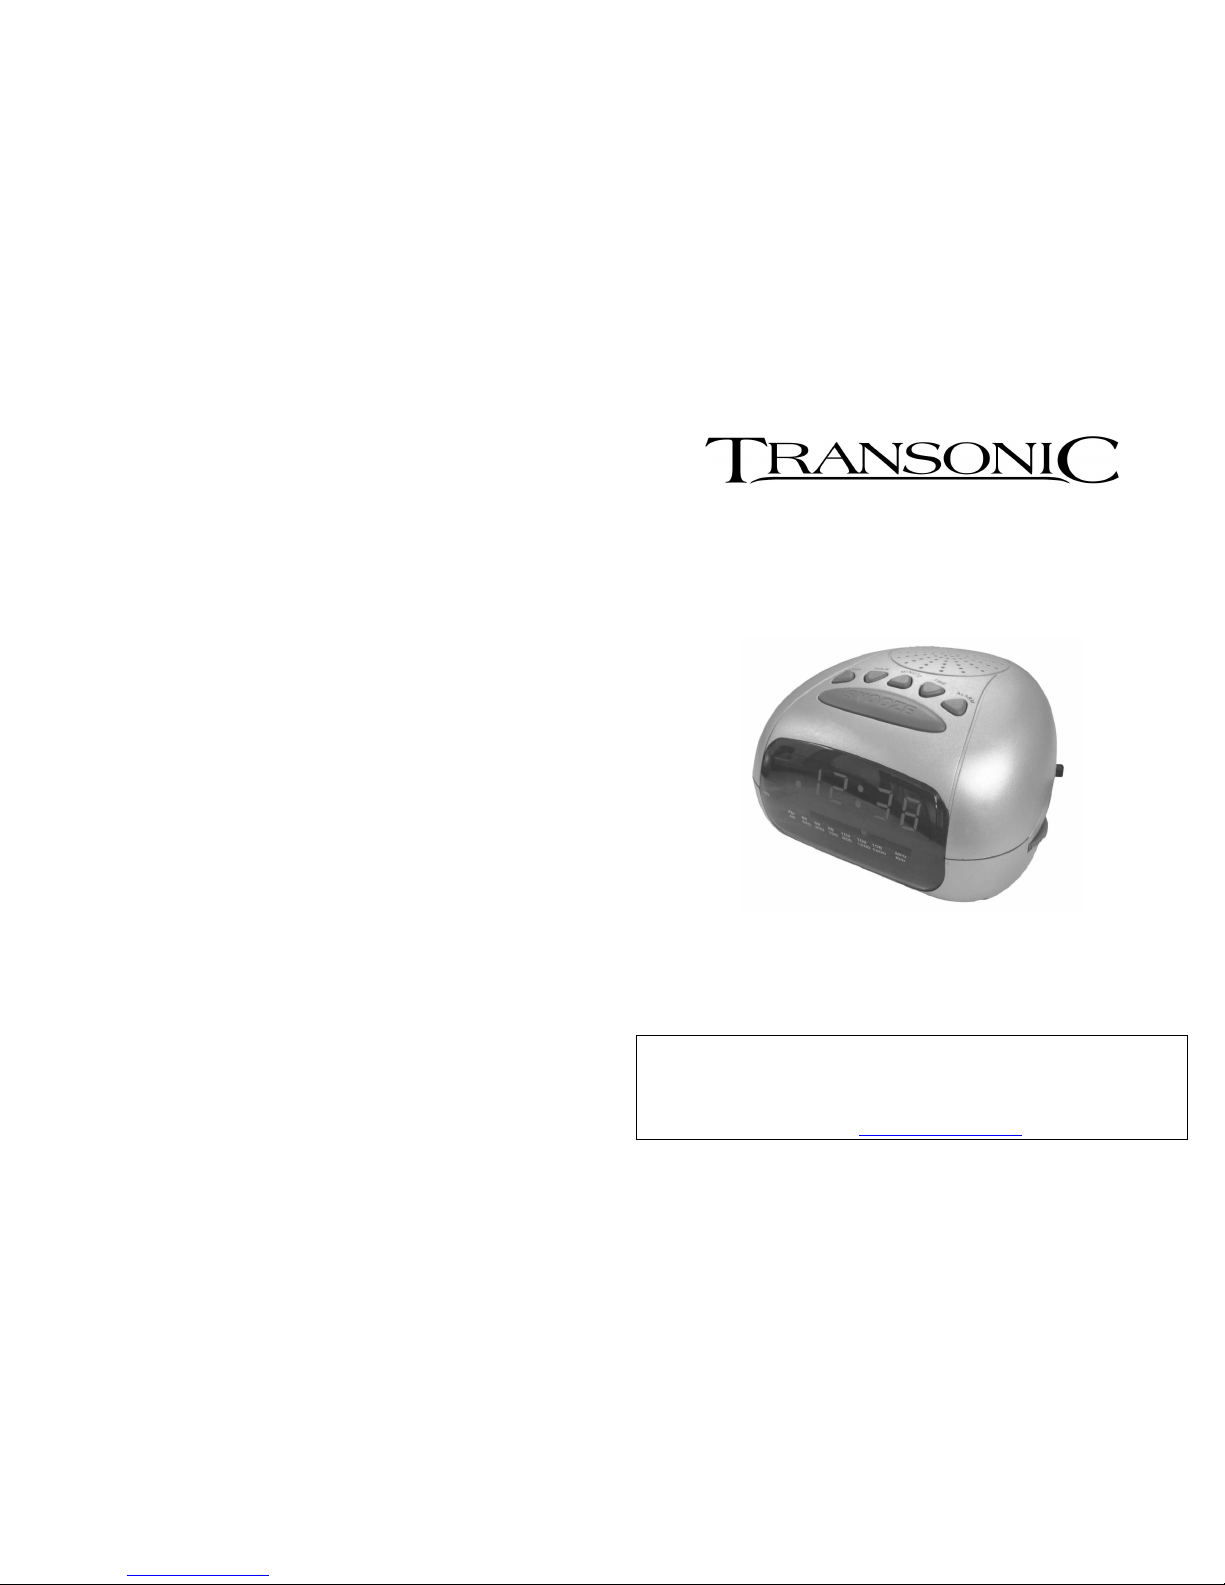
Model: TC2348CR
Instruction Manual
Please read these instructions carefully before operation
Help line
For assistance during normal working hours (9am-5pm, Mon-Fri, New Zealand local
time) call
Oriental Pacific International Ltd.
NZ call: 0800 89 85 80
Email: service@orientalpacific.com

SAFETY INSTRUCTIONS
When using any electrical apparatus always observe safety regulations and use basic
safety precautions to reduce the risk of fire, electric shock and personal injury,
including the following:
Read, Keep and Follow these instructions, heeding all Warnings.
WARNING! Do not remove any cover.
WARNING! Do not use this apparatus near water. To avoid the risk of fire or electric shock,
do not expose this apparatus to rain or moisture. The apparatus shall not be exposed to
dripping or splashes and is strictly for indoor use only.
WARNING! Do not immerse in any liquid whilst in use or cleaning. Clean only with a damp
cloth, dry with a dry towel. Do not use harsh abrasives as these may damage the plastic
parts.
WARNING! DO NOT block any ventilation openings. Do not leave in direct sunlight
.
WARNING! Connect to a suitable 230-240V ~ 50 Hz power supply only.
WARNING! Keep out of reach of young children. This apparatus is not suitable for use by
young children or infirm persons without supervision. Young children must be supervised to
ensure that they do not play with the apparatus. Ensure young children have enough
knowledge to operate the equipment safely if they do have access to this equipment.
WARNING! Do not abuse or damage a power cord. If any power cord is damaged, it must
be replaced by the manufacturer, its service agent or a similarly qualified person in order to
avoid a hazard.
WARNING! Unplug completely from the power source this apparatus during lightening
storms or when unused for long periods of time.
WARNING! Attention is drawn to the environmental aspects of disposing of any battery.
WARNING! Refer all servicing to qualified personnel. Servicing is required when the
apparatus has been damaged in any way, such as when the power supply cord or plug is
damaged, liquid has been spilled or objects have fallen into the apparatus, the apparatus
has been exposed to rain or moisture, does not operate normally, or has been dropped.
WARNING! For household use only, this apparatus is not intended for commercial use.
OPERATION
Before connecting to the power supply ensure that the supply corresponds to the
information on the rating label on the bottom of the apparatus.
WARNING
Disconnect the mains plug from the supply socket when not in use a long period time.
1. Snooze/Sleep Off Button
2. Alarm Set Button
3. Time Set Button
4. Sleep Set Button
5. Hour Set Button
6. Minute Set Button
7. On/Off/Auto/Alarm Selector
BATTERY BACK-UP
Insert a 9-volt battery (not included) in the compartment located in the cabinet bottom.
The purpose of this battery is to store the information relating to alarm time, and to
keep the clock functioning in the event of disconnection from the mains supply or
power interruption. Should this occur, the clock will continue to keep time, but will not
display.
8. Tuning Control
9. Volume Control
10. FM Wire Antenna
11. Display
12. Main Plug (AC Cord)
13. AM/FM Selector

SETTING THE CLOCK
1. Set the On/Off/Auto/Alarm Switch (7) to ‘OFF’. Connect the power cord to the
power socket. The clock display will flash on and off indicating a power interruption
and that the display time is incorrect.
2. To set the correct time, press the Time Set Button (3) and Minute Set Button (6), or
Hour Set Button (5), together, until the correct time is displayed.
NOTE: the “PM” light will illuminate to indicate the correct time of day.
SETTING THE ALARM
1. To set the alarm time, press the ‘Alarm’ Set Button (2) and Minute Set Button (6),
or Hour Set Button (5), together, until the required alarm time is displayed.
2. Switch the On/Off/Auto/Alarm Switch (7) to either the ‘AUTO’ or ‘ALARM’ position
for choice of wake by radio or wake by buzzer respectively. The Display (11) will
illuminate. The alarm is now set to activate at the required time.
3. The alarm can be temporarily stopped for 9 minutes by pressing the Snooze/Sleep
Off Button (1).
4. The alarm will activate again after 24 hours unless the On/Off/Auto/Alarm Switch
(7) is set to ‘OFF’.
Note: When setting the alarm time always remember to release the Minute Set or Hour Set or Hour Set
Button before releasing the Alarm Set Button to ensure that the real time will not be affected.
SLEEP
1. Set the On/Off/Auto/Alarm Switch (7) to ‘OFF’, ‘AUTO’ or ‘ALARM’ position.
2. Press the Sleep Set Button (4) and Minute Set Button (6) together. The sleep time
will be displayed and count down from 59 minutes to zero. Release the button
when the required sleep time is displayed.
The radio will now operate until the sleep time has elapsed or it can be switched off by pressing the
Snooze/Sleep Off Button (1).
RADIO
The FM band requires the FM Wire Antenna. The FM Wire Antenna should be uncoiled
and positioned for best reception. Set the On/Off/Auto/Alarm Switch (7) to ‘ON’ position.
1. Set the AM/FM Selector (13) to desired waveband.
2. Adjust the Tuning Control (8) to select the desired station.
3. Adjust the Volume Control (9) as required.
4. To turn off the radio, set the On/Off/Auto/Alarm Switch (7) to ‘OFF’. If the radio
does not switch off this may be caused by inadvertent operation of the Sleep Set.
To cancel this SLEEP SET, press the Snooze/Sleep Off Button (1).
CLEANING
Clean the cabinet with a soft cloth moistened with water or mild detergent. Do not use
solvents such as alcohol, benzene or thinner, as they may damage the cabinet finish.
Make sure to disconnect the mains lead from the supply before cleaning. Please retain
these instructions for future reference.
SPECIFICATIONS
Frequency Range : AM 530-1600KHz
FM 88 –108 MHz
Power Source : AC 230V ~ 50 Hz
DC9V (For back-up power)
Power Consumption : 6W

Warranty Card
This product is guaranteed against faulty materials and workmanship for a period of two
years from the date of purchase with proof of purchase. The obligation to the purchaser
under this warranty is limited to servicing the unit and replacing defective parts or refund
when the product is returned freight prepaid to the retailer with proof of purchase. This
warranty becomes void if the product has been tampered with, damaged by accident,
damaged in any other way by improper use or has been purchased second hand. All
production orders have quality inspections. In the unlikely event of a deficiency, please
contact the retailer from which this product was purchased.
WARRANTY FOR APPLIANCES USED COMMERCIALLY LIMITED TO 90 DAYS
Type of Appliance: ________________________________________________________
Model No.: ____________________________ Purchase Date: ______________________
Product Purchased From: ____________________________________________________
Your Name: _______________________________________________________________
Address: _________________________________________________________________
_________________________________________________________________________
_________________________________ Phone Number: __________________________
IMPORTANT!
Please retain this warranty card along with your purchase receipt. Please do not post to the
retailer. If service or a warranty claim is required, both of these documents are to be
returned with the appliance to your retailer, otherwise a fee may be charged or warranty
declined. For technical help contact the helpline.
Other Transonic Clock Radio manuals


