manuals.online logo
Brands
  1. Home
  2. •
  3. Brands
  4. •
  5. tropitone
  6. •
  7. Outdoor Fireplace
  8. •
  9. tropitone Flame Guard User manual

tropitone Flame Guard User manual

1
Flame Guard
Assembly Instructions
Congratulations on the purchase of your Tropitone®Flame Guard.
Read through all steps before fastening components together.
WARNING: Do not try to lift or flip components with only one
person. Components may be heavy and awkward to handle,
and may result in injury to persons or damage to property if
not lifted properly. Safety Glasses must be worn when
handling glass components.
CAUTION: When instructed to fully tighten screws, do not
over tighten and strip the threads or stress the glass.
Read through all steps before starting
assembly.
Completely unpack all boxes and thoroughly
check for items that may be individually
wrapped.
Check that all items listed in the Parts List are in
your cartons.
Tools Required
#3 Phillips Screw Driver Safety Glasses
Flame Guard Parts List
(4) Upper Brackets
(4) Foot Brackets
(4) Glass Panes
(16) 1/4-20 x 1/4” Set Screws with plastic nib
2
Warning
Do Not touch the Flame Guard directly after use, all surfaces will be
HOT! Please allow your flame Guard to completely cool before
handling. Do Not pick up the Flame Guard by the glass pieces.
Round Flame Guard Frame Assembly
NOTE: During assembly, ensure that the Caution imprint on each
pane of glass is facing downward. When fully assembled, the
Caution imprints must face outward.
Before you begin attaching the Glass Panes to the Brackets, take a
moment to partially back out the Set Screws with plastic nibs on all
Brackets. The plastic nibs fit on to the end of the Set Screws and
will protect the Glass Panes from the metal end of the screws.
Foot Bracket with Set Screws Upper Bracket with Set Screws
Place Glass Pane #1 on a prepared surface. With the Foot Bracket
Screw holes facing upward, slide one lower corner of the Glass
Pane into the slot on the Flame Guard Foot. Tighten the Set Screw
with plastic nib to secure the Glass Pane to the Foot Bracket.
Attach a second Foot Bracket to the remaining lower corner of
Glass Pane #1 using the same method as used for the first Foot
Bracket. See photo below.
3
Repeat this process for Glass Pane #3. This will produce two Glass
Panes with two Foot Brackets on each pane: Pane #1 and Pane #3.
Place and hold Glass Pane #1 in a vertical position. The Foot
Bracket slots will now be facing upward. Place one lower corner of
Glass Pane #2 in to one Foot Bracket slot. Tighten Set Screw.
See photo below.
Move Glass Pane #3 in to place. Slide the second lower corner of
Glass Pane #2 in to the Foot Bracket of Glass Pane #3. See photo
below.
4
Slide Glass Pane #4 in to the remaining Foot Bracket slots to
complete the circle.
Tighten all Set Screws with plastic nibs. DO NOT over tighten the
screws. Over tightening may cause the glass to break.
Install the four Upper Brackets at the four junctions of the Glass
Panes. Upper Bracket should be placed ¼” down from the top edge
of the Glass Panes, as shown below.
With the Upper Bracket Assembly Screw holes facing inward, slide
the Upper Bracket over two joining Glass Panes. Lightly tighten the
Set Screw with plastic nib to secure the Glass Panes with the Upper
Bracket.
Repeat for the remaining three Upper Brackets.
Fully tighten all Set Screws on the Upper Brackets. DO NOT over
tighten the screws. Over tightening may cause the glass to break.
5
Warning
Do Not touch the Flame Guard directly after use, all surfaces will be
HOT! Please allow your flame Guard to completely cool before
handling. Do Not pick up the Flame Guard by the glass pieces.
Rectangular or Square Guard Frame Assembly
NOTE: During assembly, ensure that the Caution imprint on each
pane of glass is facing downward. When fully assembled, the
Caution imprints must face outward.
Before you begin attaching the Glass Panes to the Brackets, take a
moment to partially back out the Set Screws with plastic nibs on all
Brackets. The plastic nibs fit on to the end of the Set Screws and
will protect the Glass Panes from the metal end of the screws.
Foot Bracket with Set Screws Corner Bracket with Set Screws
Place Glass Pane #1 (for rectangular, use long pane) on a prepared
surface. With the Foot Bracket Assembly Screw holes facing
upward, slide one lower corner of the Glass Pane into the slot on
the Flame Guard Foot. Tighten the Set Screw with plastic nib to
secure the Glass Pane to the Foot Bracket.
6
Attach a second Foot Bracket to the remaining lower corner of
Glass Pane #1 using the same method as used for the first Foot
Bracket. See photo below.
Repeat this process for Glass Pane #3 (for rectangular, use long
pane). This will produce two Glass Panes with two Foot Brackets
on each pane: Pane #1 and Pane #3.
Place and hold Glass Pane #1 in a vertical position. The Foot
Bracket Assembly Slots will now be facing upward. Place one lower
corner of the Glass Pane #2 in to one Foot Bracket. Tighten
Assembly Screw. See photo below.
7
Slide the second lower corner of Glass Pane #2 in to the Foot
Bracket slot of Glass Pane #3. See photo below.
Slide Glass Pane #4 in to the remaining Foot Bracket slots to
complete the square or rectangle.
Tighten all Set Screws with plastic nibs.
Install the four Upper Brackets at the four junctions of the Glass
Panes. Upper Bracket should be placed ¼” down from the top edge
of the Glass Panes, as shown below.
With the Upper Bracket Assembly Screw holes facing inward, slide
the Upper Bracket over two joining Glass Panes. Lightly tighten the
Set Screw with plastic nib to secure the Glass Panes with the Upper
Bracket. DO NOT over tighten the screws. Over tightening may
cause the glass to break.
Repeat for the remaining three Upper Brackets.
Fully tighten all Set Screws on the Upper Brackets. DO NOT over
tighten the screws. Over tightening may cause the glass to break.
8
MORE INFORMATION
For care and cleaning instructions, refer to the Tropitone® Care,
Maintenance, Safety & Warranty Information guide included with
your furniture and available at www.tropitone.com/warranty.
Additional care information, “How To” videos and assembly
instructions for Tropitone®Outdoor Furniture and Basta Sole®
shade products are also available at our website.
If you have difficulty understanding any of the instructions and
need assistance while assembling your Flame Guard, please call
Tropitone’s Customer Service Center at 949-951-2010.
Tropitone Furniture Co., Inc.
5 Marconi, Irvine, CA 92618
949 951 2010 phone
www.tropitone.com
Part # R9T00037
Revised: 11.22.2017
©2017 Tropitone Furniture Co., Inc.

Other tropitone Outdoor Fireplace manuals

tropitone S 401100 User manual

tropitone

tropitone S 401100 User manual

tropitone 401901RD User manual

tropitone

tropitone 401901RD User manual

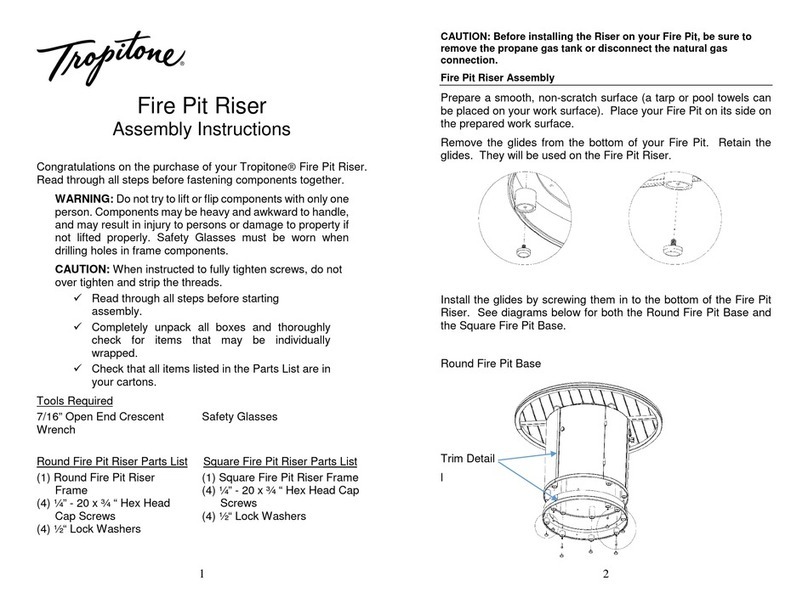
tropitone Fire Pit Riser User manual

tropitone

tropitone Fire Pit Riser User manual

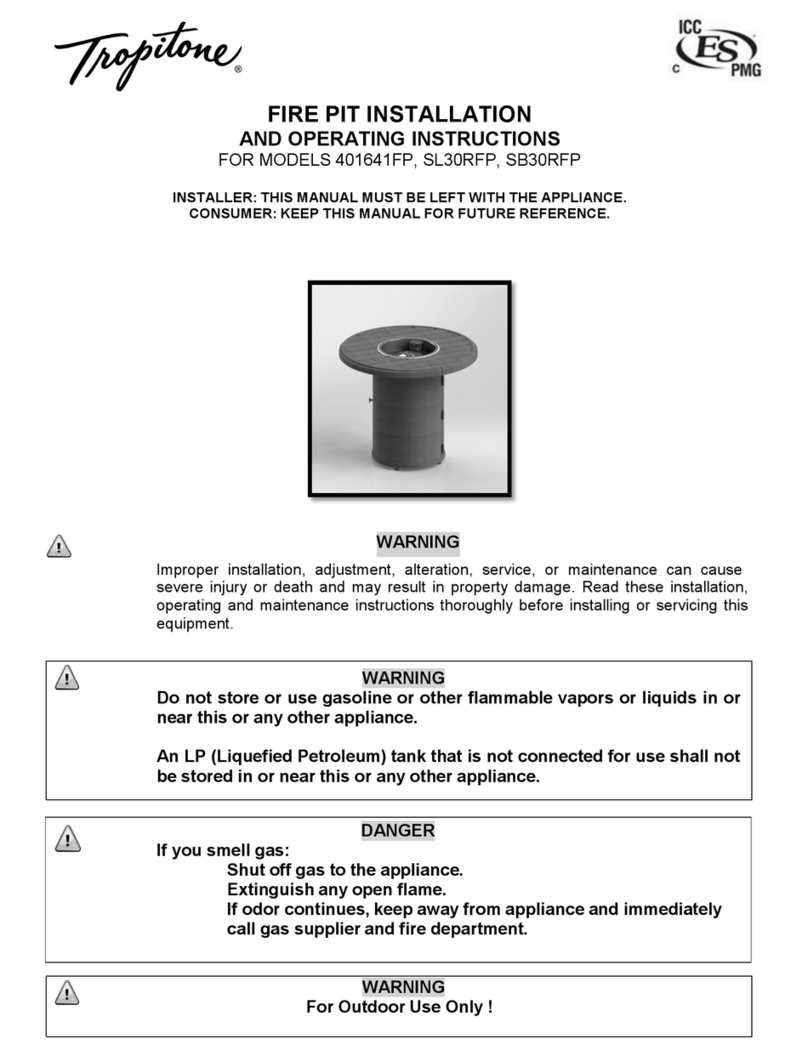
tropitone 401641FP User manual

tropitone

tropitone 401641FP User manual

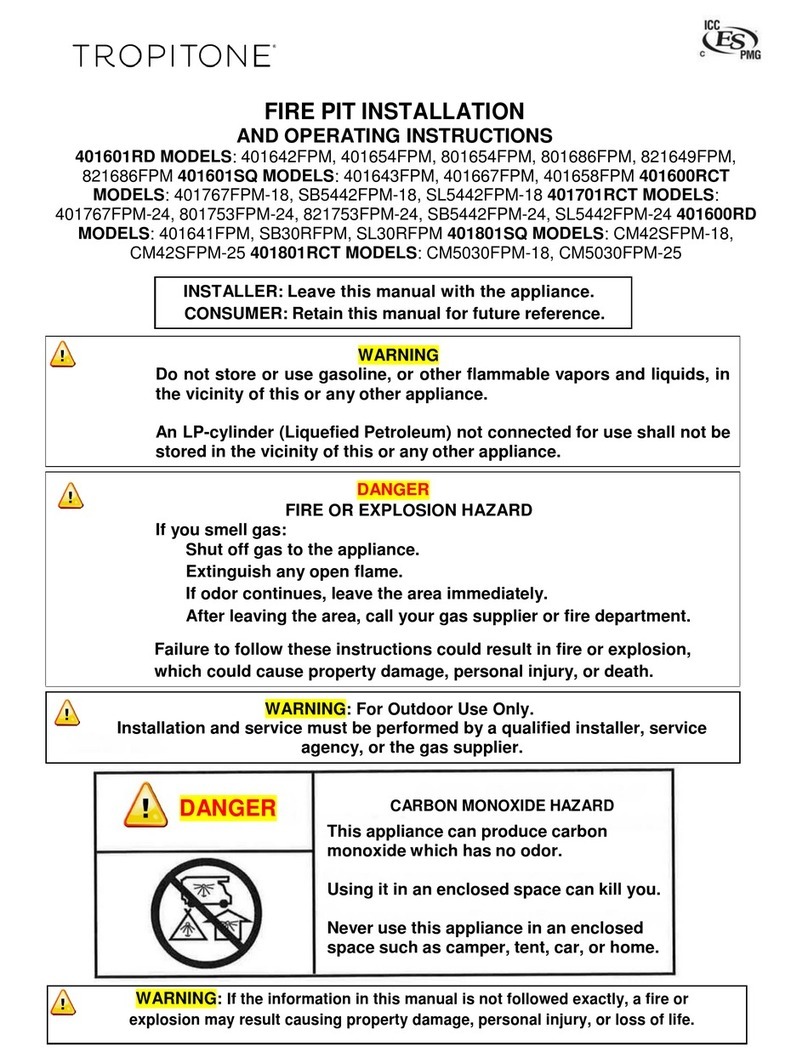
tropitone 401601RD User manual

tropitone

tropitone 401601RD User manual

tropitone 401800SQ Series User manual

tropitone

tropitone 401800SQ Series User manual

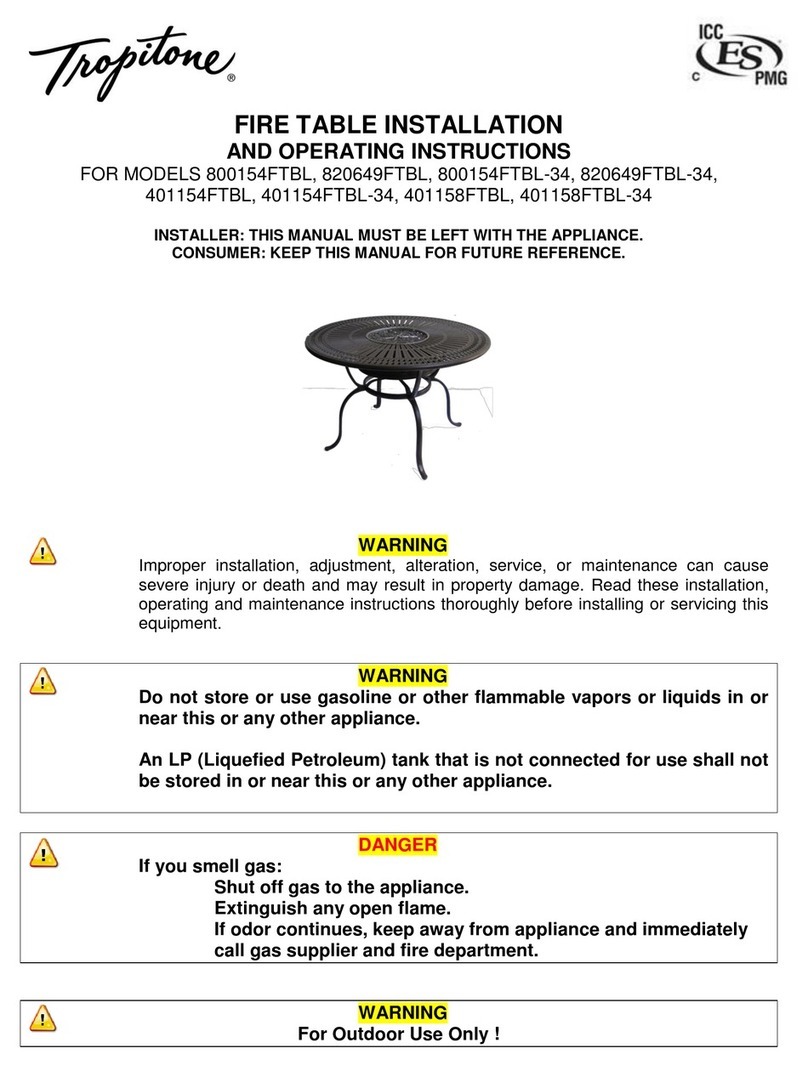
tropitone 800154FTBL User manual

tropitone

tropitone 800154FTBL User manual

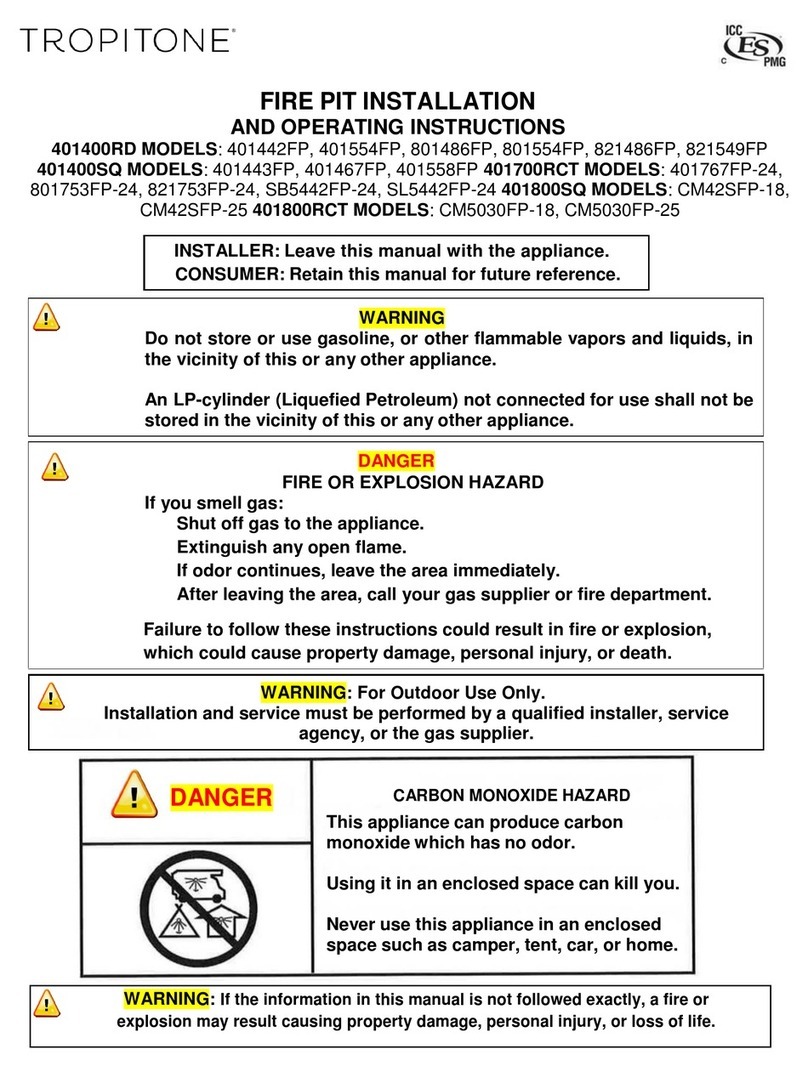
tropitone 401400RD Series User manual

tropitone

tropitone 401400RD Series User manual

Popular Outdoor Fireplace manuals by other brands

Garde DAKOTA-100 Assembly and user instructions

Garde

Garde DAKOTA-100 Assembly and user instructions

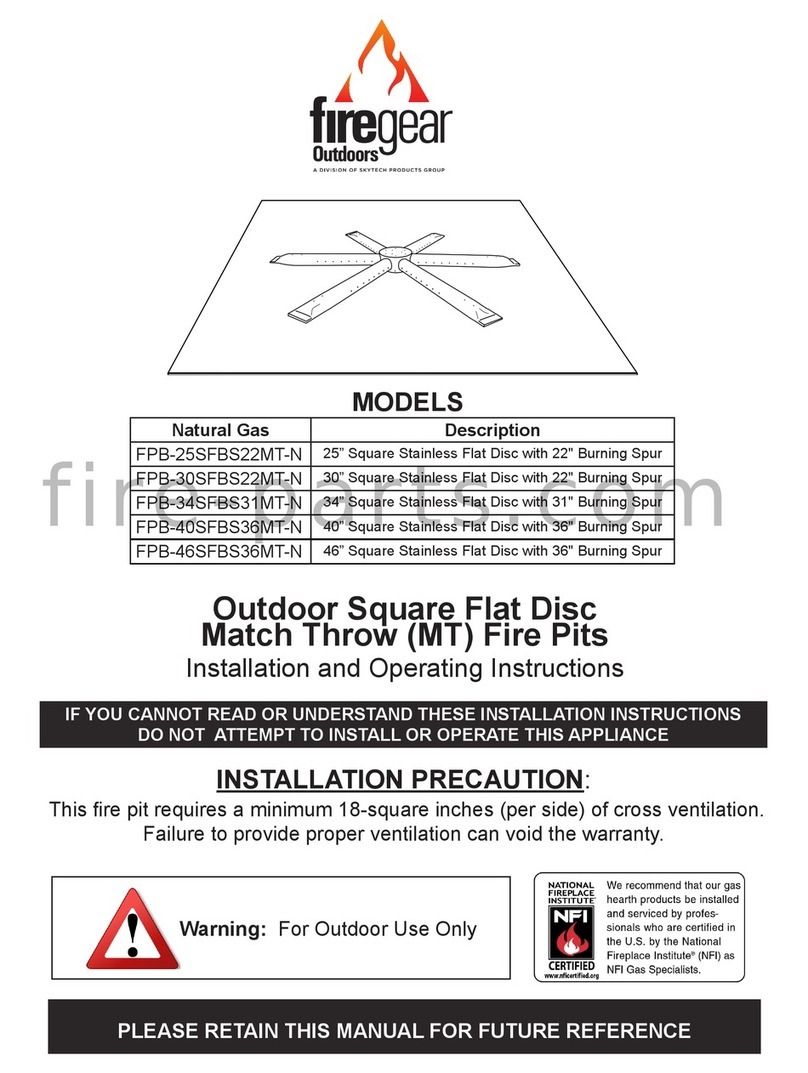
Skytech firegear FPB-25SFBS22MT-N Installation and operating instructions

Skytech

Skytech firegear FPB-25SFBS22MT-N Installation and operating instructions

OW Lee CASUAL FIRESIDE 5110-30RDC manual

OW Lee

OW Lee CASUAL FIRESIDE 5110-30RDC manual

SereneLife SLFPX69 user guide

SereneLife

SereneLife SLFPX69 user guide

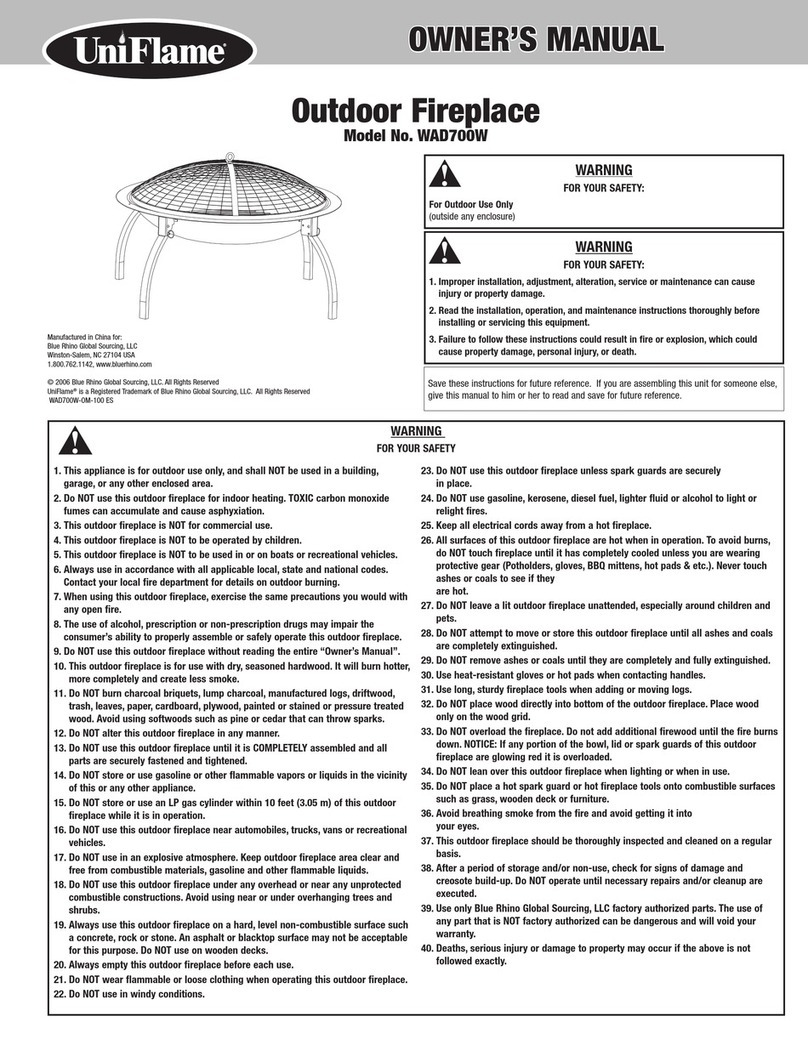
BlueRhino UniFlame WAD700W owner's manual

BlueRhino

BlueRhino UniFlame WAD700W owner's manual

BlueRhino WAD808WDNC owner's manual

BlueRhino

BlueRhino WAD808WDNC owner's manual

BlueRhino UniFlame 252726 owner's manual

BlueRhino

BlueRhino UniFlame 252726 owner's manual

SereneLife SLFPX76 user guide

SereneLife

SereneLife SLFPX76 user guide

Bluesky FF363608 owner's manual

Bluesky

Bluesky FF363608 owner's manual

Firesense Grilltech 60465 Instructions for use

Firesense

Firesense Grilltech 60465 Instructions for use

HAMPTON BAY TRS43GA Use and care guide

HAMPTON BAY

HAMPTON BAY TRS43GA Use and care guide

FLORABEST FIRE PIT Instructions for use

FLORABEST

FLORABEST FIRE PIT Instructions for use

OW Lee CASUAL FIRESIDE 5110-2875C owner's manual

OW Lee

OW Lee CASUAL FIRESIDE 5110-2875C owner's manual

HAMPTON BAY STONEHAM Use and care guide

HAMPTON BAY

HAMPTON BAY STONEHAM Use and care guide

Firesense 62342 owner's manual

Firesense

Firesense 62342 owner's manual

Sunnydaze Decor KF-614 manual

Sunnydaze Decor

Sunnydaze Decor KF-614 manual

Uniflame WAD1050SP owner's manual

Uniflame

Uniflame WAD1050SP owner's manual

Outdoor Plus QUAD OPT-QD36 manual

Outdoor Plus

Outdoor Plus QUAD OPT-QD36 manual

manuals.online logo
manuals.online logoBrands
  • About & Mission
  • Contact us
  • Privacy Policy
  • Terms and Conditions

Copyright 2025 Manuals.Online. All Rights Reserved.