manuals.online logo
Brands
  1. Home
  2. •
  3. Brands
  4. •
  5. Troy-Bilt
  6. •
  7. Lawn Mower
  8. •
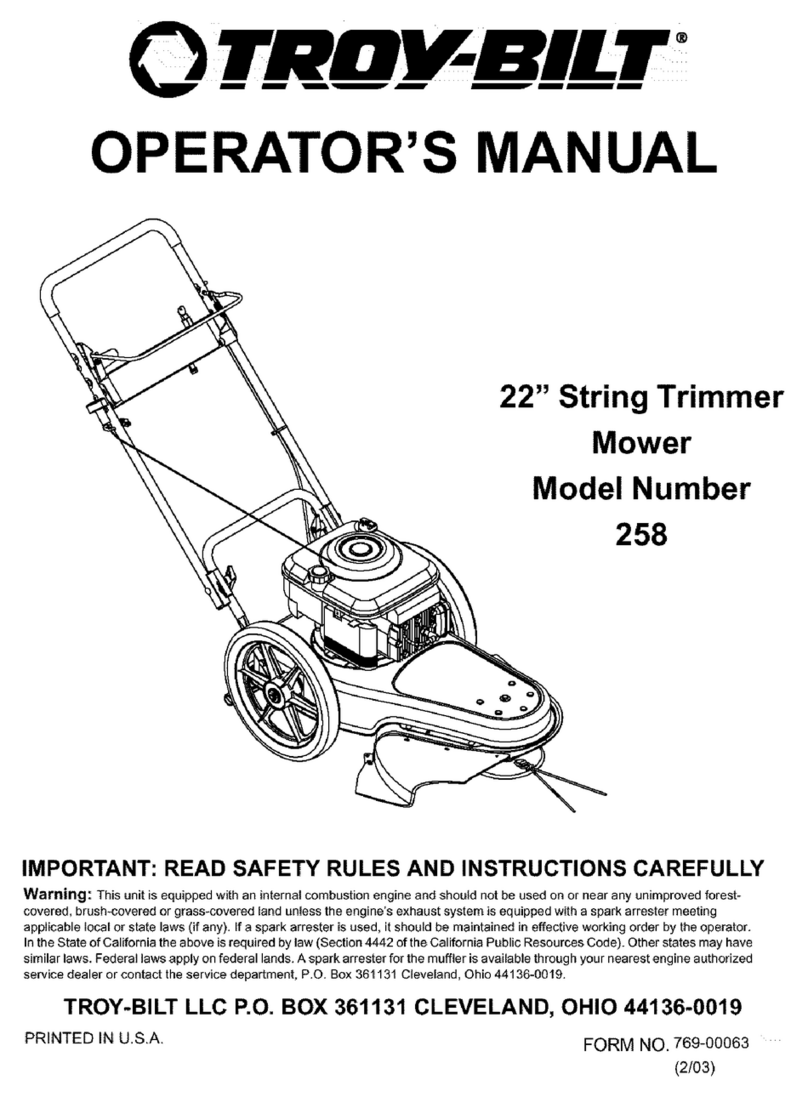
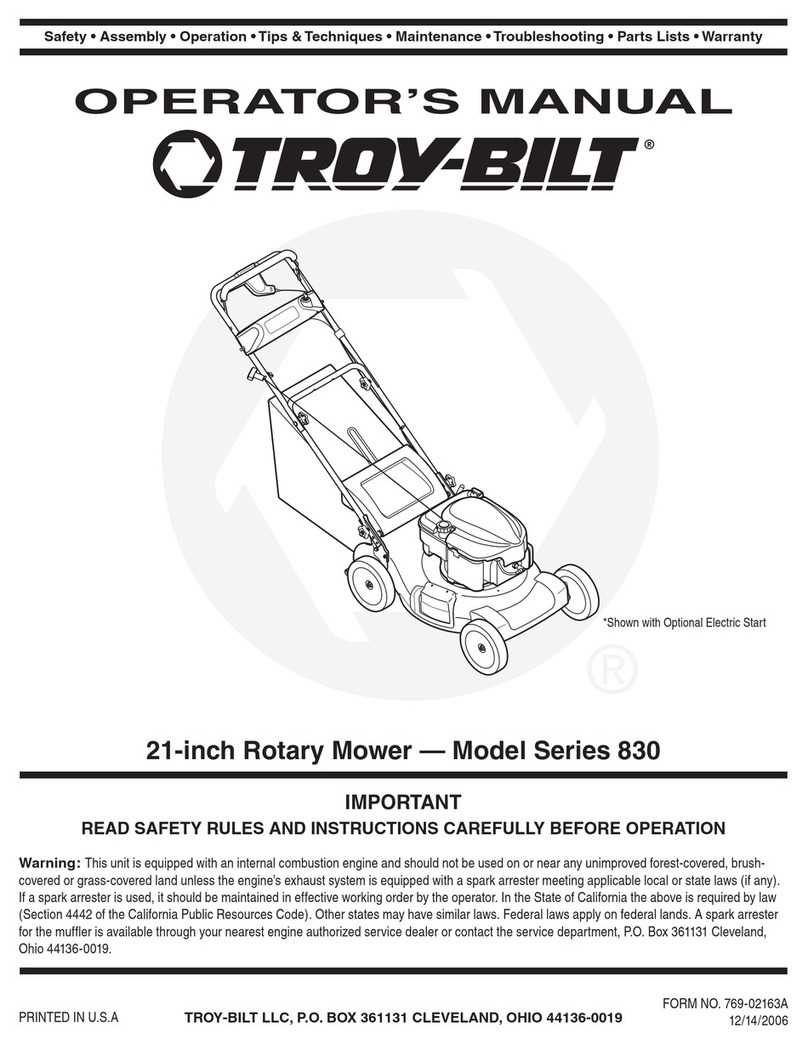
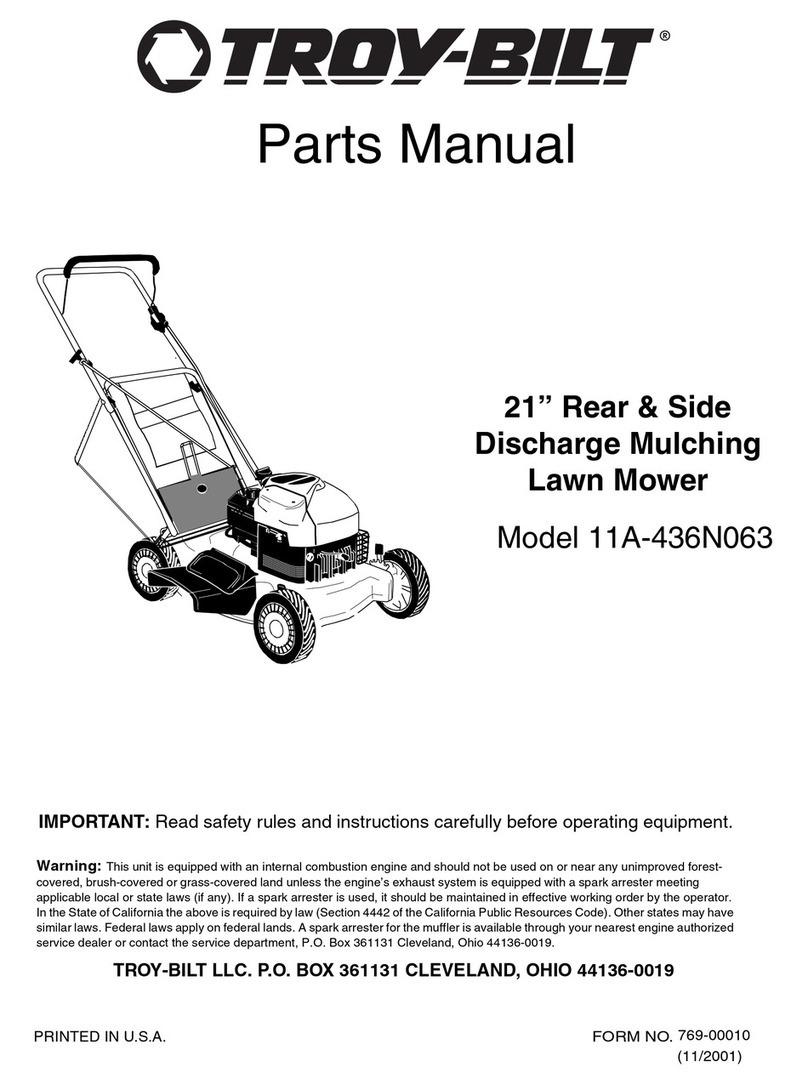
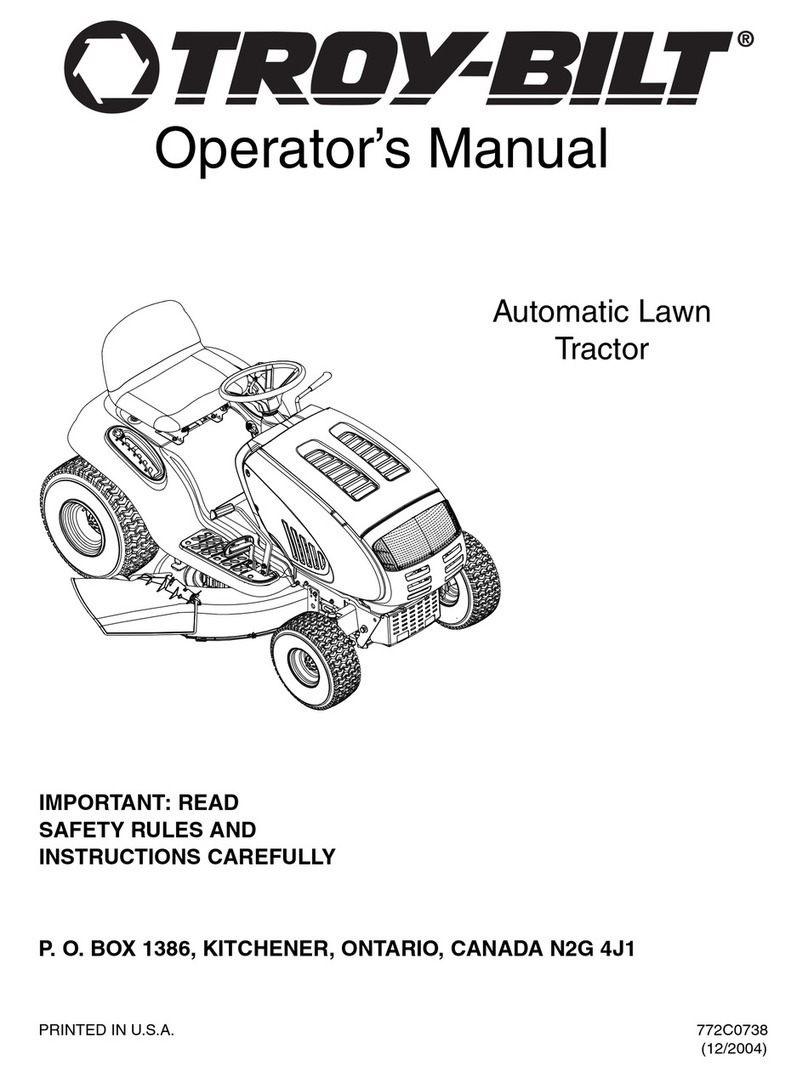
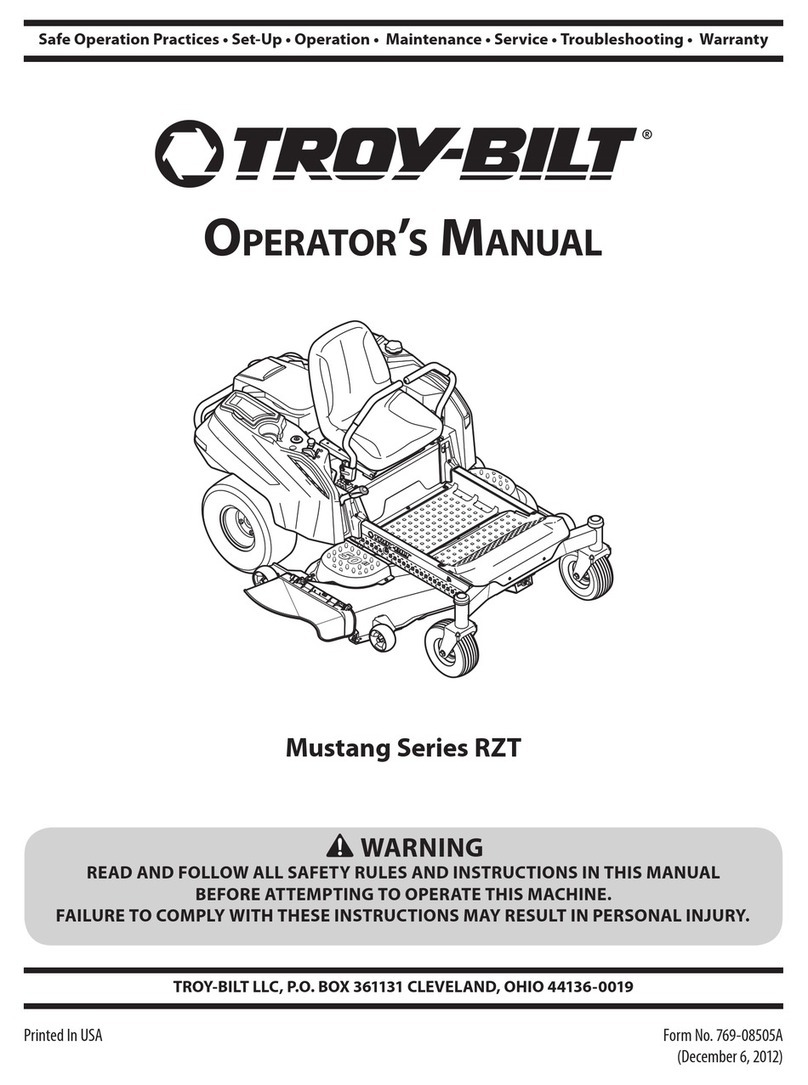
  9. Troy-Bilt 909J Tuff-Cut User manual

Troy-Bilt 909J Tuff-Cut User manual

Other Troy-Bilt Lawn Mower manuals

Troy-Bilt Wide-Cut 753B User manual

Troy-Bilt

Troy-Bilt Wide-Cut 753B User manual

Troy-Bilt HYDROSTATIC LAWN TRACTOR - HORSE 769-06304 User manual

Troy-Bilt

Troy-Bilt HYDROSTATIC LAWN TRACTOR - HORSE 769-06304 User manual

Troy-Bilt TB30 User manual

Troy-Bilt

Troy-Bilt TB30 User manual

Troy-Bilt 13A726JD066 User manual

Troy-Bilt

Troy-Bilt 13A726JD066 User manual

Troy-Bilt 600 Series User manual

Troy-Bilt

Troy-Bilt 600 Series User manual

Troy-Bilt 836 series User manual

Troy-Bilt

Troy-Bilt 836 series User manual

Troy-Bilt TBLE User manual

Troy-Bilt

Troy-Bilt TBLE User manual

Troy-Bilt Super Bronco 60TG User manual

Troy-Bilt

Troy-Bilt Super Bronco 60TG User manual

Troy-Bilt 11A-542Q711 Guide

Troy-Bilt

Troy-Bilt 11A-542Q711 Guide

Troy-Bilt 34061 User manual

Troy-Bilt

Troy-Bilt 34061 User manual

Troy-Bilt Tuffy J689 User manual

Troy-Bilt

Troy-Bilt Tuffy J689 User manual

Troy-Bilt TB2450 User manual

Troy-Bilt

Troy-Bilt TB2450 User manual

Troy-Bilt 12AV839N711 Guide

Troy-Bilt

Troy-Bilt 12AV839N711 Guide

Troy-Bilt TRU CUT 100 User manual

Troy-Bilt

Troy-Bilt TRU CUT 100 User manual

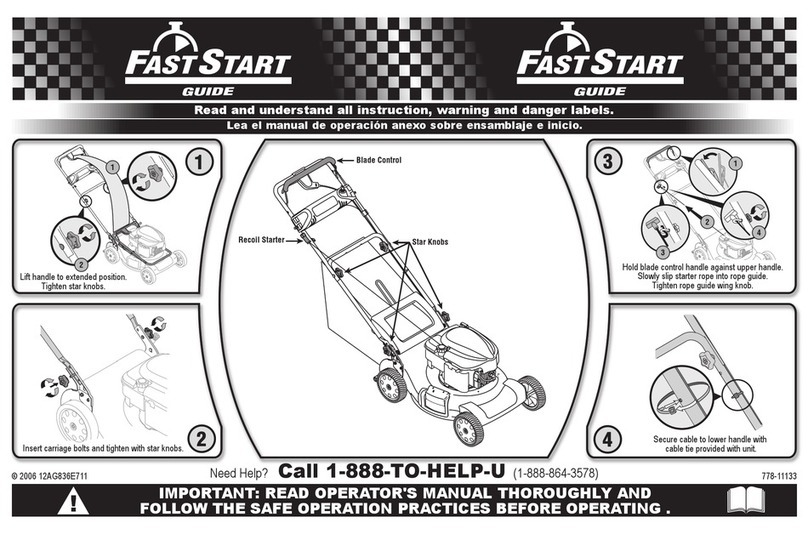
Troy-Bilt 12AG836E011 Guide

Troy-Bilt

Troy-Bilt 12AG836E011 Guide

Troy-Bilt 834 User manual

Troy-Bilt

Troy-Bilt 834 User manual

Troy-Bilt RZT SERIES ZT42 User manual

Troy-Bilt

Troy-Bilt RZT SERIES ZT42 User manual

Troy-Bilt TB350 User manual

Troy-Bilt

Troy-Bilt TB350 User manual

Troy-Bilt 440 Series User manual

Troy-Bilt

Troy-Bilt 440 Series User manual

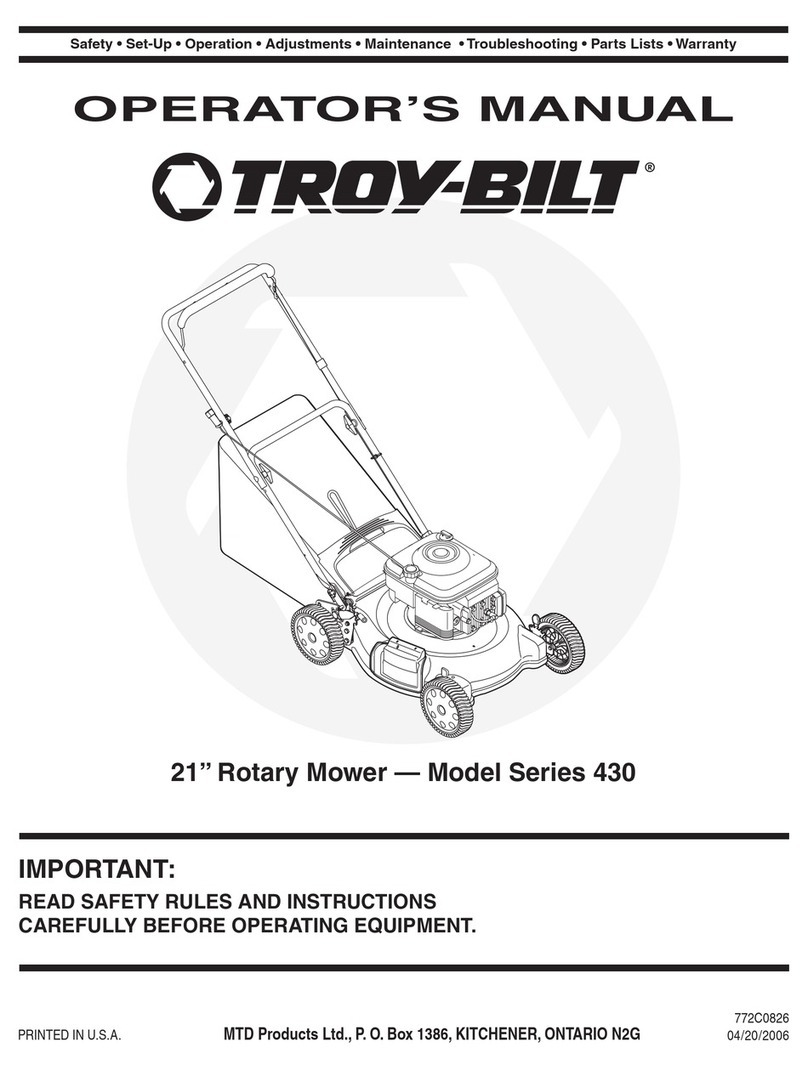
Troy-Bilt 830 Series User manual

Troy-Bilt

Troy-Bilt 830 Series User manual

Troy-Bilt 77T Series User manual

Troy-Bilt

Troy-Bilt 77T Series User manual

Troy-Bilt J860 Series User manual

Troy-Bilt

Troy-Bilt J860 Series User manual

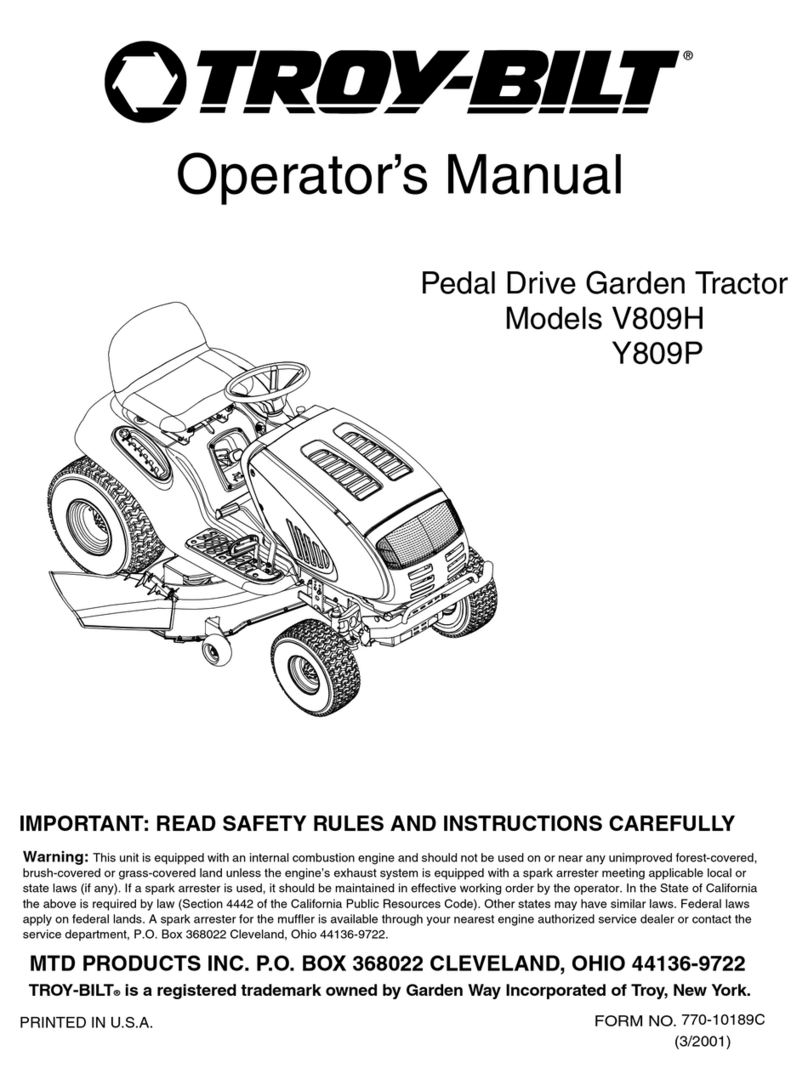
Troy-Bilt V809H User manual

Troy-Bilt

Troy-Bilt V809H User manual

Troy-Bilt Wide-Cut E753B User manual

Troy-Bilt

Troy-Bilt Wide-Cut E753B User manual

Popular Lawn Mower manuals by other brands

Toro 20047 Operator's manual

Toro

Toro 20047 Operator's manual

Toro Greensmaster TriFlex 3300 Operator's manual

Toro

Toro Greensmaster TriFlex 3300 Operator's manual

Global garden products 72 Workshop manual

Global garden products

Global garden products 72 Workshop manual

EINHELL 01045 operating instructions

EINHELL

EINHELL 01045 operating instructions

Toro Greensmaster 3120 Operator's manual

Toro

Toro Greensmaster 3120 Operator's manual

Baroness LM315GC Owner's operating manual

Baroness

Baroness LM315GC Owner's operating manual

GreenWorks Tools 25157 user manual

GreenWorks Tools

GreenWorks Tools 25157 user manual

Etesia MVEHH user manual

Etesia

Etesia MVEHH user manual

Husqvarna LTH125 owner's manual

Husqvarna

Husqvarna LTH125 owner's manual

Gravely 915034 - ZT1640 Owner's/operator's manual

Gravely

Gravely 915034 - ZT1640 Owner's/operator's manual

Jacobsen 63281 Technical manual

Jacobsen

Jacobsen 63281 Technical manual

GreenWorks Pro MO802524 Operator's manual

GreenWorks Pro

GreenWorks Pro MO802524 Operator's manual

Toro TimeMaster 20976 Operator's manual

Toro

Toro TimeMaster 20976 Operator's manual

Deutz-Allis 3000 Series parts manual

Deutz-Allis

Deutz-Allis 3000 Series parts manual

Craftsman 917.9998C owner's manual

Craftsman

Craftsman 917.9998C owner's manual

jobmate YT9108 user manual

jobmate

jobmate YT9108 user manual

Yard force GM R40A instructions

Yard force

Yard force GM R40A instructions

Husqvarna R 419TsX AWD Operator's manual

Husqvarna

Husqvarna R 419TsX AWD Operator's manual

manuals.online logo
manuals.online logoBrands
  • About & Mission
  • Contact us
  • Privacy Policy
  • Terms and Conditions

Copyright 2025 Manuals.Online. All Rights Reserved.

TRnV BILT
Operator's Manual
Model
909J--Tuff-Cut e
IMPORTANT:READ SAFETY RULES AND INSTRUCTIONS CAREFULLY
Warning: This unit is equipped with an internal combustion engine and should not be used on or near any unimproved forest-covered, brush-
covered or grass-covered land unless the engine's exhaust system is equipped with a spark arrester meeting applicable local or state laws (if any).
If a spark arrester is used, it should be maintained in effective working order by the operator. In the State of California the above is required by law
(Section 4442 of the California Public Resources Code). Other states may have similar laws. Federal laws apply on federal lands. A spark arrester
for the muffler is available by contacting the service department at Troy-Bilt LLC, P.O. Box 361131 Cleveland, Ohio 44136-0019.
TROY-BILT LLC, P.O. BOX 361131, CLEVELAND, OH 44136-0019
PRINTED IN USA FORM NO. 770-10601A
(01/2002)
TABLE OF CONTENTS
Content Page
Calling Customer Support .................................................... 2
Safety ................................................................... 3
Assembly................................................................. 6
Features and Controls ....................................................... 8
Operation ................................................................ 10
Maintenance .............................................................. 15
Parts List................................................................. 22
Warrany Information ........................................................ Back Cover
FINDING MODEL NUMBER
This Operator's Manual is an important part of your new Mower. It will help you assemble, prepare and maintain the
unit for best performance. Please read and understand what it says.
Before you start assembling your new equipment, please locate the model plate on the equipment and copy the infor-
mation from it in the space provided below. This information is very important if you need help from our Customer
Support Department or an authorized dealer.
You can locate the model number by looking at the rear surface of the cutting deck. A sample model plate is
explained below. For future reference, please copy the model number and the serial number of the equipment
in the space below
O BILT. TROY-BILT LL(
P. O. BOX 361131
www.troybilt.com CLEVELAND, OH 44136
330-558-7220
•866-840-5483
Copy Model Number Here
Copy Serial Number Here
ENGINEINFORMATION
The engine manufacturer is responsible for all engine-related issues with regards to performance, power-rating, speci-
fications, warranty and service. Please refer to the engine manufacturer's Owner's/Operator's Manual packed sepa-
rately with your unit for more information.
CALLINGCUSTOMERSUPPORT
If you have difficulty assembling this product or have any questions regarding the controls, operation or maintenance
of this unit, please call the Customer Support Department.
Call 1- (336) 558-7220 or 1- (866) 840-6483 to reach a Customer Support representative. Please have
your unit's model number and serial number ready when you call. See previous section to locate this infor-
mation. You wilt be asked to enter the serial number in order to process your call.
2
Safety
SafetyAlert Symbol
,_ This is a safety alertsymbol. It is used in this
manualand on the unit to alert you to potential
hazards. Whenyou seethis symbol, readand
obey the messagethat follows it. Failureto obey
safety messagescould result in personal injury or property
damage.
This machine meets voluntary safety standard B71.1 -
1998, which is sponsored by the Outdoor Power
Equipment Institute, Inc., and is published by the American
National StandardsInstitute.
•lL WARNING
The engine exhaust from this product contains
chemicals known to the State of California to cause
cancer, birth defects or other reproductive harm.
IMPORTANT
SafeOperationPracticesfor Walk-BehindMowers
Thiscuttingmachineis capableofamputatinghandsandfeet andthrowingobjects.
Failuretoobservethefollowingsafetyinstructionscouldresultinseriousinjuryordeath.
I. GENERALOPERATION .
1. Read,understandand follow all
instructions on the machineand in
the manuals providedwith the unit.
Bethoroughly familiar with the 10.
controls andthe proper use ofthe
mower beforestarting. 11.
2. Do not put handsor feet nearor
under rotating parts. Keepclear of
the mower bladeand discharge
opening at all times. 12.
3. Onlyallow responsible individuals,
who are familiar with the instruc-
tions, to operatethe mower.
4. Clearthe area of objects such as
rocks, toys, wire, bones, sticks, etc.,
which could be picked up and thrown
by the blade.
5. Be surethe area isclear of other
people before mowing. Stop mower if
anyoneenters thearea. Keep
bystanders at least 25 feetaway from 13.
the areaof operation.
6. Do not operatethe mower when 14.
barefoot or wearing open sandals.
Alwayswear substantial foot wear. 15.
7. Do not pull mower backwards unless
absolutely necessary.Look down and
behind beforeandwhile moving
backwards. 16.
8. Do not operatemower without all
guards in placeand eitherthe entire 17.
Grass Catcher,the Mulching Plug or
the optional Side-DischargeChute
installed. ROTATINGBLADES-- Do
not open discharge guard while
engine is running.
Referto providedinstructions for 18.
proper operation andaccessory
installation. Useonly accessories
approved by GardenWay Inc. 19.
Shut off engine when crossing gravel
drives, walks, or roads. 20.
Stop engineand disconnectspark
plug wirefrom spark plug whenever
you leaveunit, beforecleaningmower
or uncloggingchute.
Shut the engine off andwait until the
bladecomesto a completestop
beforeinstalling or removing the
Mulching Plug,optional Side-
DischargeChuteor the Grass
Catcher. Makecertain that an attach-
ment is installed beforeoperatingthe
mower. Emptythe GrassCatcher
after eachuse- decomposing debris
could generateenough heatto catch
fire.
Mow only in daylight or in good arti-
ficial light.
Do not operatemower while under
the influenceof alcohol or drugs.
Neveroperatemower in wet grass.
Always besure ofyour footing; keep
a firm hold on the handleand walk;
neverrun.
Besure WheelDrive Bail isdisen-
gaged beforestarting engine.
If the unit should start to vibrate
abnormally, stop the engineand dis-
connect the spark plug wire. Then
check immediately for the cause.
Vibration is generallya warning of
trouble.
21.
22.
Werecommendthat you wear safety
gogglesor safety glasseswhen
operatingthe mower.
Watchfor traffic when operating
near,or whencrossing roadways.
Neverattempt to carry children or
other passengersonthe mower.
Theycould fall off and beseriously
injured, or they could interfere with
thesafe operation of the mower.
Checkthe operation ofthe Operator
PresenceControl Bail (top bail,
mounted on handlebar) beforeeach
use.The OperatorPresenceControl
Bail is a safety devicethat is designed
to stop the mower blade within three
secondsafter releasingthe bail. The
bail must operatefreely when pulled
backagainst the handlebarand
return automatically to the disen-
gaged position when released.If the
engine runs longer than three
secondsafter releasingthe bail, the
system is not working properly.
Immediately contact an authorized
servicedealeror the Factory
TechnicalServiceDepartmentfor
instructions. Donot usethe mower
until the mechanismis repaired.
Neverrun the enginein an enclosed
area.Engineexhaustcontains carbon
monoxide,a deadlygasthat is
odorless,colorless andtasteless.
Alwaysrun the engine outdoors and
makesure there isadequate
ventilation.
Section1: Safety
II. OPERATING ON A SLOPE
Slopesare a majorfactorrelatedto slip
and fail accidentswhichcanresultin
severeinjury. All slopesrequireextra
caution,if youfeel uneasyona slope,
do notmow it.
DO:
Mow across theface of slopes;never
up and down. Exerciseextreme
caution whenchanging direction on
slopes. Avoid slopesgreater than 15o.
Removeobjects such as rocks, tree
limbs, etc.
Watch for holes, ruts, or bumps. Tall
grass can hide obstacles.
DONOT:
Donot mow near drop-offs, ditches,
or embankments. Theoperator could
loosefooting or balance.
Donot mow excessivelysteep slopes.
Donot mow on wet grass. Reduced
footing could causeslipping.
III. CHILDREN
Tragic accidentscanoccurifthe
operatorisnotalert tothe presenceof
children.Childrenare oftenattractedto
the mowerandtothe mowingactivity.
Neverassumethatchildrenwill remain
whereyou lastsawthem.
1. Keepchildren out of the mowing area
and under the watchful careof a
responsible adult.
2. Bealert and turn mower off if
children enter thearea.
3. Beforeand while moving backwards,
look behindand downfor small
children.
4. Neverallow children to operatethe 7.
mower.
5. Useextra carewhenapproaching
blind corners, shrubs, trees, or other
objects that may obscure vision. 8.
IV.SERVICE
1. Useextra carein handling gasoline 9.
and other fuels. Theyare flammable
and their vapors areexplosive.
a) Useonly an approvedcontainer.
b) Neverremove gascapor add fuel
when theengine is running.
Allow engine to cool before
refueling. Do not smoke. 10.
c) Neverrefuelthe machine
indoors. 11.
d) Neverstore the machine or fuel
container insidewherethere is an
open flame, such asa water 12.
heater,etc.
e) Move mower away from any
gasolinefumes beforestarting
the engine. 13.
insidea closed
2. Neverrun an engine
a_a.
3.
.
.
6.
Nevermakeadjustments or repairs
with the engine running. Disconnect
the spark plug wire and movethe
wire awayfrom the plug to prevent
accidentalstarting.
Keepall nuts and screws, especially
the bladeattachmentbolts, tight and
keepequipment in good condition.
Nevertamper with safety devices.
Checktheir operation regularly.
Keepmower free of grass, leavesor
other debris build-up. Cleanup oil or
fuel spillage. Allow mower to cool
beforestoring.
After striking an object, stop the
engineand disconnect the spark plug
wire. Inspect the mower and repair, if
necessary,beforerestarting.
Neverattempt to make mower cutting
height adjustmentswhile the engine
is running.
Grasscatchercomponents are
subject to wear, damageand deterio-
ration, which could expose moving
parts or allow objects to bethrown.
Frequentlycheck components and
replacewith factory recommended
parts,when necessary.
Themower bladeis sharp and can
cut. Wrapthe bladeor weargloves,
and useextra caution when servicing.
Do notchangethe engine governor
setting or overspeedthe engine.
Do nottouch engine parts which may
be hot from operation.Allow parts to
cool completely before inspecting,
cleaningor repairing the mower.
Maintain or replacesafetyand
instructional decals. Refertothe
Parts List for replacementdecal
information.
Section1: Safety
SAFETY DECALS
Foryour safety andthe safety of others,various safetydecals are located on your unit (below -sizenot to scale).
Keepthe decalscleanand legibleat all times. Contactyour localservice dealeror the Factoryfor replacementsif anydecals are
damagedor missing. Referto the PartsList pagesin this Manualfor decal part numbers.
Locatedonthebelt
cover. Thisdecal
providesa list of
warningsto helpavoid
seriousinjury.
Locatedonthedischargeoutletguard. Thisdecalwarns
nottooperatethemowerwithoMthedischargeoutlet
guardinplaceandeithertheGrassCatcherorMulching
Pluginstalled.Thisdecalalsowarnsthatthereare
rotatingblades.Donotopenthedischargeoutletguard
whiletheengineisrunning.
Locatedontheleftsideofthe
mowerdeck. Thisdecalcautions
tokeephandsaway.
Before operating your machine,
carefully read and understand all
safety, controlsand operating instruc-
tions in this Manual, the separate
Engine Owner's Manual, and on the
decals onthemachine.
Failure to follow these instructionscan
resultin seriouspersonalinjury.
INTRODUCTION
This Sectioncovers unboxing and assem-
bling your newmower. Pleasecarefully
read all the instructions beforeyou
attempt to assemblethe mower. After
you finish assemblingthe mower, read
Section 1: Safety,Section3: Featuresand
Controls,and Section4: Operation,before
using the mower.
INSPECTION
Inspectthe mower immediately after
delivery. Makesurethat neitherthe
carton nor the contents havebeen
damaged.
If you find or suspect any damage,
contact the carrier (trucking company)
right away. Inform them ofthe specific
damageandthat you wish to file a claim.
To protect your rights, be sureto put this
in writing to the carrierwithin 15 days
after your machinearrives. The carrier
will let you know howto proceedwith
your claim.
LOOSE PARTS
Thefollowing items areshipped loose
within the container.
NOTE: Themower is
shipped with the
Mulching Plug
(B, Figure2-2)
installed in the
discharge outlet
(Figure 2-1).
,, The Grass
Catcherattachmer
(A,Figure2-2).
A B
Figure2-2: Attachments
ASSEMBLING NEW UNITS
Themower bladeis sharpand cancause
serious personalinjury. When working
near the mower blade, wear heavy
leather gloves to protectyourself from
thesharpedges.
IMPORTANT:Themower isshipped
without motor oil inthe enginecrankcase.
Add motor oil to the engine before
starting. Follow instructionsin this
Section.
Step 1: Unpack Mower
1. The mower comesfullyassembled
with the handlebarsfolded compactly for
shipment. Removethe mower from the
shipping container.
2. Thecontrol bails (P,Figure2-6) are
securedto the handlebar(Q) with a cable
tie. Cutthe cabletie off and removethe
protective packingmaterial.
3. Followsteps 2 through 8to complete
mower assembly.
Step 2: Unfold Handlebar Assembly
1. Loosenthe two lower handlebar
adjustment knobs (1, Figure2-5).
2. Carefullyunfold lower section ofthe
handlebarassembly (2, Figure2-5).
Watchthe cableswhile unfolding and
makesure that they do not pinch, kink,or
over-stretch while unfolding.
3. Tighten thetwo lower handlebar
adjustment knobsjust enoughto allow
thetwo handlebarstruts (H, Figure2-3)
to move in and out slightly.
4. Insertthe tab (F, Figure2-3) on each
handlebarstrut into the slot (G) one each
side ofthe deck. Becertain to routethe
cables insidethe left sidestrut asshown
in Figure2-4.
5. Tighten both lower handlebaradjust-
ment knobs securely.
6. Loosenthe two upper handlebar
adjustment knobs (3, Figure2-5).
7. Unfold the upper handlebarassembly
(4, Figure2-5) and align with the lower
handlebarassembly. Besure not to
pinch, kink, or over-stretch the cables
while unfolding.
8. Tighten both upper handlebaradjust-
ment knobs securely.
9. Checkthe starter rope. Makesure
that it doesnot catch under thetop
handlebaradjustment knob (I, Figure
2-6). Thestarter rope should stretch
unobstructed to the engine.
Figure2-3: Assemblinghandlebar,(Right-
sidehandlebarstrutshown.)
Figure2-4: Cablescorrectlyroutedinside
handlebarstrut,
Section2: Assembly
Figure2-5: Unfoldingthehandlebar.
Step 3: Adjust Handlebar Height
1. Loosenone of the lower handlebar
adjustment knobs (K, Figure2-6) and give
the knob a tap inwardto freethe square
shaft on thescrew (N, Figure2-7) from
the keyedslot (0) in the handlebarstrut.
Repeatthis step for the otherside.
2. Movethe handlebarstrut up or down
to align the squareshaft (N, Figure2-7)
with one ofthe three squarekeyedslots
(0). Themiddle slot is the medium
heightsetting.
3. Tighten the handlebar adjustment
knobs very securely.
NOTE:Make surethat thesquare shaft
seatssquarely into the slot beforetight-
ening the adjustment knobs.
Step 4: AddMotor Oil to Engine
1. Movethe mower to a levelarea.
2. Add motor oil according to the specifi-
cations and instructions providedin the
separateEngine Owner'sManual.
•Keepoil levelatthe FULL mark on the
dipstick to avoid engine damage.
• Changeoil according to scheduleand
instructions in EngineOwner's Manual.
Figure2-6: Fullyassembledhandlebar
assembly.
Step 5: Perform
Final AssemblyCheck
1. Checkall nuts, screws,and handlebar
adjustment knobs for tightness.
2. Besure to read Section 1: Safety,
Section3: Featuresand Controlsand
Section4: Operationbefore usingthe
mower.
Figure2-7:Adjustinghandlebarheight.
Step 6: Set Up Mowing Mode
Your mower canbe set up for either of
two mowing modes. These mowing
modes canbag clippings or mulch
clippings. SeeSetting UpMowing Modes
in Section 4 for detaileddescriptions and
instructions on how to set up eachmode.
NOTE:Themower is shipped in Mulching
Mode. This meansthat the Mulching
Plug is installed into the discharge outlet
(Figure2-1) and that the mower is ready
to mulch grass clippings.
FeaturesandControls
/
/
/
0
H
G
A: OperatorPresenceControlBail
B: WheelSpeed Control
C:WheelDrive Bail
D: RecoilRope Starter
E: UpperHandlebarAdjustmentKnob(2)
Figure3-1
Before operating your machine,
carefully read and understand all
safety, controlsand operating instruc-
tions in this Manual, the separate
Engine Owner's Manual and on the
decals onthemachine.
Failure to follow these instructionscan
resultin seriouspersonalinjury.
INTRODUCTION
This Section introducesthe featuresand
controls found on the lawn mower.
Carefullyreview the information in this
Section,then readSection 4, Operation
beforeusingthe mower.
F:SmartBagTM GrassFiBIndicator
G:GrassCatcher
H:DischargeOutletGuard
l:LowerHandlebarAdjustmentKnob(2)
J:HandlebarHeigMAdjuster(2)
MOWERATTACHMENTS
Themower is supplied with two easily
changedattachments --the Grass
Catcher(I, Figure3-1) and the Mulching
Plug (M)-- which providetwo different
mowing modes. SeeSetting Up Mowing
Modes in Section 4 for detailedinforma-
tion on how to install and usetheattach-
ments.
A uniquefeature,the TROY-BILT®Rapid
AttachTM System, is incorporated into the
design of the attachments. This system
enablesyou to quickly and easily install
the attachments without using tools.
K:CuttingHeightAdjustmentLever
L:Belt Cover
M: Mulching Plug
N:DischargeOutlet
O:ClutchCableAdjuster
GrassCatcher Attachment
Usethe GrassCatcher(G, Figure3-1) to
collect clippings for disposal. The bag
can hold over two bushels of clippings.
TheGrass Catcheris equippedwith the
Troy-Bilt@Smart BagTM feature (F, Figure
3-1). TheSmart Bagfeature is a grass fill
indicator that provides a visual alert when
the bagis full. SeeBagging Mode in
Section 4 for detailed information.
Mulching Plug Attachment
Usethe Mulching Plug (M, Figure3-1) to
mulch lawn clippings. SeeMulching
Modein Section 4.
Section3: FeaturesandControls
MOWERCONTROLS
Thefollowinginformationidentifiesand
describesthecontrolsforall mower
models.
Operator Presence Control Bail
TheOperator PresenceControl Bail
(A,Figure3-1) must be pulled back
against the handlebarand held there
while starting the engineand operating
the unit. Releasingthe bail will shut off
the engine andstop the mower blade.
Theengine will not restart unless the bail
is pulled back againstthe handlebar.
NOTE:This control disengagesan engine
brakewhen pulled backagainst the
handlebarand engagestheengine brake
when released. Themower blade is
bolteddirectly to the engineshaft,
therefore it stops whenthe engine stops.
Theengine will not restart unless the bail
is pulled back againstthe handlebar. See
Stopping theEngineand Mower Bladein
Section 4 for more information.
Wheel DriveBail
TheWheel Drive Bail (C,Figure3-1)
engagesthe poweredrearwheels when it
is pulled up against the handlebar,and
disengagesthe wheelswhen released.
See Mowingand Turning the Mowerin
Section 4 for more information.
To move the mower without engine
power, releasethe controls and pushor
pull the mower.
NOTE:Thepinion gearsinsidethe rear
wheels may produce an occasional
knockingsound when pushing or pulling
the mower manually. This sound is
harmless. Do not lubricate the drive
wheels. Servicethe drive assembly only
as instructed in Section 5.
Wheel Speed Control
TheWheelSpeedControl (B, Figure3-1)
provides threedifferent wheel speeds.
Selectionsare:
• 1 for lowspeed
• 2 for medium speed
• 3 for high speed
SeeMowing in Section 4 for more infor-
mation.
Cutting Height AdjustmentLever
This control (K, Figure3-1) provides eight
cutting heights, enabling youto choose
the most appropriate height for the lawn
condition. Cutting heights rangefrom
3/4-inches to 4-1/4-inches. See Prepara-
tion forMowing in Section 4 for more
nforrnation.
NOTE:Actual cutting heightw_llvary
according to turf conditions..
ENGINECONTROLS
Throttle
Models 909J hasan enginethat is
equipped with a fixed throttle speedfor
the mostefficient engine performance
undervarying loads.
Primer Bulb
The Primer Bulb is usedto start a cold
engine. Seethe EngineOwner's Manual
for information specific to your engine.
Fuel Shut-Off Valve
The FuelShut-OffValve(if so equipped)
opensand closesthe fuel line. Seethe
EngineOwner'sManualfor information
specific to your engine.
Recoil RopeStart
Therecoil rope start (D. Figure3-1) Es
usedto pull-start the engine. Seethe
EngineOwner's Manualfor starting infor-
matEonspecific to your engine. Alsosee
Starting the Enginein Section4
Adjustable Handlebar Height
Themower provides three handlebar
heightsettings (J, Figure3-1). SeeStep
5:Adjust HandlebarHeight in Section 2.
Operation
Before operating the mower, carefully
read and understandall safety, control
and operating instructions in this
Manual, the separate Engine Owner's
Manual andthe decalson themachine.
Failureto follow these instructionscan
resultin seriouspersonalinjury.
• Never operate the mower with the
discharge outlet guard removed or
proppedopen.
•Do not operate mower without the
Grass Catcher, Mulching Plug or
optional Side-Discharge Chute in
place.
•Never change mowing modes or
empty the Grass Catcher while the
engine isrunning.
•Check the condition of the Grass
Catcherfor excessivewear or deterio-
ration. If damaged, contactan autho-
rized dealer or the factory for a
replacement.
TheGrass Catcherand the optional Side-
DischargeChute both usethe same
system. This system consists of an
elongatedtab (A, Figure4-1) on the top of
the discharge outlet and a receptacle(B)
built into the top of the GrassCatcher
door and the optional Side-Discharge
Chute.
Figure4-1: TROY-BIL7_RapidAttachTM
System,
bagwhen emptying.
TheGrass Catcheralso hasa Smart BagTM
grass-fill indicator (Figure4-3) which
makesit easyto tell when the bag is full.
The indicator is a rectangularpieceof
cloth sewn to the top ofthe bag. The
indicator lays flat againstthe bagwhen
the bagis full (F, Figure4-3) and billows
(G) whenthe bag is not full.
NOTE:Windy conditions mayaffect the
indicator's ability to provide an accurate
bagfill reading.
SettingUp BaggingMode
1. With the engineand bladestopped,
removethe Mulching Plug or optional
Side-DischargeChute.
10
INTRODUCTION
Readthis Section thoroughly beforeyou
start the engine. Thentakethe time to
familiarizeyourself with the mower's
basicoperation.
Findan open,levelareaand practice
usingthe mower controls. Onlyafter you
becomefamiliar with the mower should
you useit in smaller areasor on uneven
terrain.
TROY-BILT®
RAPIDATTACHTM SYSTEM
The RapidAttach System (Figure4-1) is a
feature designedinto the mower deck
which enablesyou to install and remove
the GrassCatcher,the (optional) Side-
DischargeChuteand the Mulching Plug
quickly and easily.
Attaching the Mulching Plug isjust as
easy. Hold openthe discharge outlet
guard (K, Figure4-1) and insert the plug
(L), with the word "TOP"facing up, into
the discharge outlet.
SETTINGUPMOWINGMODES
Thelawn mower hastwo mowing modes:
bagging modeand mulching mode. The
following provides descriptions of the two
modes and howto implement them.
Bagging Mode
Themower is set up for bagging mode
when the GrassCatcherisattachedto the
discharge outlet.
TheGrass Catcheris equipped with two
handlesand a swing-open door that
makesemptying easy. Usethe wire-
formed handle to help attach, remove,
transport and emptythe bag. Usethe
rear cloth handle to lift the bottom of the
Figure4-2: AttachingGrassCatcher.
2. Graspthe Grass Catcherby thewire-
formed handle. With the other hand,hold
open the discharge outlet guard (C, Figure
4-2).
3. Lower (atan angle) the bagdoor (D,
Figure4-2) onto the tab (E) onthe
discharge outlet. Makesure the bag door
seatssquarely onto the tab and covers
the tab completely.
Removingthe GrassCatcher
1. When mowing, the Grass Catcheris
full when thegrass fill indicator laysflat
against the bag (F, Figure4-3).
An alternative method for judging bag
fullness isto nudgethe bagwith your
foot. The bagwill giveeasily when not
full, and will resist when full.