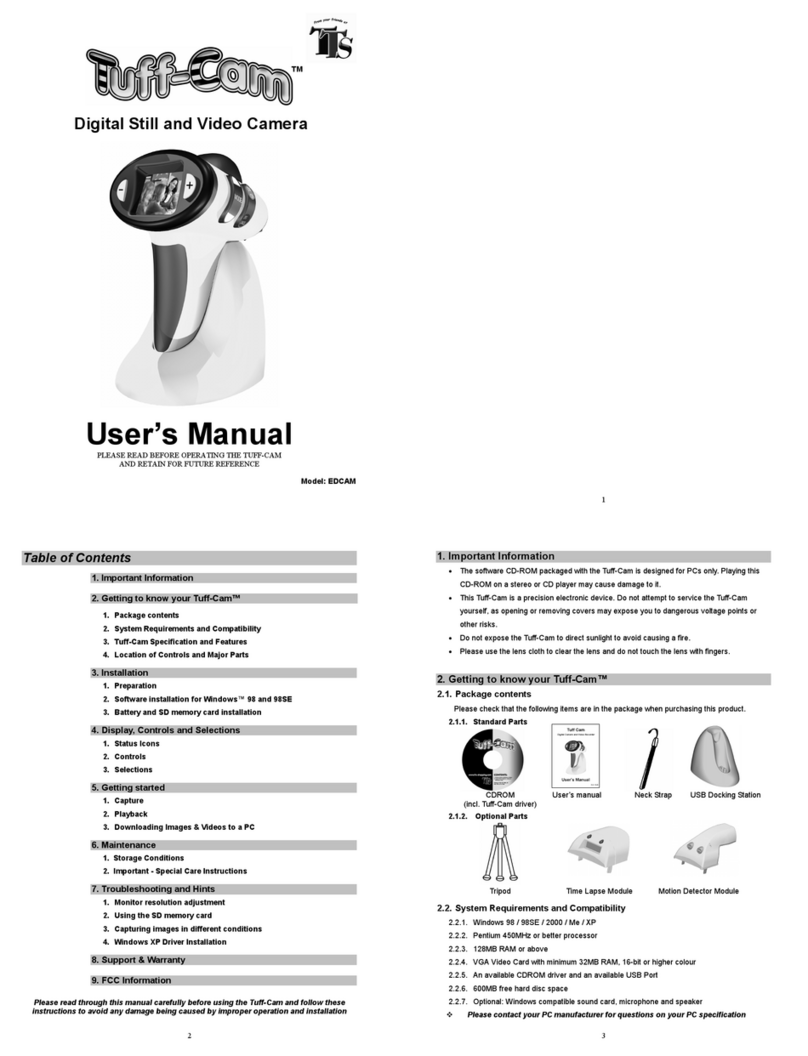
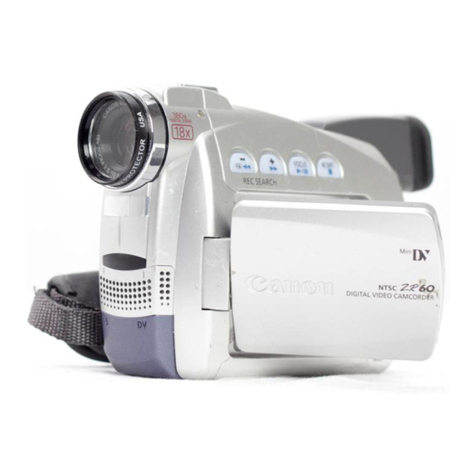
TTS Tuff-Cam 2 User manual

Warranty & Support
This product is provided with a one year warranty for problems found
during normal usage. Mistreating the Tuff-Cam 2 or opening the unit will
invalidate this warranty. Any data stored on the unit and any consequential
loss is not covered by this warranty. The battery is not user replaceable.
Technical Support
Please visit www.tts-group.co.uk for the latest product information.
TTS Group Ltd.
Park Lane Business Park
Kirkby-in-Ashfield
Nottinghamshire,
NG17 9GU, UK.
Freephone: 0800 318686 Freefax: 0800 137525
TTS Product Code:
EL00145
WARNING: Do not dispose of this product in
household waste. Hand it over to a collection
point for recycling electronic appliances.
WARNING! Not suitable for children under 36
months due to small parts – choking hazard.
Made in China, on behalf of the TTS Group Ltd.
Nxxxxx
N448
Tuff-Cam®2

Recordable magnifier,
Tuff-Cam®2
USER GUIDE
ideal for capturing observations

Information
Please retain these instructions for future reference.
nRechargeable batteries are only to be charged by an adult
nTuff-Cam 2 contains a replaceable, rechargeable battery.
nDo not mix different types of battery or new and used batteries.
nBatteries are to be inserted with the correct polarity
nDo not short-circuit the battery terminals
nOnly batteries of the same or equivalent type as recommended are to
be used.
Installing batteries in your Tuff-Cam 2
nEnsure the product is switched off.
nUse a tool to loosen the battery compartment.
nInsert three new batteries with ‘+’ and ‘-’ signs as shown in the
pictures.
nClose the battery compartment door and tighten with a tool.

Tuff-Cam®2

Switching ON and OFF
nTo switch ON, press the On/Off button briefly.
nTo switch OFF, press and hold the On/Off button for 3 seconds.
Taking a Photo
nSlide the Mode switch to PHOTO.
nTurn ON the camera, by pressing the On/Off switch briefly.
nPoint the camera at the subject. Look at the subject using the screen.
nPress the trigger button to take the photo.
nPressing the OK button will cycle through the flash modes: Auto,
Forced ON, Forced OFF.
nPress the << or >> to zoom in to or out of the subject.
Taking a Video
nSlide the Mode switch to VIDEO.
nTurn ON the camera, by pressing the On/Off switch briefly.
nPoint the camera at the subject.
nPress the trigger button briefly to start the video.
nPress << or >> to zoom in or out.
nPress the shutter button again to end the recording.
nNB. Alternatively you can also press and hold the trigger button and
Tuff-Cam 2 will take a video for the whole time that the button is
pressed (memory permitting).
Displaying the Photos & Videos
nSlide the Mode switch to PLAY.
nTurn ON the camera, by pressing the On/Off switch briefly.
nThe most recent Photo or Video taken will be displayed on the screen.
nUse the << and >> buttons to move between images.
nPress the OK button to play and pause videos.

Tuff-Cam®2
SD Card
nThe SD card slot can be accessed by unscrewing the security screw and
removing the battery cover. This should be done by an adult.
nThe SD card (not supplied) can be removed and inserted into the
relevant reader on some PCs and laptops.
nSD cards with a capacity of 4GB or less can be fitted to your Tuff-Cam
2.
TV Out
nBy connecting an AV lead (included) an analogue video signal can be
sent to a TV input.
nThe TV out will not provide an audio signal.
Switch Input
nBy connecting an AV lead (included) to the switch output an external
device or switch can be used instead of the image capture.
Using the Menu System
nThere are different Menu options available for the different positions
of the Mode switch: PHOTO, VIDEO, PLAY.
nPress the Menu button briefly to enter the appropriate Menu options
for the selected Mode.
nPress the Menu button once more to move to the Setup options,
which are available in all Modes.
nUse the << and >> buttons to move around the Menus
nUse the OK button to select a Menu item.
nSome menus have multiple pages. If you use the << or >> buttons to
move off the top or bottom of a page, the previous or next page is
shown.
nPress the Menu button once more to exit the Menu system.

PHOTO Menu Options
nSize/Resolution: VGA up to 12 Mega pixel
nQuality: Economy, Standard, Fine
nScene mode: Auto, Sport, Night, Portrait, Landscape, Backlight
nEV/Exposure correction: -2.0 to +2.0
nWhite balance: Auto, Daylight, Cloudy, Tungsten, Fluorescent
nISO: Auto, 100, 200
nColour: Standard, Vivid, Sepia, Monochrome
nSaturation: Normal, High, Low
nSharpness: Normal, Hard, Soft
nPreview: On, Off
nTime stamp: Off, Date only, Date & Time
nBurst: On, Off
SETUP Menu Options
nFormat: Yes, No
nBeep: On, Off
nLanguage: English, French, German, Italian, Spanish, Portuguese
nAuto off: 1 min, 3 min, 5 min, Never
nSystem Reset: Yes, No
nLight frequency: 50Hz, 60Hz
nTV Out: NTSC, PAL
nDate Input: Date setting menu
VIDEO Menu Options
nSize/Resolution: VGA, QVGA
nEV/Exposure correction: -2.0 to +2.0

Tuff-Cam®2
PLAY Menu Options
nDelete: Single, All, Selection
nCopy to (SD) Card: Single, All, Selection
nSlide show: 3 sec, 5 sec, 10 sec
nProtect: Single, All, Selection
nVolume: 1 to 8
Connecting to a PC or Apple Mac
nThere are two modes in which the Tuff-Cam 2 can connect to a PC:
MSDC or PC-CAM.
nIn MSDC mode, the PC or Mac will recognise the device as a USB mass
storage device and it will appear as a removable drive in the file explorer
window.
nPC-CAM mode is not available for MAC computers.
nIn PC-Cam mode, only MS Windows based computers are supported
and the drivers (see below) must be installed first.
nTo select MSDC mode, move the slide switch to PLAY before
connecting to the PC.
nTo select PC-Cam mode, move the slide switch to PHOTO or VIDEO
before connecting to the PC.
Charging the Battery
nTuff-Cam 2 is supplied with a partially charged battery and can be
used immediately without charging first.
nThe battery can be charged by placing the camera on the base and
connecting it to any active USB port. This will take between 2 and 4
hours depending on the state of the battery.
nWhile the battery is charging, the Battery Status LED will flash red.
nWhen Tuff-Cam 2 is fully charged, the Battery Status LED will change
to solid red.
nTo charge your Tuff-Cam 2, place the camera on the base, so that the
USB is plugged in.
nThen plug the USB cable from the base into a USB port on your PC or
into a USB charging adaptor (not included).

Installing the Software
The CD provided contains:
nDrivers for Microsoft Windows PCs (Win98 – Win7), which are required
in order to use Tuff-Cam 2 as a PC camera.
nULead Photo Explorer version 8.6 photo and video editing software.
nDrivers for Windows 98(SE) to add USB removable disk type. This
is required only for Windows 98 systems and allows the system to
download data files directly from the Tuff-Cam 2.
If you use Tuff-Cam 2 as a PC-Cam (web cam) or use the ULead Photo
Explorer software, then you need to install the software from the CD.
NB: Install the drivers before connecting the Tuff Cam 2 to the PC. Do not
attempt to install the drivers automatically.
Insert the CD into a PC and the installation program should automatically
begin. If it doesn’t start automatically, then run the program AUTORUN.EXE
found on the root of the CD.
If running a Windows 98(SE) computer, then first install the Windows
98(SE) MSDC Driver.
To operate the Tuff-Cam 2 as a PC-Cam (web cam), select “Install PC-Cam
Driver”
To install the ULead Photo Explorer 8.6 photo and video editing software,
select “Install ULead Photo Explorer”
When all required software has been installed, press “Exit” to finish the
installation.
Following installation of the drivers, connecting the Tuff Cam 2 to the PC (in
PC-Cam mode) will automatically start a mini-application “Image Download
Utility”. You can use this to download images and videos to the PC, even if
you are in PC-Cam mode.

Tuff-Cam®2
Specifications
nSensor: 5 MP CMOS
nDisplay: 2 inch, 640 x 240 TFT
nInternal storage: 32 Mb
nAdditional storage: SD Card slot supports up to 2GB
nBuilt-in Li-Ion battery: 3.7V, 2200mAh
nBattery life: 9 hours continuous video or over 2 years in standby
nStill resolution up to 12 MP by interpolation
nVideo: 640x480 at 19 frames/sec
n8 x digital zoom on photo and video
nAudio and video playback
nTV-Out (PAL or NTSC) with AV cable provided
nSwitch input (standard 3.5mm mono jack socket)
nUSB 2.0 high-speed interface
nDate & Time stamping (selectable)

Troubleshooting
n Tuff-Cam 2 is designed to work reliably and predictably in normal
conditions. However, it is possible that problems may occur. Please
check the following before contacting technical support:
Technical Specification
Static discharge causes the unit to malfunction
Press the reset button near LED for 5 secs
Unit freezes during use
Press the reset button near LED for 5 secs
Files corrupt or buttons don’t work
Format the drive in Windows (use the FAT format, not FAT32)
LCD screen is blank
Battery is discharged, plug into USB port to recharge
Tuff-Cam 2 fails to store images
Memory is full. Delete some files to free up memory or use a
new SD card
LED light goes out in docking station
This indicates that the battery is fully charged
Problem
Solution
Problem
Solution
Problem
Solution
Problem
Solution
Problem
Solution
Problem
Solution

Tuff-Cam®2
Other manuals for Tuff-Cam 2
2
Table of contents
Other TTS Camcorder manuals
