TYCON Solar UPSPro UPS-PL User manual

UPS-PL
UPSPro® Outdoor
Backup Power System
▫Wireless Base Stations
and Client Devices
▫Surveillance Cameras
▫Mission Critical Backup
Power
▫Remote Sensors
Congratulations! on your purchase of the UPSPro® Outdoor
UPS backup power system. Please take a moment to review this
Qwik Install Guide before assembly or battery installation.
DANGER! Avoid Powerlines!
You Can Be Killed!
When following the instructions in this guide take extreme care
to avoid contact with overhead power lines, lights and power circuits.
Contact with power lines, lights or power circuits may be fatal. We rec-
ommend to install no closer than 20 feet to any power lines.
Safety: For your own protection, follow these safety rules.
▫Perform as many functions as possible on the ground
▫Do not attempt to install on a rainy, windy or snowy day or if
there is ice or snow accumulation at the install site or if the
site is wet.
▫Make sure there are no people, pets, etc. below when you are
working on a roof or ladder.
Recommended Tools: Phillips Screwdriver, Flat Blade Screw-
driver, 5/16 nut driver
Please help preserve the environment and return
used batteries to an authorized depot

2
Qwik Install
STEP 1: Prepare Enclosure - Attach Battery Brackets
Prepare the Velcro strap and the strap brackets,
#5600066. Orient as shown.
Loosen 8 screws holding the mounting plate.
Slide the mounting plate towards you and lift up
on the top end of the mounting plate while sliding
the #5600066 brackets with Velcro Straps over
the end of the mounting plate.
Place the brackets as shown (approx 1.75”
from the enclosure walls) and attach to the
mounting plate using Qty 4 #8 x 3/8 pan
head self tapping screws.
Tighten the Qty 8 mounting plate attach
screws.
Position the #5600067 Battery Support
Brackets ~7” from the top of the enclosure.
Attach to the mounting plate using Qty 6 #8 x
3/8 pan head self tapping screw. Note: The
farthest left and right screw holes won’t be
used.
Route the Velcro straps through the slot in
the #5600067 brackets. We recommend not
installing the batteries at this time because it
makes the enclosure heavy and harder to
handle. We suggest installing the batteries once the enclosure is al-
ready mounted to a pole or wall.
STEP 2: Prepare Enclosure - Attach Pole Mount Brackets
Caution: Pole mount brackets may have sharp edges, wear gloves.
Attach the pole mount
brackets to the back of the
enclosure using four flat
washers as spacers under
the bracket and four flat
washers and self tapping
screws on top of the brack-
et per the instructions that
came with the enclosure.

3
STEP 3: Solar Battery Charge Controller Install
The system includes an
advanced PWM charge
controller with PoE output
(SCPOE). Mount the con-
troller on the backplate
using one or two #8 x 3/8”
pan head self tapping
screws. The mounting
holes in the controller don’t
match exactly to the back-
plate holes. You can angle
the controller to align two
mounting holes. You can
also mount the controller to
the inside cover using vel-
cro tape if you need more
room on the backplate to
mount your equipment.
The controller maintains
proper charge parameters
to extend battery life and
enables the system to be
Solar Ready™. Solar panels can be added at any time to extend back-
up time or provide a backup power source to keep the batteries fully
charged.
Attach the included battery cable to the controller BAT inputs. (Red to +
and Black to –). Don’t connect wires to battery until system startup step.
Note: The battery cable is different if 12V or 24V configuration. For
12V, all batteries are wired in parallel. If 24V, each pair of batteries is
wired in series and both series pairs are wired in parallel.
The controller has an RJ45 Passive PoE Output (24V or 48V) and there
is also a green wire terminal output on the back of the controller which
will be equal to the battery voltage and is also controlled by the Low
Voltage Disconnect function of the controller. Wire Terminal output sup-
ports 1.5A max.
The kit includes two Cable Gland Feedthroughs. Remove one or two
hole plugs in the bottom of the enclosure and replace with one or two
cable gland feedthroughs to be used to route external wires.
STEP 4: Enclosure Mounting
Mount the enclosure to a pole using two stainless steel hose clamps.
Cut off any extra hose clamp length after tightening to keep a clean in-
stall. As an option, the enclosure can also mount to a wall using the
included 4 wall mount brackets and user supplied screws.

4
STEP 5: Battery Install
Insert the batteries by slipping under the Velcro straps and then tighten-
ing the straps. The Velcro straps will be on top of the connectors. This
is the normal configuration.
STEP 6: Power Supply In-
stall
The UPSPro® system with
SCPOE battery charge con-
troller is designed to be pow-
ered over PoE using a pas-
sive PoE inserter and AC/DC
Power Source.
Install a CAT5 cable between
the PoE inserter/Power Sup-
ply inside building and the
SCPOE controller RJ45
“POE IN” connector. It is
highly recommended to protect electronics from lightning/surge damage
that the power supply be plugged into a surge protected outlet inside
the building. Don’t plug in the AC/DC power source until the following
System Startup step.
STEP 7: System Startup
Loosen Velcro holding the batteries so you can connect the battery con-
nectors.
Connect Battery wire negatives (Black) to battery terminal negatives
(Black). Connect Battery wire positives (Red) to battery terminal posi-
tives (Red). If battery voltage is >12V (SCPOE-12xx) or >24V (SCPOE
-24xx) the controller should be powered up.
After the controller is connected to the batteries, you can power up the
power supply that is inside the building. You should see the POE, CHA
and LOA lights lit on the controller.
POE means that there is PoE power detected on POE IN.
CHA means the battery is charging.
LOA means the load output is ON. POE OUT is on, wire terminal is ON.
STEP 8: Make sure the lid gasket is clean and free from any particles,
then close and latch the cover, making sure that wires are clear of the
gasket area. There is a small combination lock included if you want to
prevent someone from opening the enclosure without your knowledge.
UPSPro®

5
SPECIFICATION SUMMARY
Subject to change without notice
Model # Battery
Volts Battery
Capacity Storage
Capacity
Backup
Time at
25W
Avg
Load
Pas-
sive
PoE
Out
(30W)
UPS-PL1224-36 12VDC 36Ah 432Wh 9hrs 24V
UPS-PL1248-36 12VDC 36Ah 432Wh 9hrs 48V
UPS-PL2424-36 24VDC 36Ah 432Wh 9hrs 24V
UPS-PL2448-36 24VDC 36Ah 432Wh 9hrs 48V
12V Battery Configuration
24V Battery Configuration

6
TECH CORNER
1. CONTROLLER: The 12V controller turns off power to the load at
11V and reconnects when the battery reaches 12V. The 24V controller
turns off at 20V and on at 24V. This protects the batteries from overdis-
charge and increases battery life and performance.
2. CAPACITY: The UPSPro® with 4 AGM battery provides 432Wh of
backup power and will keep a 25W load alive for ~9hrs. If load is less,
then backup time is longer.
3. BATTERY MAINTENANCE: The batteries used in the UPSPro®
systems don’t require any maintenance. AGM should last up to 5 years
in normal use. Note: Never store batteries for any length of time in a
discharged state or it will damage the battery.
4. BATTERY OVERDISCHARGE: We highly recommend hooking all
equipment loads to the controller load outputs. These outputs will dis-
connect the load if the battery voltage drops below 11V/20V and this
will protect the battery from over-discharge. If batteries get completely
discharged, you will reduce the battery life and you will need to super-
charge them with a good quality 10A automotive battery charger. Don’t
charge for more than 8hrs on an automotive charger. Once they are
back to a normal operating range, the integrated charge controller will
maintain the charge.
5. POE OUTPUT: The Passive PoE output is either 24V or 48V de-
pending on the model you have selected. Be sure any device you are
plugging into this output is compatible with the voltage or you might
damage your device. Also, the port is 10/100Mb. It does not support
Gigabit speeds.
6. TROUBLESHOOTING:
Device 1
Device 2
FG = Frame Ground (Do Not Connect to
V-)
GND = V- (There are two V– connec-
tions:1 and 2)
+12V or +24V = V+ (There are two V+
connections: 1 and 2)
+
-
Wire Terminal Connector Pinout

7
A. There is no Load Output?—If battery voltage is too low, the
charge controller will turn off the load outputs. On a 12V battery
system the load will turn off if battery is <11V. On a 24V battery
system the load will turn off at <20V. It won’t turn back on until the
battery voltage exceeds 12V/24V. Also check front panel fuse.
B. I want to add solar panels to extend the backup time. What is
the largest solar panel I can use? Max Solar Panel Size = 12V
100W , 24V 200W
C. The CHA light is flashing. What does that mean? The CHA or
Charge light flashes when the batteries are almost full and the
controller switches to PWM float mode.
D. What is the REV light? The REV light means that the battery
connections are backward. Please correct immediately to avoid
damage to the controller.
6. ACCESSORIES: Tycon® offers a variety of accessories to meet al-
most any need. Just visit tyconsystems.com for more info.
Limited Warranty
The UPSPro® products are supplied with a limited 24 month warranty
which covers material and workmanship defects. This warranty does
not cover the following:
▫Parts requiring replacement due to improper installation, misuse, poor site
conditions, faulty power, etc.
▫Lightning or weather damage.
▫Physical damage to the external & internal parts.
▫Products that have been opened, altered, or defaced.
▫Water damage for units that were not mounted according to user manual.
▫Usage other than in accordance with instructions and the normal intended
use.
NOTES

8
8000117 Rev 1 UPS-PL-LG SCPOE UPSPro® Qwik Install Guide
Table of contents
Other TYCON Solar Power Supply manuals

TYCON Solar
TYCON Solar UPSPro UPSTL48 User manual

TYCON Solar
TYCON Solar RemotePro RPPL-SM User manual

TYCON Solar
TYCON Solar RemotePro RPST12M User manual

TYCON Solar
TYCON Solar RemotePro RPSTL 12 User manual

TYCON Solar
TYCON Solar RemotePro RPS 12 User manual

TYCON Solar
TYCON Solar RemotePro RPAL48 User manual

TYCON Solar
TYCON Solar UPSPro UPS-STL-500 User manual
TYCON Solar
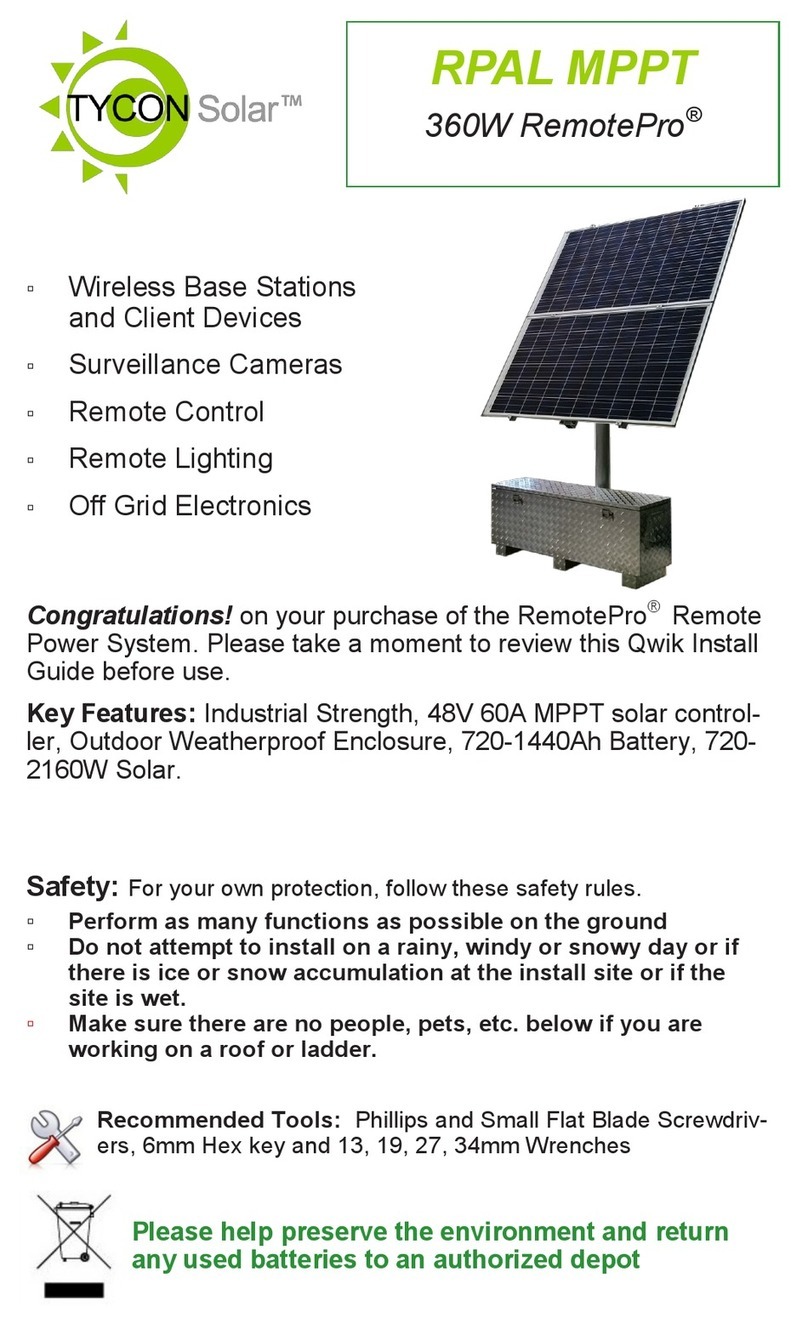
TYCON Solar RemotePro RPAL MPPT User manual
TYCON Solar
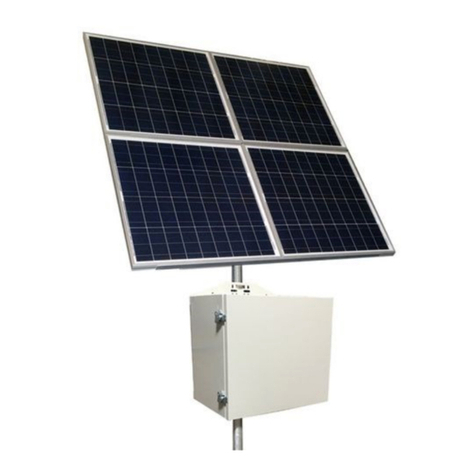
TYCON Solar RemotePro RPSTL 12 User manual
TYCON Solar
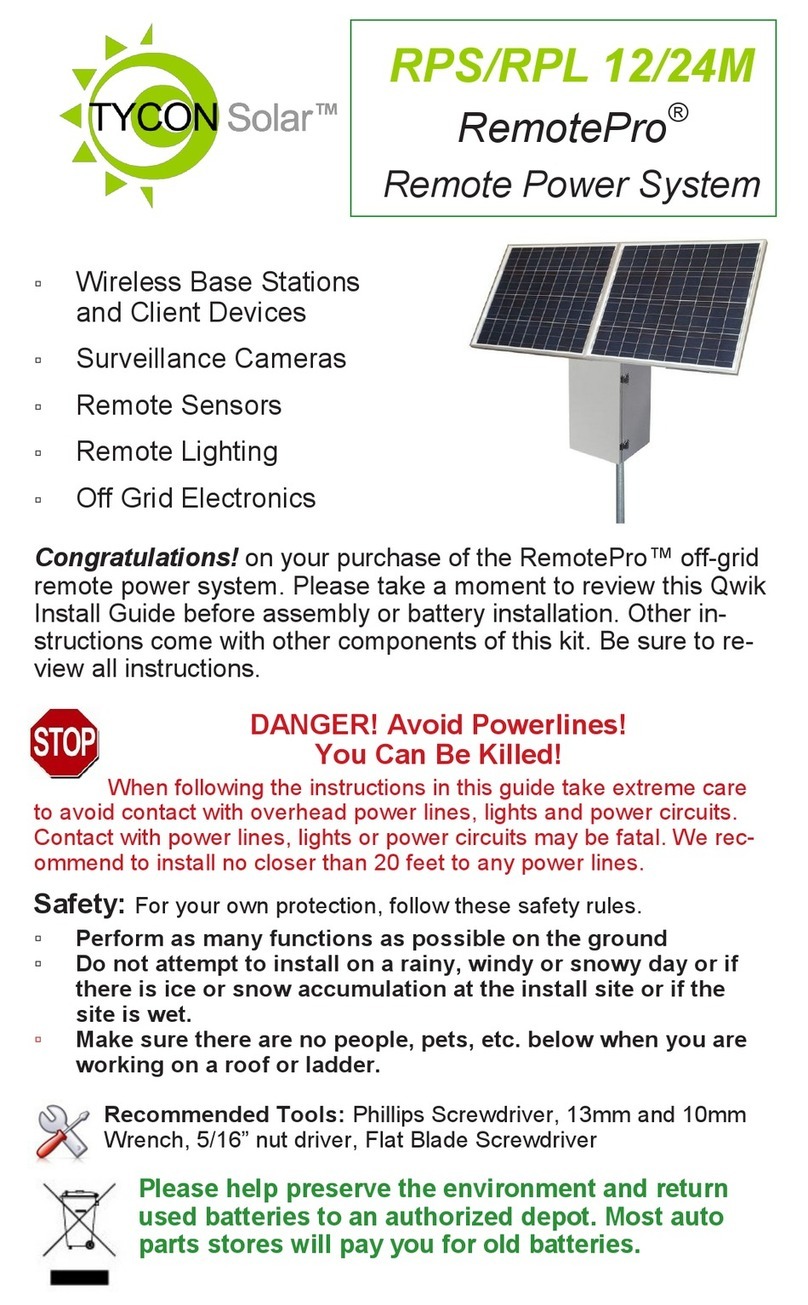
TYCON Solar UPSPro UPS-PL-120 SM User manual