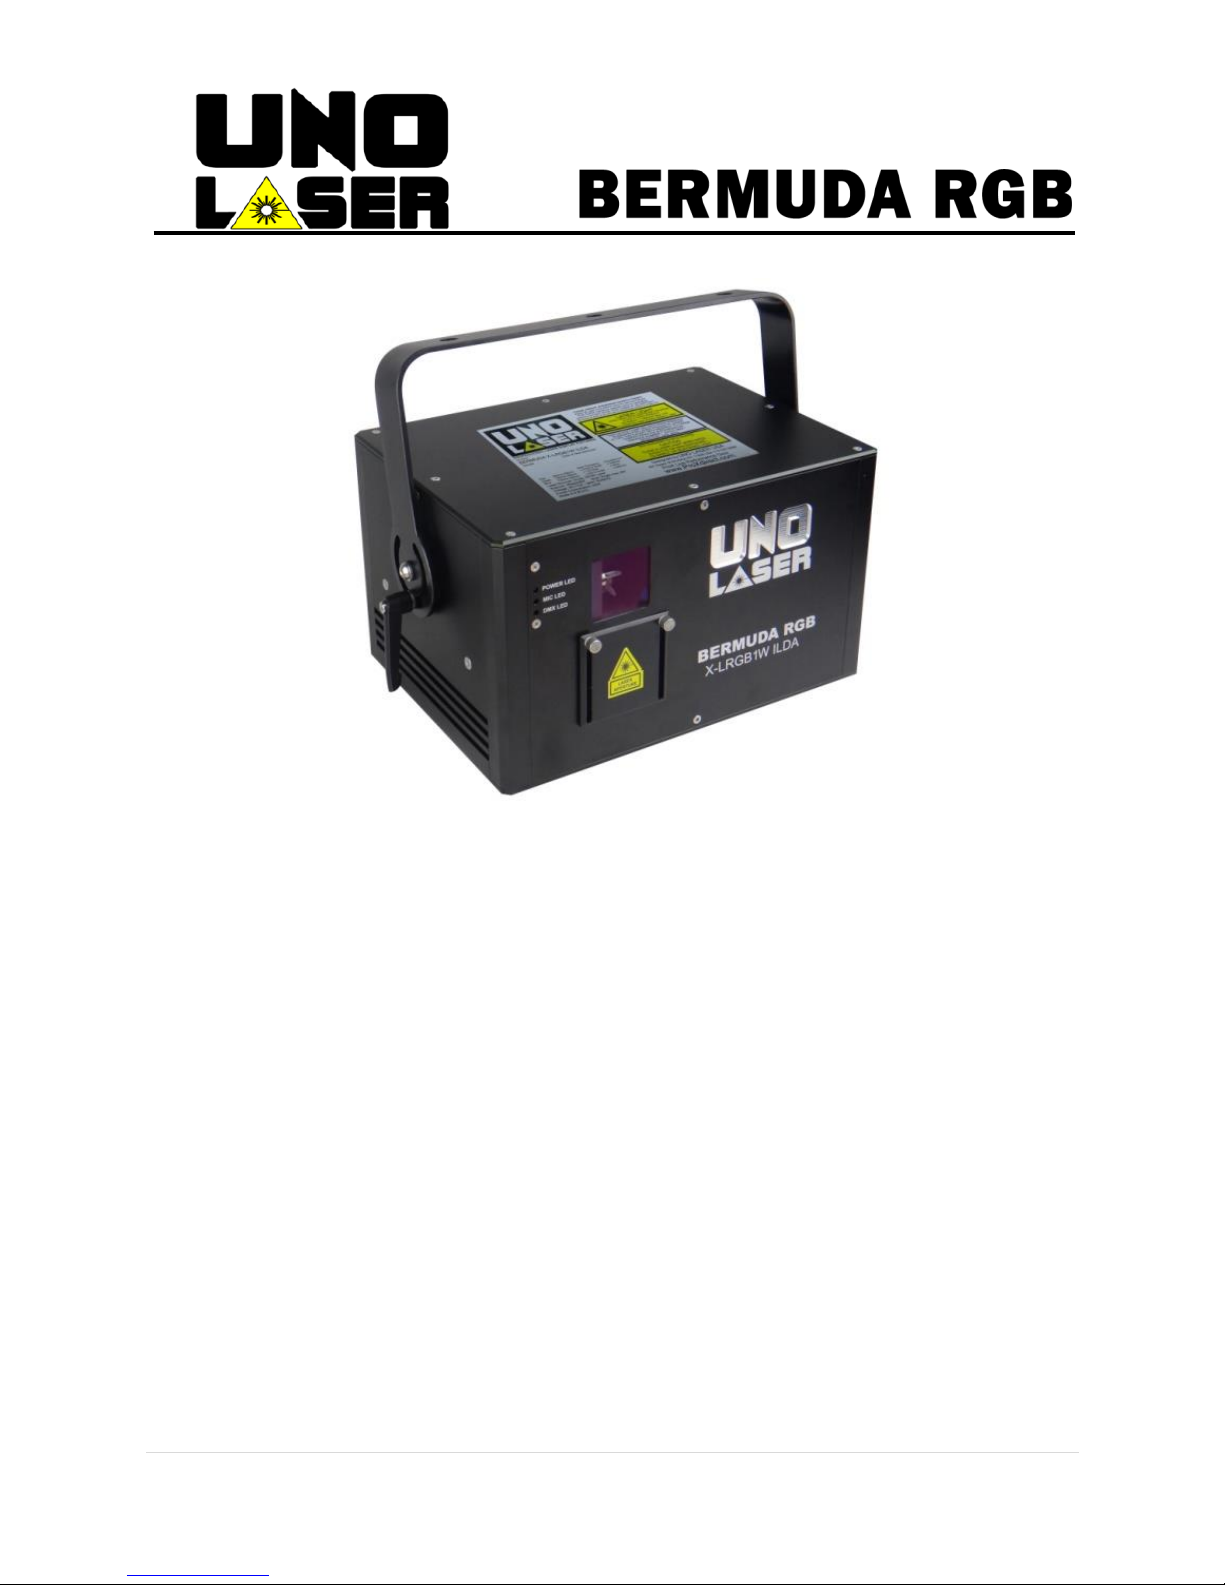
2 | BERMUDA X-LRGB1W ILDA USER MANUAL V2016-A
USER INFORMATION
USER INFORMATION
This manual contains important laser operation information. Read and understand all
instructions prior to powering on laser unit the first time, to avoid laser eye injury and
to avoid breaking the law. Keep this manual in a safe place for future reference.
WARNING DATA
Lasers can be hazardous and have unique safety considerations. Permanent eye injury
and blindness is possible if lasers are used incorrectly. Pay close attention to each
safety REMARK and WARNING statement in the user manual. Read all instructions
carefully BEFORE operating this device.
NON-INTERLOCKED HOUSING WARNING
This unit contains high power lasers internally. Do not open the laser housing, due to
potential exposure to unsafe levels of laser radiation. The laser power levels accessible
if the unit is open can cause instant blindness, burn skin, and cause fires.
VARIANCE
A "Laser Light Show Variance" is the permit required from FDA for operating UNO
Lasers in a public forum & outlined in details under FDA guidelines for Laser Display
Show. If you are producing a show with laser light effects, not having a show variance
could lead to large fines if your show gets inspected by FDA officials.
Demonstration laser products are only to be purchased and used by organizations
which already hold a valid Class 3B or Class 4 US laser light show variance!
Visit our website to apply for your FREE Laser show variance
http://variance.ProXdirect.com
WARRANTY
1 Year Laser Diods & Scanner 2 Years General Parts
Life Time Clean & Calibrate Each Uno Laser system will be cleaned and re-
calibrated at no extra cost each year for the life of the unit. (Shipping not included)
Please register your new purchase with us for your warranty with Uno Laser
within 30 days of your purchase.
http://warranty.ProXdirect.com