Page 7
Select the SYS tab. Navigate down by pressing the ▼button until the
FORMAT option is highlighted and press OK then choose Yes to format.
Fig 6
4.2 Quick Setup
To start, turn camera onto Setup. Press Menu button once to open
the customization menus. Turn to SYS tab, set the time and date. Then
turn camera to On. The screen will go black.
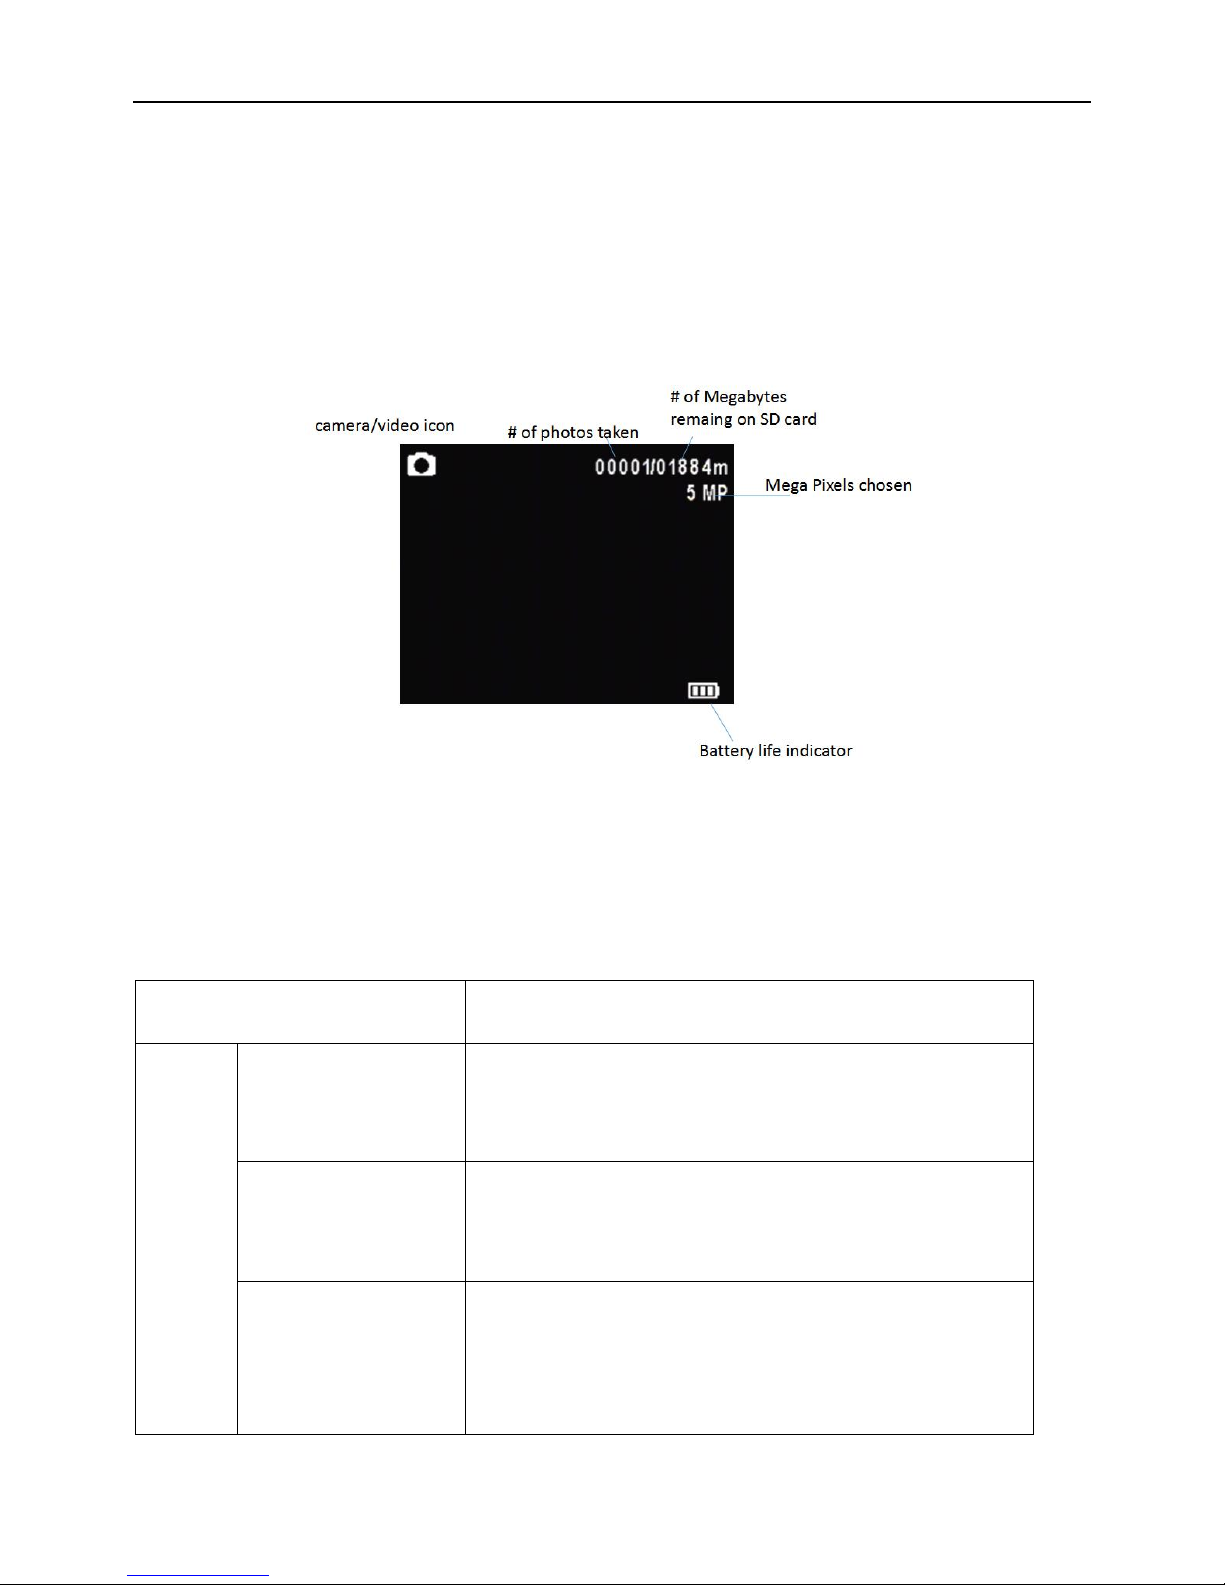
4.3 View or Delete photos on the color display
You can view your photos on the color display when in the field. If you
want to do this, make sure the Power switch is set to SETUP. Press the
Play button . You can use the ◄► buttons to toggle through the
photos.
If you see photos you want to delete, press the DEL button. Use the
◄► buttons to toggle through YES or NO. Press OK to delete it
Press the Play button again, you can back to the main screen.
If you want delete all photos one time, press from main screen,
then press MENU. Choose Delete item, and use ►to select delete all.
After delete all the photos, press again to back to the main screen.