UWT AV1 User manual

AV1
dive computer
MANUAL
(revision 8/2015)
2015

2
CONTENTS
WARNING............................................................................................................................................................................. 4
1. AV1 DIVE COMPUTER GENERAL DESCRIPTION............................................................................................. 5
2. MAIN PARAMETERS AND DISPLAY FUNCTIONS ................................................................................................ 6
2.1 CONTROL BUTTONS ...................................................................................................................................................................... 6
2.2 POWER SUPPLY ............................................................................................................................................................................. 6
2.3 UNITS OF MEASUREMENT ............................................................................................................................................................ 7
3. TURNING ON AND OFF ............................................................................................................................................ 8
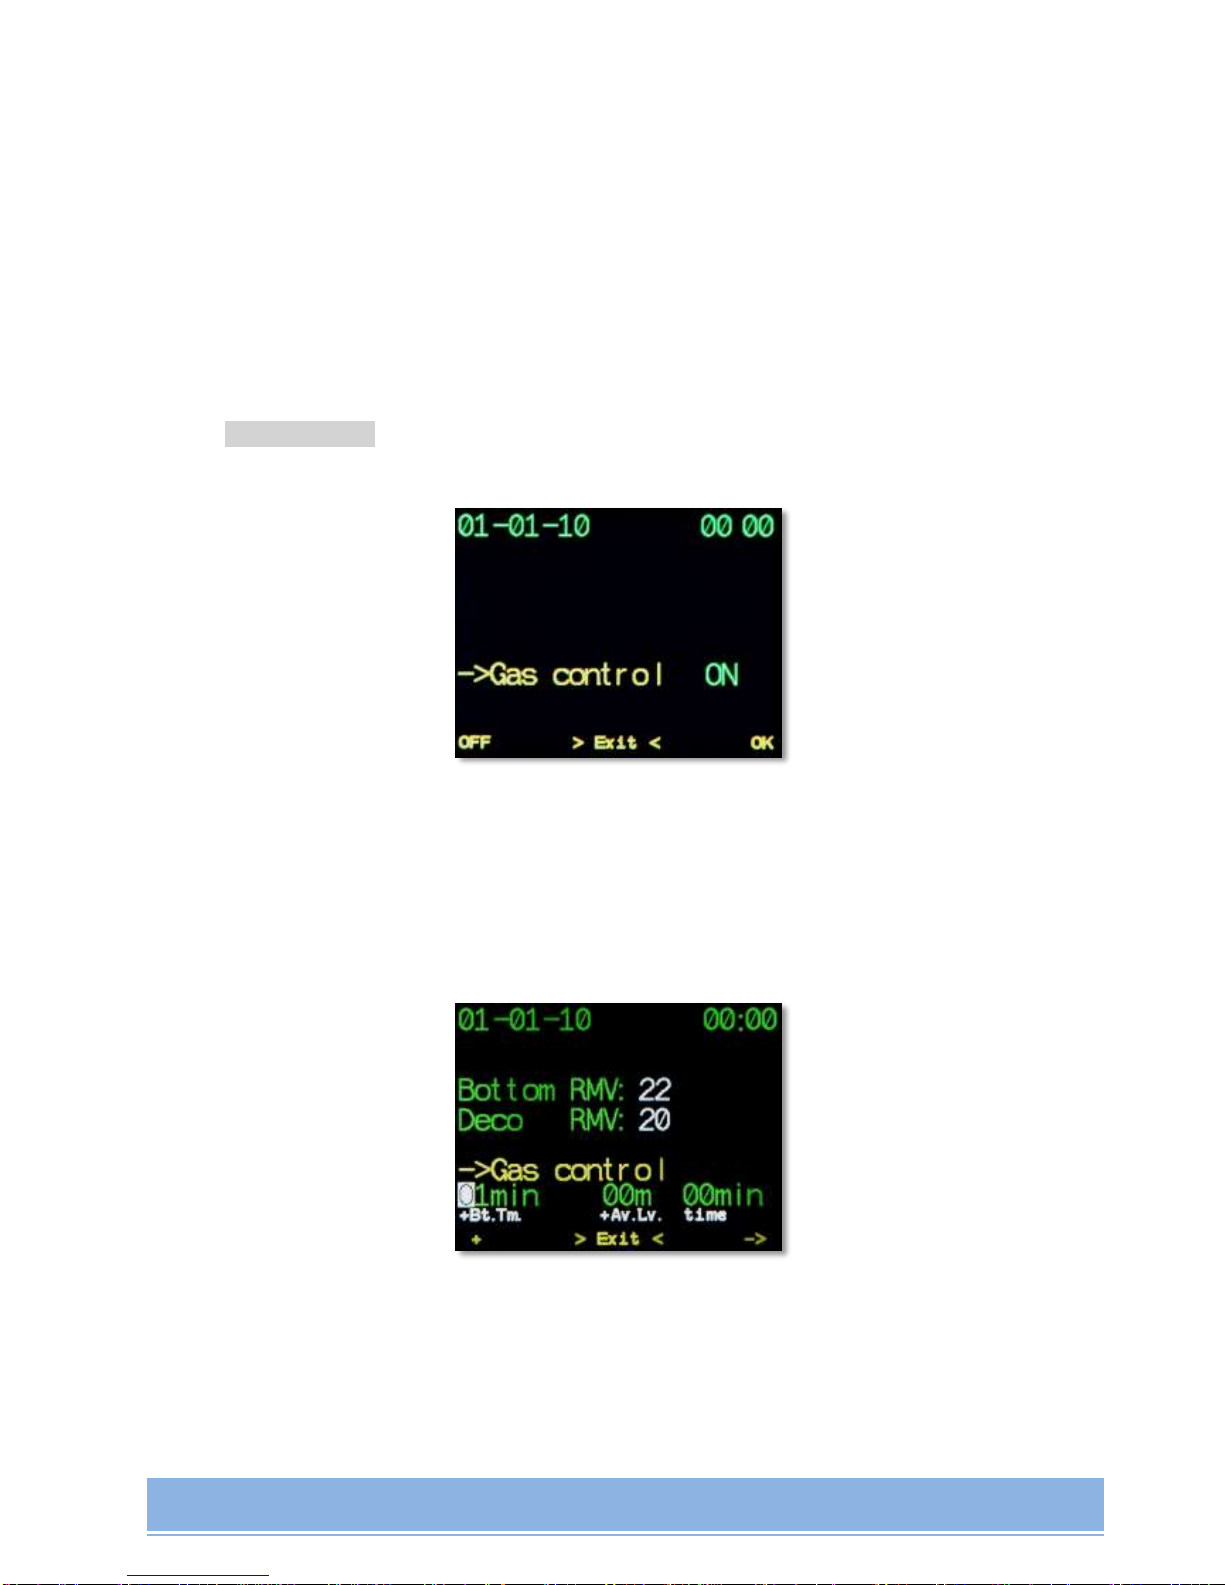
4. THE MENU ....................................................................................................................................................................... 8
Turn OFF....................................................................................................................................................................................................8
->Switch SP ...............................................................................................................................................................................................9
->Dive setup -> ........................................................................................................................................................................................9
->Select mix............................................................................................................................................................................................13
->SwitchOC/CCR..................................................................................................................................................................................14
>Сheck PO2 Cells->.............................................................................................................................................................................14
->Diveplan..............................................................................................................................................................................................17
->Logbook...............................................................................................................................................................................................18
->Plan dive .............................................................................................................................................................................................18
->Backlight.............................................................................................................................................................................................18
->Switch screen....................................................................................................................................................................................20
->DiveSimulator ..................................................................................................................................................................................20
->Play game...........................................................................................................................................................................................20
->CellsControl .......................................................................................................................................................................................20
->Calibrate O2.......................................................................................................................................................................................21
5. MAIN OPERATION MODES...................................................................................................................................... 21
5.1 SURFACE INTERVAL MODE ....................................................................................................................................................... 22
5.2 DIVE MODE .................................................................................................................................................................................. 23
5.3 GAUGE MODE .............................................................................................................................................................................. 25
5.3.1 Gauge mode Turning On/Off..............................................................................................................................................26
5.3.2 Average Depth calculation and Dive Segment Time...............................................................................................26
5.4 RECREATIONAL MODE ............................................................................................................................................................... 27
5.5 DIVE SIMULATOR MODE............................................................................................................................................................ 29
5.6 BUILT-IN DIVE PLANNER.......................................................................................................................................................... 29
5.7 PO2CELLS CONTROL MODE ..................................................................................................................................................... 30
5.7.1 Pinout Scheme...........................................................................................................................................................................31
5.7.2 РО2Calculation.........................................................................................................................................................................32
5.7.3 Alarm Warnings.......................................................................................................................................................................32
5.7.4 PO2 Control Mode Turning On ..........................................................................................................................................33
5.7.5 Oxygen cells Calibration.......................................................................................................................................................34
6. ECCR CONTROLLER................................................................................................................................................... 35
6.1 ECCR AV1 CONTROLLER FUNCTIONS.................................................................................................................................... 35
6.2 POWER SUPPLY SYSTEM............................................................................................................................................................ 36
6.3 HUD ............................................................................................................................................................................................. 36
7. BUILT-IN COMPASS................................................................................................................................................... 37
7.1 CALIBRATION.............................................................................................................................................................................. 38

3
7.2 DIRECTION FIXATION MARKING ............................................................................................................................................. 38
8. AV1 MANAGER MODE .............................................................................................................................................. 38
9. GAME.............................................................................................................................................................................. 40
10. TECHNICAL CHARACTERISTICS AND SERVICE CONDITIONS................................................................... 40
11. AV1 SERVICING ........................................................................................................................................................ 41
12. WARRANTY............................................................................................................................................................... 41

4
WARNING
Decompression meter firmfare calculates theoretical tissue saturation with inert gases based
on a mathematical model. This model was made thanks to a variety of experimental data with
the latest decompression theory developments. Nevetherless, using the dive computer, as
well as decompression tables cannot guarantee complete protection against
Decompression Decease (DD). Each diver has his own physiology that changes from day
to day. None of mechanisms can foresee response of your body to any dive profile.
Never dive deeper than dive limit set by safe Oxygen Partial
Pressure!
Never breach decompression procedures!
Never dive deeper the limit you are certified to!
Always study local diving conditions and depths where you are
planning to dive!

5
1. AV1 DIVE COMPUTER GENERAL DESCRIPTION
AV1 dive computer (further –AV1) shows all important dive parameters and
decompression information on the screen.

6
2. MAIN PARAMETERS AND DISPLAY FUNCTIONS
2.1 Control Buttons
Control buttones allow to choose display functions and access the required specific
information. They are also used to enter display settings.
Two piezoceramic buttons are used to manage AV1 modes and settings. The buttons are
located on both (left and right) sides of the computer. Both sequential and simultaneous
pressing of the buttons are used. Current buttons’ settings are displayed as context-sensitive
hint in the bottom bar of the screen.
Symbol >xxxx< in the middle of the bottom bar means «simultaneous pressing of 2 buttons».
When you are in any MENU item in Surface mode and don’t press any buttons for more than
60 seconds, the computer will leave the MENU item to the Main screen. In Dive mode
buttons’ timeout will take 15 seconds. The only exclusion is Dive Planner mode when
automatic switching to the Main screen will happen in 5 minutes.
In Surface mode buttons are set to maximum sensitivity. You can set AV1 in such a way that
AV1 could automatically decrease buttons’ sensitivity in Dive mode in order to avoid
occasional buttons’ pressing. Sensitivity range is 0… -14. Do not set buttons’ sensitivity too
low. It can complicate managing AV1 in Dive mode. Range -5 … -7 would be a good
compromise for the majority of cases. You can test buttons’ operation in the Simulator mode.
2.2 Power Supply
Li-Ion accumulator battery is used in AV1. Accumulator charging is automatic when the
computer is linked to any device with power supply more than 500mA via USB port.
Green-color indicator will flash when you switch on the computer. The charging process will
be marked with a red-color indicator. When charging is finished, the red-color indicator will
disappear. It's recommended to leave AV1 connected to a power supply source for 30
minutes after charging process is finished (when the red indicator disappears). Battery
charging will be better.
Dive computer re-charging can be done at any level of accumulator charging –it does not
affect the accumulator capacity.

7
Time of AV1 independent work depends on the preset screen brightness. Work time will
decrease with higher screen brightness. Screen brightness will be decreased to 30% level
when battery level goes down to 20%.
If the battery is discharged lower than recommended, AV1 will automatically turn off. You will
be able to turn the AV1 on only upon battery charging. Information in the logbook will not be
lost.
Operation time with fully charged battery is about 10 hours.
If you don't use AV1 for a long time, charge it at least once in 2 (two) months. It will prolong
battery life.
Don’t take too much effort when screwing the cap!
The cap is screwed until the tight contact between external O-ring of the cap and the device
body.
Every time ensure that USB-port slot is clean and undamaged. Lubricate O-rings and thread
with silicone grease when required.
2.3 Units of measurement
Both Metric and Imperial units of measurements are used in the decompression meter
(meters and Celsius degrees or feet and Farenheit degrees).
With full battery discharge all the information
(current settings, current tissue saturation) will be lost!
Try not to use AV1 at low temperatures (minus zero C) and keep it in a warm place
right up to the dive.
Try to charge AV1 beforehand –before «lo bat» indicator appears on the screen.
Don’t forget to screw the AV1 USB-port cap tightly upon battery charging!
DO NOT START YOUR DIVE if lo bat indicator is on!

8
You can switch between units of measurement in the Menu via ->Display mode (see
Chapter 4 “The Menu”, subparagraph «System Setup», page 16).
Date format is displayed as follows:
- in Metric units: dd-mm-yy;
- in Imperial units: mm-dd-yy.
3. TURNING ON AND OFF
To turn the dive computer on from the Sleep mode press, firstly, the left button, then right
away –the right one.
AV1 will switch from Surface mode to the Sleep mode upon the end of time-out period,
provided no buttons were pushed during this period.
You can set up time to automatic switch to Sleep mode by yourself: see setup procedure in
Chapter 4 «The Menu», subparagraph >SystemSetup->TimeToSleep (page 17).
The device can be switched into the Sleep mode forcefully by selecting TurnOff Menu. You
can switch to TurnOff menu from the Main menu in a Surface mode by pressing both buttons.
In the Sleep mode AV1 keeps continuously recalculating the current tissues' saturation and
CNS level taking into account your surface interval.
AV1 will automatically switch to Dive mode within 10 seconds of 2 meters' submerging.
AV1 will also automatically switch from Dive mode to Surface mode, if the depth is less than
1(one) meter within 2 minutes.
ATTENTION! Two dives with surface time between these 2 (two) dives less than 2
minutes will be recorded as 1 (one) dive.
4. THE MENU
Description and function of the main menu items:
Turn OFF
(only in Surface mode) switching to the Sleep mode.
This menu item is also accessible by simultaneous pressing both buttons in the Main Menu
Screen.

9
->Switch SP
(only in CCR mode)
manual switching between Low, High and Deco Setpoints. Choose the required Setpoint with
button Next and confirm with button ОК.
->Dive setup ->
Entry to the submenu of dive mode settings
->Edit mix
Gas list editing. Here you can add gases into active gases' list which will be available
in Select mix menu item. You can also edit MOD field.
Navigating between fields is made with button, changing the field value is made
with + button. MOD field value is taken into account when best mix is offered at the
moment of gas change via ->selectmix menu item, and when TTS value calculation
and when planning your dive.
Each gas in the list may have the status of "non active", "for open cycle", "for the
closed circuit" and "open and closed circuit". This is taken into account when planning
and decompression when entering the list of gases while switching gases.

10
Accordingly, you can now set you diluent in CCR mode as active CCR gas, as well as
all bailout gases as OC ones. In this case, decompression and TTS in CCR mode
shall be calculated based on diluent, and in the case of switch to OC automatically
calculated based on OC gases and will offer the gas from the list of OC gases.
РО2field is for reference only and non-editible. It automatically indicates РО2at MOD
depth with preset oxygen fraction. It will be offered to save results of editing upon
navigating through all the editible fields.
->Gas Control
Mode is fairly universal. Allows to predict gas consumption during the main or
emergency plan in real time - both in OC mode as well as when changing from CCR to
bailout. Before diving, you must set the parameters of the emergency plan:
additional bottom time (will be added to the current bottom time);
additional level of average depth and the time at this level.
As a rule, the emergency plan is sufficient to indicate to the bottom + 1-2 min. time. In
the current CCR mode emergency plan will be calculated as an immediate change
from CCR to the OC and switching to the list of gases with the status of "OC" or "OC +

11
CCR".
Additional depth level is required, if before ascending decompression time some
horizontal route is supposed, for example, in the overhead environment, or to the
buoy.
CAUTION!!! This level is taken into account if it is shallower than the current
depth.
If the Gas Control mode is activated, in Dive mode TTS will be displayed alternately in
5 seconds interval. For emergency plan TTS value will be displayed in a frame.
In this case, the current value of the nearest decompression stop and time of the stop
are ALWAYS displayed only for the MAIN plan.
In addition, if Gas Control mode is activated, the box for gas reserves becomes visible
and active. Gas reserves values must be entered BEFORE EACH DIVE.
When calculating the emergency plan based on bottom RMV & deco RMV gas residues'
forecast is displayed upon finishing the dive based on emergency plan and shown as a

12
diagram:
Eight gases' list is displayed in squares. Square number from left to right corresponds to the
number of gas in the list. It is therefore convenient to have the list of gases from the deepest
to the oxygen in the ascending order. In the example listed on a photo three active OC gases
are numbered 1, 3, and 5.
Color of each square depends on the planned balance for the ascent as a percentage of the
original volume:
Black - not active
White > 50%
Blue > 40%
Green > 30%
Yellow > 20%
Red > 10%
Flashing red square with a cross> 1%
Starting from Firmware 2.7b version AV1 eCCR controller supports the standard tempstick
for Inspiration Vision. Through the same interface C02 sensor can be connected in the future.
->Setup SP
(only in CCR mode) Editing High, Low and Deco Setpoints and Depth of
AutoSwitching.
Next –selection of High or Low Setpoint for editing.
Edit –access to editing mode.
Value range for Low Setpoint: 0.40-0.95, for High Setpoint: 1.00-1.60 with discrete
interval of 0.05. Switching between digits is done with button, changing the value
with +. It will be offered to save results of editing upon navigating through all the
editible fields.

13
->AutoSwitch SP
(only in CCR mode) Turning On / Off AutoSwitch of Setpoints.
By pressing ON for this SubMenu AutoSwitch of Setpoints (from Low SP to High SP,
and vice versa) will be made when crossing the depth level preset in SW at SubMenu
in ->Setup SP. By pressing OFF AutoSwitch of Setpoints can be made only manually
via >SwitchSP SubMenu.
->Conservatism
Editing Low and High Gradient Factors.
Editing range 0.05-0.95 with discrete interval of 0.05. Switching between digits is done
with button, changing the value with +. It will be offered to save results of editing
upon navigating through all the editible fields.
->Last STOP
Editing final decostop depth.
Available values: 3-4-5-6 meters.
->Select mix
Current gas selection.
Access to this menu item is also available from the main screen by pressing the right button.
Only active gases will be offered in the list (see Menu item -> Edit mix). The gas with the
most suitable MOD value (Maximum Operating Depth for a breathing gas below which the
partial pressure of Oxygen (ppO2) will be offered as the first one.
Select gas by pressing Next , confirm your selection –press ОК.
When you try to select a gas with PO2lower than 0.16 bar or PO2higher than 1.6 bar, the
warning about dangerous choice will be displayed: DANGER! SURE?. You can choose
another gas by pressing Next, cancel by simultaneous pressing of two buttons >Cancel<, or
confirm by pressing ОК.

14
Fast navigation to Gas List Editing menu is also available. For this select edit mix menu in
Gas List.
->SwitchOC/CCR
Switching to Open Circuit (OC) or Closed Circuit (CCR).
Switching is done by one pressing ОК button.
>Сheck PO2 Cells->
PO2 sensors' correctness control mode during the dive:
PO2 values at the current depth are displayed at the bottom of AV1 screen in case of flushing
the loop with diluent or (up to 10 meters inclusive) with oxygen. The function works on all
AV1 products in CCR mode.
>System Setup->
(only in Surface Interval mode) System settings of dive computer.
->Set date/time
(only in Surface Interval mode) System Time/Date setting.
Switching between digits is done with button, changing the value with +. It will be
offered to save results of editing upon navigating through all the editible fields.

15
->Up/Download
(only in Surface Interval mode) Switching to DFU –Device Firmware Update mode or
Logbook Downloading.
When switching to this mode, the computer will be re-loaded. All the basic settings will
be automatically saved in a non-volatile memory. Upon exiting the mode the computer
will offer you either to reset all the default settings, or to upload the settings saved
before.
NOTE! When switching to this mode your dive computer will be reloaded, and all the
current settings, tissues' saturation, CNS and system time data will be lost!
->Mode
(only in Surface Interval mode) Switching between Technical, Recreational and Gauge
(bottom timer) Modes. For details see Gauge Mode and Recreational Mode.
->Water density
(only in Surface Interval mode) Water Density setting.
Available values 0.900-1.050 with discretion interval of 0.005. This value affects the
accuracy of depth indications with various water salinity level. This setting does not
affect any decompression calculations! All the decompression calculations are
made based on measured pressure and do not depend on water salinity ratio.
->Flip screen
This mode turns the screen picture by 180 degrees.
->Info
(only in Surface Interval mode)
Battery сharging level and unique computer identification number will displayed on the
screen.
ATTENTION!
Date and time are NOT set automatically in the dive computer!
Set date and time before the first dive!
In case if the dive computer is rarely used,
please, check date and time during each charging!

16
->Display mode
(only in Surface mode)
Switching betweem Metric and Imperial units of depth and temperature measurement
(meters and Celcius degrees or feet and Farenheit degrees). Переключение между
метрическими и имперскими единицами измерения глубины и температуры.
Switching between fields is done with button, saving with OK.
->Language
(only in Surface mode) Choosing the language.
Russian and English languages are available for choice.
Switching between fields is done with button, saving with OK.
->Button Sensit
(only in Dive mode) Buttons’ sensitivity adjustment.
This setting helps to REDUCE buttons 'sensitivity in a DIVE mode. It can be
required in case when occasional buttons' pressings with alien objects are
possible underwater: dry glove ring, other gauge, torch, etc.
This setting doesn't affect buttons' sensitivity in a SURFACE mode.
Possible settings' options are in a range 00.... -14. 00 is a MAXIMUM sensitivity,
-14 is a MINIMUM sensitivity.
As a rule, maximum sensitivity (equal to 00) doesn't cause any trouble. Though
if you wish to reduce sensitivity underwater - do it gradually, every time verifying
if this setting is convenient for you.
Do not put sensitivity too low. It can cause cause impossibility to press buttons
underwater.

17
In any case, upon surfacing and switching AV1 in to a surface mode button's
sensitivity will switch to a maximum one.
To save press OK.
->CompasCalibrate
(only in Surface mode)
Compass calibration procedure start-up. More about the procedure see in Article 7.1.
Upon finishing calibration procedure press Save button to store results in non-volatile
memory.
->TimeToSleep
(only in Surface mode)time setup for automatic dive computer swtich to Sleep mode.
Available setting options: 30sec –60sec –2min –10min –30min –60min.
Default setting: 60sec.
In PO2 cells control moe or in eCCR mode AV1 will be making sound signal for 1 min.
and flashing alternately with red and green HUD L.E.D. prior to automatic switch off.
->Diveplan
(only in Dive mode) Looking through forthcoming (planned) safety stops.
A list of forthcoming safety stops is in the bottom part of the screen. To browse through the
list use buttons Up и Down. Exit from browse display - simultaneous pressing of 2 buttons.
If you use AV1 in Gauge Mode and have preliminarily planned your dive in a built-in Dive
Planner, you will be able to look it through during your dive.

18
->Logbook
(only in Surface Interval mode) logbook browsing.
Brief information, graph, complete information in table mode.
Depth profile (blue), temperature profile (green) and decompression ceiling (red) are
presented in a graphic way.
Switching between modes is done by simultaneous pressing of 2 buttons.
In brief information and in graph modes switching between dives is done by pressing Next и
Prev.
Note! Exit from logbook mode to main menu screen can be automatic within 30 seconds, or
by consequential pressing buttons through Graph-Table modes.
->Plan dive
(only in Surface Interval mode) Dive planning mode.
Planning is done based on the list of current active gases and settings (GF, SP, laststop).
See in detail - Built-in Dive Planner.
->Backlight
Adjusting backlight intensity.

19
Possible value range1-10. 1 –the lowest level of backlight intensity; 10 –the highest level of
backlight intensity.
The higher backlight intensity, the faster battery discharging. AV1 battery capacity at
minimum brightness –not less than 20 hours. At maximum one –10 hours.
Dynamic backlight intensity with depth increase.
This function helps to decrease excess backlight intensity with depth increase what will
significantly save battery charge and make AV1 application more convenient.
In the menu - 3 parameters:
Surface backlight intensity,
Depth point,
Backlight intensity at this depth.
Example.
Default settings: surface backlight intensity = 7, depth point = 40m, backlight intensity at this
depth = 4.
With these settings backlight intensity at the surface will be equal to 7; from the surface to the
40m depth point it will be linearly decreasing to 4; upon reaching the depth point the intensity
will stay equal to 4. When surfacing opposite procedure will start: linear increase from 4 to 7
when surfacing from 40 m depth to the surface.
In AV1f and eCCR controller version HUD backlight intensity will work in the same way.

20
->Switch screen
Sets the screen view: Main, Alternative (only in Dive Mode) or Compass.
Switching between screens in Dive Mode is made by pressing both buttons.
See in detail Dive Mode.
->DiveSimulator
(only in Surface Interval mode) Turning On/Off Dive Simulator Mode. «Dive» Depth
adjusting.
When the Dive Simulator mode is on, quick access to «Dive» Depth adjusting can be done
by simultaneous pressing of 2 buttons. See in detail Dive Simulator mode.
->Play game
Available in all Modes.
Game «Python». Button “<-” - counterclockwise turn.
“->” –clockwise turn.
Pressing both buttons –game exit.
During the game all decompression calculations are made on a full scale in a background
mode
->CellsControl
(only in CCR mode)
Turning On/Off PO2control mode managed by Oxygen cells.
Table of contents