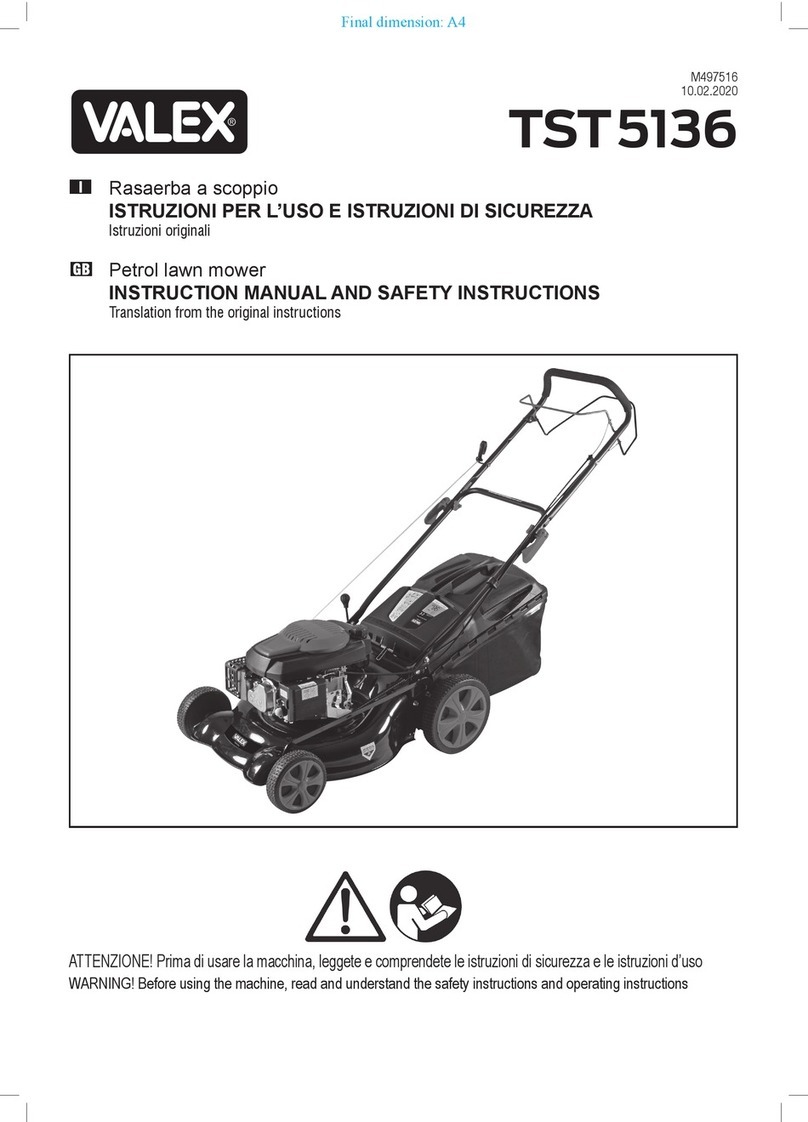
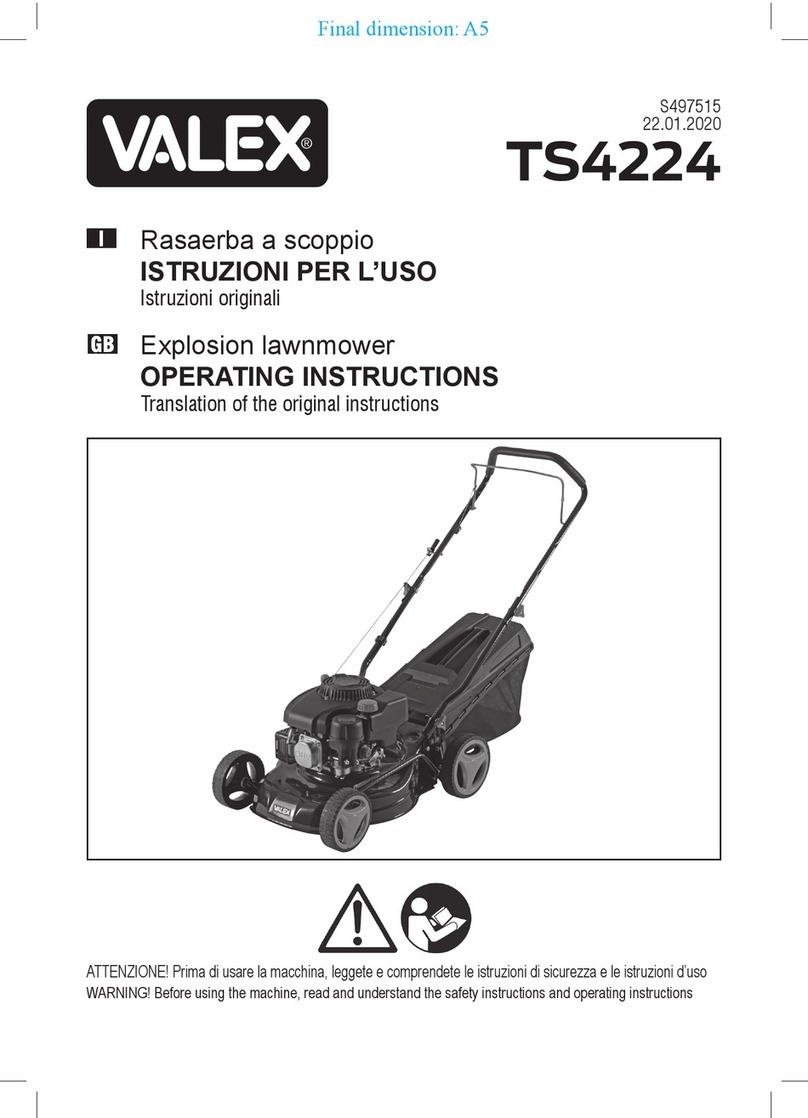
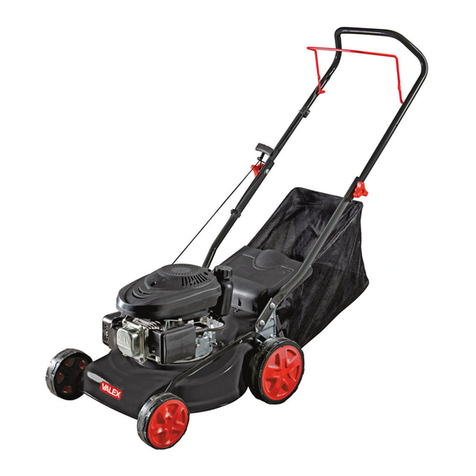
Valex S496214 User manual

S496214
21.12.2016
ATTENZIONE! Prima di usare la macchina, leggete e comprendete le istruzioni di sicurezza e le istruzioni d’uso
WARNING! Before using the machine, read and understand the safety instructions and operating instructions
Rasaerba elettrico
ISTRUZIONI PER L’USO
Istruzioni originali
Electric lawnmower
OPERATING INSTRUCTIONS
Translation of the original instructions
Final dimension: A5

DICHIARAZIONE DI CONFORMITA’
La ditta indicata in etichetta dichiara sotto la
propria responsabilità che il prodotto ivi citato
è conforme ai requisiti essenziali di sicurezza e
salute contenuti nelle seguenti direttive europee:
2006/42/CE,2014/30/CE,2005/88/CE,2011/65/CE
DECLARATION OF CONFORMITY
The firm indicated on the label declares, under its own
responsibility, that the product cited there complies
with the essential health and safety requirements
contained in the following European directives:
2006/42/EC,2014/30/EC,2005/88/EC,2011/65/EC
Persona autorizzata a costituire il fascicolo tecnico
presso:
The person authorized to compile the technical
file is in:
Valex SpA
Via Lago Maggiore, 24
36015 Schio (VI) - Italy
Schio, 12.2016
Un procuratore - Attorney
SMIDERLE STEFANO
DATI TECNICI
1. Tensione e frequenza nominale
2. Potenza nominale assorbita
3. Diametro di taglio
4. Grado di protezione
5. Classe isolamento macchina
7. Capacità cesto raccoglierba
8. Regolazione altezza taglio
9. Peso macchina
10. Codice lama
11. Vibrazioni a livello dell’impugnatura
12. Livello di pressione acustica misurato LpA
13. Livello di potenza sonora misurato LwA
14. Livello di potenza sonora garantito LwA
15. Procedura di valutazione della conformità
seguita per 2005/88/CE allegato:
16. Ente notificato preposto
TECHNICAL DATA
1. Voltage and nominal frequency
2. Absorbed nominal power
3. Cutting diameter
4. Protection degree
5. Machine insulation class
7. Grass collection box capacity
8. Cutting height regulation
9. Machine weight
10. Blade code
11. Grip vibrations
12. Measured acoustic pressure level LpA
13. Measured noise level LwA
14. Guaranteed noise level LwA
15. Procedure for evaluating conformity
enclosed (2005/88/EC):
16. Notified body
1 230V~50 Hz
2 1500 W
3 360 mm
4 IP X4
5 II
7 40 l
8 20, 30, 40, 50, 60, 70 mm
9 12,7 kg
10 1489249 - BestGarden R8231-840101
11 1,491 m/s2K=1,5
12 84,3 dB
13 94,44 dB K=0,55
14 96 dB
15 VI
16 TÜV Rheinland


- 6 -
i
ATTENZIONE! Prima di utilizzare questo
apparecchio elettrico indossate sempre i
mezzi di protezione individuale indicati.
ATTENZIONE! Prima di usare questo
apparecchio elettrico, per eseguire coretta-
mente lo spostamento, la messa in servizio,
l’avviamento, l’arresto e la manutenzione,
leggete e applicate attentamente le istruzioni
di seguito riportate, che fanno riferimento ai
disegni e ai dati tecnici contenuti. Prima di
iniziare il lavoro prendete familiarità con i
comandi e con il corretto uso della macchina
assicurandoVi di saper arrestarla in caso di
emergenza. L’uso improprio della macchina
può provocare gravi ferite.
Conservate con cura ed a portata di mano que-
ste istruzioni e le istruzioni di sicurezza in modo
da poterle consultare in caso di necessità.
ATTENZIONE! Il rasaerba è destinato
esclusivamente al taglio dell’erba in giardino.
Ogni altro impiego diverso da quello indicato in
questo manuale può recare danno alla macchi-
na e costituire serio pericolo per l’utilizzatore.
DESCRIZIONE MACCHINA (FIG. A)
1Manico superiore
2Gruppo interruttore con spina di alimentazione
e leva di avviamento
3Aggancio cavo di alimentazione
4Clips blocca cavo
5Sistema di serraggio manico superiore
6Manico inferiore
7Scocca
8Capotta
9Sportello parasassi
10 Assieme cesto raccoglierba
11 Ruote
12 Sistema di regolazione altezza taglio
13 Lama di taglio
14 Vite fissaggio lama di taglio
DESCRIZIONE MARCATURE E SIMBOLI (FIG. B)
1 Modello macchina.
2 Dati tecnici.
3 Numero di matricola ed anno di fabbricazione.
4 Marchi di certificazione.
5 Simboli di sicurezza
MESSA IN SERVIZIO
La macchina può essere fornita con alcuni
componenti smontati. Estraete la macchina ed i
componenti dalla confezione e procedete al loro
assemblaggio come illustrato.
Durante le fasi di assemblaggio dei componenti,
il cavo di alimentazione deve essere scollegato
dalla presa elettrica. Prima di avviare la macchina
verificare la solidità dell’assemblaggio.
RUOTE (FIG. M)
Se non già installate è necessario montare le ruote
(11) nella scocca della macchina (fig.M).
Infilate le ruote sui relativi perni, inserite le rondelle
e bloccatele con la copiglia. Verificate che pos-
sano ruotare liberamente e inserite il coperchio
a ogni ruota.
MANICO (FIG. C)
Per il montaggio del manico seguite le indicazioni
facendo riferimento alla figura C.
Manico smontato
- Inserite il manico inferiore nelle apposite sedi
della scocca utilizzando i componenti di ser-
raggio forniti nella confezione.
- Prelevate il manico superiore e posizionatelo in
prossimità del manico inferiore facendo com-
baciare gli appositi fori di fissaggio ed avvitate
il sistema di serraggio manico superiore.
CESTO RACCOGLIERBA IN PLASTICA (FIG. D)
Estraete i semigusci del cesto ed assemblateli
come illustrato in figura D.
Inserite la maniglia sulla parte superiore del cesto.
ATTENZIONE! Prima di montare il cesto
sulla macchina accertarsi che il motore sia
spento e la lama sia ferma. Sollevate lo spor-
tello parasassi ed ancorate dall’alto il cesto
sugli appositi agganci della scocca.
REGOLAZIONE ALTEZZA DI TAGLIO (FIG. E)
ATTENZIONE! Prima di ogni regolazione
dell’altezza di taglio, staccate l’alimentazione
elettrica ed assicurateVi che la lama di taglio
sia ferma.
Per impostare l’altezza taglio desiderata, tirare
verso l’esterno la leva di regolazione e posizio-
narla sulla tacca di riferimento prescelta.

- 7 -
AVVIAMENTO E ARRESTO (FIG.F)
ATTENZIONE! Per evitare l’avviamento
accidentale del rasaerba, il gruppo interrut-
tore è dotato di un pulsante di sicurezza che
deve essere premuto prima di tirare la leva di
accensione. Eseguendo l’operazione a vuoto,
si sentirà un piccolo “clic” dell’interruttore.
Rilasciando la leva, il pulsante dovrà tornare
nella posizione di origine.
- Fissate la prolunga nell’apposito agganciocavo.
- Inserire la presa della prolunga di alimentazione
nella spina del gruppo interruttore.
- Premere il pulsante di sicurezza e tirare la leva.
È consigliabile ripetere questa operazione alcune
volte prima di iniziare a tagliare l’erba per assicu-
rarsi che tutto funzioni regolarmente.
Per spegnere la macchina rilasciare la leva di
avviamento.
AVVERTENZE E CONSIGLI D’USO (FIGG. H, I)
1) Prima di iniziare il taglio verificare che il prato
sia libero da sassi o altri corpi estranei che
potrebbero essere lanciati dal rasaerba, dan-
neggiando le lame e provocando incidenti.
Togliete ogni corpo estraneo e, durante il
taglio, fate comunque attenzione agli oggetti
eventualmente rimasti. Usate la macchina solo
su tappeti erbosi.
2) Durante l’uso camminate, non correte. Man-
tenete entrambe le mani sul manico superiore
e fate attenzione a movimentare i piedi.
3) Procedete al taglio con velocità costante; in
questo modo si otterranno i migliori risultati.
4) Procedete con estrema cautela sui pendii e
avanzate trasversalmente evitando traiettorie
in salita e discesa.
5) Siate particolarmente prudenti quando cam-
biate la direzione di marcia sulle pendenze.
6) Non usate il rasaerba su pendii troppo ripidi,
comunque con pendenza non superiori al 15%.
7) Usate estrema cautela nelle manovre di
retromarcia, inversione di marcia e quando
tirate il rasaerba verso di voi.
8) Spegnete la macchina, staccate la spina
e attendete l’arresto della lama quando,
durante il taglio dell’erba, la lama colpisce
un corpo estraneo. Ispezionate la macchina
dall’esterno e, se accertate o pensate che vi
siano rotture, interrompete l’uso e fatela
analizzare da personale qualificato. Utilizzate
solo parti di ricambio originali.
9) Durante il taglio bisogna sempre trascinare il
cavo di alimentazione dietro alla macchina e
sempre sul lato dell’erba già tagliata. Evitate
traiettorie che possano intralciare il libero
movimento del cavo prolunga (fig. I).
10)Effettuate più passate; regolate l’altezza di ta-
glio in modo da non sovraccaricare il motore.
11) Svuotate il cesto raccoglierba quando è pieno
in modo da evitare l’ostruzione della apertura
di scarico e il sovraccarico del motore.
12) Evitate di passare sopra gli accumuli di erba
tagliati precedentemente per non intasare lo sca-
rico ed evitare inutili sovraccarichi del motore.
13)Non tenete in mano il cavo di prolunga.
14) Prima di ogni utilizzo verificate lo stato del cavo
di prolunga. Se danneggiato staccare la spina
collegata alla presa elettrica dell’edificio.
15)Se la macchina vibra, spegnerla immediata-
mente, staccare l’alimentazione e procedere
ad un controllo visivo.
16)Non tagliate l’erba se il terreno è ghiaioso o
sabbioso.
17) Fare attenzione a cose sporgenti come tom-
bini, pavimentazioni, radici di alberi, ugelli di
irrigazione, punti di illuminazione. Un contatto
accidentale della lama potrebbe guastare la
macchina e generare pericolo.
18)I rasaerba con motore universale sono
dotati di protezione a ripristino automatico
contro i sovraccarichi. In caso di intervento
lasciare raffreddare il motore.
MANUTENZIONE
ATTENZIONE! Per ogni operazione di con-
trollo o di manutenzione, assicurateVi che il
motore sia spento, la lama di taglio ferma ed
il cavo di alimentazione scollegato dalla spina
dell’interruttore.
Una regolare cura della macchina ne garantisce
una perfetta efficienza ed una lunga durata.
Pulite la macchina con una spazzola morbida
o un panno.
Non usate mai getti d’acqua o solventi per
togliere lo sporco.
L’organo maggiormente sottoposto ad usura è
la lama: controllate dopo ogni taglio il suo stato
di affilatura ed il fissaggio.
Una cattiva affilatura della lama riduce l’efficien-
za della macchina.
Se la lama è usurata va sostituita o affilata. Se si av-
vertono vibrazioni significa che la lama è sbilanciata
o deformata a causa di urti accidentali.
Ad ogni utilizzo controllate accuratamente le

- 8 -
condizioni della macchina, della lama, del cavo di
alimentazione e dei collegamenti elettrici.
AFFILATURA E SOSTITUZIONE DELLA LAMA
(FIG. L)
ATTENZIONE! Indossare guanti di protezio-
ne e scollegare la macchina dalla rete elettrica.
- Svitate la vite di fissaggio lama di taglio.
- Per l’affilatura fissare la lama in una morsa e
limare uniformemente la zona della lama desti-
nata al taglio. Controllarne la sua bilanciatura.
- Se si deve sostituire la lama per il suo cattivo
stato utilizzate esclusivamente parti di ricambio
originali come indicato nel foglio allegato.
- Rimontate la lama rispettando il senso di rota-
zione e fissarla con attenzione.
Utilizzare solo ricambi originali.
RICERCA GUASTI E INTERVENTI AMMESSI
Se la macchina non si avvia:
- controllate gli allacciamenti elettrici
- controllate la prolunga o cambiate presa di
alimentazione
- controllate l’interruttore generale dell’impianto
elettrico
- premere il pulsante e poi tirare la leva interruttore
Se il motore si ferma:
- controllate gli allacciamenti elettrici
- controllate la prolunga o cambiate presa di
alimentazione
- controllate l’interruttore generale dell’impianto
elettrico
- aumentate l’altezza di taglio ed effettuare più
passate
- attendete il ripristino automatico della prote-
zione contro i sovraccarichi
- controllate che lo scarico non sia intasato
Se il cesto non si riempie:
- correggete l’altezza di taglio
- assicuratevi che l’erba non sia umida
Se il taglio è insoddisfacente:
- regolate l’altezza di taglio
- affilate la lama se usurata
Se la macchina vibra:
- controllare il fissaggio lama
- bilanciare o sostituire la lama
ATTENZIONE! Se dopo aver eseguito gli
interventi sopra descritti la macchina non fun-
ziona ancora correttamente o in caso di anoma-
lie diverse da quelle sopra indicate, portatela
presso un centro di assistenza autorizzato. Fate
riferimento al modello macchina e numero di
matricola riportati sull’etichetta dati tecnici.
IMMAGAZZINAMENTO
- Dopo ogni utilizzo, effettuate una accurata pu-
lizia di tutta la macchina e sue parti accessorie
(vedi paragrafo manutenzione), eviterete così
l’insorgere di eventuali muffe.
- Riponete la macchina lontano dalla portata dei
bambini, in posizione stabile e sicura e in luogo
asciutto, temperato e libero da polveri.
- Proteggete la macchina dalla luce diretta, tene-
tela possibilmente al buio o in penombra.
- Non chiudete la macchina in sacchi di nylon,
potrebbe formarsi dell’umidità.
- Finita la stagione di utilizzo la macchina deve
essere sottoposta una accurata pulizia e verifica
dell’efficienza dei suoi componenti.
- Piegate il manico per aver minor ingombro.
SMALTIMENTO
I rifiuti elettrici ed elettronici possono
contenere sostanze pericolose per l’ambiente
e per la salute umana; non devono pertanto
essere smaltiti con quelli domestici ma mediante
una raccolta separata negli appositi centri di
raccolta o riconsegnati al venditore nel caso di
acquisto di una apparecchiatura nuova anologa.
Lo smaltimento abusivo dei rifiuti comporta
l’applicazione di sanzioni amministative.
GARANZIA
Il prodotto è tutelato a norma di legge contro non
conformità rispetto alle caratteristiche dichiarate
purché sia stato utilizzato esclusivamente nel
modo descritto dalle istruzioni, non sia stato
manomesso in alcun modo, sia stato conser-
vato correttamente, sia stato riparato da tecnici
autorizzati e, ove previsto, siano stati utilizzati
solo ricambi originali.
In caso di utilizzo industriale o professionale
oppure in caso di impiego simile la garanzia ha
validità di 12 mesi.
Per emettere una richiesta di intervento in garan-
zia è necessario presentare la prova di acquisto
al rivenditore o ad centro assistenza autorizzato.

- 9 -
BEFORE STARTING
The machine is supplied with some parts that
have not been assembled. Unpack the machine
and its parts, which can be easily assembled by
following the instructions given.
While assembling the parts, the power cable
must be disconnected from the power supply.
Before starting the machine make sure that all
parts are securely assembled.
WHEELS (FIG. M)
If not already installed you must install the
wheels (11) in the body of the machine (Fig.M).
Slide the wheels on their pins, insert the washers
and lock with the split pin. Make sure that they
can freely rotate and put the cap on each wheel.
THE HANDGRIP (FIG. C)
The instructions below explain how to mount the
handgrip, refer to figure C.
Detached handgrip.
- Fit the bottom section of the handgrip in place
on the body using the fastener provided in
the kit bag.
- Take the top handgrip and position it on the
bottom section of the handgrip so that the
fastening holes are aligned and then tighten
the fastening system on the top handgrip.
PLASTIC GRASS COLLECTION BOX (FIG. D)
Fit the shells of the grassbox together as shown
in figure D.
Place the handle on the top of the grassbox.
WARNING! Before mounting the grassbox
on the machine make sure that the motor is
switched off and the blade is stationary. Lift
the stone guard and fasten the grassbox onto
the hooks on the body.
ADJUSTING THE CUTTING HEIGHT (FIG. E)
WARNING! Before adjusting the the cutting
height, disconnect the power supply and make
sure that the blade is stationary.
To set the desired cutting height, pull out the
adjusting lever and place it on the selected
reference mark.
g
WARNING! Before using this electrical
appliance always wear personal protective
equipment reported.
WARNING! Before using this electrical
appliance, carefully read and applied the fol-
lowing instructions, that refer to the drawings
and technical data. Familiarise yourself with
all the controls and how to use the machine
correctly, making sure you know how to stop
it in case of emergency. Improper use of the
machine can cause serious injury.
Keep these instructions and the safety instruc-
tions in a safe place and ready at hand so that
they can be consulted when required.
WARNING! The lawnmower should only
be used for cutting grass in the garden. Other
uses, not indicated in this manual, may dama-
ge the machine or seriously injure the user.
MACHINE DESCRIPTION (FIG. A)
1Top handgrip
2Switch block with power plug and start lever
3Cable holder
4Cable clips
5Top handgrip fastening system
6Bottom handgrip
7Body
8Hood
9Stone guard
10 Grassbox assembly
11 Wheel
12 Cutting height adjustment system
13 Cutting blade
14 Cutting blade fastening screw
DESCRIPTION OF DECALS AND SYMBOLS
(FIG. B)
1 Machine model
2 Technical specifications
3 Serial number and year of manufacture
4 Certification marks
5 Safety symbols

- 10 -
STARTING AND STOPPING THE MACHINE
(FIG.F)
WARNING! To prevent the mower from
being started accidentally, the switch unit has
been equipped with a safety button that must
be pressed before pulling the starting lever.
Try pressing the button a few times and you
will notice that the switch makes a small click.
When the lever is released, the button should
return to its original position.
- Fasten the extension cord to the special hook
provided.
- Plug the extension cord into the switch unit.
- Press the safety button and pull the lever.
Repeat this operation a few times before starting
to mow the lawn to make sure that everything is
working properly.
To switch off the machine, release the start lever.
PRE-CAUTIONS AND GUIDELINESFOR
USING THE MOWER (FIG. H, I)
1) Before beginning to cut the lawn make sure
there are no stones or other solid objects that
could be ejected by the mower, damaging the
blades and risking accidents. Remove any
solid objects and while mowing the lawn,
look out for any others that may have been
missed. Use the machine only on turf.
2) Walk, do not run. Keep both hands on the
handle top and be careful on moving the feet.
3) Advance at a constant speed, this gives
much better results.
4) Take special care on slopes, cutting crossways
and not up and down.
5) Pay particular attention when changing
direction while on a slope.
6) Do not try to use the mower on very steep
slopes with gradients over 15%.
7) Extreme caution must be taken when rever-
sing, backing up and when pulling the mower
towards you.
8) If the blade should hit a stone or solid object,
switch off the mower, unplug the cable and
wait for the blades to come to a standstill.
Check the outside of the machine and, if you
find or even doubt something may be broken,
stop using the mower and have it checked by
a specialist. Only use genuine spare parts.
9) When cutting, always drag the power cable
behind the mower and always keep it on the
side already cut. Avoid taking routes that may
obstruct the free movement of the extension
cord (fig. I).
10)Make several runs; adjust the cutting height
so as not to overload the motor.
11)Empty the grassbox when it is full, to prevent
blocking the grass ejection port and overlo-
ading the motor.
12)Avoid mounds of cut grass so that the grass
ejection port does not become clogged and
to save the motor from useless overloads.
13) Do not hold the extension cable.
14) Before each use, check the status of the
extension cable. If damaged, remove the
plug plugged in the building.
15) If the machine vibrates, turn it off immedia-
tely, disconnect the power and conduct a
visual inspection.
16) Do not cut the grass if the soil is sandy or
gravelly.
17) Pay attention to things like protruding
manholes, paving, tree roots, watering noz-
zles, lighting points. Accidental contact of
the blade may cause damage to the machine
and cause failure.
18) The mowers using universal motor are
equipped with protection with automatic
reset overload. In the case of intervention
cool the electric motor.
MAINTENANCE
WARNING! Before carrying out any con-
trols or maintenance, make sure the motor is
switched off, that the blade has stopped and
the power cable has been unplugged from
the switch.
Regular care of your mower will ensure effi-
ciency and prolong the life of your machine.
Clean the machine with a soft brush or cloth.
Do not use water sprays or solvents to remove dirt.
The blade receives the most wear and tear.
Periodically check it is sharp and firmly fastened.
A blunt blade reduces the performance of the
machine.
If the blade is worn out it should either be shar-
pened or replaced. If the machine vibrates, the
blade is out of balance or bent by an accidental
blow.
At every use, carefully check the condition of the
machine, of the blade, power cable and electrical
connections.

- 11 -
SHARPENING AND CHANGING BLADE
(FIG.L)
WARNING! Wear work gloves and discon-
nect the mower from the mains.
- Unscrew the blade’s fastening screw.
- The blade should be sharpened by setting it in
a clamp and uniformly filing the cutting edge.
Check it is balanced.
- If the blade is worn and needs changing only
use genuine spare parts as specified in the
attached sheet.
- Replace the blade following the direction of
rotation and fix it carefully.
Use only original spare parts.
TROUBLESHOOTING
If the machine does not start:
- check the electrical connections
- check the extension cord or change power
socket
- check the main switch of the electrical system
-press the button and then pull the lever switch
If the motor stops:
- check the electrical connections
- check the extension cord or change power
socket
- check the main switch of the electrical system
- increase cutting height
- wait for the automatic reset of overload pro-
tection
- make sure that the grass ejection port is not
clogged.
If the grassbox does not fill up:
-adjust the cutting height
-make sure that the grass is not wet
If the cut is not satisfactory:
-adjust the cutting height
-if the blade is blunt, sharpen it
If the machine vibrates
-check the blade mounting
-offset or replace the blade
CAUTION! If after the above checks the
machine does not work correctly or in case of
malfunctions different from those listed, have
it checked by an authorised service centre.
Always refer to the machine model and serial
number indicated on the rating plate.
STORAGE
- After each use, carry out a general cleaning of
the entire machine and its ancillary parts (see
maintenance paragraph); this prevents mould
from forming.
- Keep the machine out of the reach of children,
in a safe, dry, temperate and dustfree place.
- Store the machine away from direct sunlight,
if possible in a dark or barely lit place.
- Do not store in a nylon bag as this could en-
courage the formation of damp patches.
- At the end of the cutting season the machine
should receive an overall cleaning and thorough
check-up of the condition of its components.
- The handgrip can be folded to take up less
space.
DEMOLITION:
Electric and electronic waste may contain
substances that are dangerous for the envi-
ronment and for human health. For this reason
they must never be disposed of together with do-
mestic waste, but collected separately in specific
collection centres or returned to the retailer when
similar new equipment has been purchased. The
illegal disposal of such equipment may result in
prosecution to the full extent of the law.
WARRANTY
The product is protected by law against non-
compliance with the declared characteristics
provided it is used only in the manner described
in the instructions, it has not been tampered with
in any way, it has been stored properly, has been
repaired by authorized and, where applicable,
have been used only original spare parts.
In the case of industrial or professional use or
when using such a guarantee is valid for 12
months.
To issue a claim under warranty you must
present proof of purchase to your dealer or
authorized service center.

Table of contents
Languages:
Other Valex Lawn Mower manuals
Popular Lawn Mower manuals by other brands

GreenWorks
GreenWorks GRL110 Operator's manual

Grizzly Tools
Grizzly Tools BRM 46-125 BSA Translation of the original instructions for use

Craftsman
Craftsman 917.258510 owner's manual

Husqvarna
Husqvarna 917.279200 owner's manual

Craftsman
Craftsman LTS 1500 owner's manual

Elem Garden Technic
Elem Garden Technic TDTAC46T-CC139-CMES Original instructions

Ferris
Ferris ProCut S Series Operator's manual

Jacobsen
Jacobsen HR 9016 Turbo Parts & maintenance manual

Scag Power Equipment
Scag Power Equipment 70001, 79999 Operator's manual

GGP ITALY
GGP ITALY TC 102 series Operator's manual

Alamo
Alamo MACHETE Product service manual

hecht
hecht 587 TRANSLATION OF ORIGINAL INSTRUCTIONS FOR USE