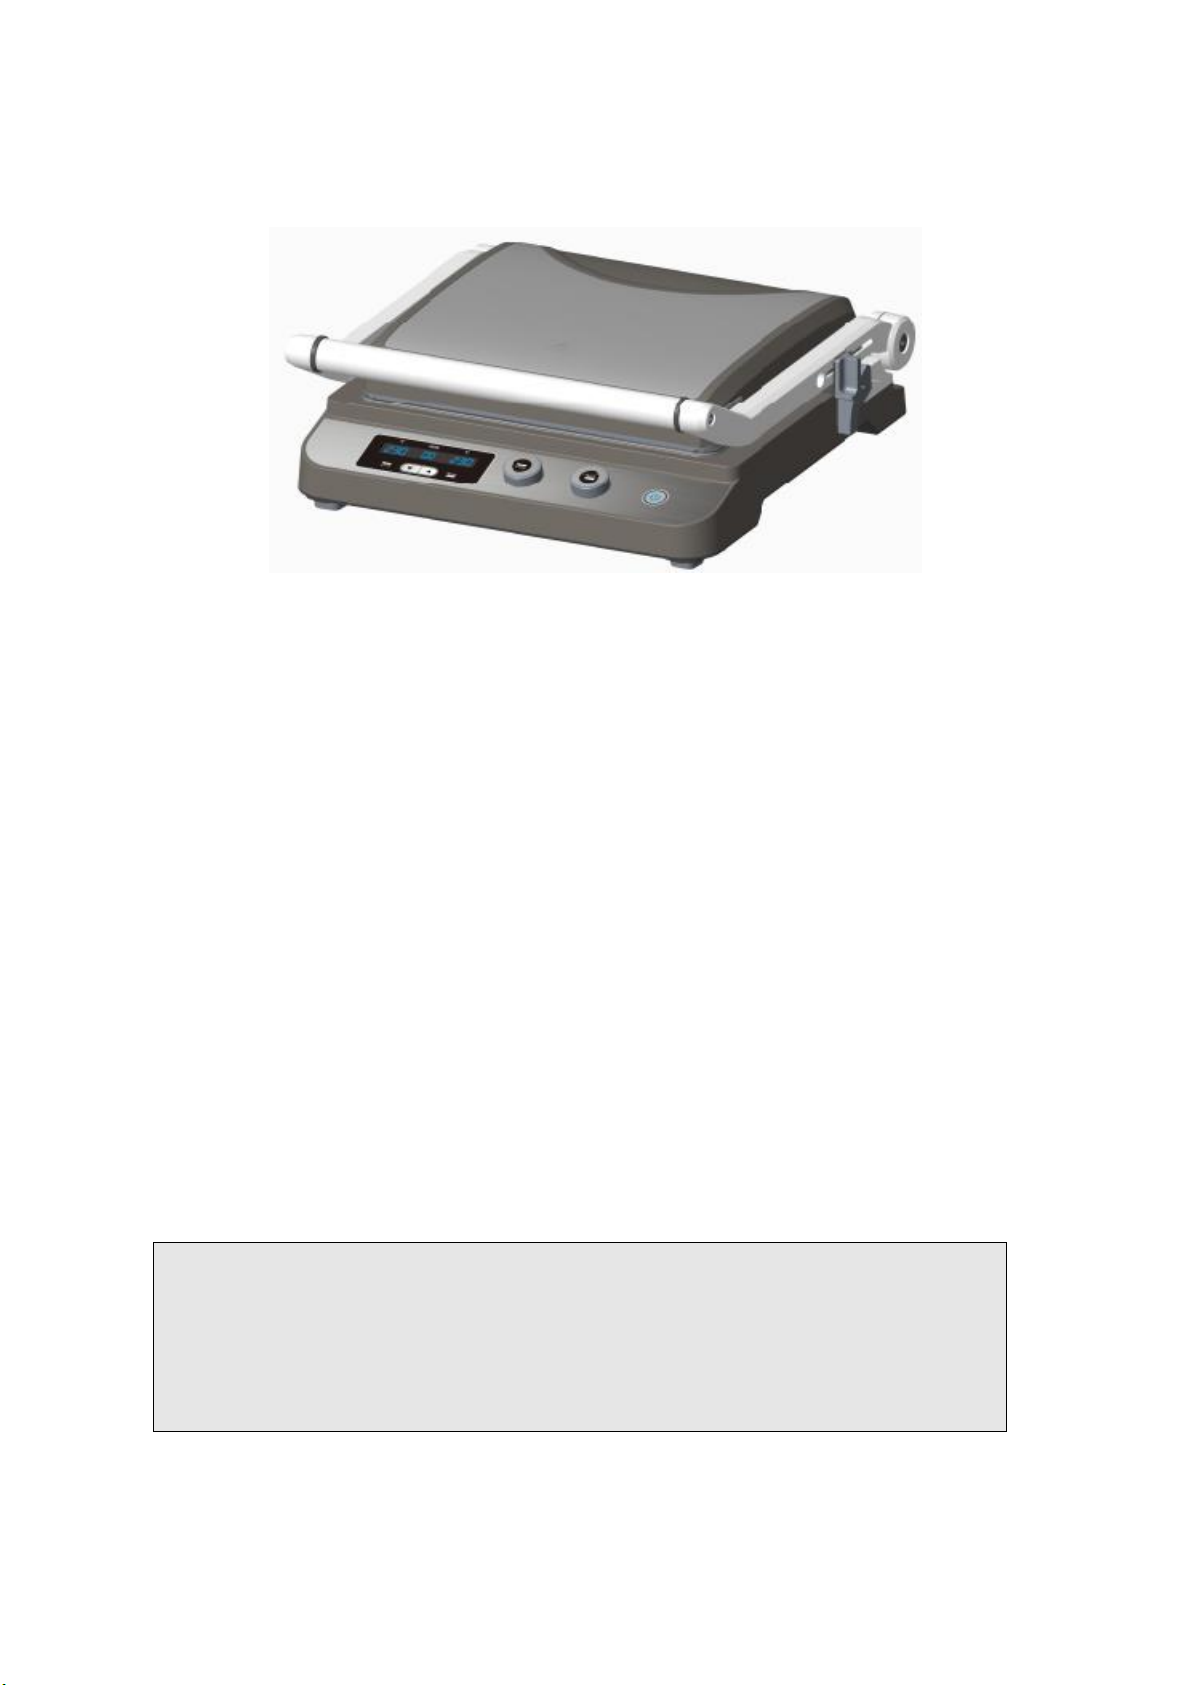
Vassilias R-2300 User manual

1
INSTRUCTION MANUAL
THE MULTIFUNCTIONAL GRILL
R-2300
Please read these operating instructions thoroughly before connecting
your device to the mains, in order to prevent damage due to improper
use . Pay particular attention to the safety information.

2
Parts description
\
Safety information
⚫Please read these operating instructions thoroughly before first operating the grill
and keep them in a sate place.
⚫If you pass this appliance on to a third party, these operating instructions must also
be handed over.
⚫Incorrect operation and handling can lead to malfunction of the appliance and injures
to user.
Power switch
(with indicator light)
Time adjust button

3
⚫This appliance is not suitable for commercial use or for use in the open air.
⚫Before inserting the plug into the mains socket, please check that the current and
power supply comply with the specifications on the type plate.
⚫Disconnect the mains plug from the socket when the appliance is not in use and
before cleaning.
⚫Parts of the appliance become hot during use. Therefore, the appliance must only be
held by the handle.
⚫Do not immerse the appliance or the mains plug in water or other liquids. There is
danger to life due to electric shock!
⚫Children are unable to recognize the hazards associated with incorrect handling of
electrical appliances. Therefore, children should never use electric household
appliances unsupervised.
⚫Do not use the appliance if the mains cable or plug shows signs of damage, if the
appliance has fallen on the floor or has otherwise been damaged. In such cases take
the appliance to an authorized specialist for checking and repair
⚫Ensure that the mains cable is not hung-over sharp edges and keep it away from hot
objects and open flames.
⚫Ensure that the mains cable is not pressed between the baking plates or touch the
baking plate edge in normal use
⚫Place the appliance on a stable, level surface and not dose to hot objects or open
flames (e.g. hot plates).
⚫Never leave the appliance unattended during use.
⚫The temperature of accessible surfaces may be high when the appliance is operating.
⚫Bread may bum. Therefore, roasters not used near or below curtains and combustible
materials. They must be watched.
⚫This appliance is not intended for use by persons (including children) with reduced
physical, sensory or mental capabilities, or lack of experience and knowledge, unless
they have been given supervision or instruction concerning use of the appliance by a
person responsible for their safety.
⚫Children should be supervised to ensure that they do not play with the appliance.
⚫If the supply cord is damaged, it must be replaced by the manufacturer, its service
agent or similarly qualified persons in order to avoid a hazard.
⚫This appliance is not intended to be operated by means of an external timer or
separate remote-control system.
⚫Keep the appliance and its cord out of reach of children less than 8 years.
⚫This appliance is intended to be used in household and similar applications such as:
- staff kitchen areas in shops, offices and other working environments;
- farm houses;
- by clients in hotels, motels and other residential type environments;
- bed and breakfast type environments
⚫This appliance can be used by children aged from 8 years and above and persons
with reduced physical, sensory or mental capabilities or lack of experience and
knowledge if they have been given supervision or instruction concerning use of the
appliance in a safe way and understand the hazards involved. Children shall not play
with the appliance. Cleaning and user maintenance shall not be made by children
unless they are older than 8 and supervised.

4
Before first use
⚫Read these instructions before use and keep them safe. If you pass the grill on, pass
on the instructions too.
⚫Remove all packaging, but keep it until you are satisfied that the grill is working.
⚫Clean the grill surfaces and drip tray with a soft damp cloth and then dry them.
⚫Ensure the cooking plates are correctly inserted and securely locked into position.
⚫Unwind the power cord completely and insert the power plug into a grounded wall
outlet.
⚫The grill is now ready for the preheating cycle.
Operating instructions
⚫Ensure the drip tray is correctly inserted into the grill.
⚫Ensure the cooking plates are correctly inserted and securely locked into position.
⚫Place the grill on a flat, dry surface
⚫Unwind the power cord completely and insert the power plug into a grounded wall
outlet.
⚫Ensure all the displays are displayed five times for self-test, the power swich light flashes, into
the standby mode. Flash in 1 second intervals.
⚫Touching the power switch button then “00”show on the Temperature /Timer Display,
the appliance goes in ready.
⚫Press the Upper/Lower heating button, the Upper/Lower heating indicator light
showing on red. It means Upper/Lower cooking plate begain to operate. Then adjust
the temperature knob to choose the temperature, and you can select the temperature
from 60℃to 230℃, and then allow the grill to preheat. Upper and Lower cooking
palte can heating by separated。
⚫Once the grill has preheated to the selected temperature, the upper/Lower heating
indicator light from red change to green.
TIMER FACTION
⚫During heating up, time can be set from 1 minute to 99 minuts.
⚫By pressing button time can be reduced or increased by 1min.
⚫When time counting down to 0, the screen show 0.0, the temperature shows“---”
They will with flashes and will with beep sounds last for 10s. Then the unit be auto
shut off.
USE IN OPEN FLAT”BBQ MODE”
⚫To open the grill into “BBQ MODE”
a) Ensure the grill has completely preheated and the
heating indicator light show green.
b) Ensure the top cooking plate is closed. The
adjustable height control clip, located on the right
side of the top plate, should be in the “OPEN”position.
c) With your left hand, grip the handle. With your right hand, pull the adjustable
height control clip towards you, into the “BBQ MODE”position. Continue to

5
pull the clip forward and simultaneously lift the handle to open, and then gently
lower the top plate into the horizontal “BBQ MODE”position.
⚫Place food on either or both of the cooking plates.
⚫When the food is cooked, remove from the cooking plates using heat proof plastic or
wooden utensils.
USE AS ACONTACT GRILLOR PANINI PRESS
⚫To open the grill
a) Ensure the grill has completely preheated and the
b) heating indicator light show green.
c) Ensure the top cooking plate is closed. The adjustable height control clip, located
on the right side of the top plate, should be in the “OPEN”position.
d) Use the handle to open the top plate to a 105 degree position.
⚫Place food on the bottom cooking plate.
⚫Use the handle to close the top cooking plate .top cooking pate has two features
designed to produce optimum cooking results:
a) Floating Top Plate. The top cooking plate is hinged, allowing the top plate to be
positioned horizontally on the food surface. This ensures the front of the food is
as evenly cooked as the back. It also allows the top plate to float above the food
surface, radiating heat to create open sandwich style “melts”.
b) Adjustable Height Control. This feature reduces the weight of the top plate on
delicate foods like fish and accommodates varying thicknesses of food like
artisan breads. Located on the right side of the top plate, the clip fixes the top
plate to a range of positions above the bottom plate. To set the Adjustable Height
Control, use the handle to lift the top plate and simultaneously move the
Adjustable Height Control clip to the desired height. Then slowly lower the top
plate until it rests on the Adjustable Height Control clip.
⚫When the food is cooked, remove from the cooking plates using heat proof plastic or
wooden utensils.
Cleaning and care
⚫Firstly, ensure the grill is turned off, and then remove the power plug from the wall
outlet.
⚫Only clean when the appliance has completely cooled down.
⚫Cleaning the outer body:
a) Wipe the outer body with a soft, damp sponge.
b) Let all surface dry thoroughly prior to inserting the power plug into a wall outlet.
⚫Cleaning the grip tray:
a) After each use, slide out the drip tray and discard contents.
b) Wash the tray in warm soapy water with a soft, damp sponge.
c) Rinse and dry thoroughly. Always ensure to re-insert the drip tray into the grill
after cleaning and prior to inserting the power plug into a wall outlet.
⚫Cleaning the cooking plates:
a) Wipe the cooking plates with a soft cloth to remove food residue.
b) Release and remove the cooking plates. Always ensure the grill is completely

6
cool.
c) Alternatively, place the cooking plates in the dishwasher.
d) Alternatively, wash the cooking plates in hot soapy water with a soft, damp
sponge.
e) Rinse and dry thoroughly. Always ensure the cooking plates are correctly
re-insert and securely locked back into position after cleaning and prior to
inserting the power plug into a wall outlet.
⚫Storage: ensure the grill, cooking plates and grip tray are clean and dry, the drip tray
is correctly re-inserted into the grill, the cooking plates are correctly re-inserted and
securely locked into position, the cooking plates are locked together by sliding the
Adjustable Height Control clip to the “LOCK”position. Wrap the power cord in the
cord storage located on the back of the grill.
⚫Never use abrasive cleaning agents or sharp objects (e.g. scrubbing brush or knife)
for cleaning.
⚫Caution: Do not immerse the appliance in water of other liquids. There is danger
to life due to electric shock.
Cooking times & food safety
⚫For fresh or fully defrosted foods. There will be about 2-3 minutes for reaching the
working temperature, then the cooking time is about 5-6 minutes. When cooking
frozen foods, add 2-3 minutes for seafood, and 3-6 minutes for meat and poultry.
⚫These times are given purely as a guide, depending on the thickness of cut, and the
density of the food.
⚫Check that it’s cooked through before serving. If in doubt, cook it a bit more.
⚫Cook meat, poultry, and any derivatives (mince, burgers, etc.) until the juices run
clear. Cook fish until the flesh is opaque throughout.
⚫When cooking pre-packed foods, follow any guidelines printed on the packaging or
labels.
Technical data
⚫Operating voltage: 220V-240V~ 50/60Hz
⚫Power: 1650W-2000W
⚫The list of the marking symbol
V
Volt
Hz
Hertz
W
Watt
Alternating current
Tested safety
Communate Europpene

7
IMPORTANT INFORMATION FOR CORRECT DISPOSAL OF THE
PRODUCT IN ACCORDANCE WITH EC DIRECTIVE 2002/96/EC.
At the end of its working life, the product must not be disposed of as urban
waste.
It must be taken to a special local authority differentiated waste collection
centre or to a dealer providing this service.
Disposing of a household appliance separately avoids possible negative
consequences for the environment and health, deriving form inappropriate
disposal and enables the constituent materials to be recovered to obtain
significant savings in energy and resources. As a reminder of the need to
dispose of household appliances separately, the product is marked with a
crossed-out wheeled dustbin.
Table of contents
Popular Grill manuals by other brands

DCS
DCS BGB36-BQAR Use and care guide

Argos
Argos 287/6847 Assembly instructions

Char-Broil
Char-Broil 463724512 Product guide

George Foreman
George Foreman GRP72CTVTB G-broil Vari-Temp use and care manual

Taurus
Taurus GRILL&CO LEGEND manual

Toastmaster
Toastmaster A710 Owner's operating and installation manual