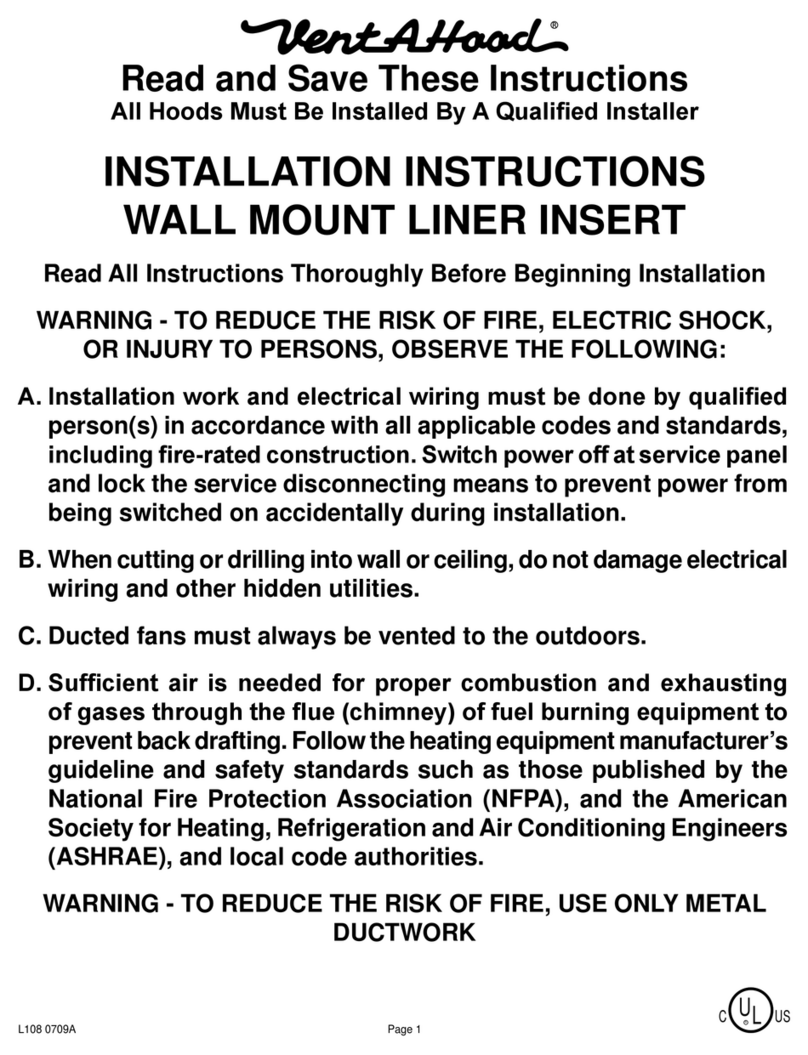
VentAHood Ventilation Hood Models Equipped with K250... User manual
Other VentAHood Ventilation Hood manuals

VentAHood
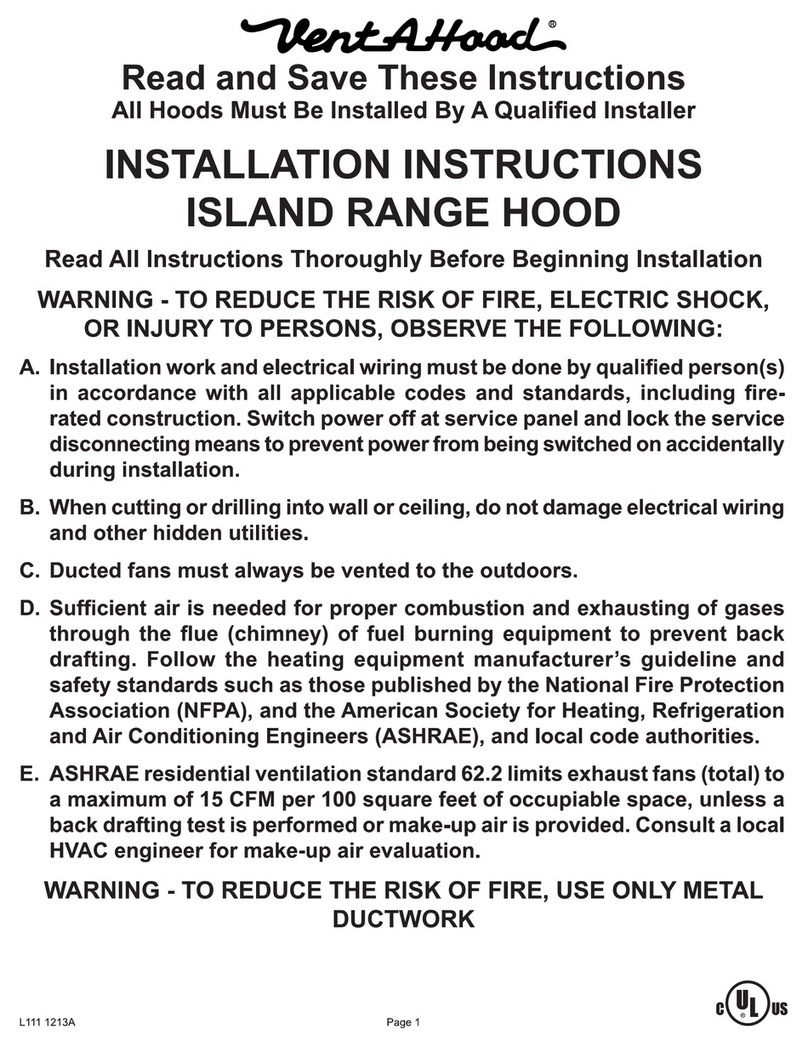
VentAHood JDIH ISLAND User manual

VentAHood
VentAHood Ventilation Hood Models Equipped with K250... User manual
VentAHood
VentAHood PYH302266 User manual
VentAHood
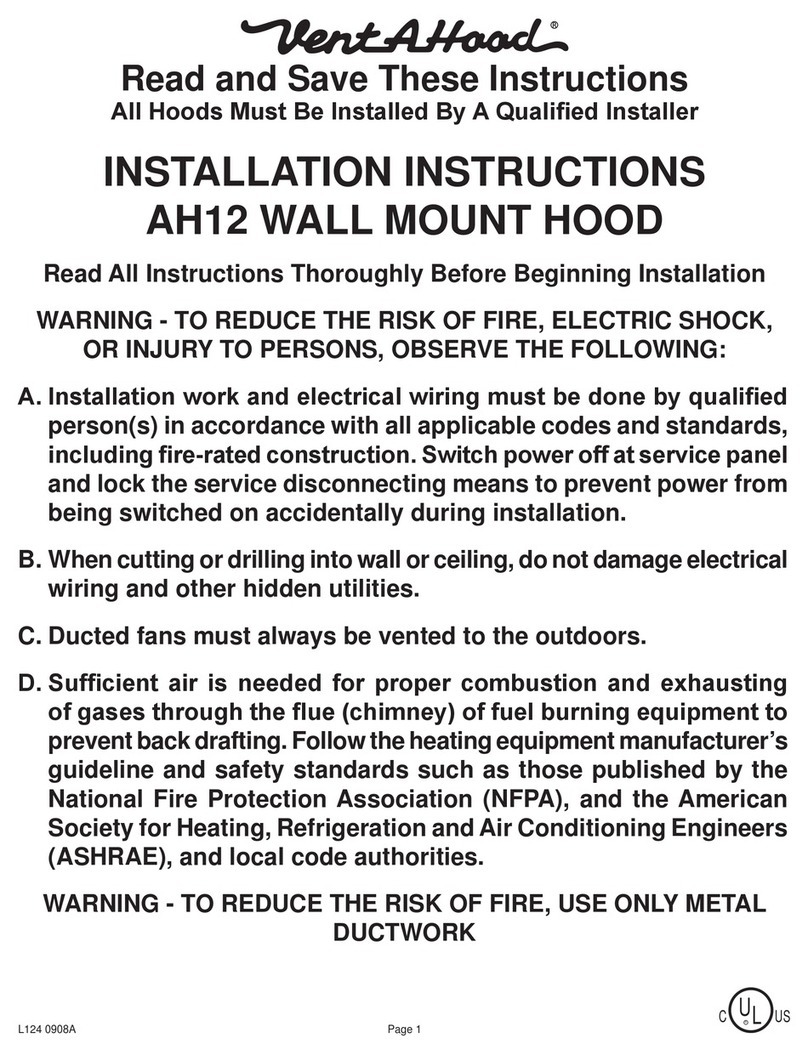
VentAHood AH12 User manual

VentAHood
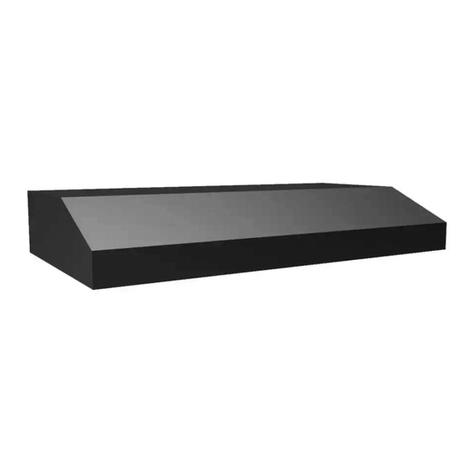
VentAHood 300 CFM B100 User manual
VentAHood
VentAHood Ventilation Hood Models Equipped with K250... User manual
VentAHood
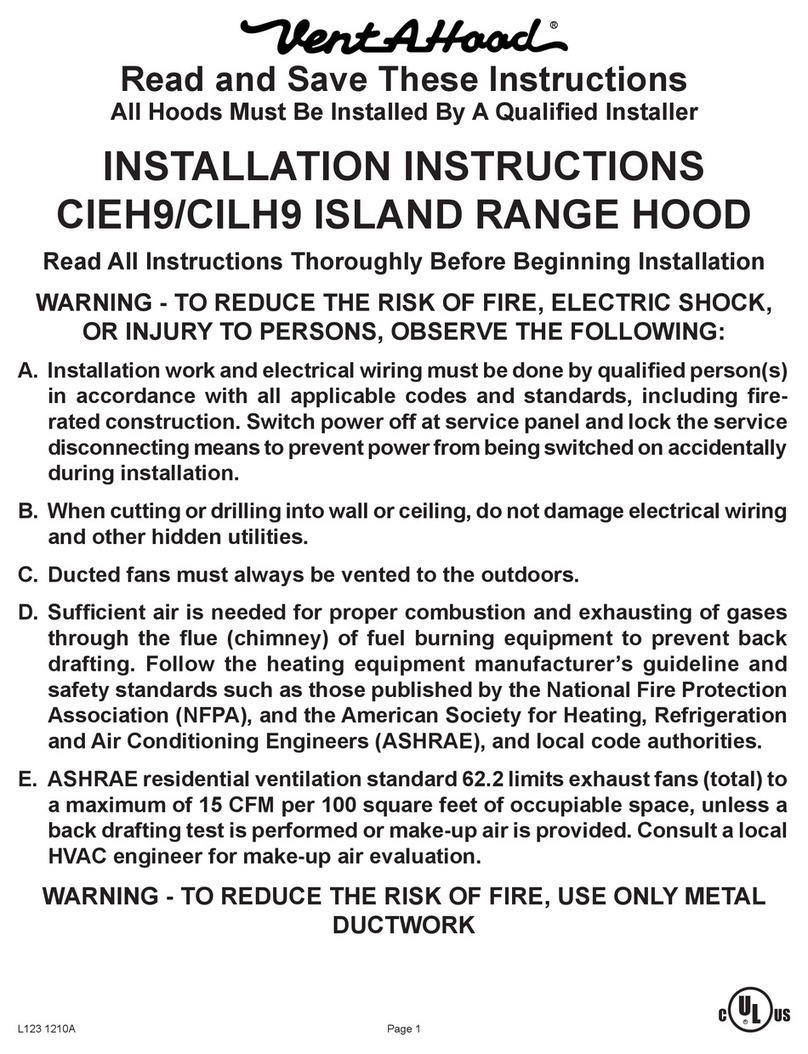
VentAHood CILH9 ISLAND RANGE HOOD User manual
VentAHood
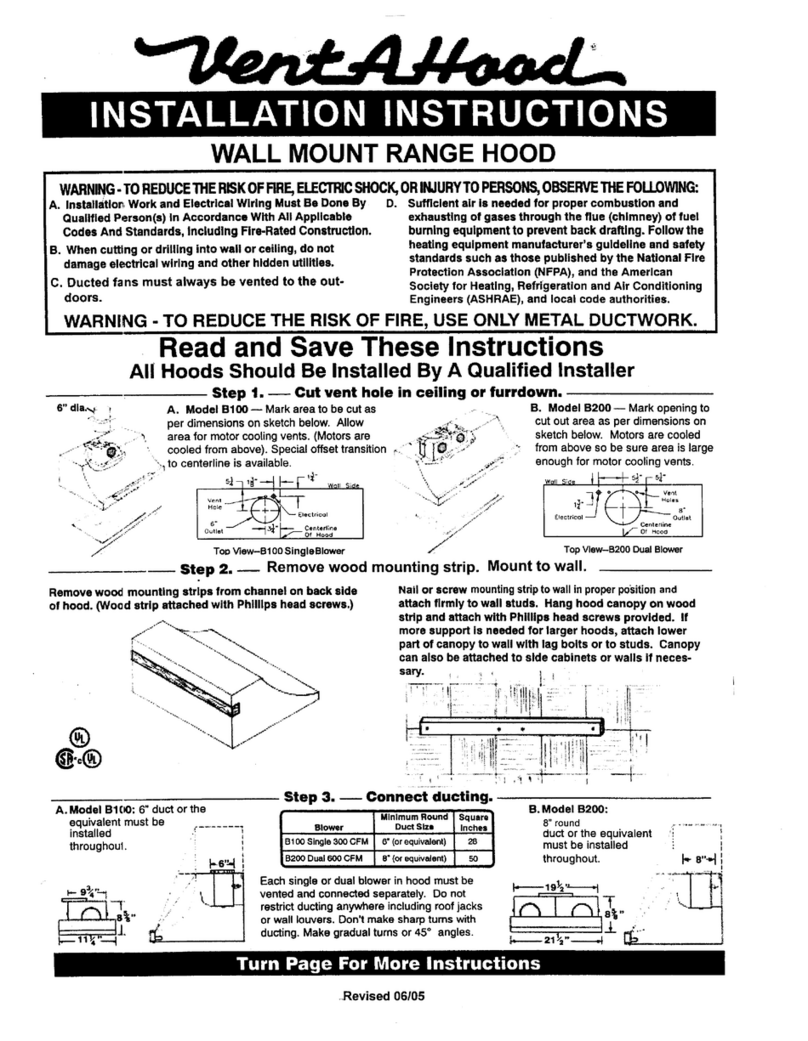
VentAHood B100 User manual
VentAHood
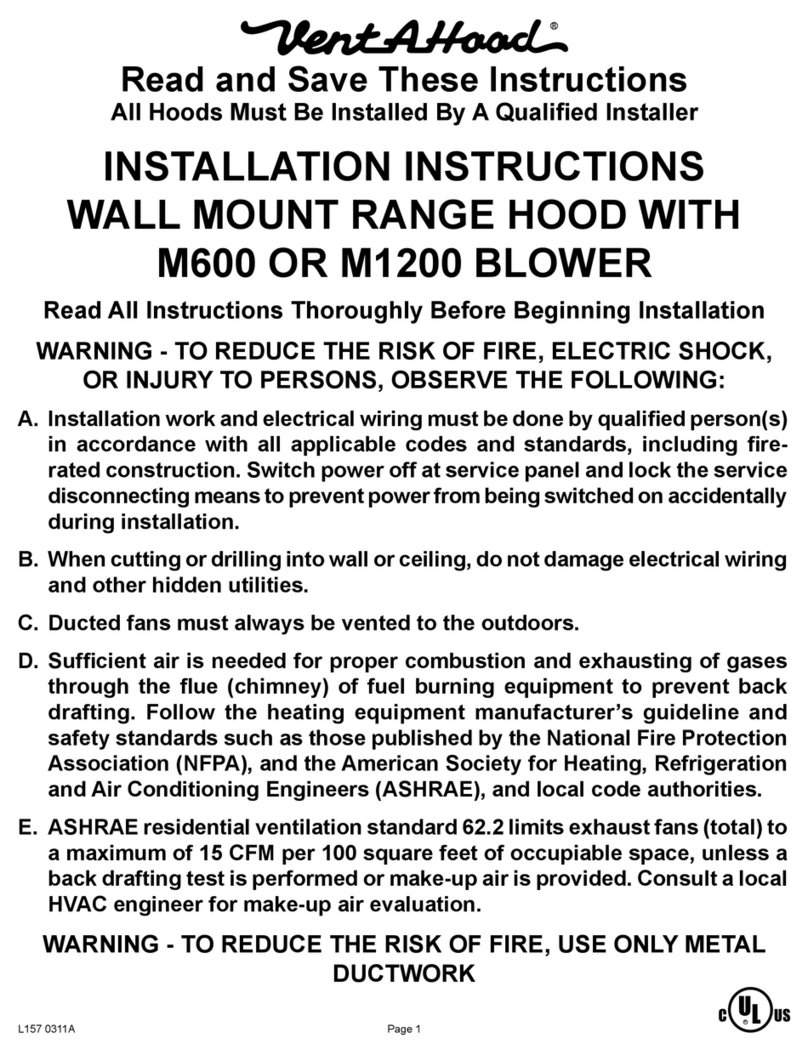
VentAHood M600 User manual

VentAHood
VentAHood UNDER CABINET HOOD User manual
VentAHood
VentAHood K-SERIES User manual

VentAHood
VentAHood V-Line K250 User manual

VentAHood
VentAHood AH12 User manual

VentAHood
VentAHood JCIH/B1 Island User manual
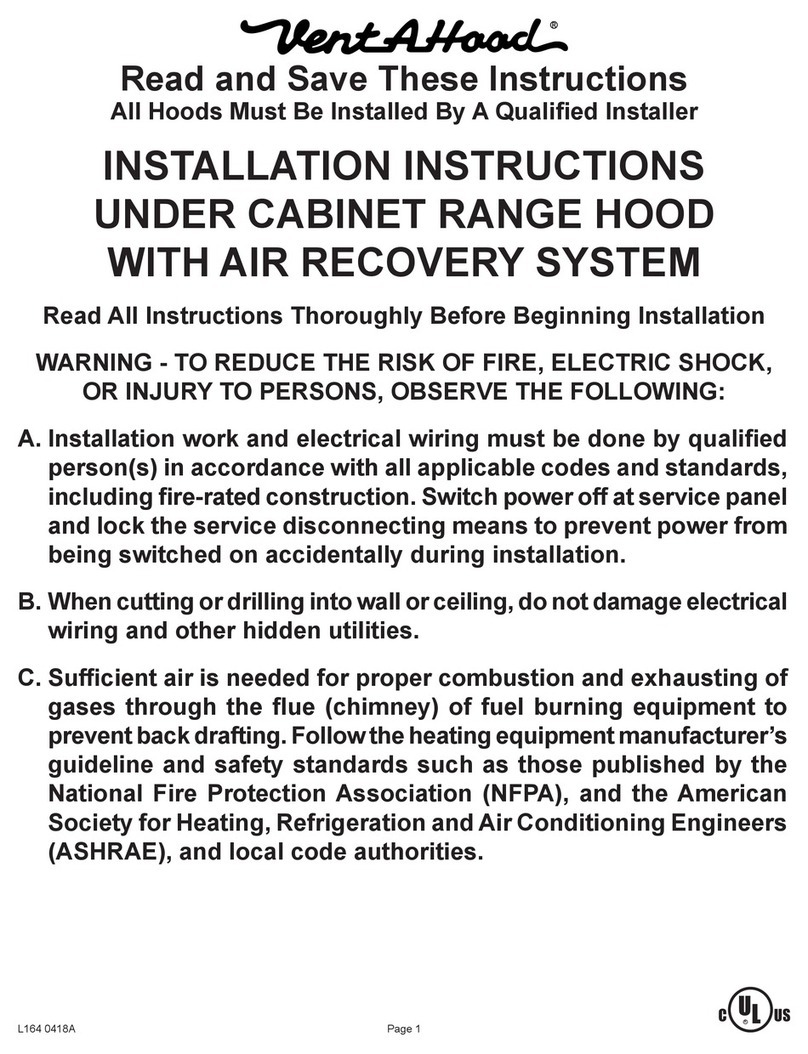
VentAHood
VentAHood K250 ARS User manual

VentAHood
VentAHood SLH6-K User manual
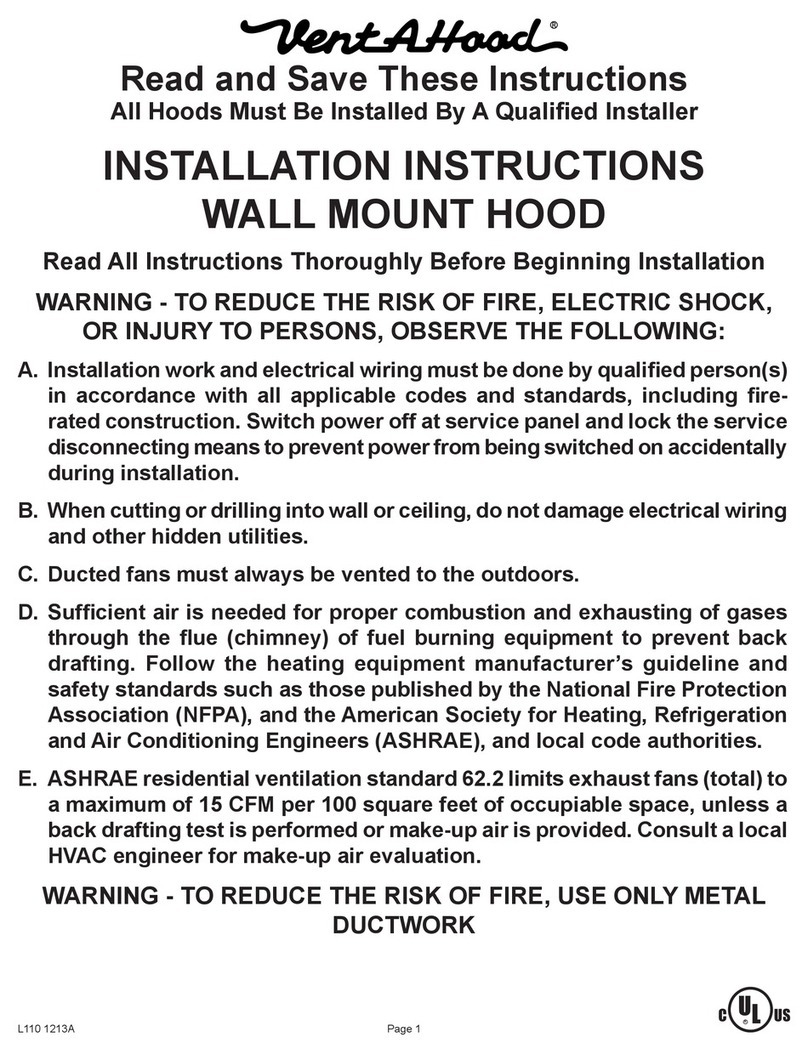
VentAHood
VentAHood B100 Single User manual
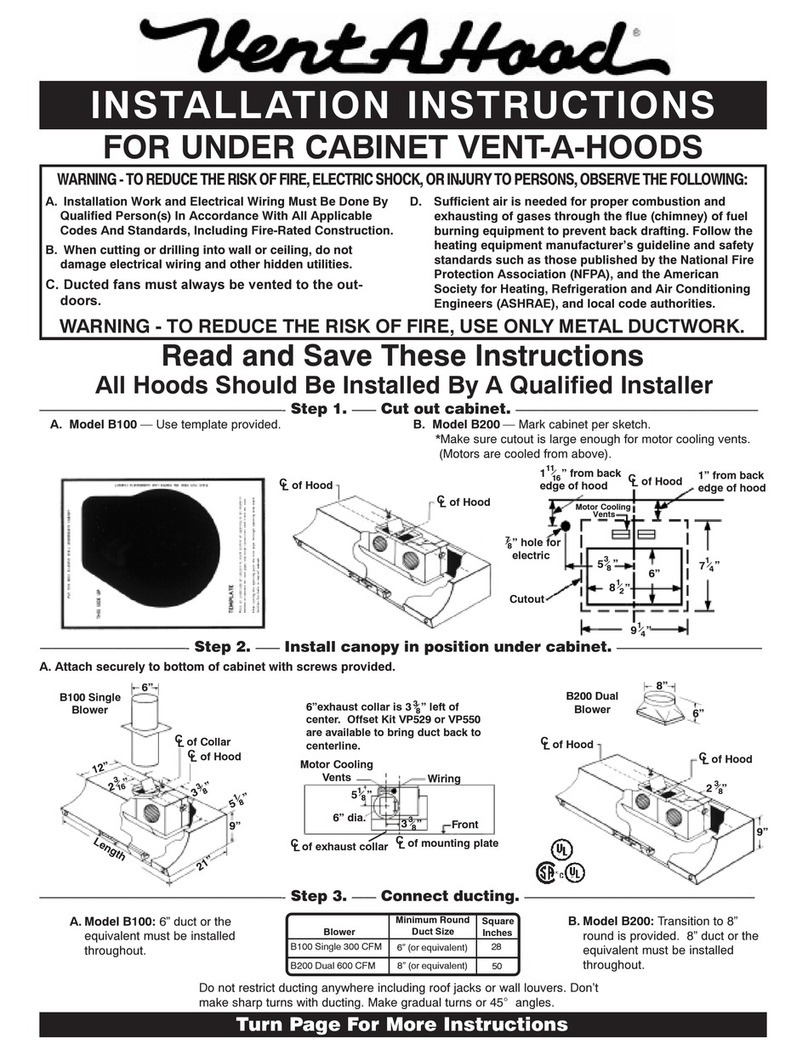
VentAHood
VentAHood B100 Single 300 CFM User manual

VentAHood
VentAHood B100 User manual
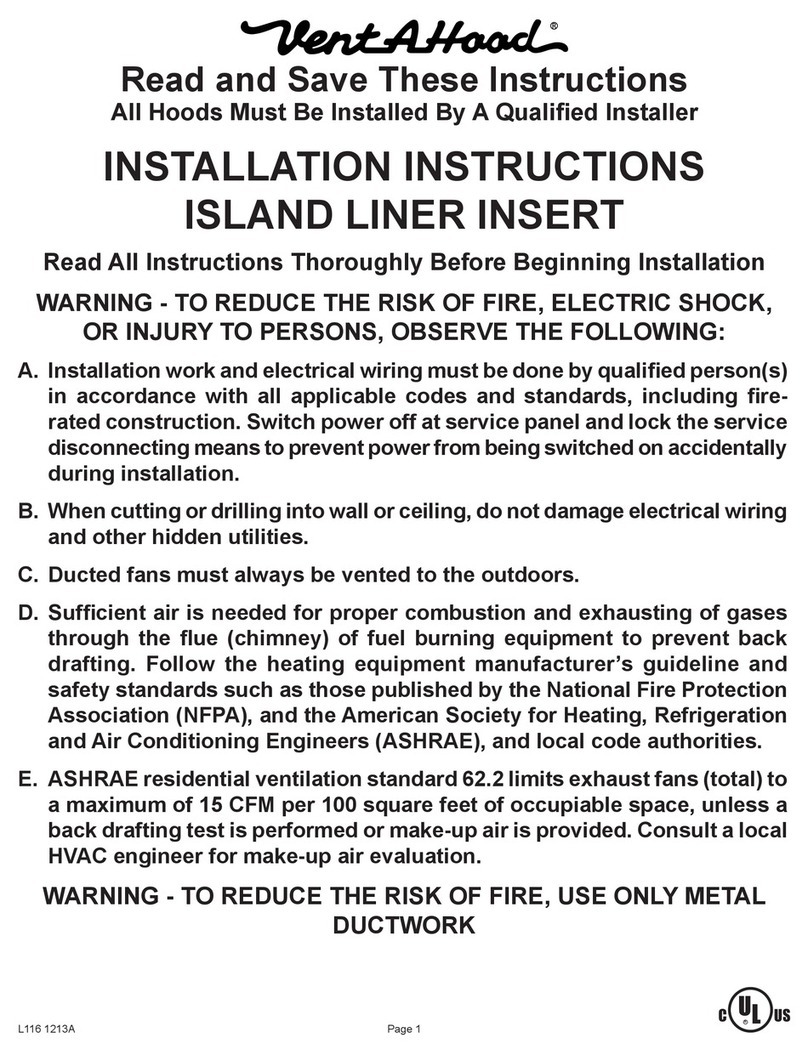
VentAHood
VentAHood ISLAND User manual
Popular Ventilation Hood manuals by other brands

Gorenje
Gorenje S3 IHGC963S4X manual

KOBE
KOBE ISX2136SQB-1 Installation instructions and operation manual

U.S. Products
U.S. Products ADVANTAGE-100H Information & operating instructions

Kuppersberg
Kuppersberg DUDL 4 LX Technical Passport

Framtid
Framtid HW280 manual

Thermador
Thermador HGEW 36 FS installation manual
