4
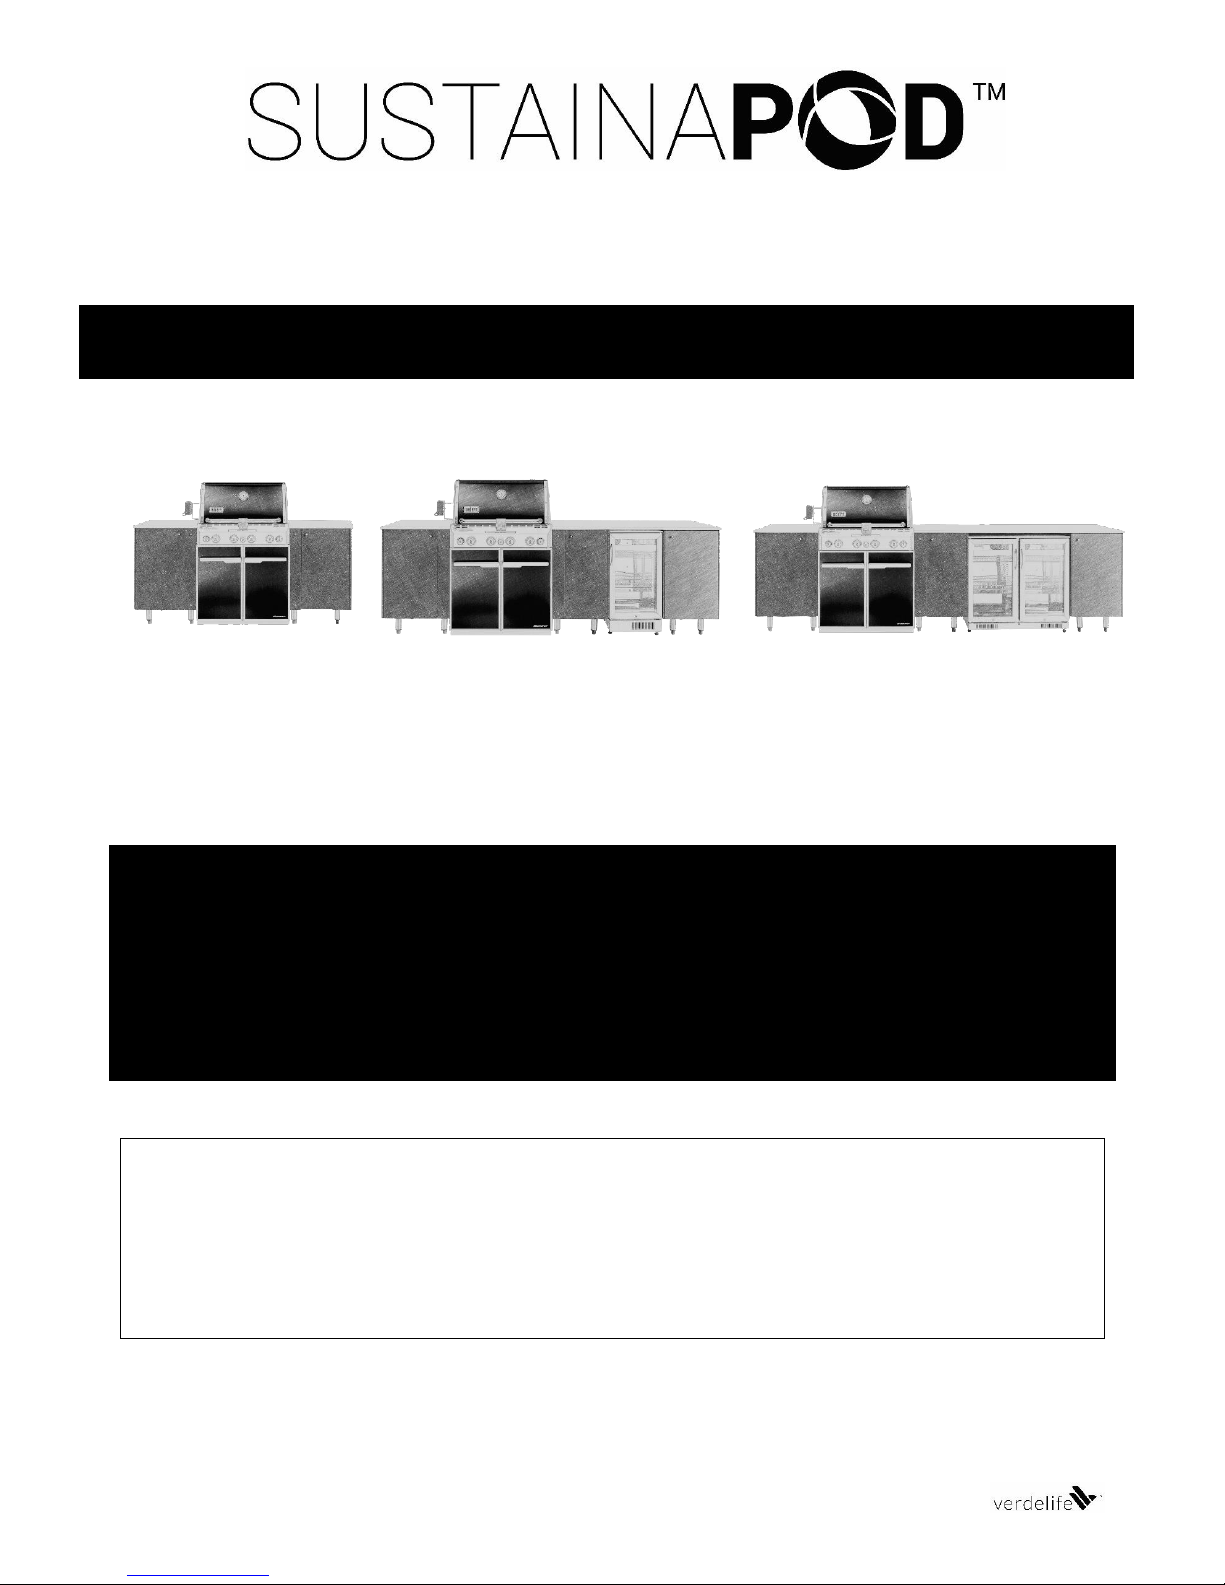
Assembly Instructions –SustainaPod Outdoor Kitchen Range by VerdeLife www.verdelife.com.au
STEP 1: FOUNDATION PREPARATION
IMPORTANT! Refer to the product manufacturer’s barbecue installation guide when determining a location for your barbecue.
Measure the site for space
Clean and prepare the site ready for installation
Check the site for stability
Check the site orientation for weather
PRE-ASSEMBLY
Unpack the boxes and check for damage
Lay units on their back on a flat clean surface next to the
intended installation site
Refer to your original Order Form for the layout of PODS 1-4
In a clockwise direction, screw each of the legs onto the base
Assemble POD 2 (BBQ Cabinet)
Screw the 12 demon bolts into the six holes on each side, as
shown
Screw the 10 demon bolts into the 4 holes on each side of
POD 2 (BBQ Cabinet) as shown
Tip: Align the cabinet (carcass) fronts of each cabinet carefully
before tightening bolts fully
With at least two people, stand the cabinet up and move into
position carefully, without dragging
Once into final position, level cabinet using adjustable legs
For Elston and Neptune models, level POD 4 at the same level
as POD 3 to hold benchtop evenly above fridge
Tip: Level the cabinets from front to back - adjust all legs evenly.
For kickboard option-legs should be wound down at least 10mm.
STEP 4: BENCHTOP ASSEMBLY
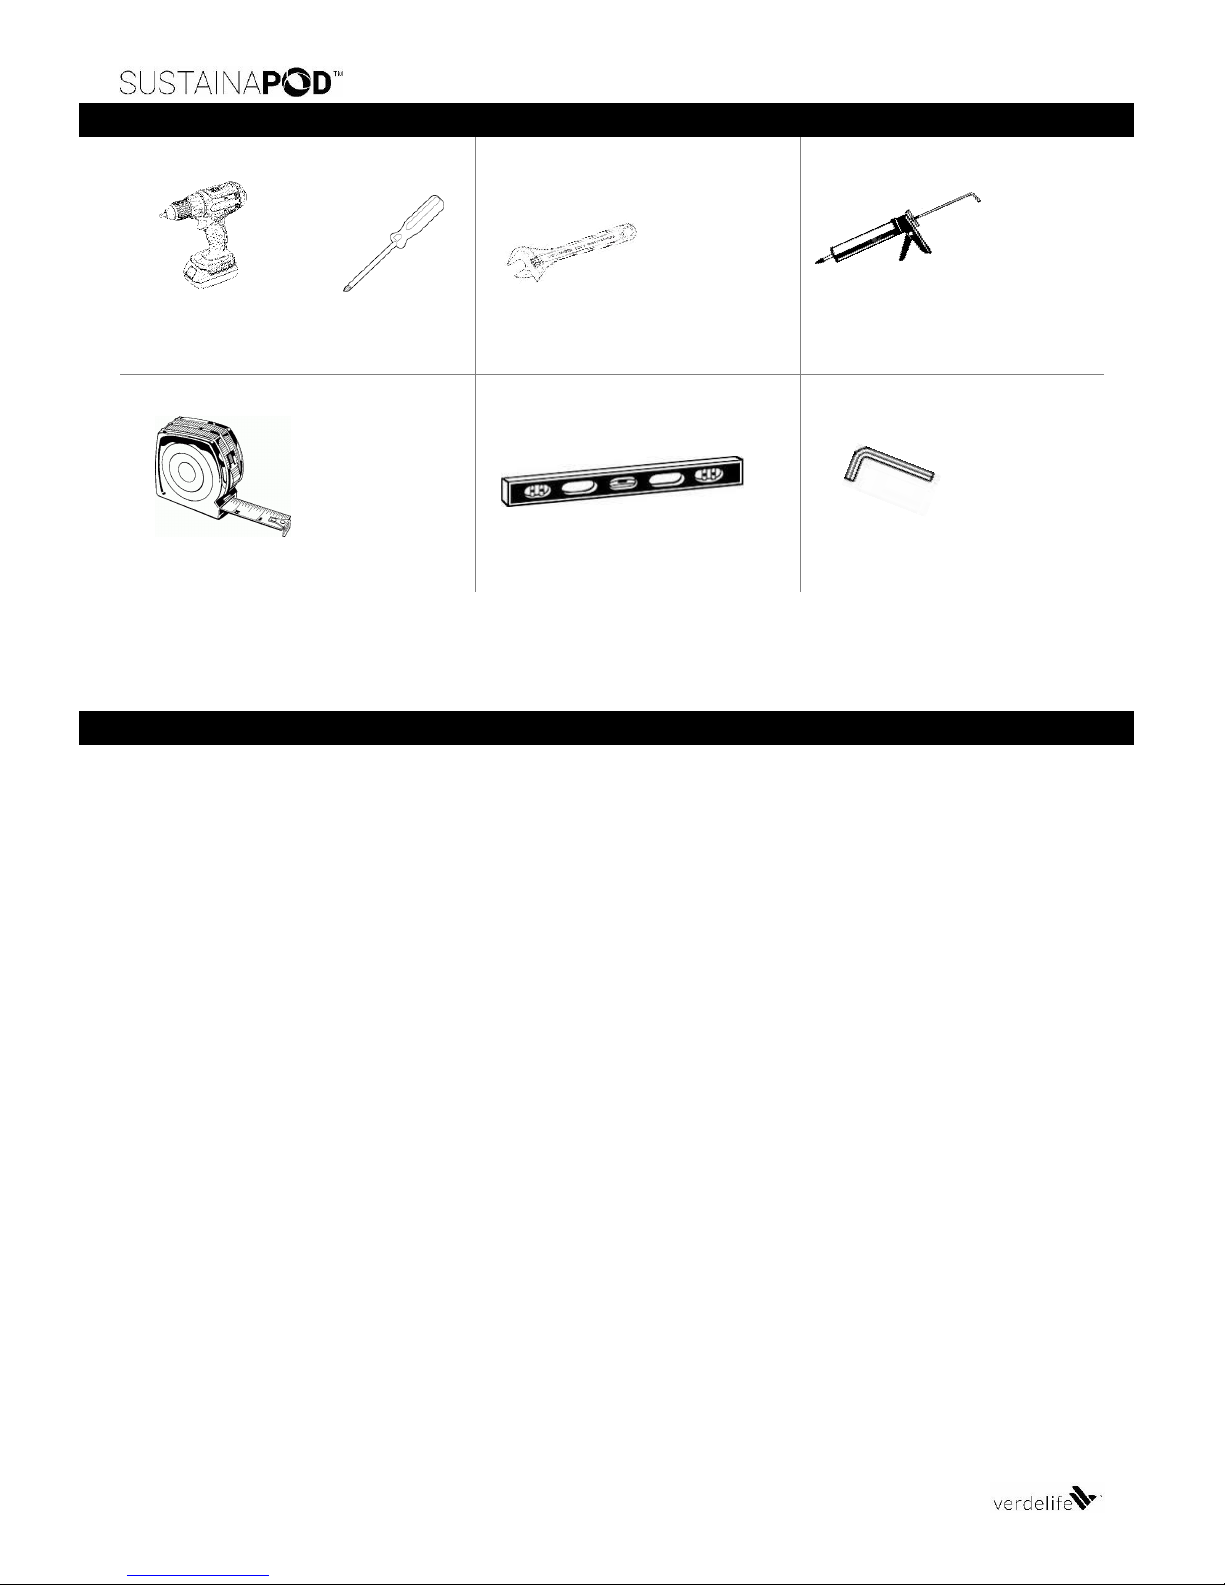
Place a small bead of 100% polyurethane construction
adhesive (not supplied) around each cabinet (carcass) top, as
shown
Sit each top into position, making sure all bench top backs are
flush with cabinet backs and all side over hang margins are
evenly spaced
Allow adhesive to set fully
Door and Drawer Adjustment
Doors and drawers are pre-adjusted. In the event you need to
make minor adjustments,
▪To adjust doors, use a screwdriver to rotate adjusting screws
clockwise and anticlockwise as necessary
▪To adjust drawers, remove side-cover and use a screwdriver to
rotate adjusting screws clockwise and anticlockwise
Tip: Go to blum.com.au for more detail
Installation of Optional Kickboard Upgrade
The kickboard plate comes with clips installed onto the back of the
plate. Align clips with legs and push firmly to connect. Once
connected, push down evenly so plate base is touching the
foundation.
Note: The kickboard is designed to be removable and have
ventilation. It will not cover the full height of the leg.
Refer to your barbecue manufacturer’s installation guide
Installation of Optional Sink/Tap Upgrade
We recommend that sink and tap installation be done by a professional