KKK
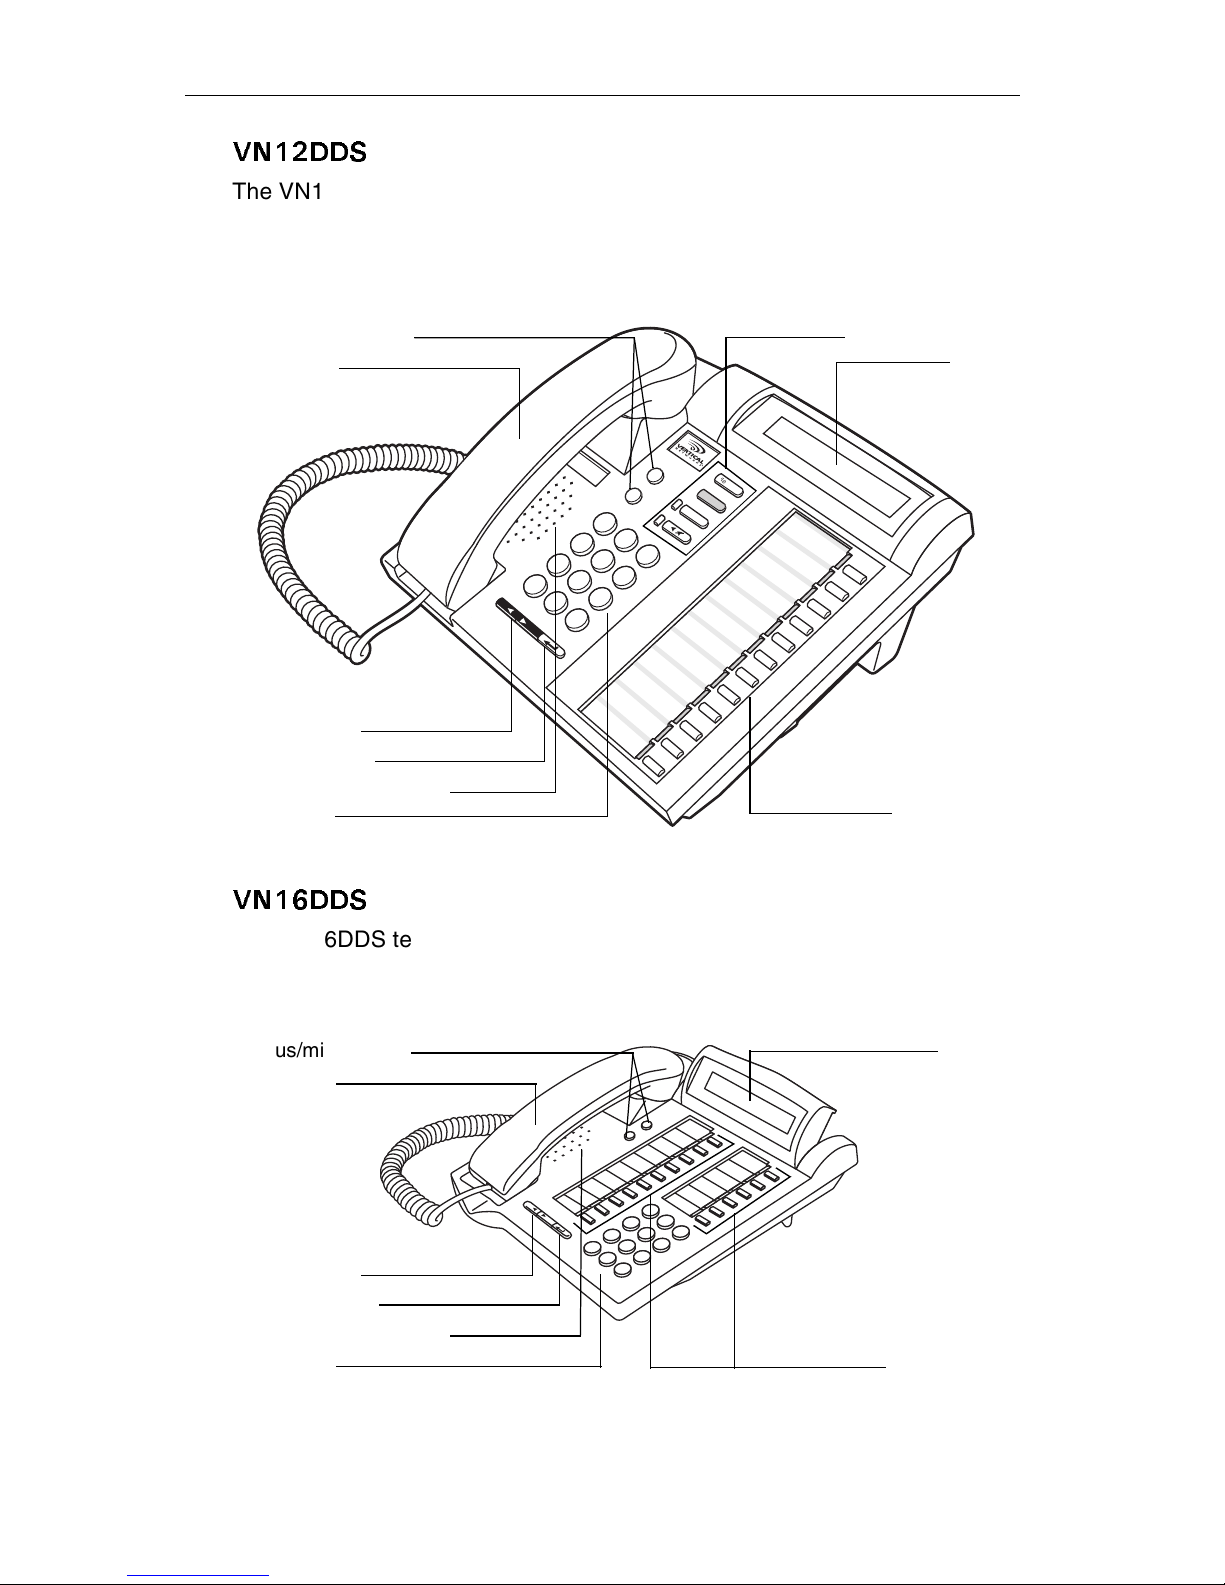
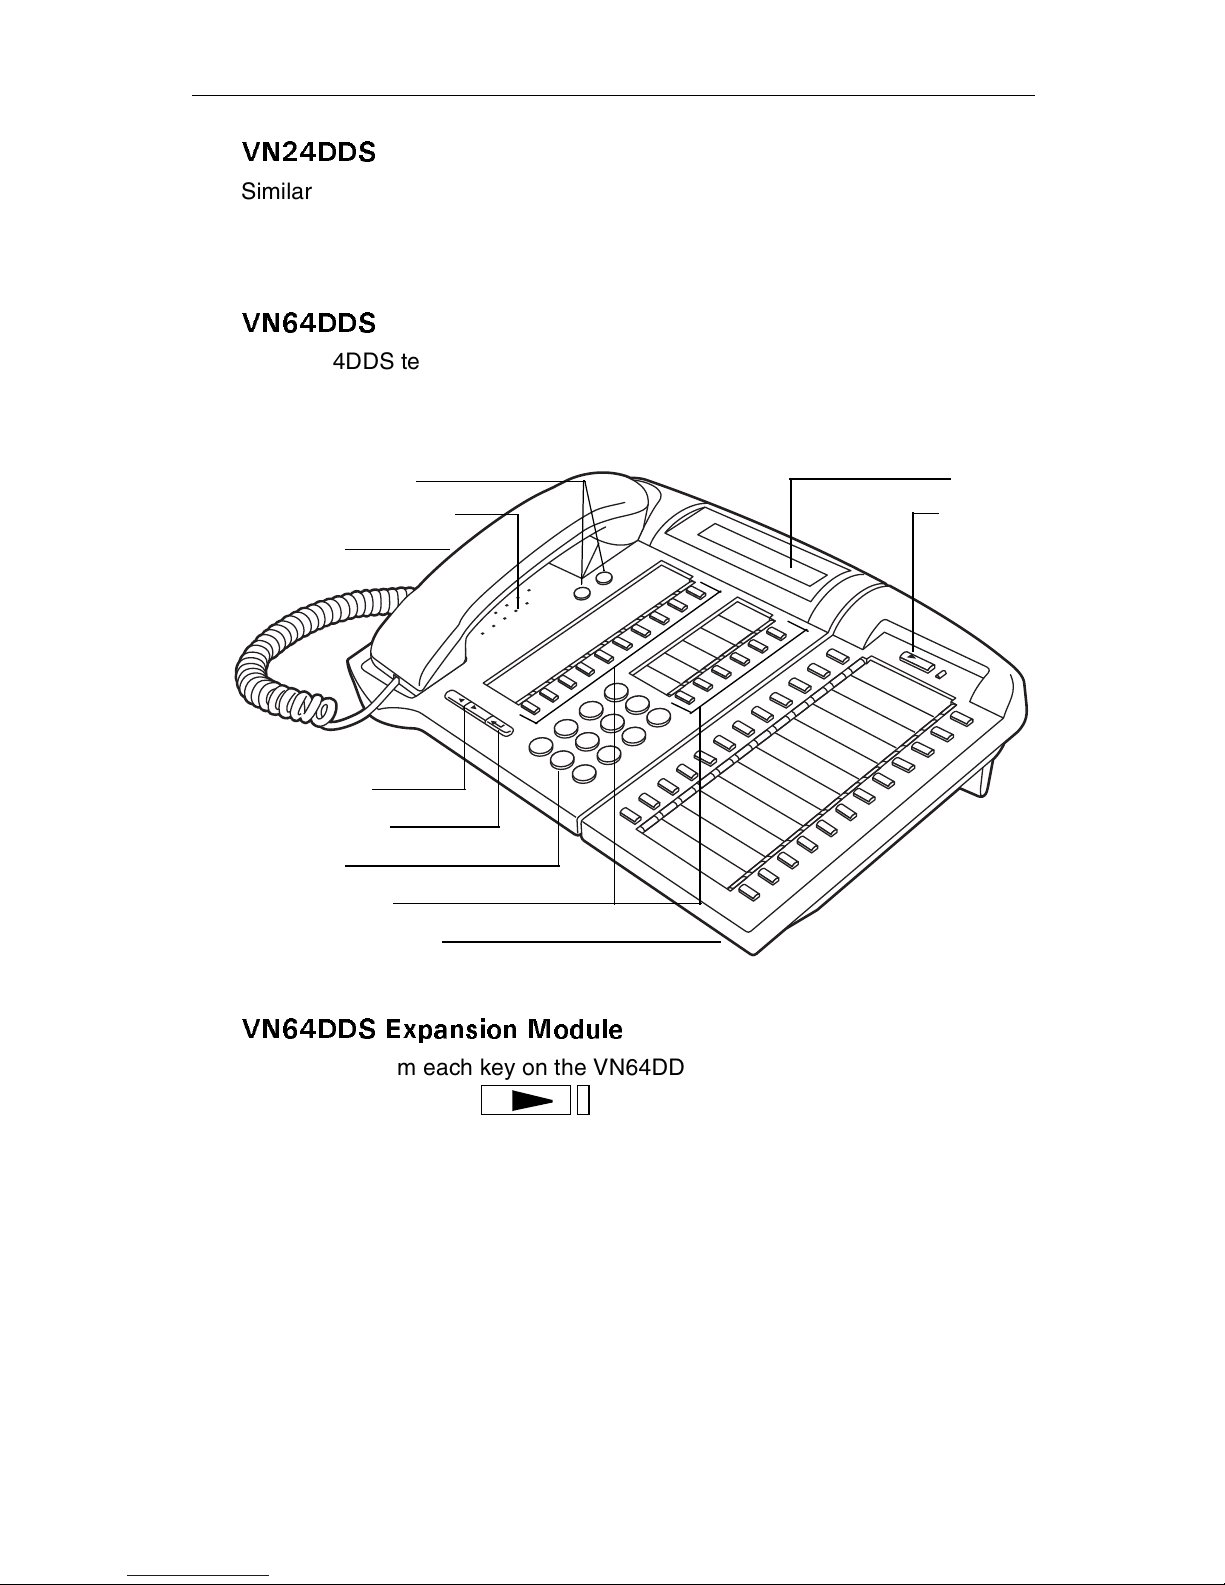
+PVTQFWEVKQP
.KPG-G[U
&KURNC[
+PUVCNNCVKQP
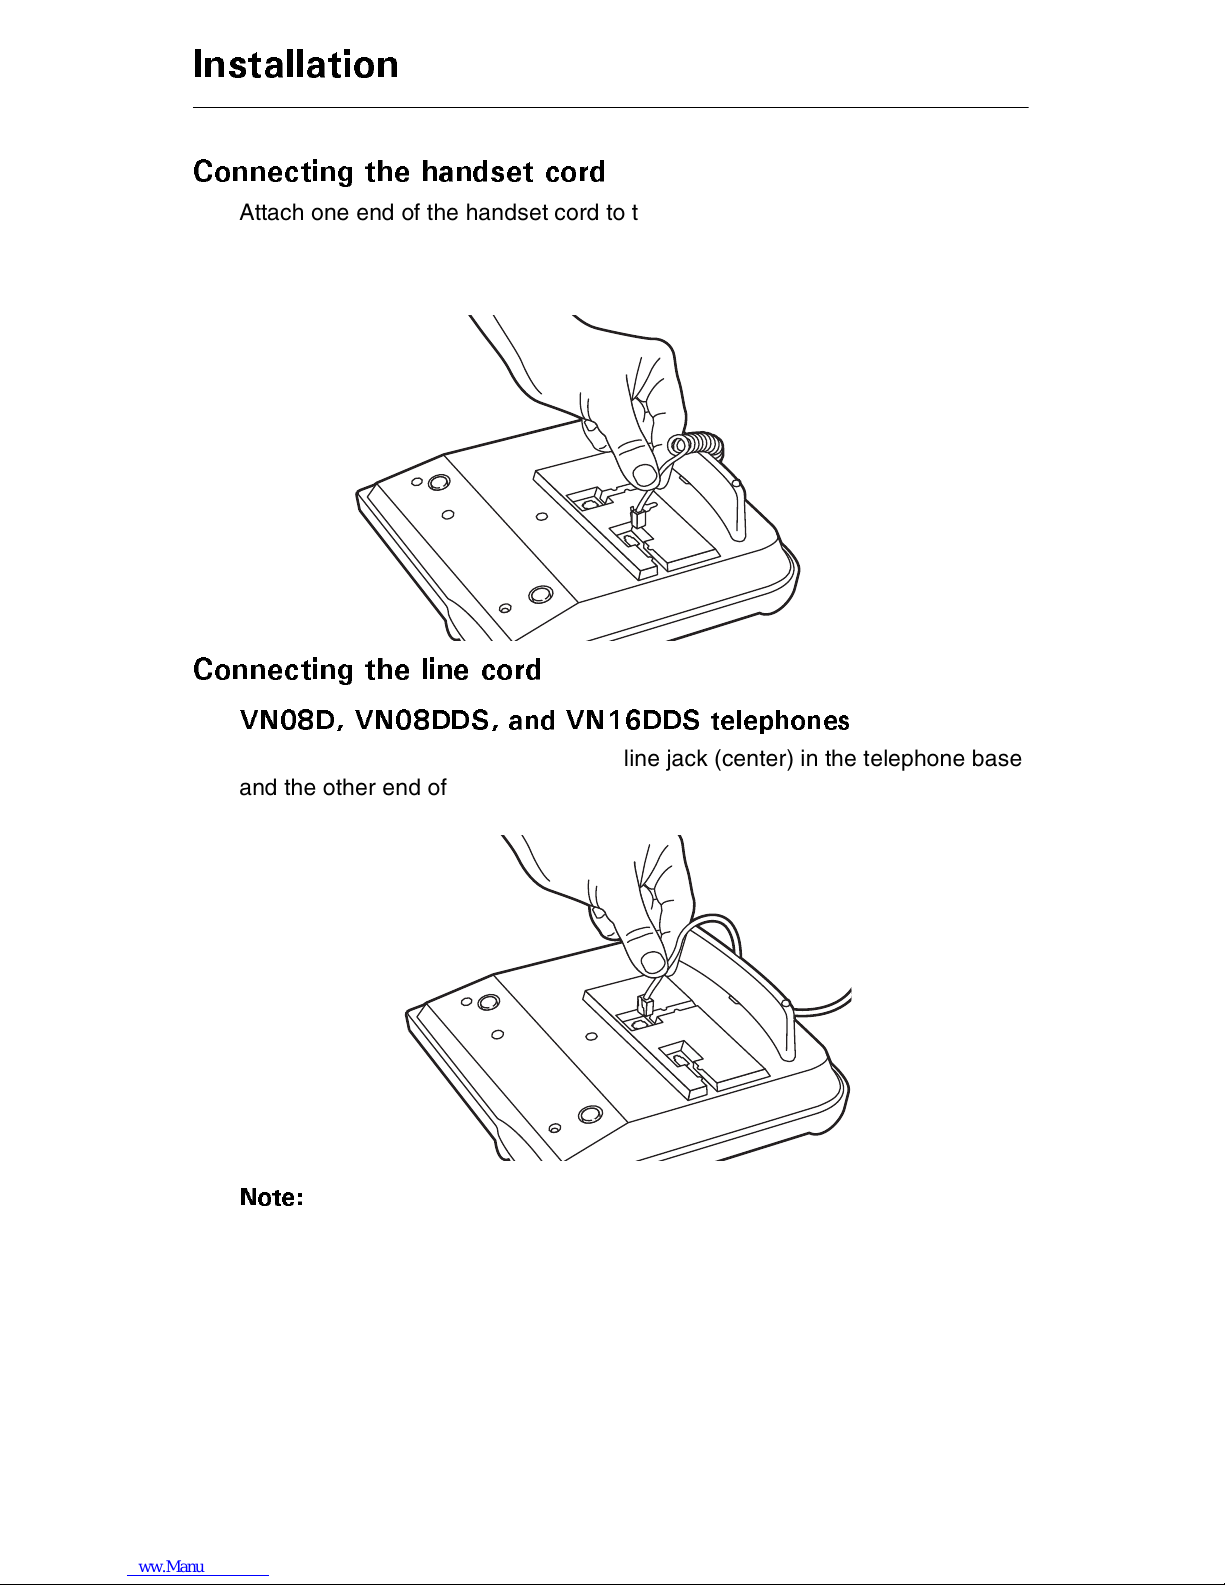
%QPPGEVKPIVJGJCPFUGVEQTF
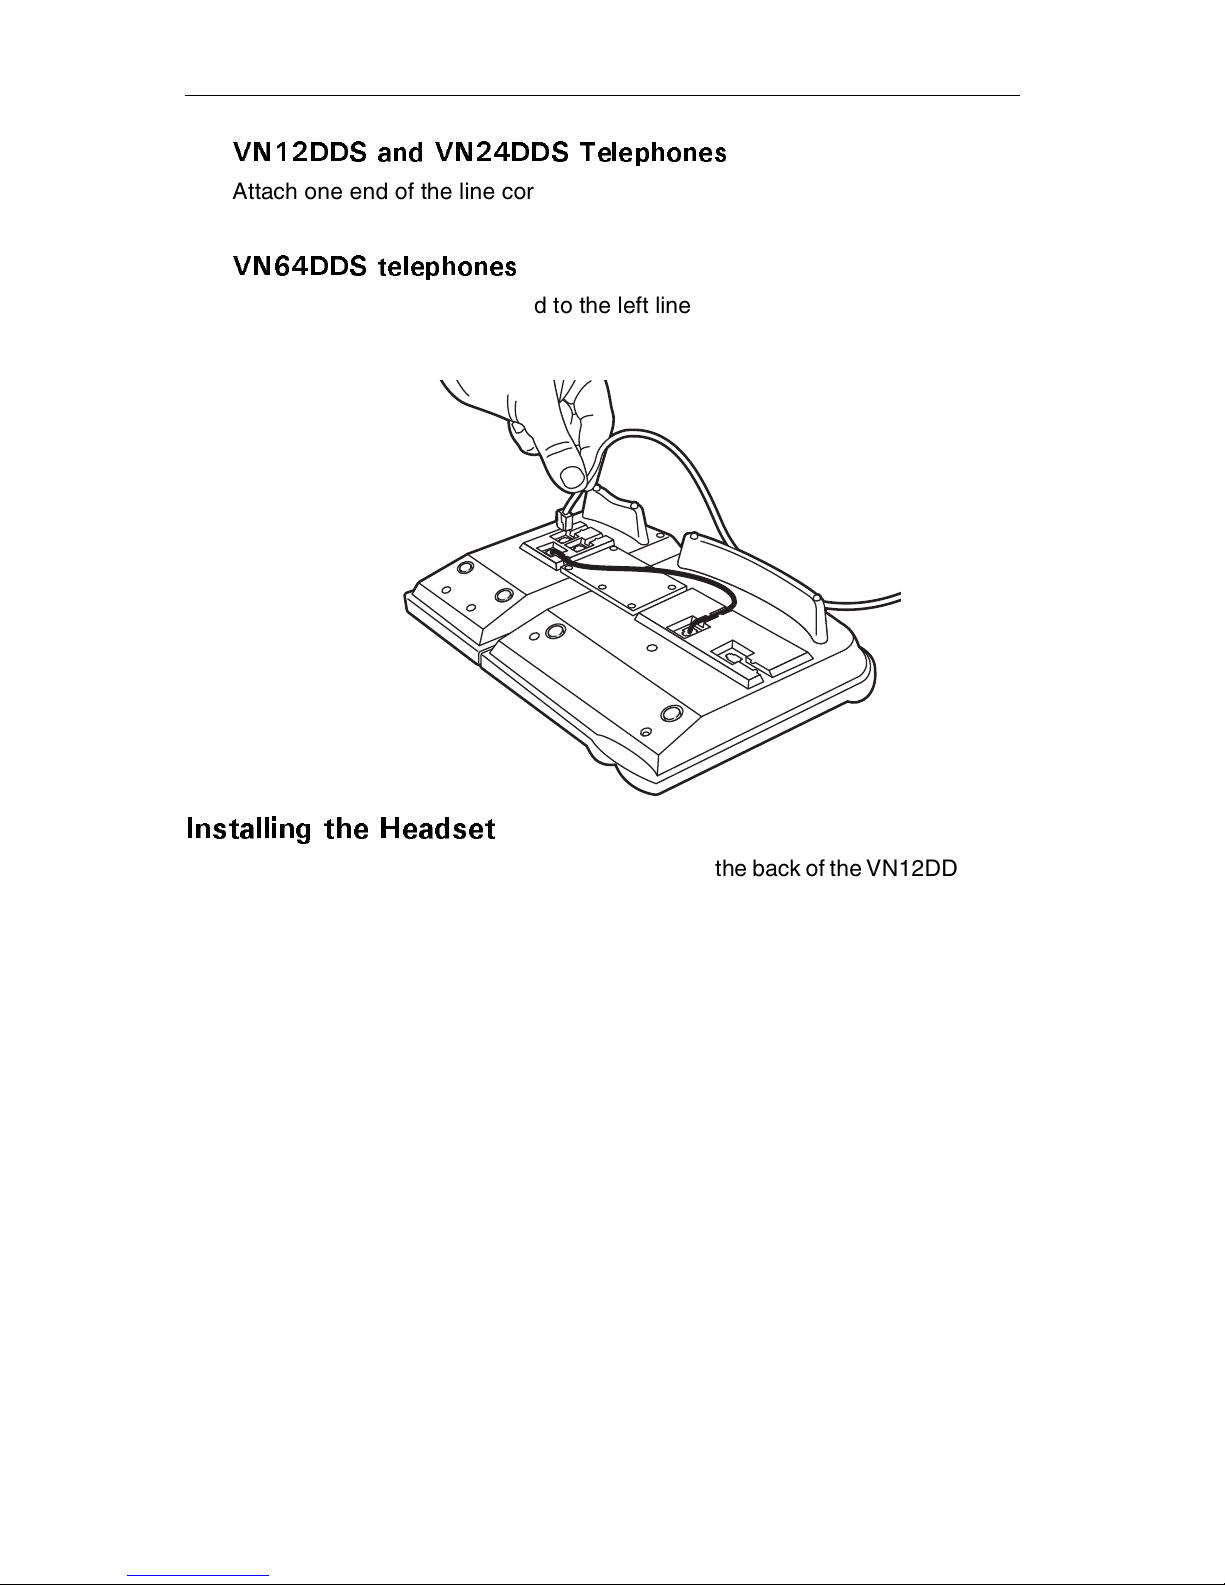
%QPPGEVKPIVJGNKPGEQTF
+PUVCNNKPIVJG*GCFUGV
#FLWUVKPIVJGFKURNC[
9CNN QWPVKPI
$CUKE1RGTCVKQP
CMKPICECNN
#PUYGTKPICECNN
'PFKPICECNN
5YKVEJKPIDGVYGGPCEVKXGECNNU
,QKPKPICECNN
$NQEMKPIECNNGT+&KPVGTPCNN[
7UKPICWVJQTK\CVKQPEQFGU
6GNGRJQPG5GVVKPIU
QFKH[KPIVJGFKURNC[EQPVTCUV
5GVVKPIVJGTKPIOGNQF[CPFXQNWOG
#FLWUVKPIVJGJCPFUGVCPFURGCMGTXQNWOG
6GNGRJQPG(GCVWTGU
#WVQ&KCN
%CNN2CTM
%CNN2KEMWR
%CNN4GEQTF
%CNN4GVWTP
%CNN9CKVKPI
%CORQP%CNNDCEM
%GPVTGZ(NCUJ
%QPHGTGPEG
&KTGEV5VCVKQP5GNGEV$WU[.COR(KGNF
&Q0QV&KUVWTD
(NCUJ
(QTYCTF
*GCFUGV80&&5CPF80&&5QPN[
*QNF
%QPVGPVU