Videotree lifestyle Installation and operating instructions

www.videotree.com
Tel: +44 (0)1932 267 797
1
LUXURY WATERPROOF TELEVISIONS MADE IN ENGLAND
LIFESTYLE RANGE
IN-WALL RANGE: 19” / 27” / 32” / 42” / 46” / 55”
USER MANUAL &
INSTALLATION GUIDE
User manual and installation guide for Videotree’s in-wall
range of waterproof televisions.
Please read this guide carefully before installing and
operating your Videotree television and retain for future
reference.
2 YEAR
Warranty
IP66
Protection Rating
Videotree

www.videotree.com
Tel: +44 (0)1932 267 797
3
www.videotree.com
Tel: +44 (0)1932 267 797
2
CONTENTS
Contents.............................................................................................................
Introduction.......................................................................................................
What You Will Need..........................................................................................
Safety Precautions............................................................................................
Connections.......................................................................................................
External Speaker Connections........................................................................
Viewing Angles & Positioning..........................................................................
Backbox Cutout Dimensions...........................................................................
Television & Backbox Dimensions..................................................................
Installation..........................................................................................................
ScreenRemoval.................................................................................................
Master Remote Control....................................................................................
Learning Remote Control.................................................................................
RS232 Codes......................................................................................................
Common Shortcuts...........................................................................................
Auto-Installation................................................................................................
Troubleshooting................................................................................................
Technical Specications...................................................................................
Waste Disposal of Electrical and Electronic Products (WEEE).....................
Product Care.....................................................................................................
Warranty............................................................................................................
Product Codes...................................................................................................
2
4
5
6
10
14
16
17
18
20
22
23
24
25
27
29
35
36
37
38
39
40
Warning: Improper mounting and installation of your Videotree television
can lead to damaged or broken property, bodily injury or death. If you
do not feel condent that you can complete any step in this guide please
STOP IMMEDIATELY. Place the television in a safe location and contact
Videotree or a professional AV installer or electrician before continuing.
It is the responsibility of the installer to ensure that your waterproof
television is correctly installed and sealed to retain water-tightness.
Your warranty will be void if damage to the television occurs due to incorrect
installation or poor sealing.
Images shown in this manual may dier to your television depending on
which product you have purchased.
If unsure, please contact Videotree:
Email: [email protected]
Telephone: 01932 267 797
Overseas: +44 (0)1932 267 797
Opening Hours:
Monday - Friday
9am - 5pm (GMT)
Videotree

www.videotree.com
Tel: +44 (0)1932 267 797
4www.videotree.com
Tel: +44 (0)1932 267 797
5
INTRODUCTION WHAT YOU WILL NEED
Thank you for choosing Videotree. The following guide will assist you with
the operation and installation of your in-wall television. Please carefully
read this guide and follow the instructions provided before attempting to
install and operate your in-wall television.
If you have any questions or are unsure about any of the instructions in
this guide, please contact Videotree before proceeding with the installation
(contact details can be found on page 36).
BEFORE YOU BEGIN
Please ensure you read the following safety precautions and check the
contents of your packaging before you begin to install your in-wall television.
If any of the below contents are missing, please contact Videotree before
continuing with the installation of your television.
CONTENTS
Power Supply:
12V for 19” & 27” screens
24V for 32” - 55” screens
Power Lead
Learning
Remote
2x AAA Batteries
(Master Remote)
Master Remote
Lifestyle In-wall Television
To install and mount your in-wall television, you may require the following
additional tools and accessories:
Wall Plugs
(depending upon the condition
of your wall)
Measurement Tools
(such as a spirit level or tape
measure)
Watertight Sealant
(such as silicon sealant)
REQUIRED
Television Backbox
Fixture Screws
(we recommend coach
screws for the larger TVs)
Videotree

www.videotree.com
Tel: +44 (0)1932 267 797
6www.videotree.com
Tel: +44 (0)1932 267 797
7
SAFETY PRECAUTIONS SAFETY PRECAUTIONS CONTINUED
A Warning is used when failure to follow instructions may result in
serious injury or death.
A Caution is used when failure to follow instructions may result in a
minor injury or damage to the product or other property.
Notes are used to provide clarication.
!
Please carefully read the below safety precautions before installing your
Videotree television.
WARNINGS
Do NOT install your television in the following environments:
- In direct sunlight
- Near a heat source such as a heater or replace
- In an outdoor area exposed to weather conditions
- Underneath a direct water source such as a shower.
Risk of damage to the television. May result in re or electric shock.
Do NOT install the television without a safety earth. Your Videotree
television MUST be earthed. Ensure the earth pin on the mains plug
is correctly connected.
Risk of electrocution or injury.
Do NOT touch the mains plug or power supply unit with wet hands.
Ensure the mains plug is clean and dry before connecting to mains
power.
Risk of electrocution, re or injury.
Ensure the mains plug is properly connected to the socket before
turning the mains power on.
Unsecured mains plugs can result in re or electrocution.
Do NOT expose the mains plug or power supply unit to excessive
heat.
Risk of re or electric shock.
Do NOT expose the rear of your television to water. The rear of the
television is not protected against water.
Water damage may result in re or electric shock.
Do NOT remove the back cover of the television or attempt to open
the unit. There are no user serviceable parts inside.
Risk of electric shock or re.
Ensure there is always easy access to the mains supply and the
power supply unit.
Blocked access may result in increased re risk.
Ensure the power supply unit is disconnected from the mains
power supply before connecting to your television.
Risk of power surge causing damage to the unit.
Do NOT place heavy objects onto the television, power supply unit
or connecting wires.
Risk of product damage, injury or re.
Do NOT excessively bend connecting wires behind the rear of the
television during installation. Also do NOT hang the wires on the
back of the television. Tidy cables away safely.
Risk of product damage and re.
Do NOT plug too many devices into a singular power supply socket.
Risk of re due to overheating.
Ensure the television is correctly and securely xed to the wall
before use. Do NOT allow children or pets to climb on to the
television once installed.
Falling heavy objects could result in injury or death.
Keep all packaging and small parts out of reach of children.
Risk of suocation or death.
Do NOT insert metal objects into the power supply unit or mains
power socket.
Risk of electrocution or re.
Do NOT store ammable substances near the television or mains
supply unit.
Risk of combustion.
Do NOT place foreign objects into the television.
Risk of electric shock or re.
Videotree

www.videotree.com
Tel: +44 (0)1932 267 797
8www.videotree.com
Tel: +44 (0)1932 267 797
9
SAFETY PRECAUTIONS CONTINUED SAFETY PRECAUTIONS CONTINUED
CAUTIONS
Do NOT use a power supply unit from a dierent manufacturer or
supplier. Videotree’s power supply units are specically designed
for Videotree televisions.
Use of other power supply units may result in damage to the television
and personal injury.
Do NOT attempt to install or remove your television without
assistance. Videotree televisions are heavy and require at least 2
persons for installation and removal.
Incorrect handling of heavy objects can result in injury.
Do NOT install or use the television near wireless communication
devices.
Electromagnetic interference may occur.
Do NOT clean the television or power supply unit with a ammable
substance.
Risk of re or electric shock.
Do NOT touch the television or power supply unit during a lightning
storm.
Risk of electric shock.
Do NOT insert or remove the mains plug into the mains supply
socket, or turn the mains supply socket on or o if there is a gas
leak. Open windows and doors to ventilate the area.
Risk of re by ignition.
Do NOT leave the mains plug in the mains supply socket if the
television is not being used for long periods of time.
Risk of electric shock or re due to degradation of the unit or dust
ingress causing ignition.
Do NOT use the television if the following applies:
- The unit has been badly damaged
- There is smoke or a strong smell coming from the unit
- Foreign objects have been placed into the unit.
If any of the above applies, please contact Videotree immediately.
Do NOT install the television on an unstable surface. If you are
unsure, remove the television immediately.
Risk of injury or damage to the unit.
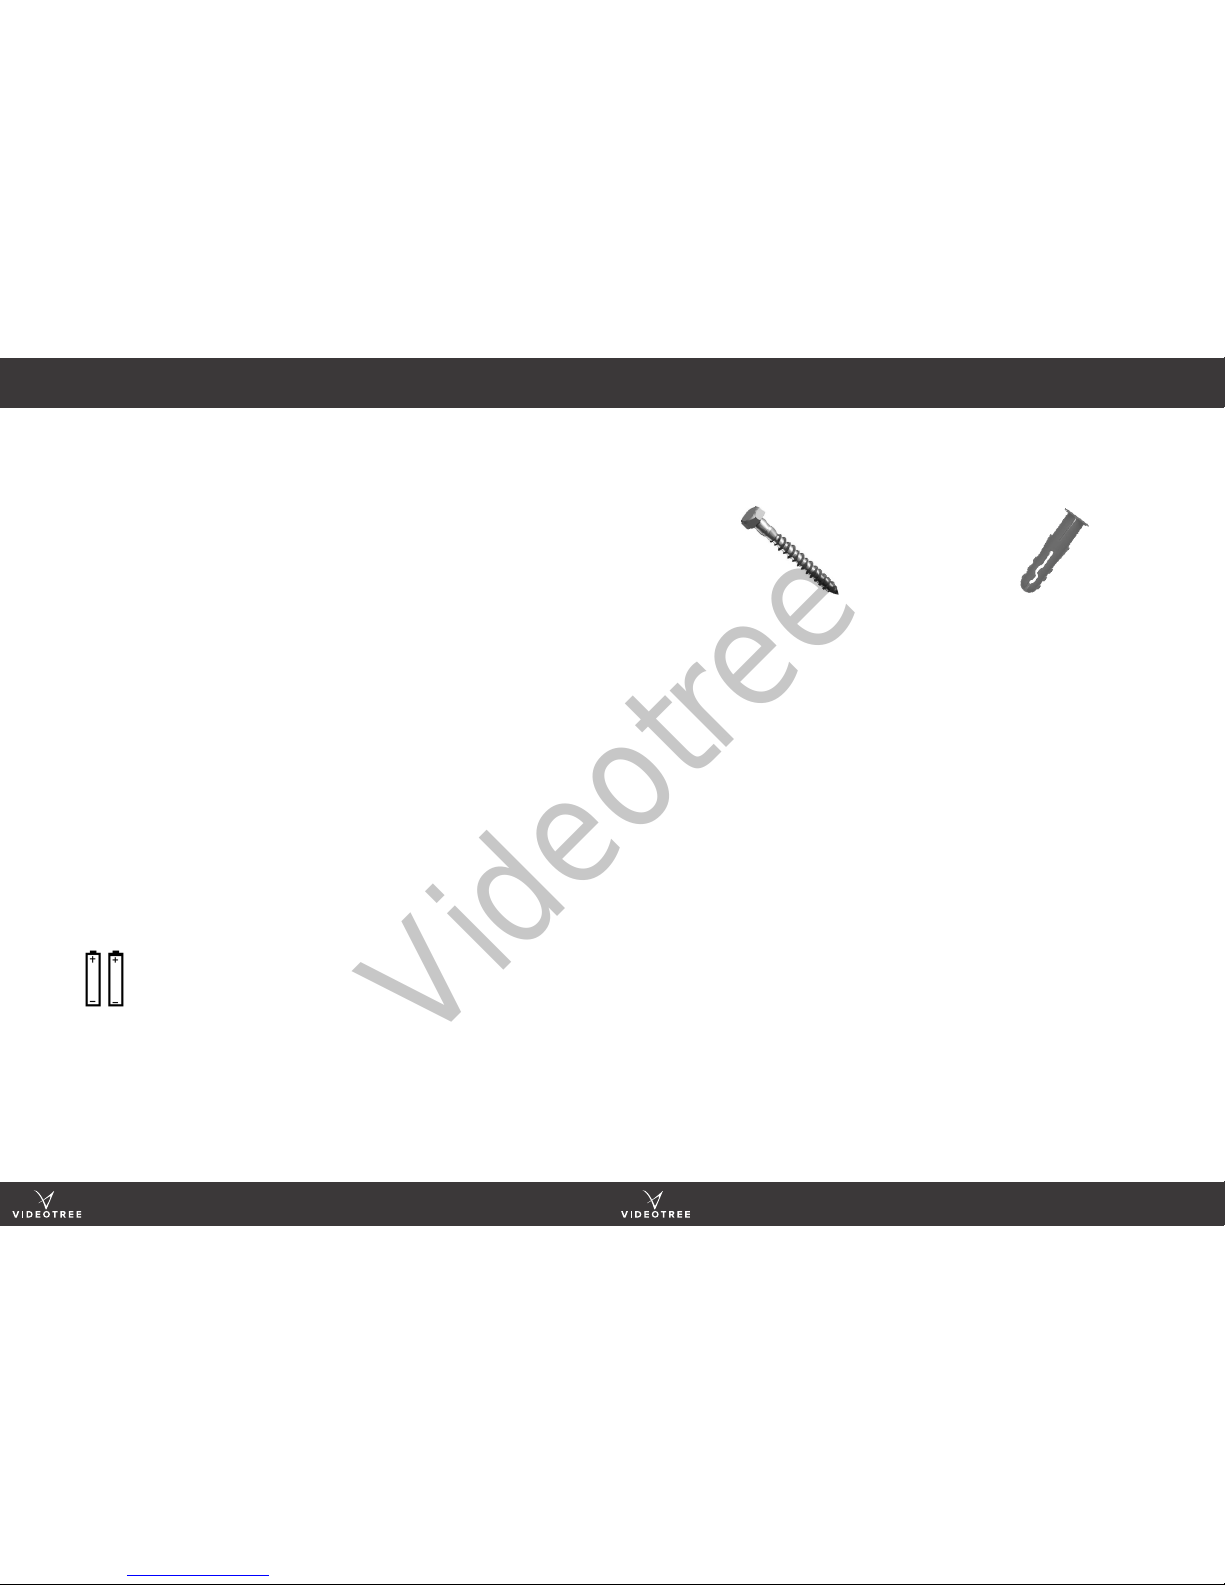
Only use the batteries specied in this guide. DO NOT mix old and
new batteries.
Risk of leakage and ignition.
Do NOT expose batteries to excessive heat or direct sunlight.
Risk of ignition.
Do NOT attempt to charge non-rechargeable batteries.
Risk of ignition or electric shock.
Ensure the remote control sensor on the television is not blocked.
Objects between the remote control and the sensor will prevent the
remote control from working.
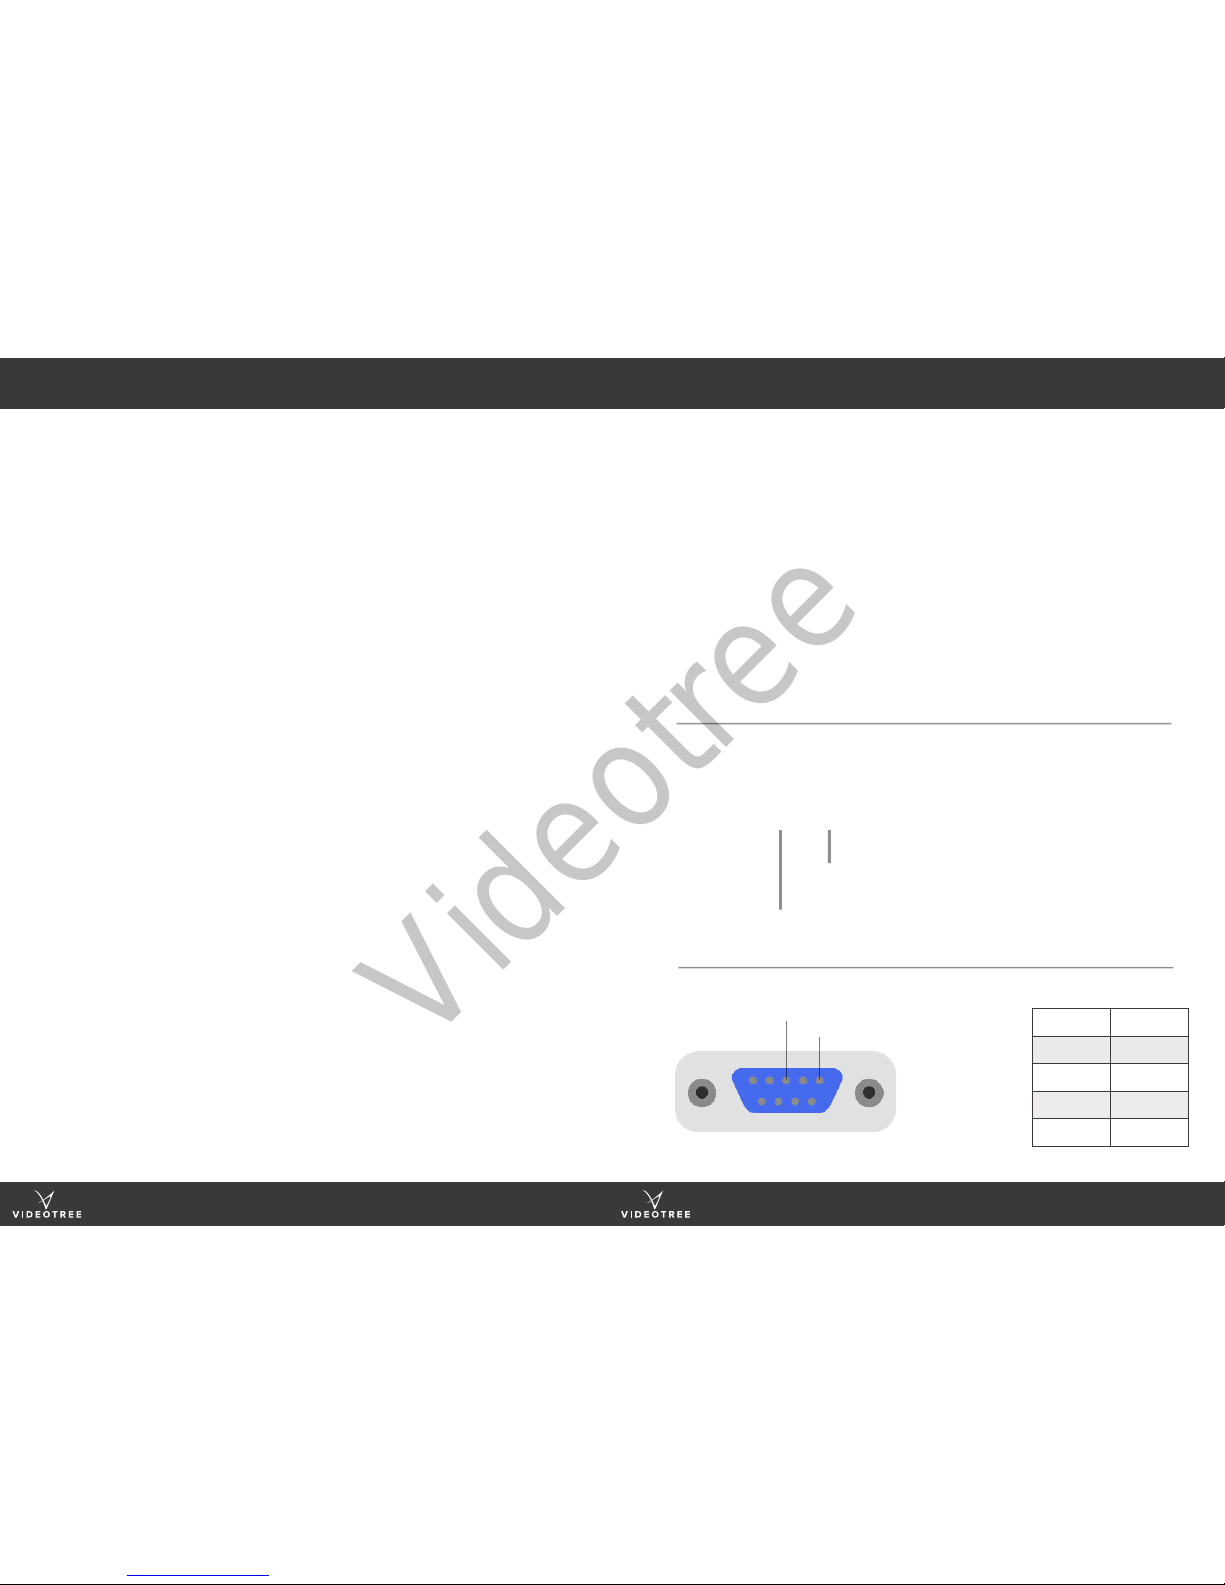
Ensure external devices are correctly connected to the television
and that the cables are long enough to reach.
Risk of damage to the unit or personal injury.
Do NOT use the mains plug sockets to turn the television on or o.
Always turn the television on or o by using the power button on
the unit or remote control.
Incorrect use may result in damage to the unit or electric shock.
Do NOT place excessive force or weight onto the screen.
Risk of damage to the screen.
Do NOT use abrasive or ammable substances when cleaning the
television. Always turn o the power supply before cleaning the
unit with a soft, clean cloth.
Risk of damage to the unit or electric shock.
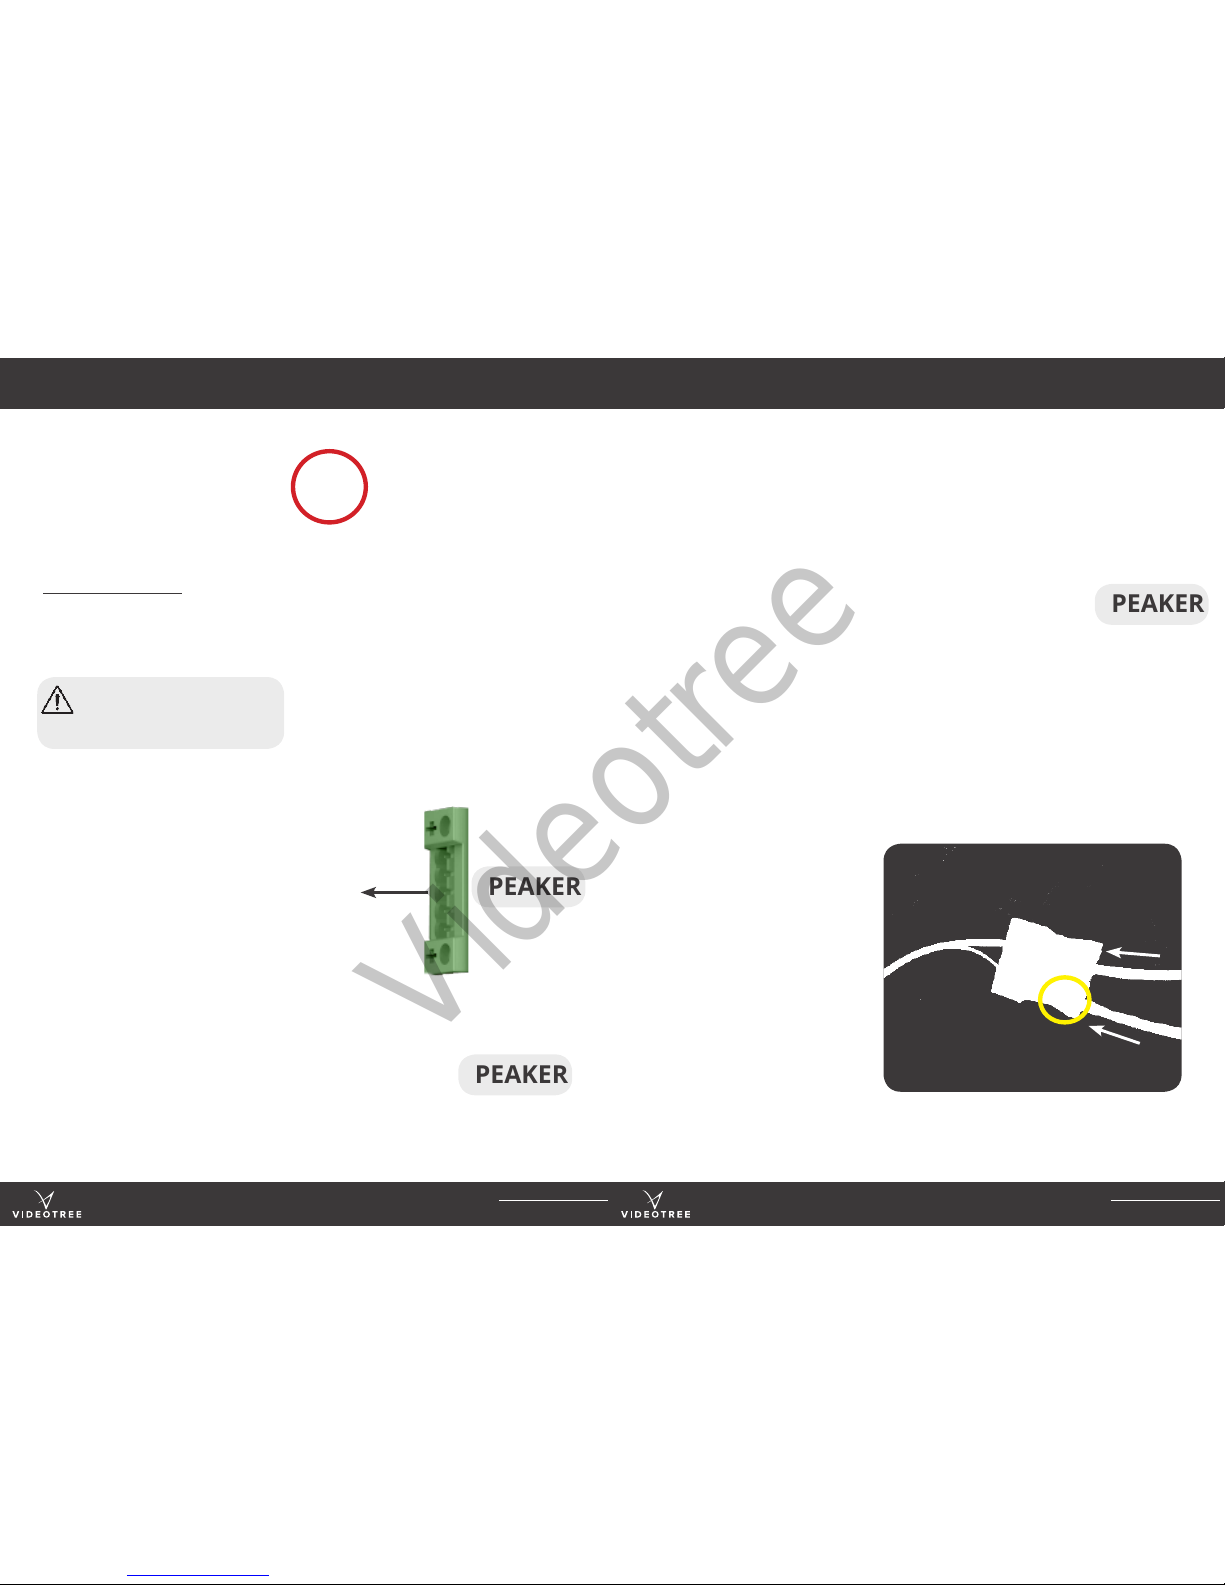
Do NOT unplug the power supply plug by pulling on the wires.
Always ensure the power supply is turned o and remove the plug
by pulling on the plastic casing.
Risk of electric shock and damage to the wires.
Do NOT display a still image on the screen for prolonged periods of
time. This could result in the image ‘sticking’ and therefore damage
to the screen.
Videotree

www.videotree.com
Tel: +44 (0)1932 267 797
10 www.videotree.com
Tel: +44 (0)1932 267 797
11
CONNECTIONS CONNECTIONS CONTINUED
2 wire IR Blaster controlling
DVD/Set Top Box
Reverse IR Connection
Tip (Positive +)
Negative (-)
RS232 DB9 Connector
PIN:
1. NC
2. RX
3. TX
4. NC
5. GND
Male DB9 RS232 Pin Out
Pin 2
Pin 3
Pin 5 Baud Rate 115200
Data Bit 8
Parity None
Stop Bits 1
Handshake None
CONTROL PANEL REVERSE IR CONNECTION
Videotree

www.videotree.com
Tel: +44 (0)1932 267 797
12 www.videotree.com
Tel: +44 (0)1932 267 797
13
CONNECTIONS CONTINUED CONNECTIONS CONTINUED
RS232
Male DB9 RS232 Pin Out
Pin 2
Pin 3
Pin 5
Pin 2
Pin 3
Pin 5
IR INPUT
VCC
Signal In
GND
TV
TV
WARNING:
All television connections should use stereo 3.5mm mini jack.
Use of other types of mini jack will damage the television.
IR Extender
‘Eye’
Signal
IR OUTPUT - Modulated
Anode
Cathode
IR OUTPUT - Unmodulated
Signal
GND
TV
TV
WARNING:
All television connections should use stereo 3.5mm mini jack.
Use of other types of mini jack will damage the television.
GND
IR Emitter
Videotree

www.videotree.com
Tel: +44 (0)1932 267 797
14 www.videotree.com
Tel: +44 (0)1932 267 797
15
EXTERNAL SPEAKER CONNECTIONS EXTERNAL SPEAKER CONNECTIONS CONTINUED
The ‘Speaker Out’ port can be
found on the left of the control
panel on the rear of the television.
Two external speakers (left and
right) can be connected to this
port using standard red and black
speaker cables (not provided).
Cable Connections:
Red = Positive +ve
Black /Red & Black = Negative -ve
-
+
-
+
L
R
SPEAKER
STEP 2
CONNECT SOCKET TO THE TV
Plug the green socket (with wires
now attached) back into the main
control panel. This should simply
‘snap’ back into place.
X
STEP 3
CONNECTION TO SPEAKER
Connect the speaker cables
to the external speakers by
connecting them to the socket.
The image shown is the
connection to Videotree’s
External Ceiling Speakers. Lift or
press the plastic levers to open
or close the sockets to insert
the cable connections from the
television.
NOTE:
External speakers and speaker
cables are NOT supplied with
your television.
-
+
-
+
L
R
SPEAKER
STEP 1
CONNECT TO THE TV SOCKET
Unplug the green speaker socket
from the main control panel.
Unscrew the required connection
sockets on the back of the
television and place the cable
connections into the correct
sockets as shown in the image.
Do NOT use the central socket.
Screw the screws back into
position so that they rmly hold
the cable connections. Do not
place excessive force onto the
screws.
X
SPEAKER
Videotree

www.videotree.com
Tel: +44 (0)1932 267 797
17
www.videotree.com
Tel: +44 (0)1932 267 797
16
VIEWING ANGLES
1. Decide on the best position for your in-wall television.
2. If possible, test the television in this position to ensure the viewing angle
is appropriate for the viewing position. Your television viewing angle may
dier depending upon the size and style of your television.
3. If unsure, plug the television into the nearest mains power supply and
turn on once you have ensured the area is safe. Whilst the screen is on,
position the television until satised that the picture does not darken or
disappear from your viewing position.
4. Once you have decided on the television position, check for any hazards
that may prevent you from installing in this area, i.e. cables or pipework
beneath the wall. When mounting your television in stud walls, check for
any supporting framework behind the plasterboard.
88°
88°
WARNING:
Do NOT install your television in direct sunlight, underneath a direct
water source, in outdoor conditions or near a heatsource.
Do NOT install your television on an unstable surface.
WARNING:
If you are unsure about the installation of your television
STOP IMMEDIATELY and contact a professional.
Incorrect installation could result in bodily injury or damage to the
television.
BACKBOX CUTOUT DIMENSIONS
KEY* TELEVISION SCREEN SIZE
19” 27” 32” 42” 46” 55”
Length 451 634 742 981 1067 1261
Height 280 384 447 584 632 742
Depth 41 41 61 61 61 61
2 Part
Installation
Use the dimensions and diagram below to understand the cut-out
dimensions required for installation.
*Measurements are in millimetres (mm) unless otherwise stated.
BACKBOX CUTOUT DIMENSIONS
Videotree

www.videotree.com
Tel: +44 (0)1932 267 797
18 www.videotree.com
Tel: +44 (0)1932 267 797
19
TELEVISION & BACKBOX DIMENSIONS TELEVISION & BACKBOX DIMENSIONS CONTINUED
*Measurements are in millimetres (mm) unless otherwise stated.
TELEVISION & BACKBOX DIMENSIONS
KEY* TELEVISION SCREEN SIZE
19” 27” 32” 42” 46” 55”
A 450 633 741 980 1066 1260
B 50 50 60 60 60 60
C 279 383 446 584 632 741
D 456 639 747 986 1073 1266
E 285 389 452 589 637 747
F 35 35 60 60 60 60
PACKAGING DIMENSIONS
Length 553 735 820 1200 1250 1500
Depth 180 180 100 100 100 200
Height 497 550 520 650 700 1200
Weight
(kg) 11kg 16kg 22kg 29kg 35kg 40kg
B A
C
A
B
F D
E
BACK-BOX
SCREEN
Use the dimensions below and diagrams opposite to understand the size
of your television and backbox.
Videotree

www.videotree.com
Tel: +44 (0)1932 267 797
20 www.videotree.com
Tel: +44 (0)1932 267 797
21
INSTALLATION INSTALLATION CONTINUED
WARNING:
When removing your television from the packaging, ensure that you
are able to lift the television safely. We recommend that 2 persons are
required to lift and move the larger televisions.
When lifting your television, face the screen away from your body and
hold the top and the bottom of the frame securely. Do NOT hold the
screen or place excessive pressure on the screen.
NOTE:
Before installing your television, we recommend that you connect the
television to a power source and ensure that it is working correctly.
WARNING:
Ensure the cables are long enough to reach your television and any
power outlets or external devices.
!
Determine the best position for the
television screen, taking into account
viewing angles (see page 12), lighting
and cable or electrical connections.
Using the dimensions on pages
13-15, measure and create your in-
wall cutout ensuring the edges are
straight and level.
Install the cables and power supply
needed for the television and ensure
there is enough length to reach the
connectors. Tidy any excess length
away to tidy the area (power supply,
HDMI, aerial cable etc).
Slide the backbox into the cutout and
x into place with enough ttings to
secure it. Ensure the box ts tight into
the cutout and ll in any gaps around
the edge of the backbox using a ller.
Connect your television to the power
supply and cable connections, slide
into the backbox and turn the power
on. Ensure your television is working
correctly and is level before applying
the nal seal. We recommend that
you do NOT remove the plastic screen
protector until installation is completed.
Once you are certain the television is
working correctly, all the connections
are installed and the screen is level, seal
between the edge of the television and
the wall with a waterproof silicon sealant.
Ensure that any gaps are completely
sealed to prevent ingress of water and
dust.
Your brand new television is
ready to enjoy!
STEP 1 STEP 2
STEP 3 STEP 4
STEP 5 STEP 6
WARNING:
Ensure the mains supply socket is switched o before connecting your
television power supply.
We recommend using at least two persons to lift the television.
The rear of the television is NOT water resistant. Do NOT expose the rear
of the television to water. If you do not correctly seal any gaps between
the television and the wall, your television could become exposed to
moisture or dust and your warranty will be voided.
Videotree

The removal of the screen from the backbox requires the use of a single
glass sucker (pictured below). It is strongly advised that at least 2 people are
present during the removal of the screen.
1. Place the glass sucker in the center of the screen and apply the levers so
that the suckers grip the glass.
2. Carefully pull the television out of the backbox with enough room to
remove the connections from the rear of the television.
3. Remove the cable connections from the back of the television and place
the television in a safe area.
4. Release the glass sucker from the screen by pulling the levers.
www.videotree.com
Tel: +44 (0)1932 267 797
22 www.videotree.com
Tel: +44 (0)1932 267 797
23
SCREEN REMOVAL MASTER REMOTE CONTROL
Volume Up
Volume Down
Record
Rewind (Text)
Power On
Picture Mode
Mute
Main Menu
Skip backwards
(Guide)
Play/Pause (Index)
Fast Forward (Hold)
Channel/Programme
Information
Sleep Mode
Channel Up
Channel Down
Source Select
Skip Forward
(Subtitle Toggle)
TV Source
Select
Stop (Subpage)
PLEASE NOTE: The Master Remote Control is NOT waterproof.
Do NOT get wet or submerge under water.
Exit
Favourite
Aspect
Sound Mode
Audio
Timeshift
Number
Selection
WARNING:
Ensure the mains supply socket is switched o before attempting to
remove the television.
We recommend using at least two persons to lift the television.
When lifting your television, face the screen away from your body and
hold the top and the bottom of the frame securely. Do NOT hold the
screen or place excessive pressure on the screen with your hands.
Videotree

www.videotree.com
Tel: +44 (0)1932 267 797
24 www.videotree.com
Tel: +44 (0)1932 267 797
25
LEARNING REMOTE CONTROL RS232 CODES
Edge
Illumination
Control
PLEASE NOTE: The Learning Remote Control is splashproof ONLY.
Do NOT submerge under water.
Channel Up
Channel Down
TV Source
Select
Volume Up
Volume Down
Record
Sleep Mode
Pause
Rewind
Source
Select
TV Guide
Power On /
Power O Mute
Main
Menu
Exit
Play
Fast Forward
Channel/Programme
Information
(Subtitle Toggle)
Teletext
Stop
Number Selection
Number Description RS232 Code
1 POWER ON POWR01
2 POWER OFF POWR00
3 VOLUME UP RGHT00
4 VOLUME DOWN LEFT00
5 CHANNEL UP UPXX00
6 CHANNEL DOWN DOWN00
7 MUTE ON MUTE99
8 MUTE OFF MUTE99
9 HDMI1 IHDM01
10 HDMI2 IHDM02
11 HDMI3 IHDM03
12 USB1 IUSB01
13 RGB IRGB01
14 SATELLITE DVBS DVBS00
15 TERRESTRIAL DVBT DVBT00
16 COMPONENT IYPB01
17 COMPOSITE IAVX01
18 SCART ISCT01
19 SELECT SLCT00
20 EPG GUIDE EPGX00
21 LEFT WEST00
22 RIGHT EAST00
23 UP NRTH00
24 DOWN SUTH00
25 CHANNEL 1 NUMB01
26 CHANNEL 2 NUMB02
27 CHANNEL 3 NUMB03
28 CHANNEL 4 NUMB04
29 CHANNEL 5 NUMB05
30 CHANNEL 6 NUMB06
31 CHANNEL 7 NUMB07
32 CHANNEL 8 NUMB08
33 CHANNEL 9 NUMB09
Videotree

www.videotree.com
Tel: +44 (0)1932 267 797
26 www.videotree.com
Tel: +44 (0)1932 267 797
27
RS232 CODES CONTINUED COMMON SHORTCUTS
Number Description RS232 Code
34 CHANNEL 0 NUMB00
35 -/--- NUMT00
36 EXIT EXIT00
37 ARC ON ARCX01
38 ARC OFF ARCX00
39 BLUE BLUE00
40 RED REDX00
41 YELLOW YLOW00
42 GREEN GREN00
43 SOURCE SRCE00
44 PAUSE/PLAY PLPS00
45 RECORD RECX00
46 SLEEP SLEP00
47 STOP STOP00
48 INFO INFO00
49 TEXT TEXT00
50 SUB TITLE SUBT00
51 MENU MENU00
52 ENTER ENTR00
53 CEC ON CECXX01
54 CEC OFF CECXX00
55 CEC STATUS CECX??
Baud Rate is: 115200
Data Length: Data Length 8bits
Parity bit: None
Stop bit: 1 bit
Flow Control: None
DB9 Pin connection signals:
2 -RX
3 -TX
5 - Ground
INDEX NAME FUNCTION
1 Power On / O the Power Supply
2 Info Display the information of the
Current Signal / Channel
3 Mute Mute the Sound
4 Sleep On / O the Power Supply within a
period of time
5 Numbers 0-9 Numeral Button
7 Red Only for Teletext
8 Green Only for Teletext
9 Yellow Only for Teletext
10 Blue Only for Teletext
11 VOL -/+ Left / Right or Volume -/+
12 CH -/+ Down / Up or Channel Down / Up
13 Menu Main Menu
14 TV/AV Switch the Input Source
15 Rec Record Digital Service
16 Exit Exit
17 OK Enter / DTV (Air) Channel Manager
/ ATV Channel Manager
18 Text Teletext Interface On / O
26 EPG Electronic Program Guide
29 Pause/Play Pause / Play
30 FA Fast Forward
31 FB Fast Backward
32 Stop Stop
*See ‘Tuner User Guide’ for INDEX references and full tuner setup instructions.
*
Videotree

www.videotree.com
Tel: +44 (0)1932 267 797
28 www.videotree.com
Tel: +44 (0)1932 267 797
29
COMMON SHORTCUTS CONTINUED
Standby Function:
When your TV is ON press the “Power” button to enter standby mode.
When your TV is in Standby Mode, press the ‘’Power’’ button to start it.
Sleep Function:
When your TV is ON, start the “Sleep” function by pressing the “sleep”
button. This function will automatically turn the TV OFF after a certain
period of time. Currently the supported time periods are:
OFF / 10 mins. / 20 mins. / 30 mins. / 60 mins. / 90 mins. / 120 mins. /
180 mins. / 240 mins.
Switching the Input Source:
After the normal start-up process, press the “Source” button, then either
“Up” or “Down” button to choose the preferred source, then press either
the “OK” or “ ” button to nish.
Info Function:
To nd the current Source press the “Info” button to view the Source and
additional information such as:
Channel Number / Colour System / Sound System (in the TV source) /
Current Frequency / Bandwidth / Event Information / etc. (in the DTV (Air)
Source).
Mute Function:
To mute the sound press the “Mute” button. To unmute the sound, press
the “Mute” button once more.
Set up Picture Mode: Select MENU then choose Picture
Pressing the “PMODE” button will change the parameters of the displayed
picture such as:
Luminance / Contrast / Sharpness / Hue / Colour etc.
This function can also be found in the Main Menu.
Set up Sound Mode: Select MENU then choose Sound
Pressing the “SMODE” button will change the parameters of the sound
such as:
Balance / Maximum Volume / Minimum Volume etc.
This function can also be found in the Main Menu.
Volume Adjust:
Adjust the volume by pressing either “VOL ” or “VOL ” buttons. A volume
adjusting level will appear on the screen displaying the current volume.
Channel Switching:
In the TV or DTV (Air) Source, you can switch the channel by pressing either
“CH ” or “CH ” button.
To Access the Electronic Programme Guide (EPG):
Press the “GUIDE” button and the EPG will appear on the screen. Use the
“ “ and “ “ buttons to navigate through the channels and the “ “ and “ “
buttons the view the dierent programmes for each channel. Press the
central “OK” button to select a current programme or to set a reminder for
a future programme.
To exit the EPG, simply press the “GUIDE” button once more.
If this is the rst time you are turning on the TV and there are no programs
in the TV memory, the “Auto Installation” menu will appear on the screen.
Using the MASTER remote control, follow the 5 setup steps as below:
Setup 1: Set up Home
AUTO INSTALLATION
COMMON SHORTCUTS CONTINUED
Videotree

www.videotree.com
Tel: +44 (0)1932 267 797
30 www.videotree.com
Tel: +44 (0)1932 267 797
31
AUTO-INSTALLATION CONTINUED AUTO-INSTALLATION CONTINUED
Setup 2: Select the Country
Setup 3: Select the Language
Setup 4: Select “Auto Power O”
Setup 5: Select the TV connection
Videotree

www.videotree.com
Tel: +44 (0)1932 267 797
32 www.videotree.com
Tel: +44 (0)1932 267 797
33
AUTO-INSTALLATION CONTINUED AUTO-INSTALLATION CONTINUED
Setup 6: Select the Auto Search (air/cable type)
Setup 6.1: Set up the Satellite
OPTION VALUE
Load Default Database /
Database Import
Import default Satellite
database
Satellite System Enter “Satellite System” menu
for settings
Setup 7: Channel List Menu
Key Stroke in Menu:
KEY STROKE ACTION
KEY_UP Focus on the previous item/program
KEY_DOWN Focus on the next item/program
KEY_MENU Exit Menu
KEY_CHANNEL_LIST Exit Menu
KEY_RED Show “Find” Mode Menu
Videotree

www.videotree.com
Tel: +44 (0)1932 267 797
34 www.videotree.com
Tel: +44 (0)1932 267 797
35
AUTO-INSTALLATION CONTINUED TROUBLESHOOTING
Setup 8: Favourite List Menu
Key Stroke in Menu:
KEY STROKE ACTION
KEY_UP Focus on the previous item/program
KEY_DOWN Focus on the next item/program
KEY_MENU Exit Menu
KEY_FAV_LIST Exit Menu
KEY_RED Show “Rename Favourite List Name” Menu
PROBLEM POSSIBLE CAUSE SOLUTION
No LED light No input power. • Check the power cable
• Check if the green LED light on
the power supply is illuminated
No signal No signal transmitted/
dierent source selected.
No source cable is properly
connected.
Source equipment is not
setup correctly.
• Check correct source is selected
• Check cable connection between
TV and source equipment
• Check the external equipment is
on and set to display video on the
required output port
No remote
control
response
New batteries required.* • Replace the batteries
• The waterproof remote comes
with power LED
No sound Mute is on.
Volume is set too low.
No speaker is connected.
• Press the mute button
• Press the Vol + button
• Check connection between TV
and speaker
No sound for
PC input
The audio cable is not
connected correctly.
• Check the cable is connected
between the PC line out and the
TV’s line-in connection
RS232 does
not work
Transmission protocol is
incorrect.
If a non-standard RS232
cable is used, the connector
pin-out could be incorrect.
• Check the transmission protocol
• Check the DB9 male pin-out
* To check the remote control IR transmitters are working, view the IR emitter through a digital camera (or
mobile phone camera) and press a button. If the emitter does not ash then you will need to replace the
batteries.
If you are still experiencing diculties operating your television after following the
troubleshooting guide, please contact us or visit our website:
Email: [email protected]
Telephone: 01932 267 797
www.videotree.com
Videotree

www.videotree.com
Tel: +44 (0)1932 267 797
36 www.videotree.com
Tel: +44 (0)1932 267 797
37
TECHNICAL SPECIFICATIONS TECHNICAL SPECIFICATIONS CONTINUED
GENERAL INFORMATION
Temperature:
Operating 0°C to 50°C
Storage -10°C to 60°C
Humidity:
Operating 5% to 80% RH (non-condensing)
Storage 5% to 80% RH (non-condensing)
Installation In-wall installation. Indoor use.
Protection Rating IP66
OSD Language English/French/German/Spanish/
Italian/Russian + 16 languages
Usage Life Up to 60,000 hours typical
SCREEN
Contrast Ratio 5000:1
Aspect Ratio 16:9
Driver Element a-Si TFT active matrix
Colour Depth 10 Bit
Number of Pixels Standard: 1360 x 768 (19”)
Full: 1920 x 1080 (27” - 55”)
Brightness 300 - 700 NIT
Viewing Angle Up/Down 88° / 88°
Left/Right 88° / 88°
AUDIO OUT
Digital Audio SPDIF Coax
Line level audio out (included)
Speakers out (included)
Audio out 2 x 8W @ 8 Ω THD <10%
Noise reduction 3D
Dolby Licensed
VIDEO
mp3 / .wma / .m4a / .aac
PHOTO
jpg / .jpeg / .bmp / .png
USB
Supports photo, music and video les
CONTROLS AND FEEDS
Hospitality port
Reverse infra-red port
Touch Tile (optional extra)
IPTV connectivity (optional extra)
External source selection on TV
3 x HDMI inputs
SCART CVBS / RGB
Full RS232 control included
PC input with audio
YPbPr input (mini-jack)
Terrestrial tuner (DVB-T / T2/ DVB-C)
Satellite tuner (DVB-S / S2)
POWER
220V / 240V AC requirement
12V (27”) or 24V (32”-55”) to screen
Low Power Standby Mode (<0.5 Watt)
12V Trigger Out (optional extra)
MOVIE
.avi (DivX, Xvid, MPEG-4) .mp4
.mpg MPEG-1, MPEG-2 .ts
.dat MPEG-1 .dat
.mov .mkv H.264 .rmbv .rm
WASTE DISPOSAL OF ELECTRICAL AND ELECTRONIC
PRODUCTS (WEEE)
One of the provisions of the European Directive 2012/19/EU is that
anything electrical or electronic should not be treated as domestic waste
and simply thrown away. To remind you of this Directive all aected
products are now being marked with a crossed-out wheelie bin symbol, as
depicted below.
To comply with this directive, Videotree are oering customers the option
to return their old televisions to us for correct disposal.
Simply return your television to:
Videotree Ltd,
Unit 1, Ember Centre
Hersham Trading Estate
Lyon Road
Walton on Thames
KT12 3PU
Once received, we will then send your television for components recovery
and recycling to help to conserve the world’s resources and minimize any
adverse eects on the environment.
More information can be found online here: www.legislation.gov.uk
SYMBOLS USED
Temperature limitation: indicates the temperature limits to which
the television can be safely used or stored.
Humidity limitation: indicates the humidity limits to which the
television can be safely exposed.
Refer to instruction manual.
The rst number 6: protected from total dust ingress.
The second number 6: protected against powerful water jets.
IP66
Videotree

www.videotree.com
Tel: +44 (0)1932 267 797
38 www.videotree.com
Tel: +44 (0)1932 267 797
39
PRODUCT CARE WARRANTY
EXPECTED SERVICE LIFE
Your Videotree television is guaranteed for 2 years, but should last for
around 10-15 years. We recommend that you regularly check and replace
the batteries within the remote controls.
EXPECTED STORAGE LIFE
The television unit has no xed shelf/storage life. Storage life depends on
the storage environment (see details of storage temperature and humidity
on page 32). Batteries for the remote controls should last for 3 years if
unopened and stored in a dark, cool place.
All Videotree televisions come with a 2 year manufacturer warranty as
standard. The warranty covers manufacturer defects and mechanical
faults for 2 years from the date of purchase.
We recommend that you register your television for warranty by visiting:
www.videotree.com
Please note your television’s serial number and date of purchase below
for future reference:
Serial Number: .......................................................................
Date of purchase: ...................../...................../......................
PLEASE NOTE:
The warranty does NOT cover:
- Parts or accessories (leads/back-boxes/remote controls etc)
- Damage through personal fault or poor installation (the
television has been dropped/knocked/scratched etc)
- Damage occurred through water or dust ingress due to poor
or incorrect installation
- Damage occurred through foreign objects being placed inside
the television unit
The warranty is void if:
- The television unit has been opened or tampered with
- The rear of the television has been exposed to water before or
during installation
- The television has been incorrectly installed by an unqualied
installer
Videotree will not be held responsible for any damage caused to the
television, installation area or third party equipment if the instructions
provided in this installation guide are not properly adhered to.
Should you have any questions, please contact us:
Email: [email protected]
Telephone: 01932 267 797
!
Videotree
Table of contents
Other Videotree TV manuals