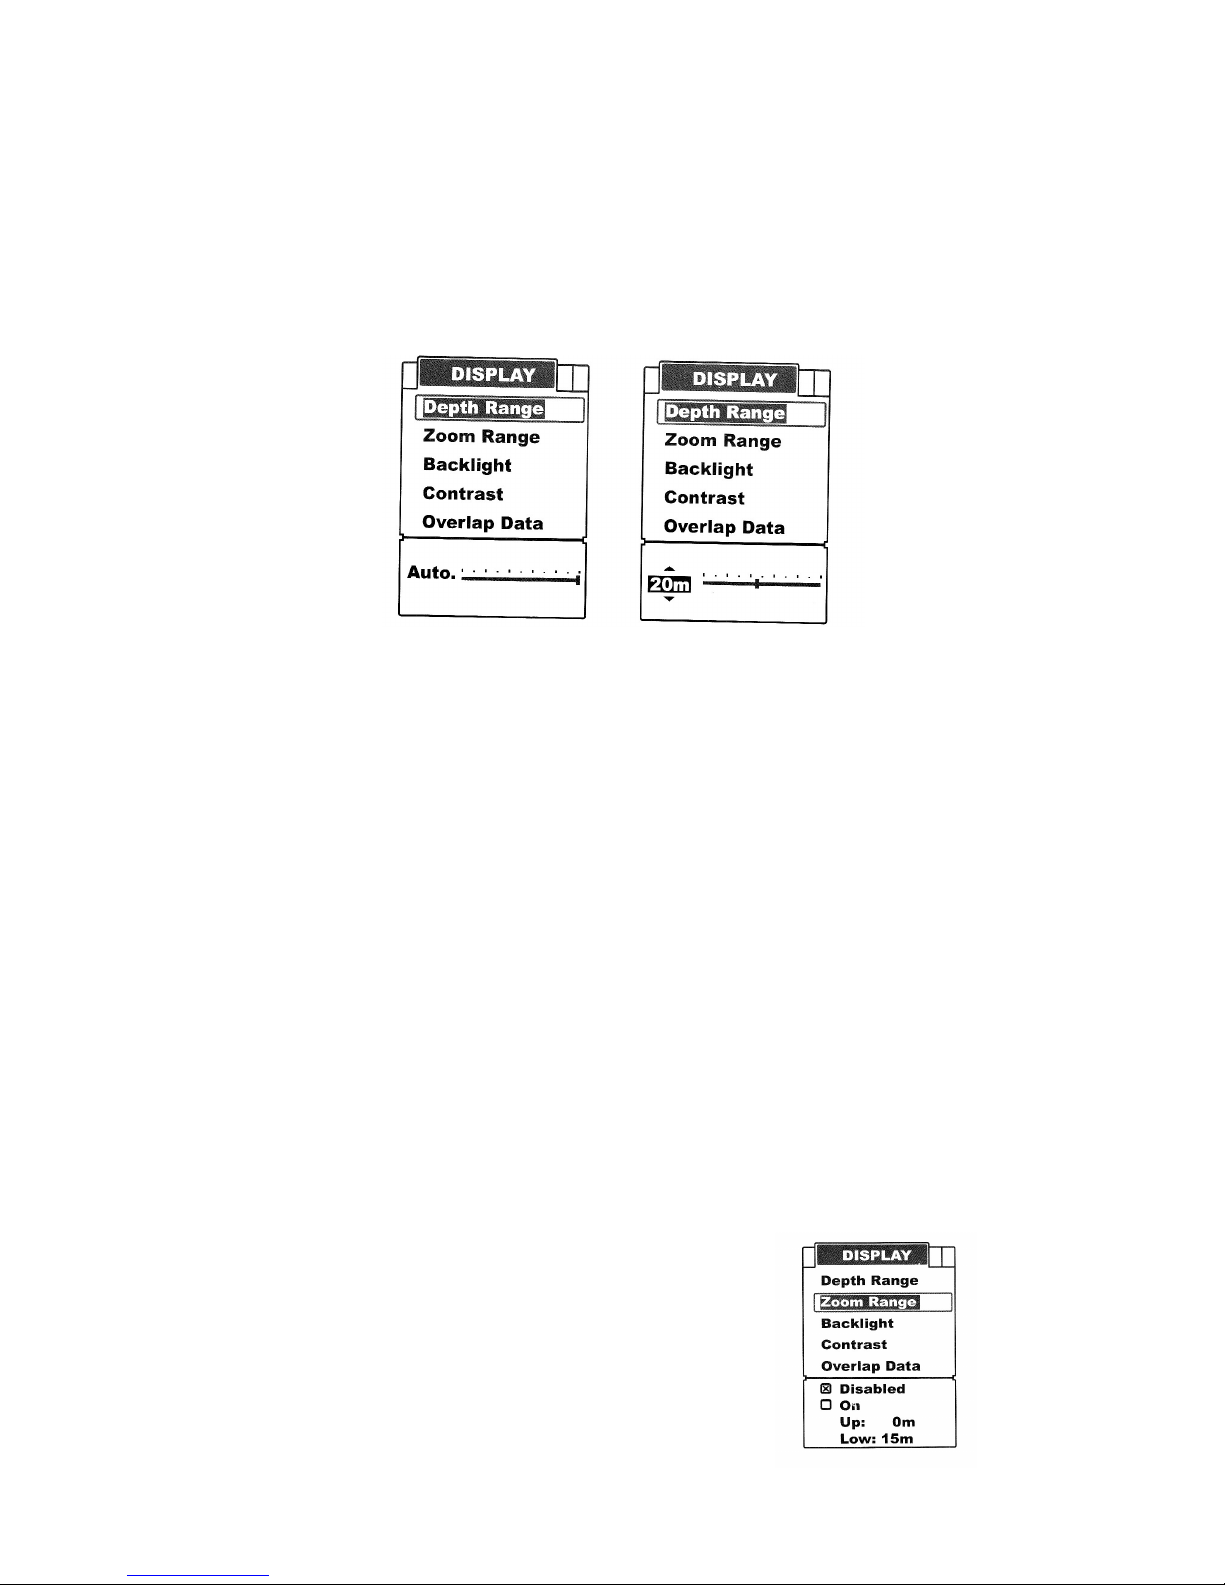
There are a total of 10 levels for the depth range setting:
a) With feet unit: 10, 15, 25, 35, 50, 70, 85, 100, 131, Auto
b) With meter unit: 3, 5, 8, 10, 15, 20, 25, 30, 40, Auto
The default setting is Auto, which will keep the bottom always displayed in a proper portion on the
screen. However in some certain situations you could also manually select a depth range:
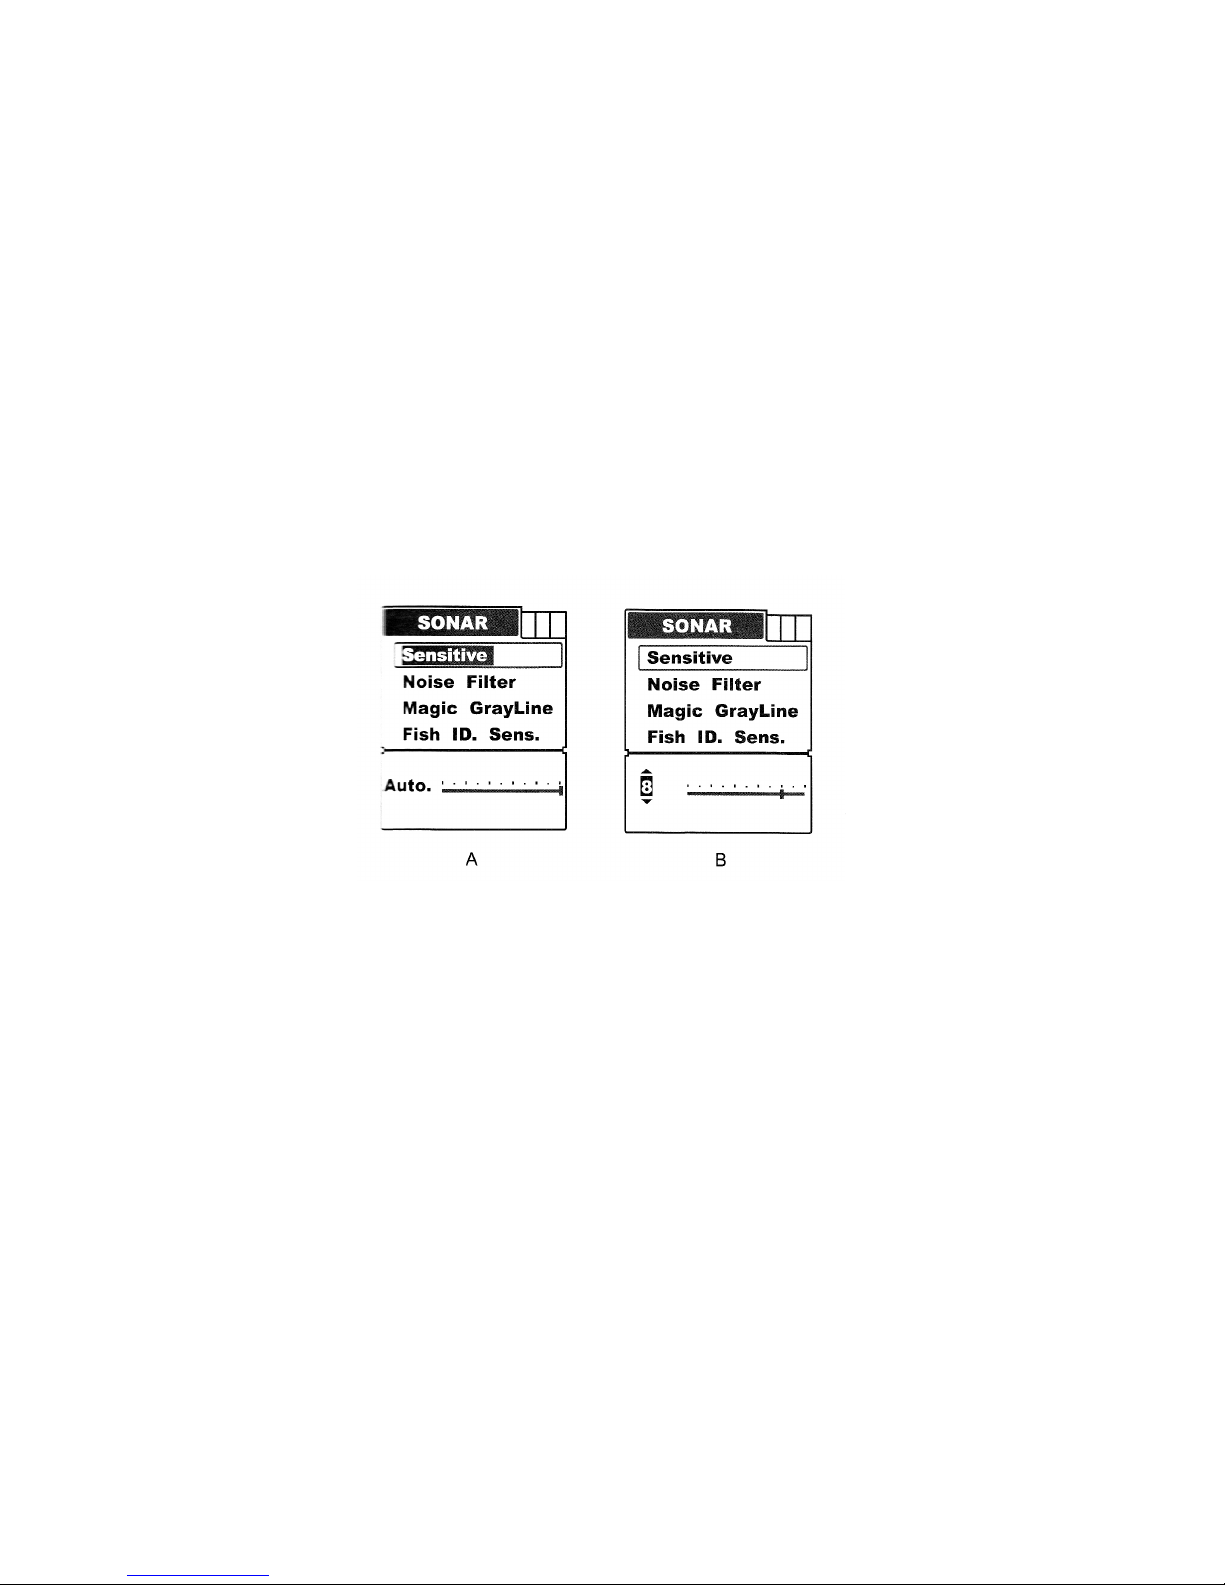
To set the Depth Range:
Press Menu to enter into menu setting.
Repeatedly press Menu to swtich to Display menu
Use the Up/Down Arrow to select Depth Range option.
Press Ent to enter into setting.
Use the Up/Down Arrow to select Depth Range option
Press Ent to enter into setting.
Use the Up/Down Arrow to change the value.
Press Ent to confirm and exit the setting.
Note: After you enter into the setting by pressing the Ent key, the operation figure will change
from A to B, then just press Down Arrow key to change the levels.
Zoom Range
Zoom Range is used to enlarge some certain depth segment, which is helpful for you to see small
details, fish signals and bottom structure.
Your FC500 fish finder allows you to see any depth segment with any scale.
For example, if the current depth range is 0 – 40m, by setting Zoom Range to 20-25m, you can see
the sonar image of the 20-25m depth segment with an 8x scale. And by setting it to 20-30m, you
can see the sonar image of the 30-30m depth segment with a 4x
scale.
To set the Zoom Range:
Press Menu to enter into menu setting.
Repeatedly press Menu to switch to Display menu.
Use the Up/Down Arrow to select Zoom Range option.
Press Ent to enter into setting.
Use the Up/Down Arrow to select the option.