Visceral Psyche Films Leeming LUT Pro User manual
Other Visceral Psyche Films Camera Accessories manuals
Visceral Psyche Films
Visceral Psyche Films LUT Athena III User manual

Visceral Psyche Films
Visceral Psyche Films Leeming Lut Pro Gen1 Film User manual
Visceral Psyche Films
Visceral Psyche Films Leeming LUT ONE User manual
Visceral Psyche Films
Visceral Psyche Films Leeming LUT Pro User manual
Visceral Psyche Films
Visceral Psyche Films Leeming LUT ONE User manual

Visceral Psyche Films
Visceral Psyche Films LUT Athena III User manual

Visceral Psyche Films
Visceral Psyche Films Leeming LUT Pro User manual

Visceral Psyche Films
Visceral Psyche Films Leeming LUT Pro User manual

Visceral Psyche Films
Visceral Psyche Films Leeming LUT Pro User manual

Visceral Psyche Films
Visceral Psyche Films Leeming LUT Pro User manual

Visceral Psyche Films
Visceral Psyche Films Leeming LUT Pro User manual

Visceral Psyche Films
Visceral Psyche Films Leeming LUT Pro User manual

Visceral Psyche Films
Visceral Psyche Films Leeming Lut Pro User manual

Visceral Psyche Films
Visceral Psyche Films Leeming LUT ONE User manual
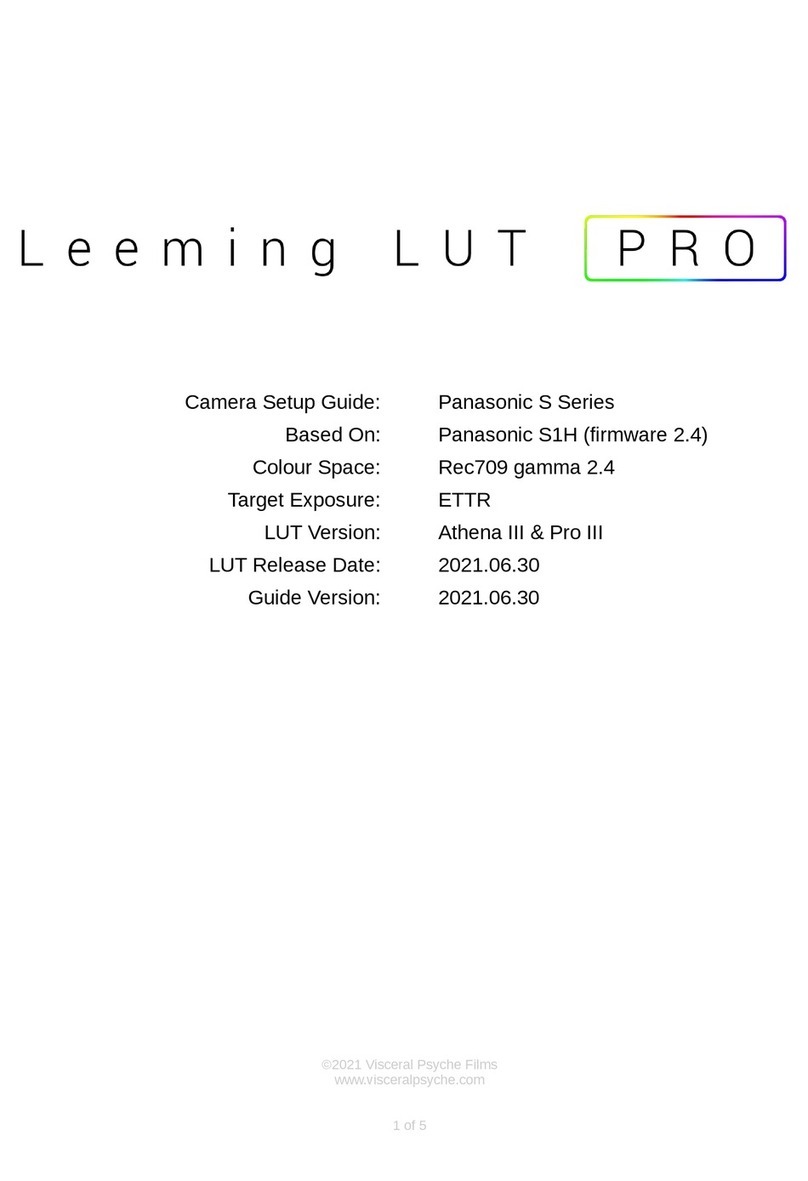
Visceral Psyche Films
Visceral Psyche Films Leeming LUT PRO III User manual

Visceral Psyche Films
Visceral Psyche Films Leeming LUT PRO User manual

Visceral Psyche Films
Visceral Psyche Films Leeming LUT Pro User manual

Visceral Psyche Films
Visceral Psyche Films Leeming LUT Pro User manual

Visceral Psyche Films
Visceral Psyche Films Leeming LUT Pro User manual

Visceral Psyche Films
Visceral Psyche Films Leeming LUT Pro User manual
Popular Camera Accessories manuals by other brands

Trojan
Trojan GC2 48V quick start guide

Calumet
Calumet 7100 Series CK7114 operating instructions

Ropox
Ropox 4Single Series User manual and installation instructions

Cambo
Cambo Wide DS Digital Series Main operating instructions

Samsung
Samsung SHG-120 Specification sheet

Ryobi
Ryobi BPL-1820 Owner's operating manual


