manuals.online logo
Brands
  1. Home
  2. •
  3. Brands
  4. •
  5. Vivarium Electronics
  6. •
  7. Storage
  8. •
  9. Vivarium Electronics 2 Series User manual

Vivarium Electronics 2 Series User manual

Vivarium Electronics Series 2 Cage Assembly instructions
1. Congratulations on your new Vivarium
Electronics enclosure. For years of service please
follow the following assembly and use instructions.
First please familiarize yourself with the parts used
to assemble the enclosure and their features.
The cage bottom has a section relieved on the right
underside to aid in under tank heating. Please note
that the recess continues through the cage rear but
is not visible from the front. This will make
orienting this panel easier during assembly
2. The Side Panels are identical with “feet” on the
bottom and stacking recesses on top. The top of
each side panel also has small slots precut front
and rear. These are to allow easy passage of probe
or power cords into the cage.
The Rear Panel has these probe cord/power cord
slots on each end as well as pre-scored potential
openings for larger power cords such as those
used by VE Radiant Heat Panels.
4. During the cage assembly make sure to keep
the panel edges properly aligned and pay
attention that the screws are straight when
screwing the panels together. A little extra time
here will ensure a nice finished assembly.
5. To begin assembly, stand the Bottom Panel on a
flay smooth work surface and align one of the
cage Side Panels on the end of the cage bottom
with the probe/power cord slots on top and the
“feet” on the bottom. Make sure the edges are
flush and secure the panel with the 4 screws
provided. Once this is done, install the other side
panel in the same manner.
6. Once the Side Panels are screwed into place,
put the Back Panel into position. It should be
positioned with the relief that is cut into one long
side aligns with the relief cut into the Bottom
Panel for use with heat tape. Carefully align the
edges and screw it into place.
7. Once this is complete you can stand the
assembly on the back and install the front. Make
sure the hinges are oriented toward the bottom.
Make sure that the edges are aligned and install
the screws, but do not install the uppermost
screws on each side. This will aid in placing the
Top Panel into position.
8. Next, place the enclosure Top up. If you plan to
use the slots for entering probes or power cords in
to the enclosure you should place them now.
While checking that the probe cords and/or power
cords are not pinched or compressed, lace the Top
Panel into position. Again, making sure the edges
are aligned as well the stacking recesses install the
screws in the Top Panel as well as the remaining
screws in the Front panel.
At this point, your cage is ready to place in its intended location. The surface must be flat and
level. Please direct any questions to inquiry@reptilebasics.com

Popular Storage manuals by other brands

Spectra Logic T-Series Spectra T50e hardware replacement guide

Spectra Logic

Spectra Logic T-Series Spectra T50e hardware replacement guide

Western Digital AC2540 Quick installation

Western Digital

Western Digital AC2540 Quick installation

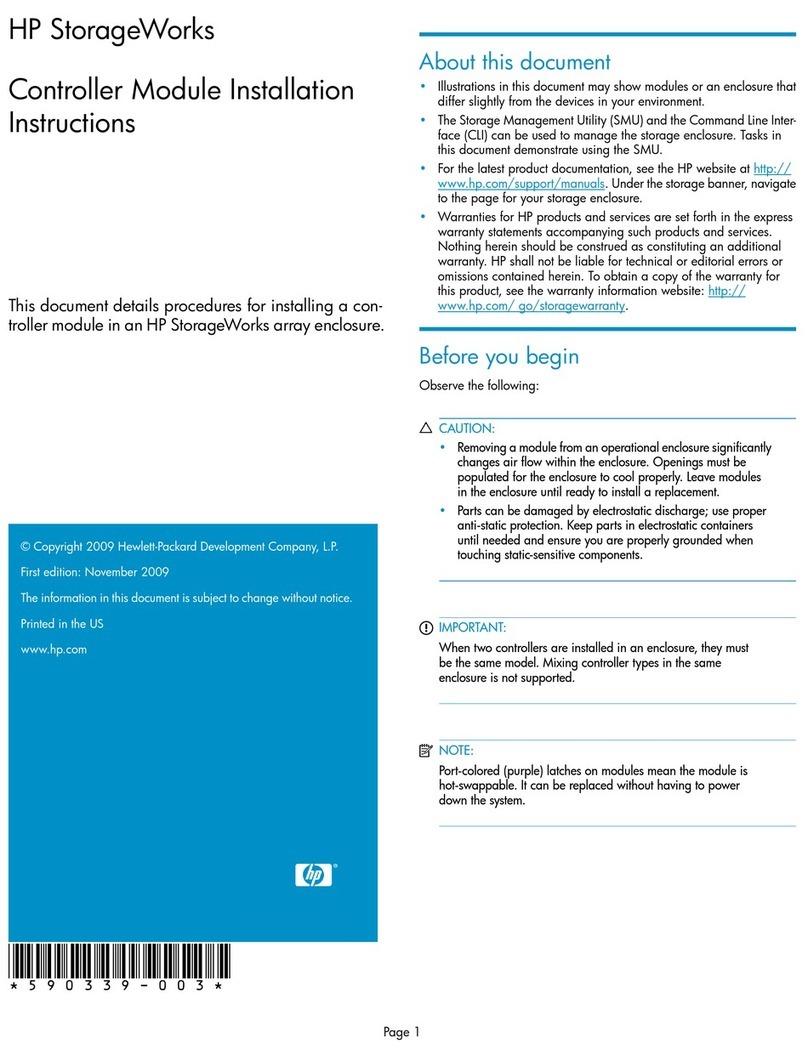
HP P2000 G3 installation instructions

HP

HP P2000 G3 installation instructions

Lenovo 43R2018 - ThinkPad 160 GB External Hard... user guide

Lenovo

Lenovo 43R2018 - ThinkPad 160 GB External Hard... user guide

Konig CMP-MOBSTOR15 user manual

Konig

Konig CMP-MOBSTOR15 user manual

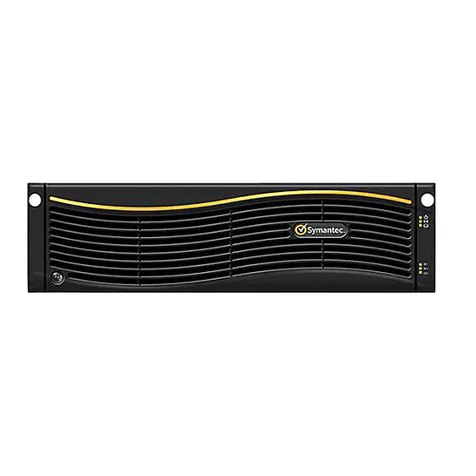
VERITAS NetBackup 5230 Hardware installation guide

VERITAS

VERITAS NetBackup 5230 Hardware installation guide

Seagate ST400FM0012 product manual

Seagate

Seagate ST400FM0012 product manual

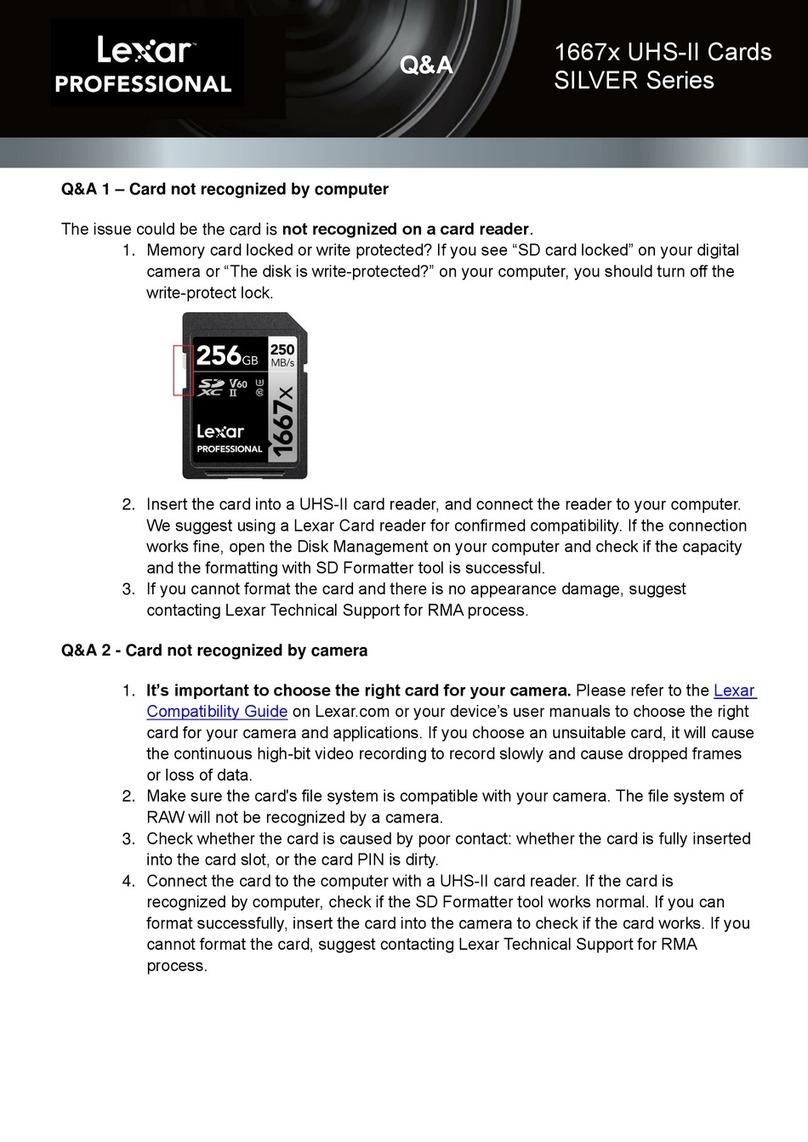
Lexar SILVER Series Q&A

Lexar

Lexar SILVER Series Q&A

M-Systems IDE 4000 Product specification and user manual

M-Systems

M-Systems IDE 4000 Product specification and user manual

HP X510 Quickspecs

HP

HP X510 Quickspecs

Pylontech Force-H3 Operation manual

Pylontech

Pylontech Force-H3 Operation manual

JOBO GIGA ONE SONIC manual

JOBO

JOBO GIGA ONE SONIC manual

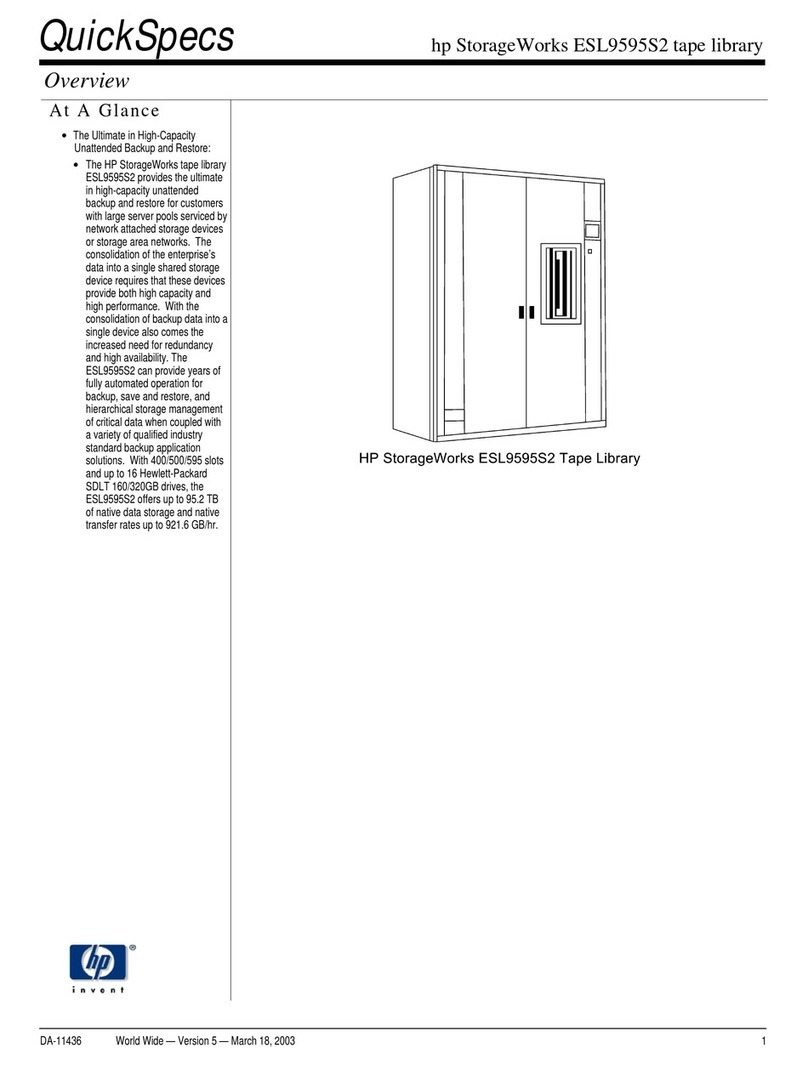
HP StorageWorks ESL9595S2 specification

HP

HP StorageWorks ESL9595S2 specification

HP LTO-4 Ultrium 1760 Technical reference manual

HP

HP LTO-4 Ultrium 1760 Technical reference manual

IBM TotalStorage Ultrium 3580 L23 Setup and operator guide

IBM

IBM TotalStorage Ultrium 3580 L23 Setup and operator guide

OWC Mercury Pro LTO Assembly manual & user guide

OWC

OWC Mercury Pro LTO Assembly manual & user guide

Dell EqualLogic PS Series Installation and setup

Dell

Dell EqualLogic PS Series Installation and setup

LaCie 301930 Specifications

LaCie

LaCie 301930 Specifications

manuals.online logo
manuals.online logoBrands
  • About & Mission
  • Contact us
  • Privacy Policy
  • Terms and Conditions

Copyright 2025 Manuals.Online. All Rights Reserved.