manuals.online logo
Brands
  1. Home
  2. •
  3. Brands
  4. •
  5. Vivo
  6. •
  7. Rack & Stand
  8. •
  9. Vivo STAND-V103 User manual

Vivo STAND-V103 User manual

Triple Monitor Desk Mount
Scan the QR code with your mobile device or follow the link
for helpful videos and specications related to this product.
Instruction Manual
https://vivo-us.com/products/stand-v103
[email protected]om www.vivo-us.com 1-800-371-5654
SKU: STAND-V103
2 3
ASSEMBLY STEPS
STEP 1
OPTION A: “C” Clamp Installation
Install the C-clamp Brace (b2) to the 48mm Pipe (a) using 3pcs C-clamp Brace
Bolts (h). Install the C-clamp (b1) to the 48mm Pipe (a) assembly according to the
thickness of the desktop. The thickness can be changed in three positions. Connect
it using 2pcs M10x15 Bolts (i), and tighten using the Allen Wrench (t). Tighten the
C-clamp to the desktop using the 2pcs eye bolts. Install the Decorative Cover (c).
PACKAGE CONTENTS
TOOLS NEEDED
WARNING!
Phillips
Screwdriver
a (x1)
48mm pipe
b1 (x1)
“C” Clamp
b2 (x1)
“C” Clamp Brace
i (x2)
M10x15
If you do not understand these directions, or if you have any doubts about the safety of the
installation, please call a qualied technician. Check carefully to make sure there are no
missing or defective parts. Improper installation may cause damage or serious injury. Do not
use this product for any purpose that is not explicitly specied in this manual. Do not exceed
weight capacity. We cannot be liable for damage or injury caused by improper mounting,
incorrect assembly or inappropriate use.
c(x1)
Decorative
Cover
d1 (x1)
Monitor Arm
e (x4)
Monitor Arm
Cover
f(x4)
Plastic Pad
g (x2)
M10x47
h (x3)
“C”
TIPOVER WARNING
SERIOUS OR FATAL CRUSHING INJURIES CAN OCCUR FROM TIPOVER. TO HELP PREVENT TIPOVER:
• NEVER ALLOW CHILDREN TO CLIMB, STAND, HANG, OR PLAY ON ANY PART OF MONITOR OR
STAND.
• USE TIPOVER RESTRAINT OR ANCHOR STAND TO WALL
USE OF TIPOVER RESTRAINTS MAY ONLY REDUCE, BUT NOT ELIMINATE RISK OF TIPOVER.
WARNING: CHOKING HAZARD
SMALL PARTS - NOT FOR CHILDREN UNDER 3 YEARS. ADULT SUPERVISION IS REQUIRED.
j (x2)
M8x10
n (x1)
Spring Washer
k(x1)
M10 Bolt
l (x1)
Support
m (x1)
M10
o (x1)
EVA Pad
s (x2)
Spare Cap
p(x12)
M4x12
q (x12)
M4x30
r (x12)
M4 Spacer
t (x1)
Allen Key Set
w1 (x2)
Nut
u(x1)
Wrench
v1 (x2)
Side VESA
Plate
v2 (x1)
Center
VESA Plate
w2 (x1)
M4x6 Bolt
x (x4)
Wire Clip
OPTION B: Existing Grommet Base Installation
If the existing grommet hole comes with a plastic
protector, remove it to ensure a at surface before
installing the desk mount. Stick the EVA Pad (o) on the
round surface of 48mm Pipe (a). Position the 48mm
Pipe (a) on the mounting surface and secure using
the Support Plate (l), M10 Washer (m), Spring Washer
(n) and M10 Bolt (k). Fasten the M10 Bolt by provided
Wrench (u). Install the Decorative Cover (c).
d2 (x2)
Monitor Arm
Drill
22 lbs
Per Arm
(10 kg)
DO NOT EXCEED WEIGHT CAPACITY.
Failure to do so may result in serious injury.
~
Ü
a
h
b2
í
á
Å
Eye Bolt
c
b1
t
i
ç
~
a
o
Å
~
ä
â
ã
å
a
c
kn
m
l
4 5
STEP 1 (Continued)
STEP 2
Place plastic pads (f) on top and bottom of monitor arms (d2), making sure pins
are inserted into holes on arm. Position on ends of monitor arms (d1), secure with
M10x47 bolts (g), then press monitor arm covers (e) in place.
OPTION C: Self-Drilled Grommet Base Installation
Position the 48mm Pipe (a) on the mounting surface and mark the center hole.
Remove the tube support. Drill a 3/8” (10mm) diameter hole at the marked
position through the mounting surface. Stick the EVA Pad (o) on the round surface
of 48mm Pipe (a). Position the 48mm Pipe (a) on the mounting surface and secure
using the Support Plate (l), M10 Washer (m), Spring Washer (n) and M10 Bolt (k).
Fasten the M10 Bolt by provided Wrench (u). Install the Decorative Cover (c).
STEP 3
Install Monitor Arm (d1,d2) to the 48mm Pipe (a), please make sure the wire clips
(x) of Monitor Arm (d1,d2) in the downside. Fasten the M8x10 Bolt (j) by supplier
Allen key (t).
Å
~
ä
â
ã
å
a
c
kn
m
l
ç
~
a
o
ÇO
ÇO
ÇN
É
É
Ö
í
Ñ
d2
f
d2
d1
e
e
g
t
í
~
à
ÇNI ÇO
ñ
a
jt
d1. d2
x
STEP 4
OPTION A: Flat Back Monitor
Attach side VESA plates (v1) to monitors
using M4x12 screws (p).
OPTION B: Curved Back Monitor
Attach side VESA plates (v1) to monitors
using M4x30 screws (q) and M4 spacers
Attach center VESA plate (v2) to
monitors using M4x12 screws (p).
Attach center VESA plate (v2) to
monitors using M4x30 screws (q) and
M4 spacers (r).
ê
è
î N
r
q
v1
=
é
î N
p
v1
=
é
î O
p
v2
ê
è
î O
r
q
v2
6 7
STEP 7
Adjust the Height of Center Monitor:
Turn the bolt counterclockwise to
lower the center monitor, turn the bolt
clockwise to raise the center monitor.
Adjust the Height of Side Monitors:
Remove the nut (w1) and turn the bolt
counter-clockwise with supplied Allen
key (t) to raise the monitor. Install nut
(w1) aer adjustment.
t
STEP 9
Manage the wires.
STEP 6
Pry o the plastic cover and then use
the Wrench (u) to tighten the nut if the
tilt angle can not be xed.
t
Fix the tilt angle
u
Fasten the grub screw in monitor arm
to x the tilting angle by provided
Allen key (t).
grub
screw
Fix the tilt angle
STEP 8
Pry o the arm cover, then use the Allen key (t) to
adjust the swivel joint tension.
t
t
t
Slide the side monitors onto the head
of Swivel Arm (d1,d2) as shown in the
diagram. Install the security nut (w1).
Make sure the security nut is installed
before you rotate the monitor.
STEP 5
Slide the center monitor onto the head
of Monitor Arm (d1,d2) as shown in the
diagram. Install the M4x6 Bolt (w2).
Make sure the bolt is installed before
you rotate the monitor.
ÇNI ÇO
d1. d2 ÇNI ÇO
d1. d2
ï O
w2
ï N
w1
Last Updated: 12/27/2018
If any parts are received damaged or defective, please contact us. We are happy to
replace parts to ensure you have a fully functioning product.
For more VIVO products, check out our website at:
www.vivo-us.com.
Love your new VIVO setup and want to share?
Tag us in your photo! @vivo_us
[email protected]om www.vivo-us.com 1-800-371-5654

Other manuals for STAND-V103

2

Other Vivo Rack & Stand manuals

Vivo STAND-V200G User manual

Vivo

Vivo STAND-V200G User manual

Vivo STAND-V006 User manual

Vivo

Vivo STAND-V006 User manual

Vivo MOUNT-VP02W User manual

Vivo

Vivo MOUNT-VP02W User manual

Vivo MOUNT-V001GLW User manual

Vivo

Vivo MOUNT-V001GLW User manual

Vivo MOUNT-VW02AW User manual

Vivo

Vivo MOUNT-VW02AW User manual

Vivo STAND-V002E User manual

Vivo

Vivo STAND-V002E User manual

Vivo STAND-V102D User manual

Vivo

Vivo STAND-V102D User manual

Vivo MOUNT-PLAY1W-1 User manual

Vivo

Vivo MOUNT-PLAY1W-1 User manual

Vivo MOUNT-UDLS1 User manual

Vivo

Vivo MOUNT-UDLS1 User manual

Vivo STAND-HS03B User manual

Vivo

Vivo STAND-HS03B User manual

Vivo MOUNT-LS16A User manual

Vivo

Vivo MOUNT-LS16A User manual

Vivo STAND-TV09B User manual

Vivo

Vivo STAND-TV09B User manual

Vivo STAND-V003P User manual

Vivo

Vivo STAND-V003P User manual

Vivo MOUNT-POLE05O User manual

Vivo

Vivo MOUNT-POLE05O User manual

Vivo MOUNT-PC06L User manual

Vivo

Vivo MOUNT-PC06L User manual

Vivo STAND-V006 User manual

Vivo

Vivo STAND-V006 User manual

Vivo DESK-V000M User manual

Vivo

Vivo DESK-V000M User manual

Vivo MOUNT-PC04A User manual

Vivo

Vivo MOUNT-PC04A User manual

Vivo STAND-V012L User manual

Vivo

Vivo STAND-V012L User manual

Vivo STAND-V001JB User manual

Vivo

Vivo STAND-V001JB User manual

Vivo MOUNT-VP01W User manual

Vivo

Vivo MOUNT-VP01W User manual

Vivo MOUNT-VW100F User manual

Vivo

Vivo MOUNT-VW100F User manual

Vivo MOUNT-KB05HD User manual

Vivo

Vivo MOUNT-KB05HD User manual

Vivo STAND-V002 User manual

Vivo

Vivo STAND-V002 User manual

Popular Rack & Stand manuals by other brands

Gembird MA-DA3-01 user manual

Gembird

Gembird MA-DA3-01 user manual

Premier Mounts AM100 installation guide

Premier Mounts

Premier Mounts AM100 installation guide

EuroLite STV-60 WOT user manual

EuroLite

EuroLite STV-60 WOT user manual

Husky 90500HWSK Use and care guide

Husky

Husky 90500HWSK Use and care guide

mumbi LPF60 Assembly instruction

mumbi

mumbi LPF60 Assembly instruction

CCi MBK-21 installation guide

CCi

CCi MBK-21 installation guide

Marquant 004855 operating instructions

Marquant

Marquant 004855 operating instructions

Bilt Trinity HTBFPBA-0950 owner's manual

Bilt

Bilt Trinity HTBFPBA-0950 owner's manual

peerless-AV DS-LEDKFS Kitted+ Free Standing quick start guide

peerless-AV

peerless-AV DS-LEDKFS Kitted+ Free Standing quick start guide

Mathis Instruments MI-500 Setup guide

Mathis Instruments

Mathis Instruments MI-500 Setup guide
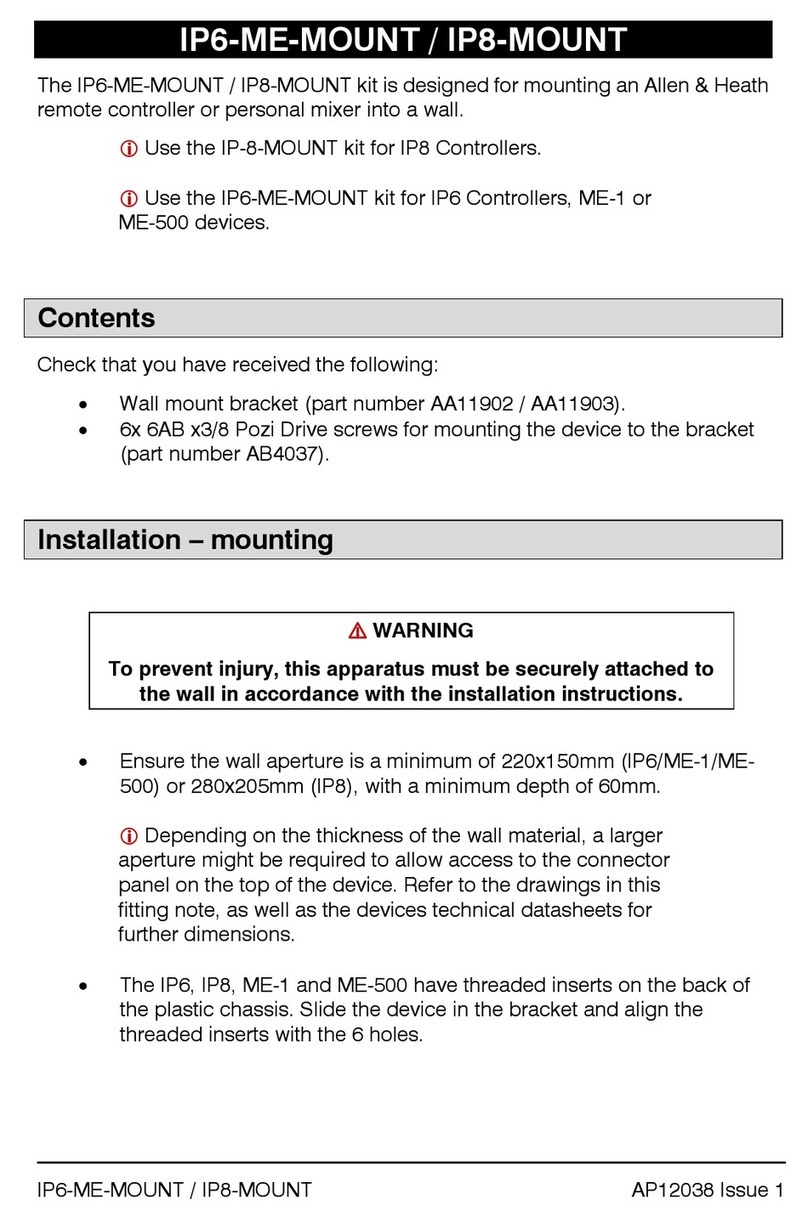
ALLEN & HEATH IP6-ME-MOUNT quick start guide

ALLEN & HEATH

ALLEN & HEATH IP6-ME-MOUNT quick start guide

Keysight N2138A installation guide

Keysight

Keysight N2138A installation guide

Vertiv VE Series user manual

Vertiv

Vertiv VE Series user manual

Qbic Technology TD-1050 installation guide

Qbic Technology

Qbic Technology TD-1050 installation guide

Ketterer KET-LIFT4BIKE 4008.00 Series Original operating instructions

Ketterer

Ketterer KET-LIFT4BIKE 4008.00 Series Original operating instructions

NeoMounts CPU-D200SILVER instruction manual

NeoMounts

NeoMounts CPU-D200SILVER instruction manual

peerless-AV DSF210-SFC manual

peerless-AV

peerless-AV DSF210-SFC manual

PROGRESSIVE DESK DM-04-1 user manual

PROGRESSIVE DESK

PROGRESSIVE DESK DM-04-1 user manual

manuals.online logo
manuals.online logoBrands
  • About & Mission
  • Contact us
  • Privacy Policy
  • Terms and Conditions

Copyright 2025 Manuals.Online. All Rights Reserved.