manuals.online logo
Brands
  1. Home
  2. •
  3. Brands
  4. •
  5. PROGRESSIVE DESK
  6. •
  7. Rack & Stand
  8. •
  9. PROGRESSIVE DESK DM-04-1 User manual

PROGRESSIVE DESK DM-04-1 User manual

V 1.1
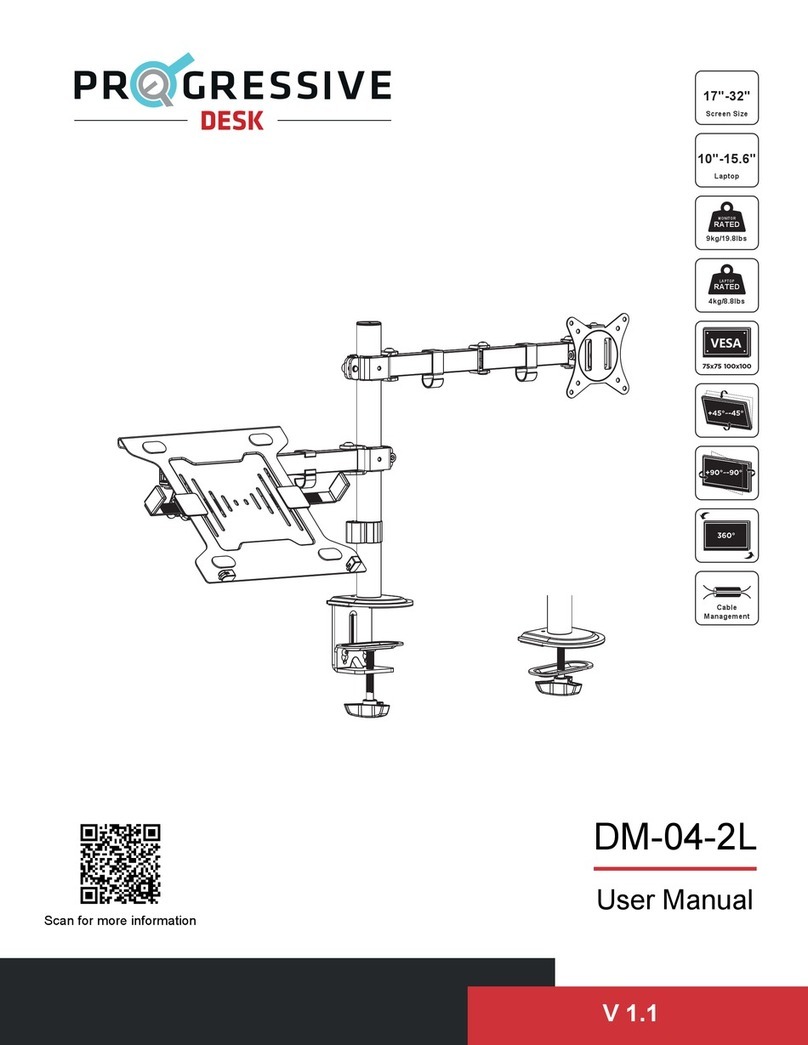
DM-04-1
User Manual
Scan for more information
Screen Size
17"-32"
RATED
9kg/19.8lbs
75×75 100×100
Cable
Management
..................................................................................3
Parts List .........................................................................................4
Assembly&Installation ...................................................................5
P a g e | 2
Table of Contents
Specifications
Specifications
Monitor Compatibility
Weight Capacity
Product Weight
Clamp Desk Thickness
Grommet Desk Thickness
Grommet Hole Diameter
Cable Management
VESA Compatibility
Base Joint Rotation
Elbow Joint Rotation
Neck Joint Rotation
VESA Mount Rotation
Monitor Tilt Adjustment
Height Adjustment
Clamp Mount
Up to 32"
19.8 lbs.
5.7 lbs.
0.4" to 3.3"
0.4" to 1.5"
0.4" to 3.2"
Cable Cover, Cable Hooks
100mm × 100mm and 75mm × 75mm
±90°
±90°
±90°
±180°
±45°
Up to 15.25"
Included
Grommet Mount
Detachable VESA
Included
Included
P a g e | 3
1.5
"
6.9
"
6.4
"
2.6
"
16.0
"
3.9
"
0.4
"-3.3"
0.4
"-1.5"
Parts List
P a g e | 4
No. Part Qty.
Base Plate
A1
Clamp
A4 1
Arm
A5 1
1
Mounting Pole
A2 1
Bracket
A3 1
Cable Cover
A7 1
VESA Plate
A8 1
Cable Hooks
A6 2
M5x16 Screw
B1 1
M10x20 Screw
B2 1
B3 3
M6x10 Screws
4mm Hex Key
B4 1
B5 1
6mm Hex Key
B6 1
Philips Head Screwdriver
No. Part Qty. No. Part Qty.
M-C 4
Washers
M4x12 Screws
M-A 4
M5x12 Screws
M-B 4
Assembly & Installation
P a g e | 5
Step 1: Attach the Base Plate
Step 2: Choose Installation Method (Clamp or Grommet)
Attach the Base Plate (A1) to the Mounting Pole (A2) using the M5x16 Screw (B1). Ensure the largest center holes on each
part are aligned. Tighten with the Philips Head Screwdriver (B6).
Option 1: Clamp – Mount to Side of Desk (Page 6)
Requirements: Desk Thickness 0.4” to 3.3”
Option 2: Grommet – Install into Grommet Hole or Drilled Hole (Page 8)
Requirements: Desk Thickness 0.4” to 1.5”, Desk Hole Diameter 0.4” to 3.2”
Desk Hole Diameter
Option 1: Clamp Option 2: Grommet
Desk
Thickness
Assembly & Installation
Option 1: Clamp – Mount to Side of Desk
Step 2A: Align Bracket (A3) with the studs on the Base Plate (A1) and attach using the M10x20 Screw (B2). Tighten with
6mm Hex Key (B5).
Step 2B: Insert 2x M6x10 Screws (B3) into the Bracket (A3) using the 4mm Hex Key (B4). DO NOT TIGHTEN the screws.
Leave at least a 3/16" gap for Step 2D.
P a g e | 6
Assembly & Installation
Step 2C: For tabletop thickness 0.4" to 1.75" skip to Step 2D.
For tabletop thickness 1.75" to 3.3", unscrew the preinstalled screw on the Clamp (A4) using the Philips Head Screwdriver
(B6). Separate the clamp components, flip the small bracket, and put the parts back together. Tighten the screw using the
Philips Head Screwdriver (B6).
Step 2D: Hook on Clamp (A4) to the loose screws from Step 2B. Tighten both M6x10 Screws (B3) using the 4mm Hex Key
(B4).
P a g e | 7
Step 2E: Place the assembly on your desired tabletop location and secure by tightening the clamp knob.
Assembly & Installation
P a g e | 8
Option 2: Grommet – Install into Grommet Hole or Drilled Hole
Step 2A: Separate the components from Clamp (A4) by using the Philips Head Screwdriver (B6). Put the mounting plate
onto the threaded knob screw.
Step 2B (Optional): For installations on a tabletop WITHOUT a grommet hole or predrilled hole, use a drill with a 3/8” drill
bit.
Step 2C: Insert the threaded knob screw and plate into the bottom side of the tabletop. Align with the hole on the base
plate assembly. Tighten the knob to secure the monitor stand to the tabletop.
Assembly & Installation
P a g e | 9
Step 3: Position the VESA Mount
Step 3A: Slide the VESA Plate (A8) onto the VESA mount of the Arm (A5).
Step 3B: Rotate the VESA mount 90 degrees so that the connector is facing up as seen below.
Step 3C: Remove the VESA Plate (A8) from the Arm (A5) and set aside for Step 6.
Assembly & Installation
P a g e | 10
Step 4: Install the Arm
Step 4A: Place the Arm (A5) on the Mounting Pole (A2).
Step 5: Attach the Cable Management Hooks and Cover
Step 5A: Attach 2x Cable Hooks (A6) to the Arm (A5).
Step 4B: Secure the Arm (A5) at the desired height by tightening the preinstalled screw with the 6mm Hex Key (B5).
Assembly & Installation
P a g e | 11
Step 5B: Attach the Cable Cover (A7) to the Mounting Pole (A2).
Step 6: Install VESA Plate to the Monitor
Install a VESA Plate (A8) to your desired VESA compatible monitor. Align the VESA Plate (A8) with the top of the
monitor. Ensure the flange is facing away from the monitor and towards the top as seen below. Use Washers (M-C) and
compatible screws (M-A or M-B) with the monitor.
DO NOT OVERTIGHTEN! Secure the parts using the Philips Head Screwdriver (B6).
Assembly & Installation
P a g e | 12
Step 7: Slide the VESA Plate onto the Arm
Slide the VESA Plate (A8) and monitor onto the Arm (A5). Secure the monitor using the M6x10 Screw (B3) and tighten with
the 4mm Hex Key (B4).
Step 8: Cable Management
Attach the monitor cables and route them through the installed cable management hooks and cover.
Step 9: Monitor Arm Range
CAUTION: DO NOT use the display beyond the arrow range to avoid tipping.
Assembly & Installation
P a g e | 13
Step 10: Adjustability
Adjust the tilt of the monitor using the 6mm Hex Key (B5). Secure the monitor to the desired position by tightening the
screw.
Step 11: Optional Hex Key Storage
Store the Hex Keys in the Cable Cover (A7) for future adjustments.
Freely adjust rotation and orientation of the monitor by hand.
Have any queries? Our expert engineers are here to help!
[email protected] progressivedesk.com
1-800-828-9414

Other PROGRESSIVE DESK Rack & Stand manuals

PROGRESSIVE DESK FLT-12 User manual

PROGRESSIVE DESK

PROGRESSIVE DESK FLT-12 User manual

PROGRESSIVE DESK DM-04-2L User manual

PROGRESSIVE DESK

PROGRESSIVE DESK DM-04-2L User manual

PROGRESSIVE DESK DM-02-2 User manual

PROGRESSIVE DESK

PROGRESSIVE DESK DM-02-2 User manual

PROGRESSIVE DESK DM-03-2 User manual

PROGRESSIVE DESK

PROGRESSIVE DESK DM-03-2 User manual

Popular Rack & Stand manuals by other brands

PEERLESS Mounts Smartmount D-FPF-220 Installation and assembly

PEERLESS Mounts

PEERLESS Mounts Smartmount D-FPF-220 Installation and assembly

royer FlexBar Operation instructions manual and user guide

royer

royer FlexBar Operation instructions manual and user guide

Christie ML25 instruction sheet

Christie

Christie ML25 instruction sheet

Sealey SM27ST.V2 quick start guide

Sealey

Sealey SM27ST.V2 quick start guide

Classic Exhibits visionary DESIGNS MOD-1534 Setup instructions

Classic Exhibits

Classic Exhibits visionary DESIGNS MOD-1534 Setup instructions

Dynamix RM-14/2AC user manual

Dynamix

Dynamix RM-14/2AC user manual

BIRD SignalHawk SH-36S-RM-ASL Operation manual

BIRD

BIRD SignalHawk SH-36S-RM-ASL Operation manual

Humanscale M/Connect 2 MC2-AXY user guide

Humanscale

Humanscale M/Connect 2 MC2-AXY user guide

CHIEF PSMO2085 installation instructions

CHIEF

CHIEF PSMO2085 installation instructions

Premier Mounts AM50 installation instructions

Premier Mounts

Premier Mounts AM50 installation instructions

peerless-AV DS-LEDIF Series instructions

peerless-AV

peerless-AV DS-LEDIF Series instructions

VISA VE-L30-T instructions

VISA

VISA VE-L30-T instructions

CHIEF Internal Dual Stud Wall Plate CTA-2536 installation instructions

CHIEF

CHIEF Internal Dual Stud Wall Plate CTA-2536 installation instructions

FRÄNKISCHE FIPLOCK CRPA Assembly instruction

FRÄNKISCHE

FRÄNKISCHE FIPLOCK CRPA Assembly instruction

compulocks Swell Assembly instructions

compulocks

compulocks Swell Assembly instructions

HUANUO HNCM18 instruction manual

HUANUO

HUANUO HNCM18 instruction manual

Insignia NS-CL1112 - AM/FM Clock Radio Guide de l'utilisateur

Insignia

Insignia NS-CL1112 - AM/FM Clock Radio Guide de l'utilisateur

Kermi KIMA 6917741 installation instructions

Kermi

Kermi KIMA 6917741 installation instructions

manuals.online logo
manuals.online logoBrands
  • About & Mission
  • Contact us
  • Privacy Policy
  • Terms and Conditions

Copyright 2025 Manuals.Online. All Rights Reserved.