
FW1.49.57英文版FW1.49.57英文版FW1.49.57英文版FW1.49.57英文版FW1.49.57英文版FW1.49.57英文版
VP-16 Firmware
Update Process
★The VP-16 firmware will be updated from time to time.
If there is a firmware update, follow this page to update it.
FW:1.49.57
★Please follow the official volochip Facebook site to receive
updates.
www.facebook.com/volochip/
★Please confirm your current firmware version before running
updates.
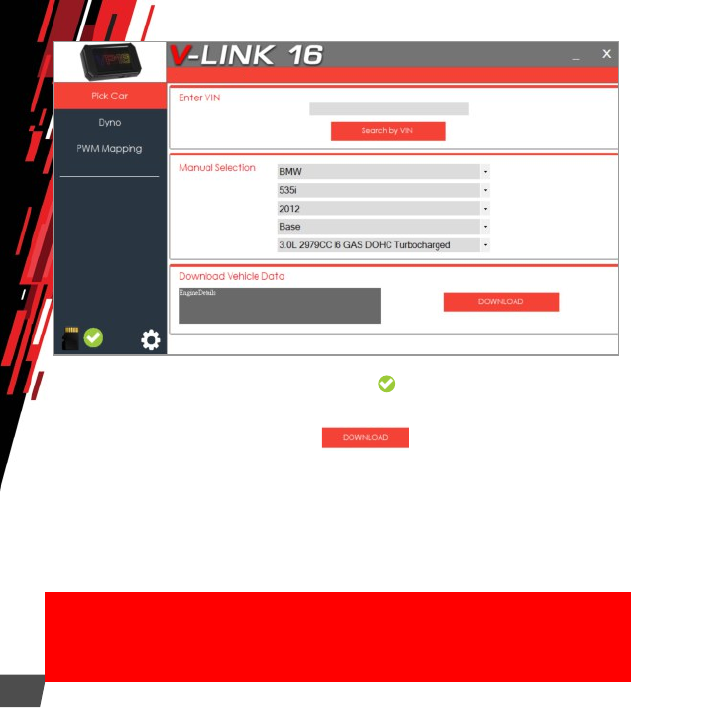
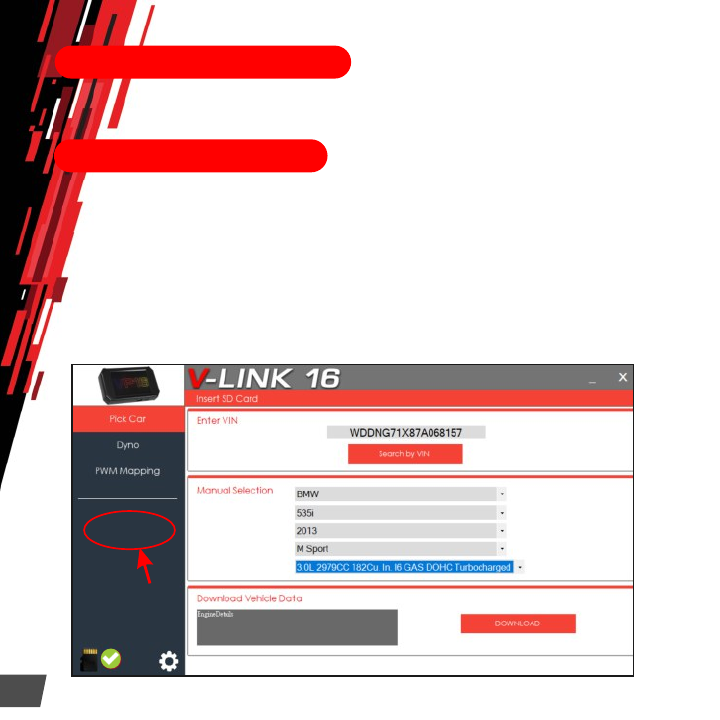
–Start VLINK-16 program, make sure the is displayed next to the SD
card icon on the lower left corner before setting. Then select the
mark, model, year, sub-model, and engine of your vehicle from the
drop-down menu, then click the to save the settings into
your SD card.
–Or enter your VIN number to automatically download vehicle tuning
data to your Micro SD Card.
–Return the Micro SD Card to Vp16
–Each time when you start VLINK-16 program, it will automatically run
updates if your computer stays connected with the Internet. It will
not be notified if there are any differences between the installation
instructions and the actual updates.
★Follow your VP16's on-screen instructions to complete the tuning and calibration.
★If you need to install VP-16 Performance Chip to a new vehicle, please follow
the steps above to re-program the vehicle settings.
78


 Specifications")


