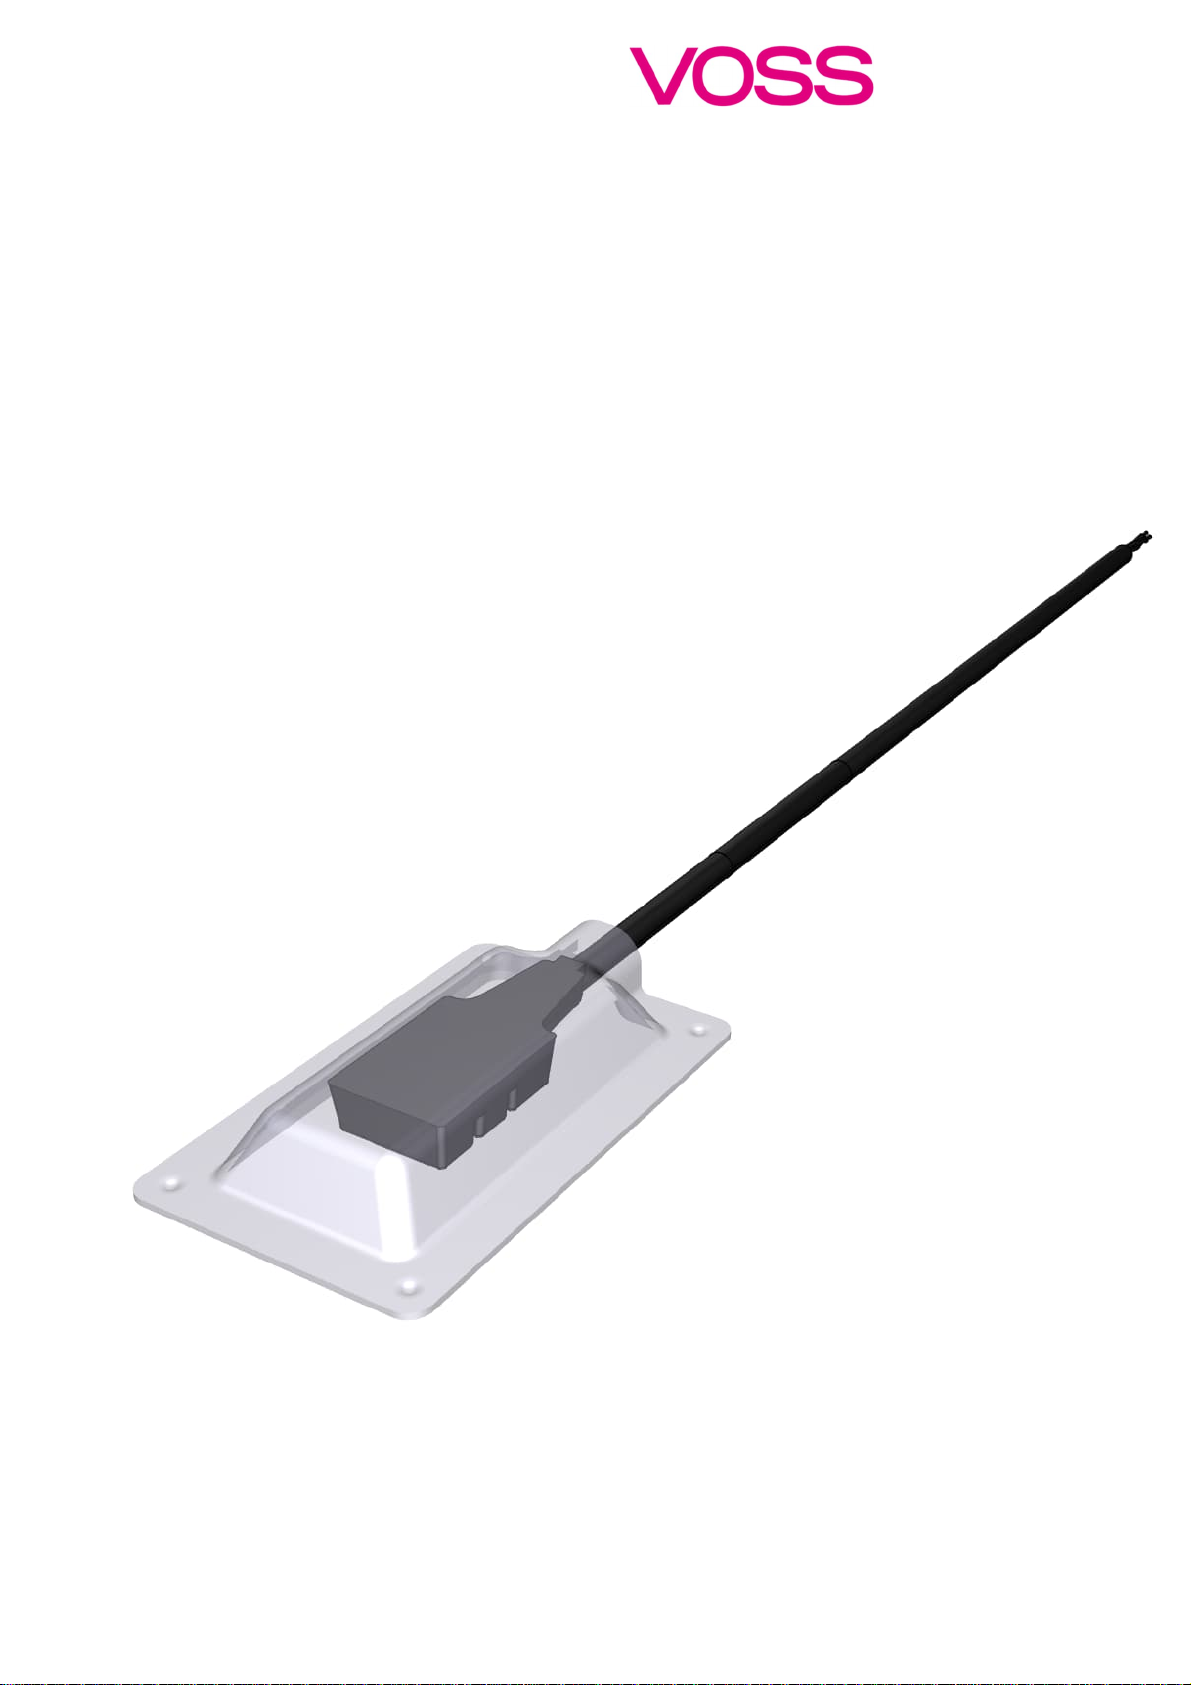
Assembly instructions VOSSOBW501
SG sensor
, Page 2 of 22
A. Important notices
Please observe before using the VOSSOBW501
SGsensor
VOSSOBW501
SG sensor
is suitable for axles in commercial vehicles, off-road vehicles and light
duty vehicles.
Only for assembly on axle. Any other use leads to the exclusion of warranty rights.
Before starting with the assembly process of the VOSSOBW501
SG sensor
, carefully read these
assembly instructions and make sure that you have understood these.
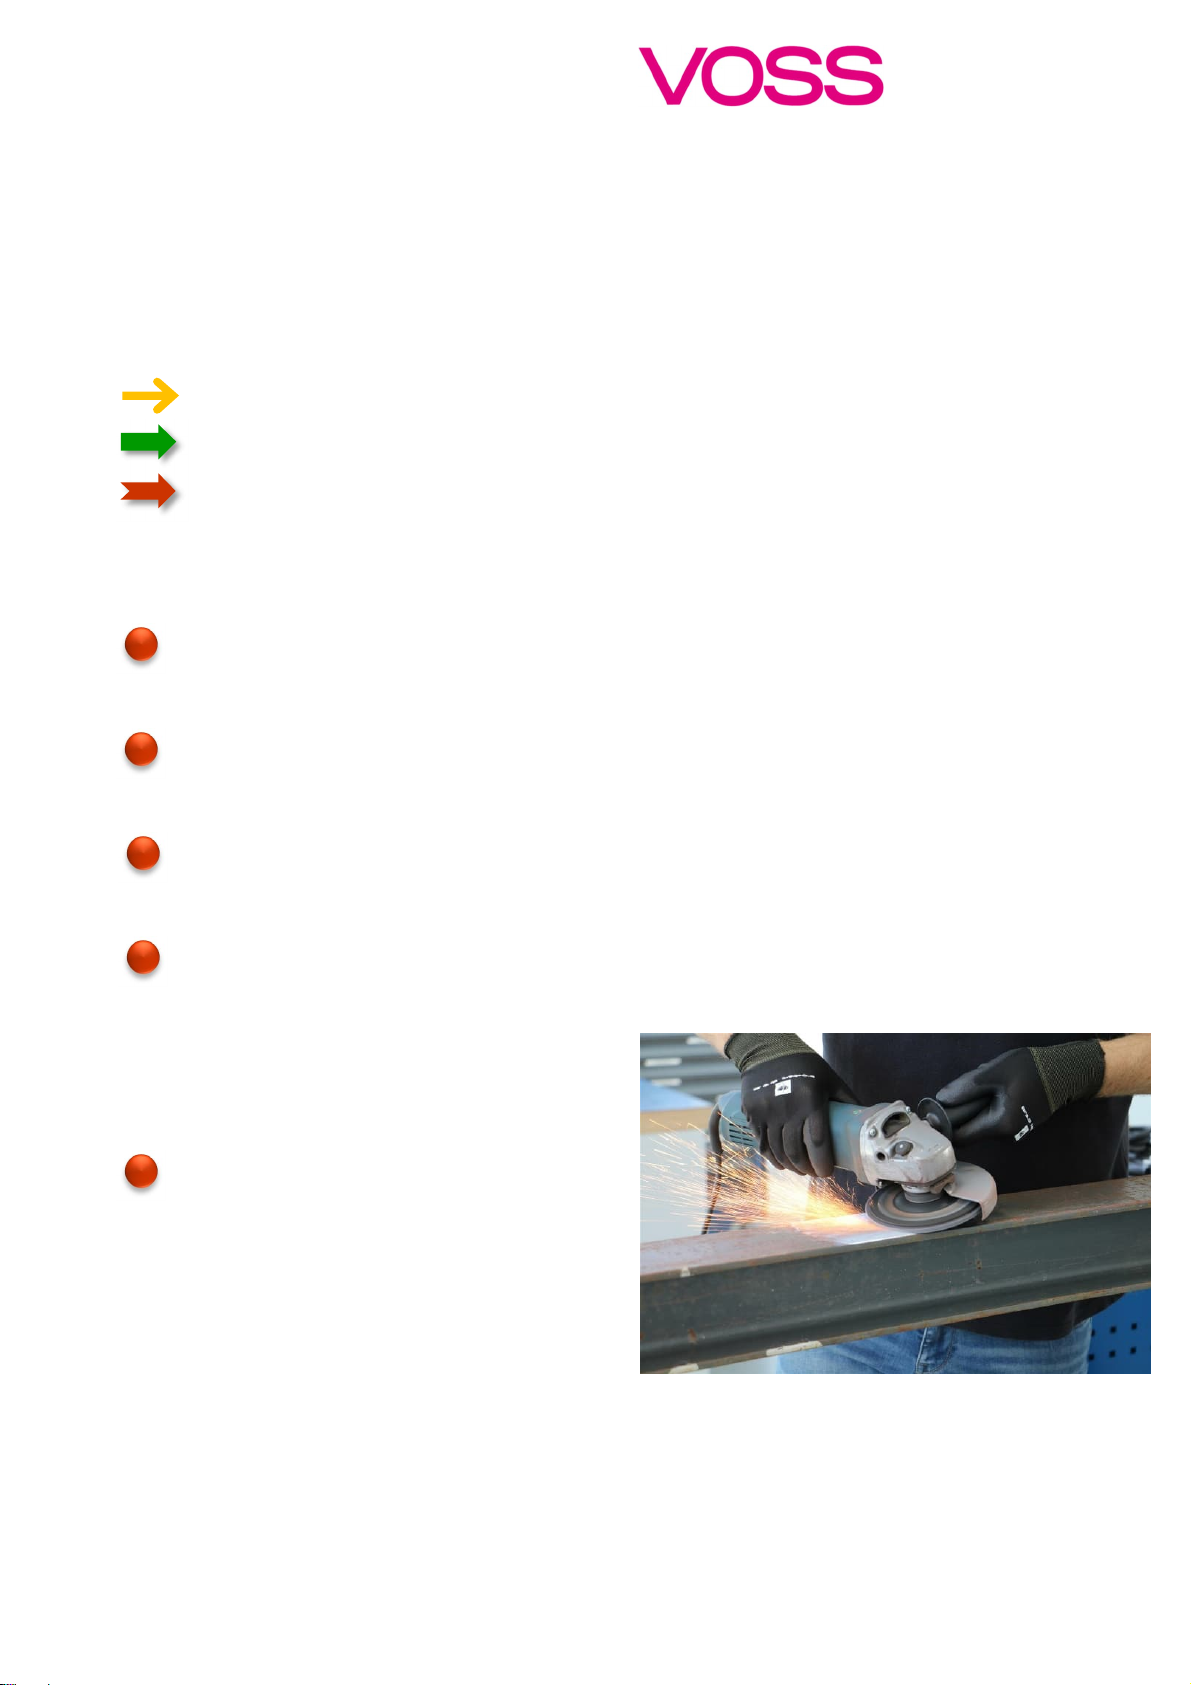
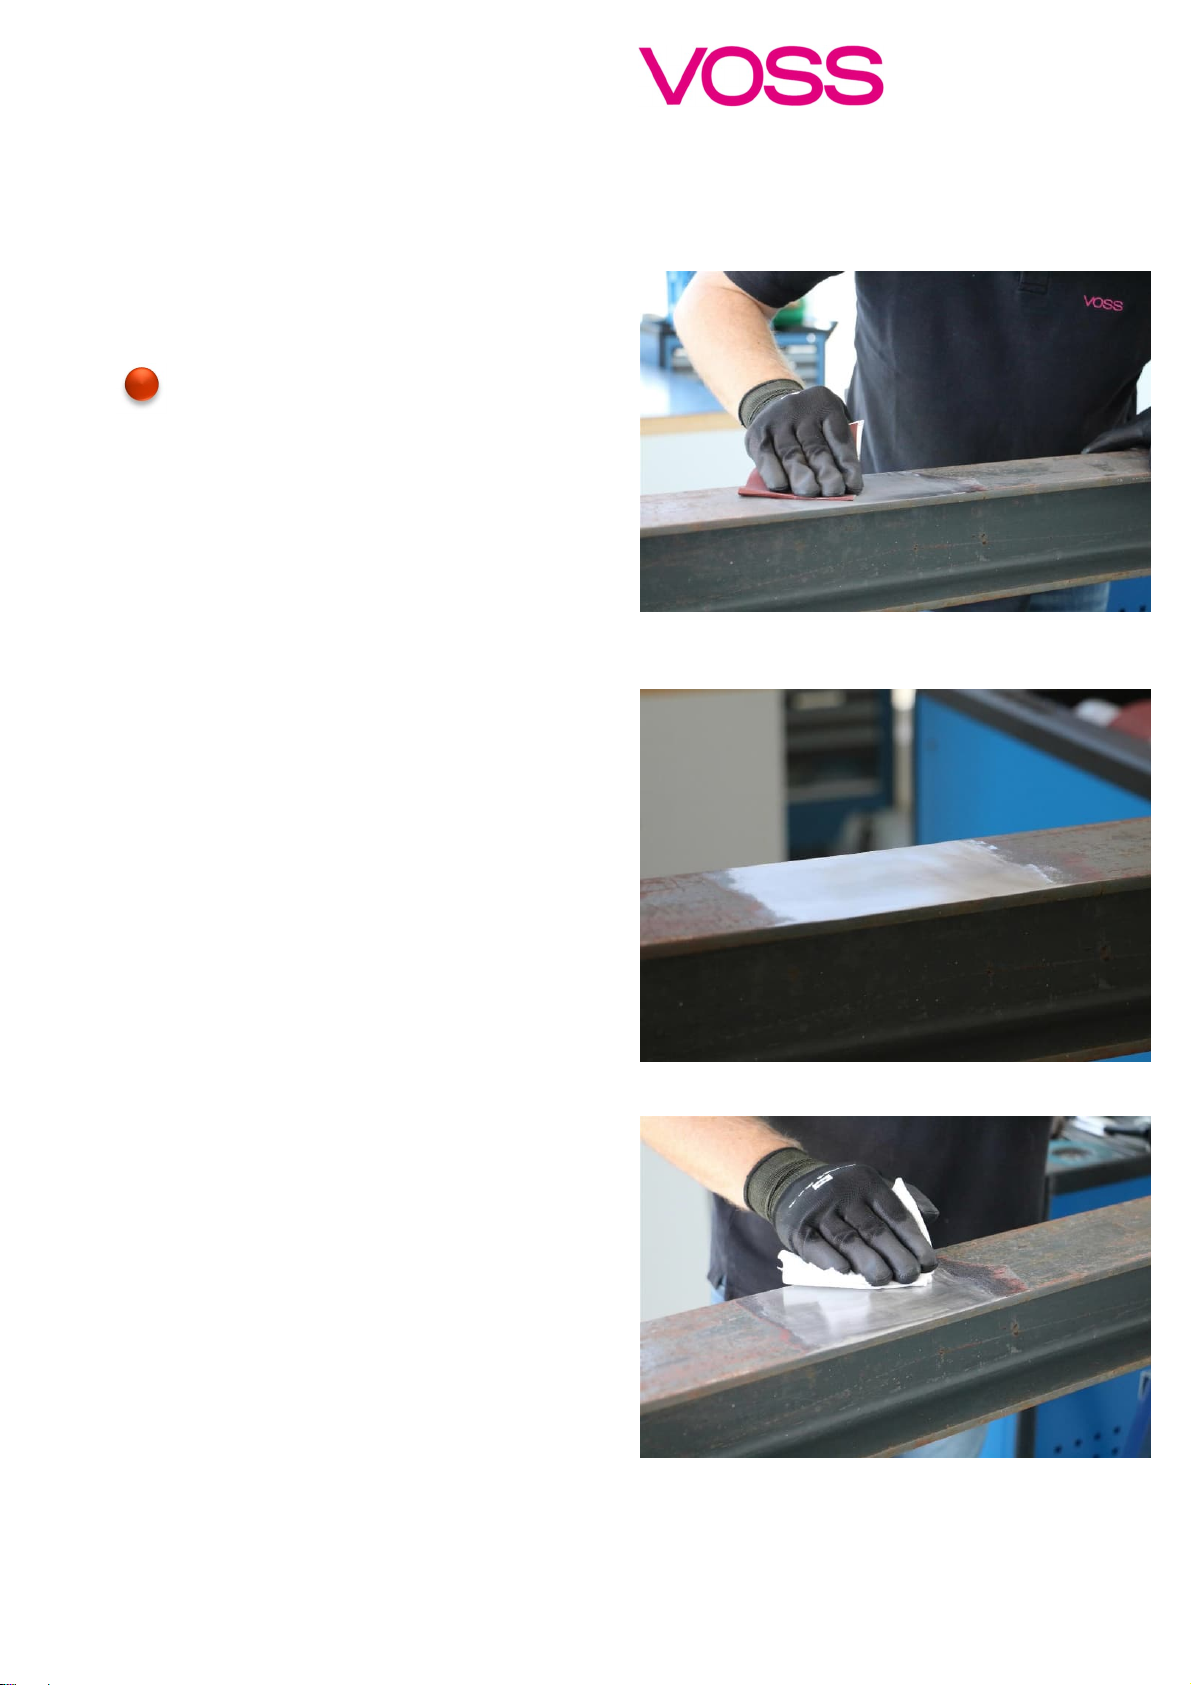
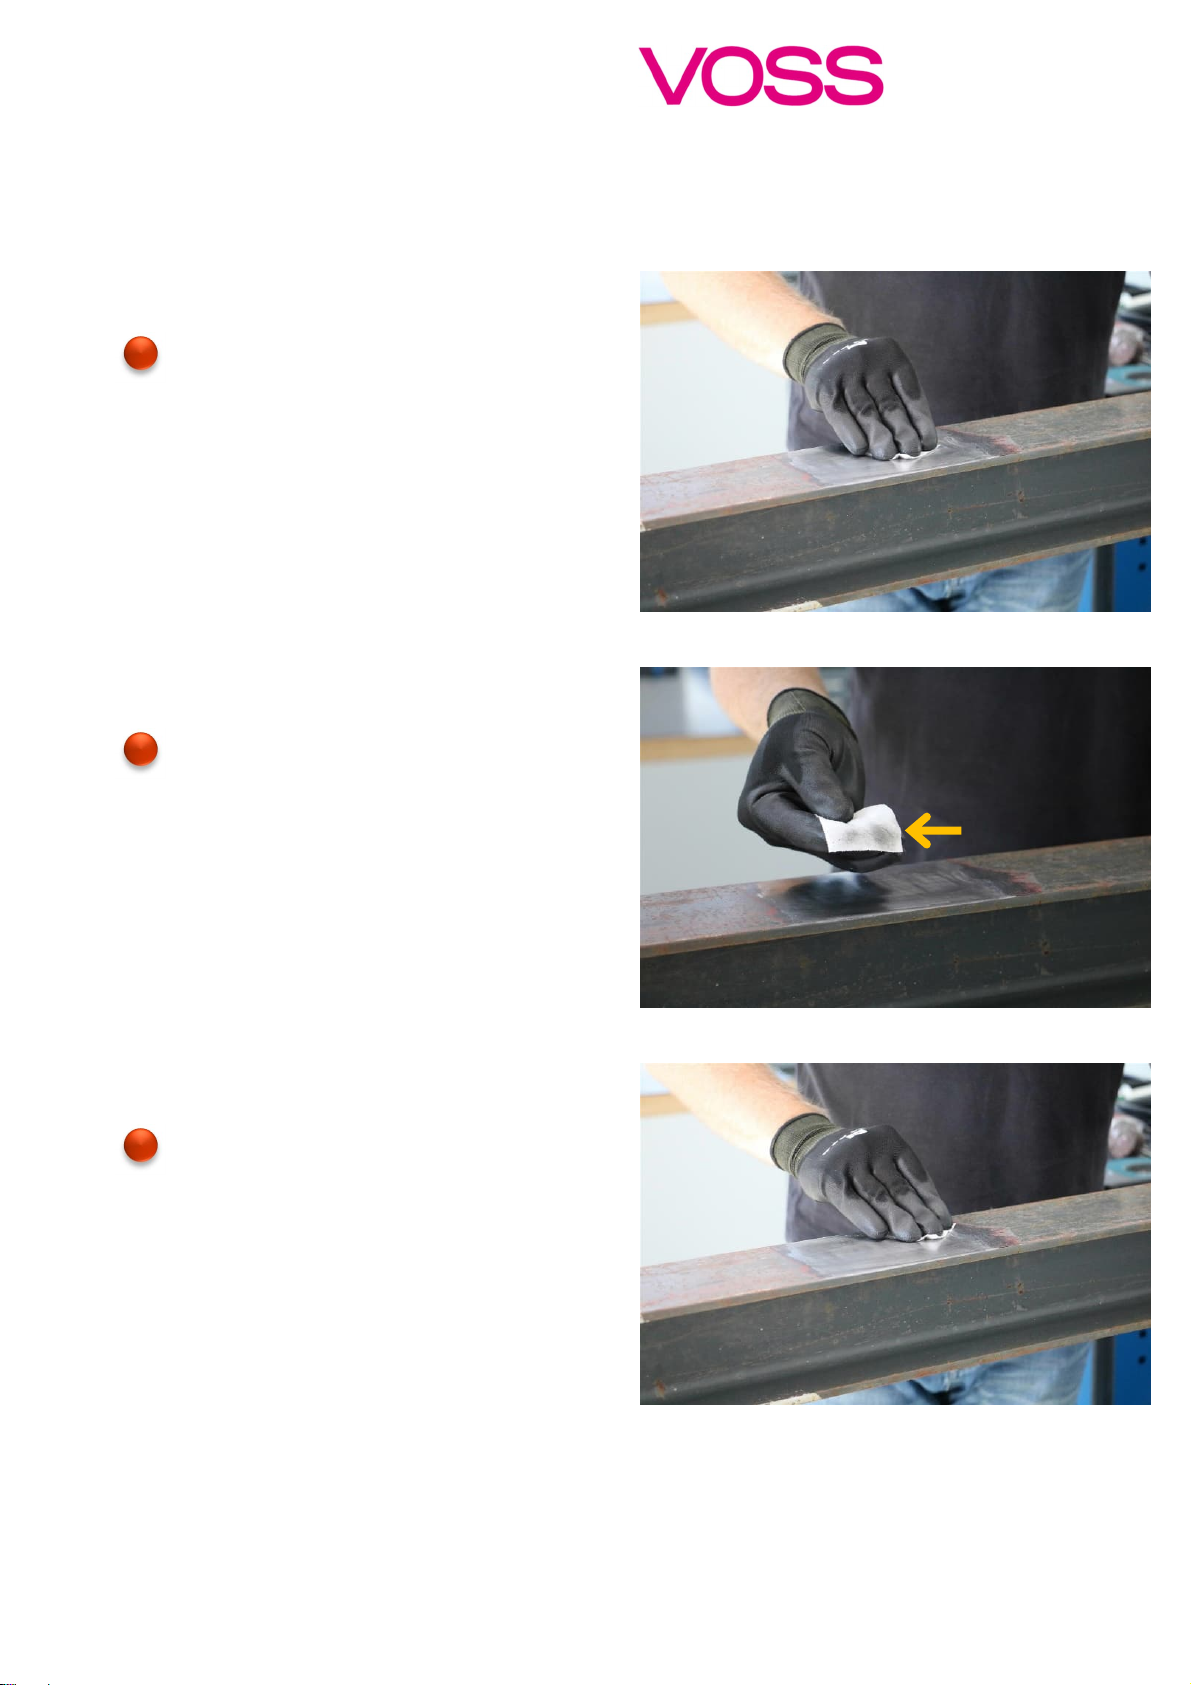
Before starting with the assembly process, provide the required materials and tools,
mentioned in chapter “C. Assembly instructions”.
The sensor / system must be installed and connected in accordance with the regulations valid
for the vehicle and country in question.
Make sure ignition is switched off and battery is disconnected before starting any installation.
The sensor has to be stored dry and free from humidity.
Do not remove the sensor from the ESDprotection bag before installing it in the vehicle.
Do not use the sensor data to control safety-relevant vehicle functions, e.g., ABS or ESP.
Liability:
All damages (e.g., recalls, customer services, expenses, compensation, etc.) are limited by
the respective order amount.
Damages shall be paid if VOSS is solely liable (gross negligence or intent required). Only the
actual damage will be compensated.
Under no circumstances shall VOSS be liable to the purchaser for liquidated
damages/contractual penalties and/or financial losses such as expected or lost profits, loss of
production, interest, penalties or for incidental, consequential, special, exemplary or criminal
damages in connection with the contract.
Should VOSS be held liable by third parties (e.g., due to product liability claims), the
purchaser shall indemnify VOSS against all claims.
Any processing of vehicle components must be coordinated with the component
manufacturer.